
SFF PC Workstation Build
Contents
After five years of dreaming about a PC build and saving up, the time has finally come to build my own Small Form Factor (SFF) PC Workstation build.
Planning
Originally I had planned this build for 2021, using an AMD Ryzen 7 3700X CPU and going with an MATX motherboard the ZZAW B3 case. But tragically, the COVID supply-chain crisis hit and it became unfesable. After a lot of pondering in the following years, an upgrade to the new AMD Ryzen 9 9950X CPU and a switch to even smaller ITX motherboard for carry-on-luggage-portability, the following components were selected for this build in PCPartPicker:
| Type | Item |
|---|---|
| CPU | AMD Ryzen 9 9950X 4.3 GHz 16-Core Processor |
| CPU Cooler | Thermalright Frozen Edge 69 CFM Liquid CPU Cooler |
| Thermal Compound | Thermalright TF9 1.5 g Thermal Paste |
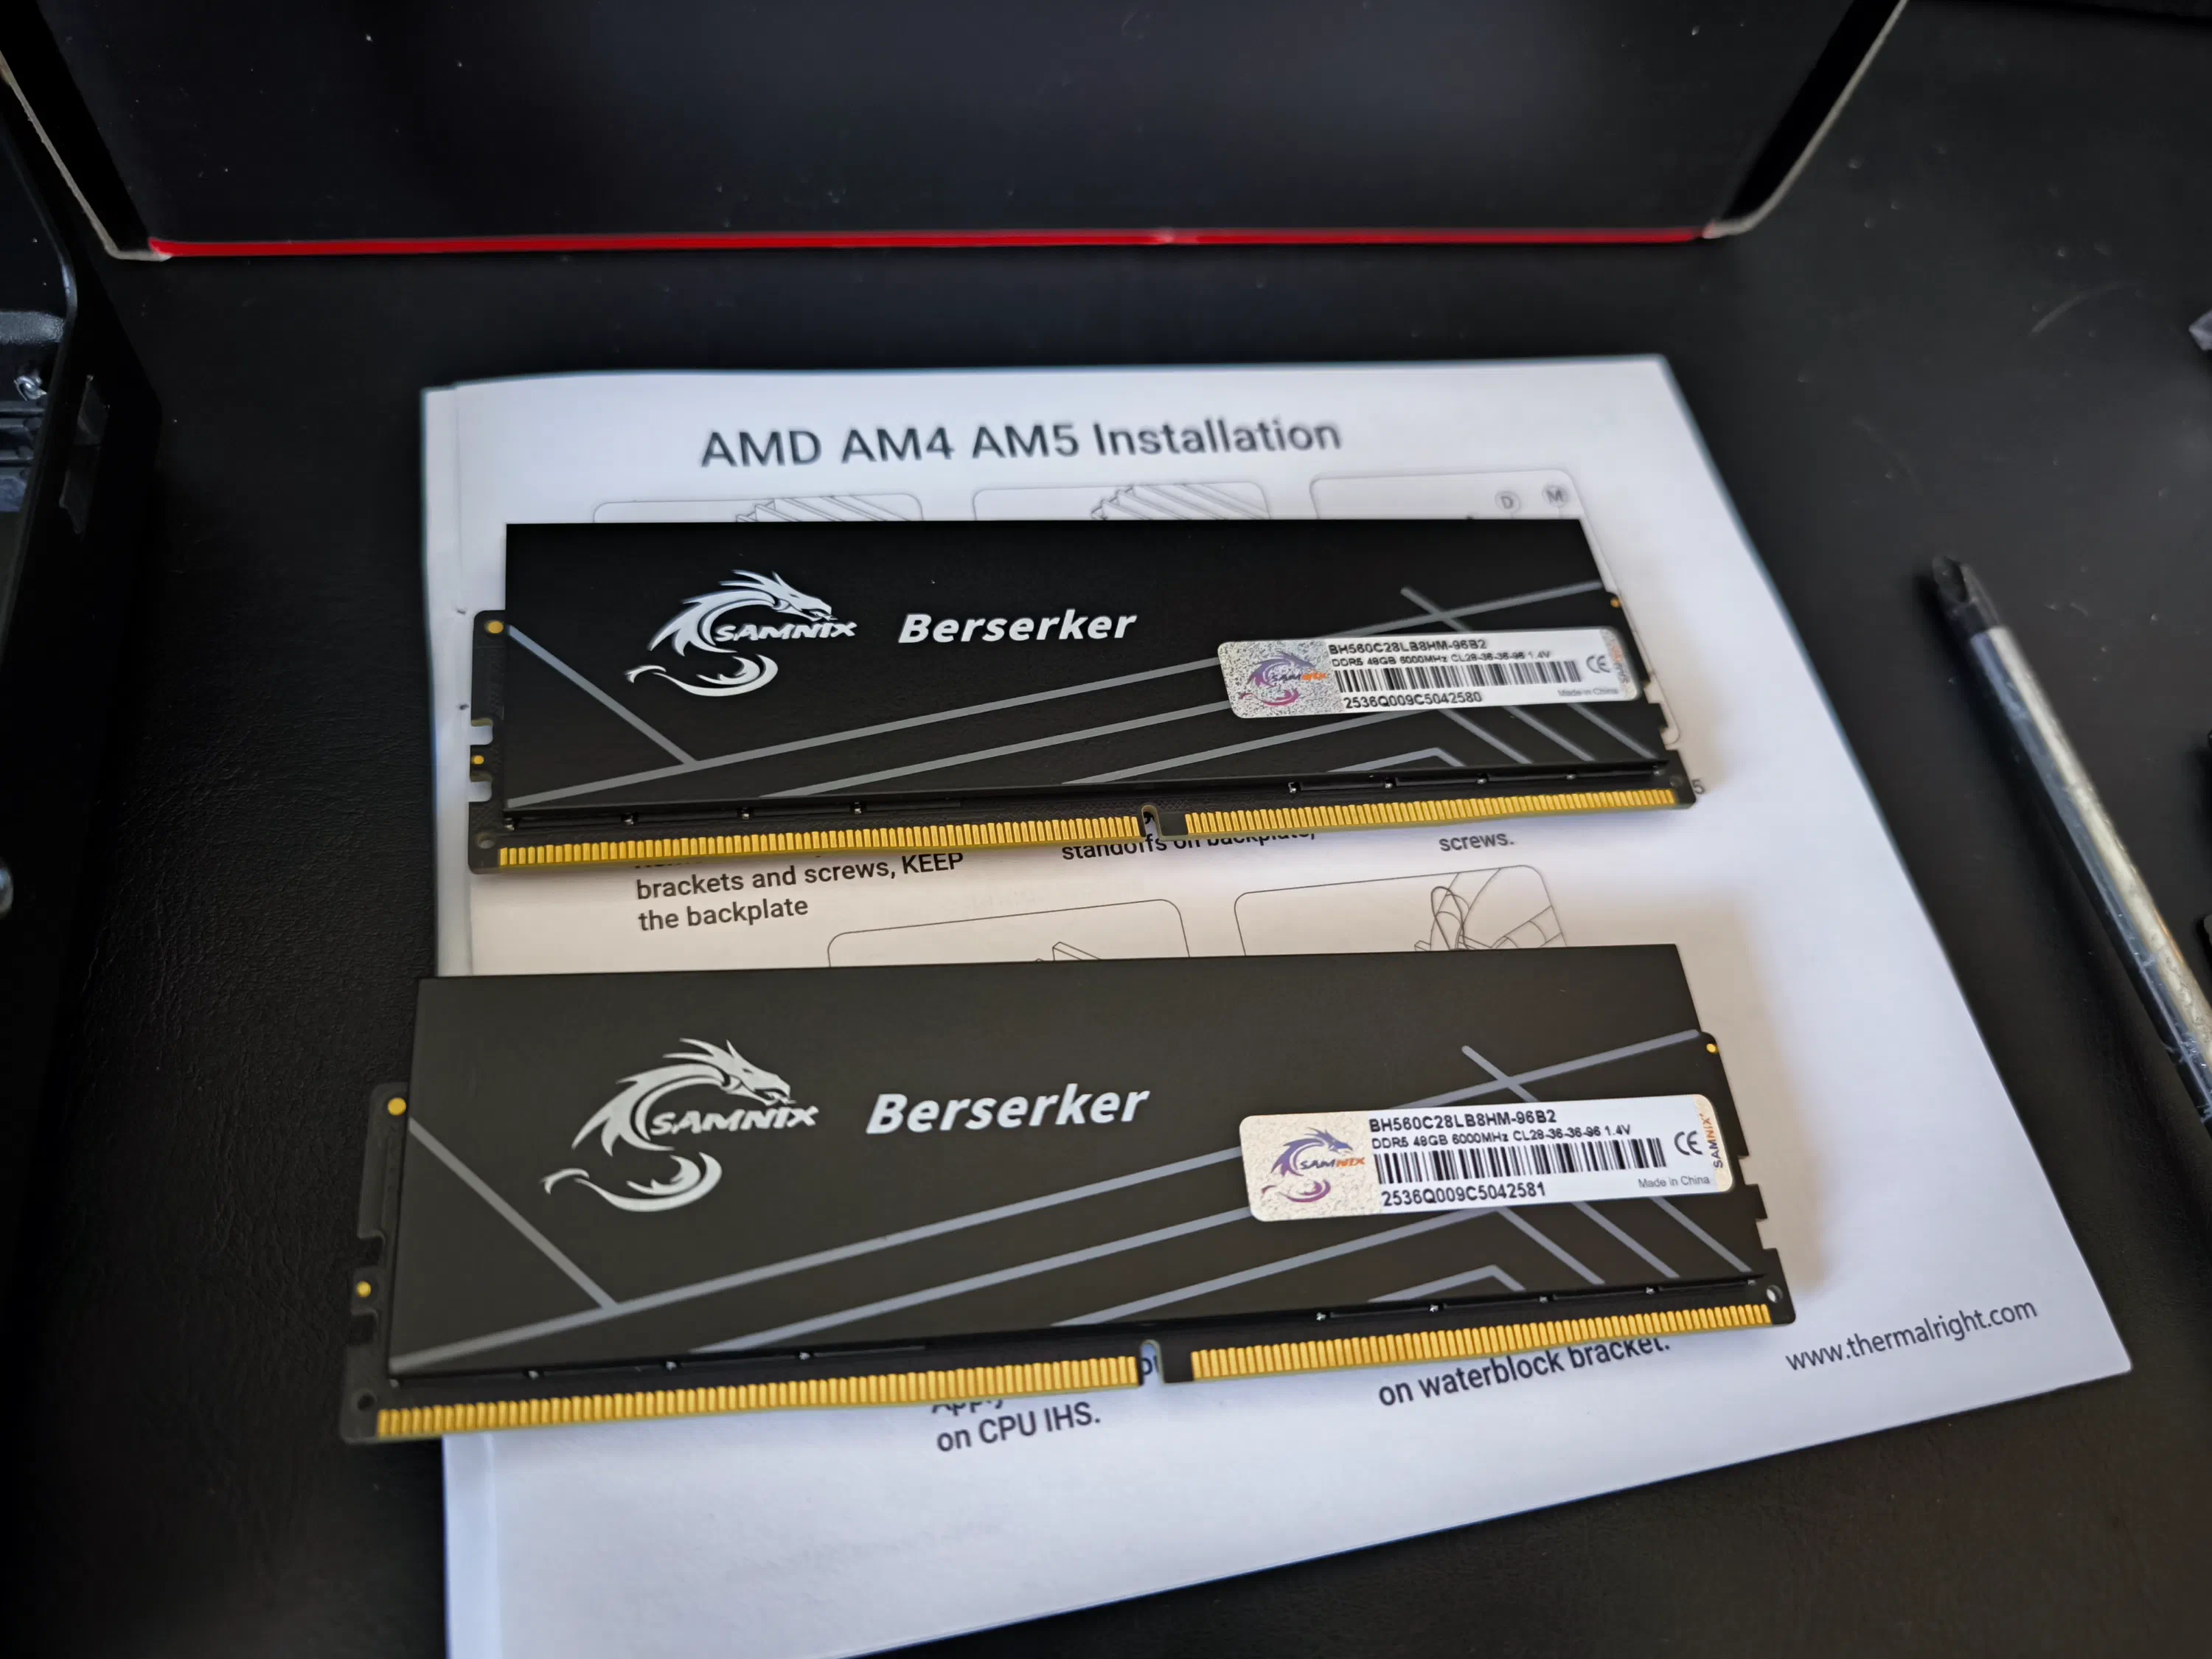
| RAM | Samnix DDR5 6000 CL28 96GB (48GBx2) |
| Motherboard | Asus ROG STRIX B850-I GAMING WIFI Mini ITX AM5 Motherboard |
| Storage | Western Digital Blue SN580 1 TB M.2-2280 PCIe 4.0 X4 NVME Solid State Drive |
| Storage | Western Digital Blue SA510 2 TB 2.5" Solid State Drive |
| Video Card | Asus STRIX GAMING GeForce RTX 3090 24 GB Video Card |
| Case | Lian Li A4-H20 X4 Mini ITX Desktop Case |
| Power Supply | Corsair SF1000 (2024) 1000 W 80+ Platinum Certified Fully Modular SFX Power Supply |
| Case Fan | ARCTIC P12 Max 81.04 CFM 120 mm Fan |
| Case Fan | ARCTIC P12 Max 81.04 CFM 120 mm Fan |
| Case Fan | Delta AFB0412HHA 4400RPM 40x10mm PWM Fan |
| Monitor | HKC GM27M2 Pro 2K MiniLED 27" Monitor |
| Operating System | Arch Linux |
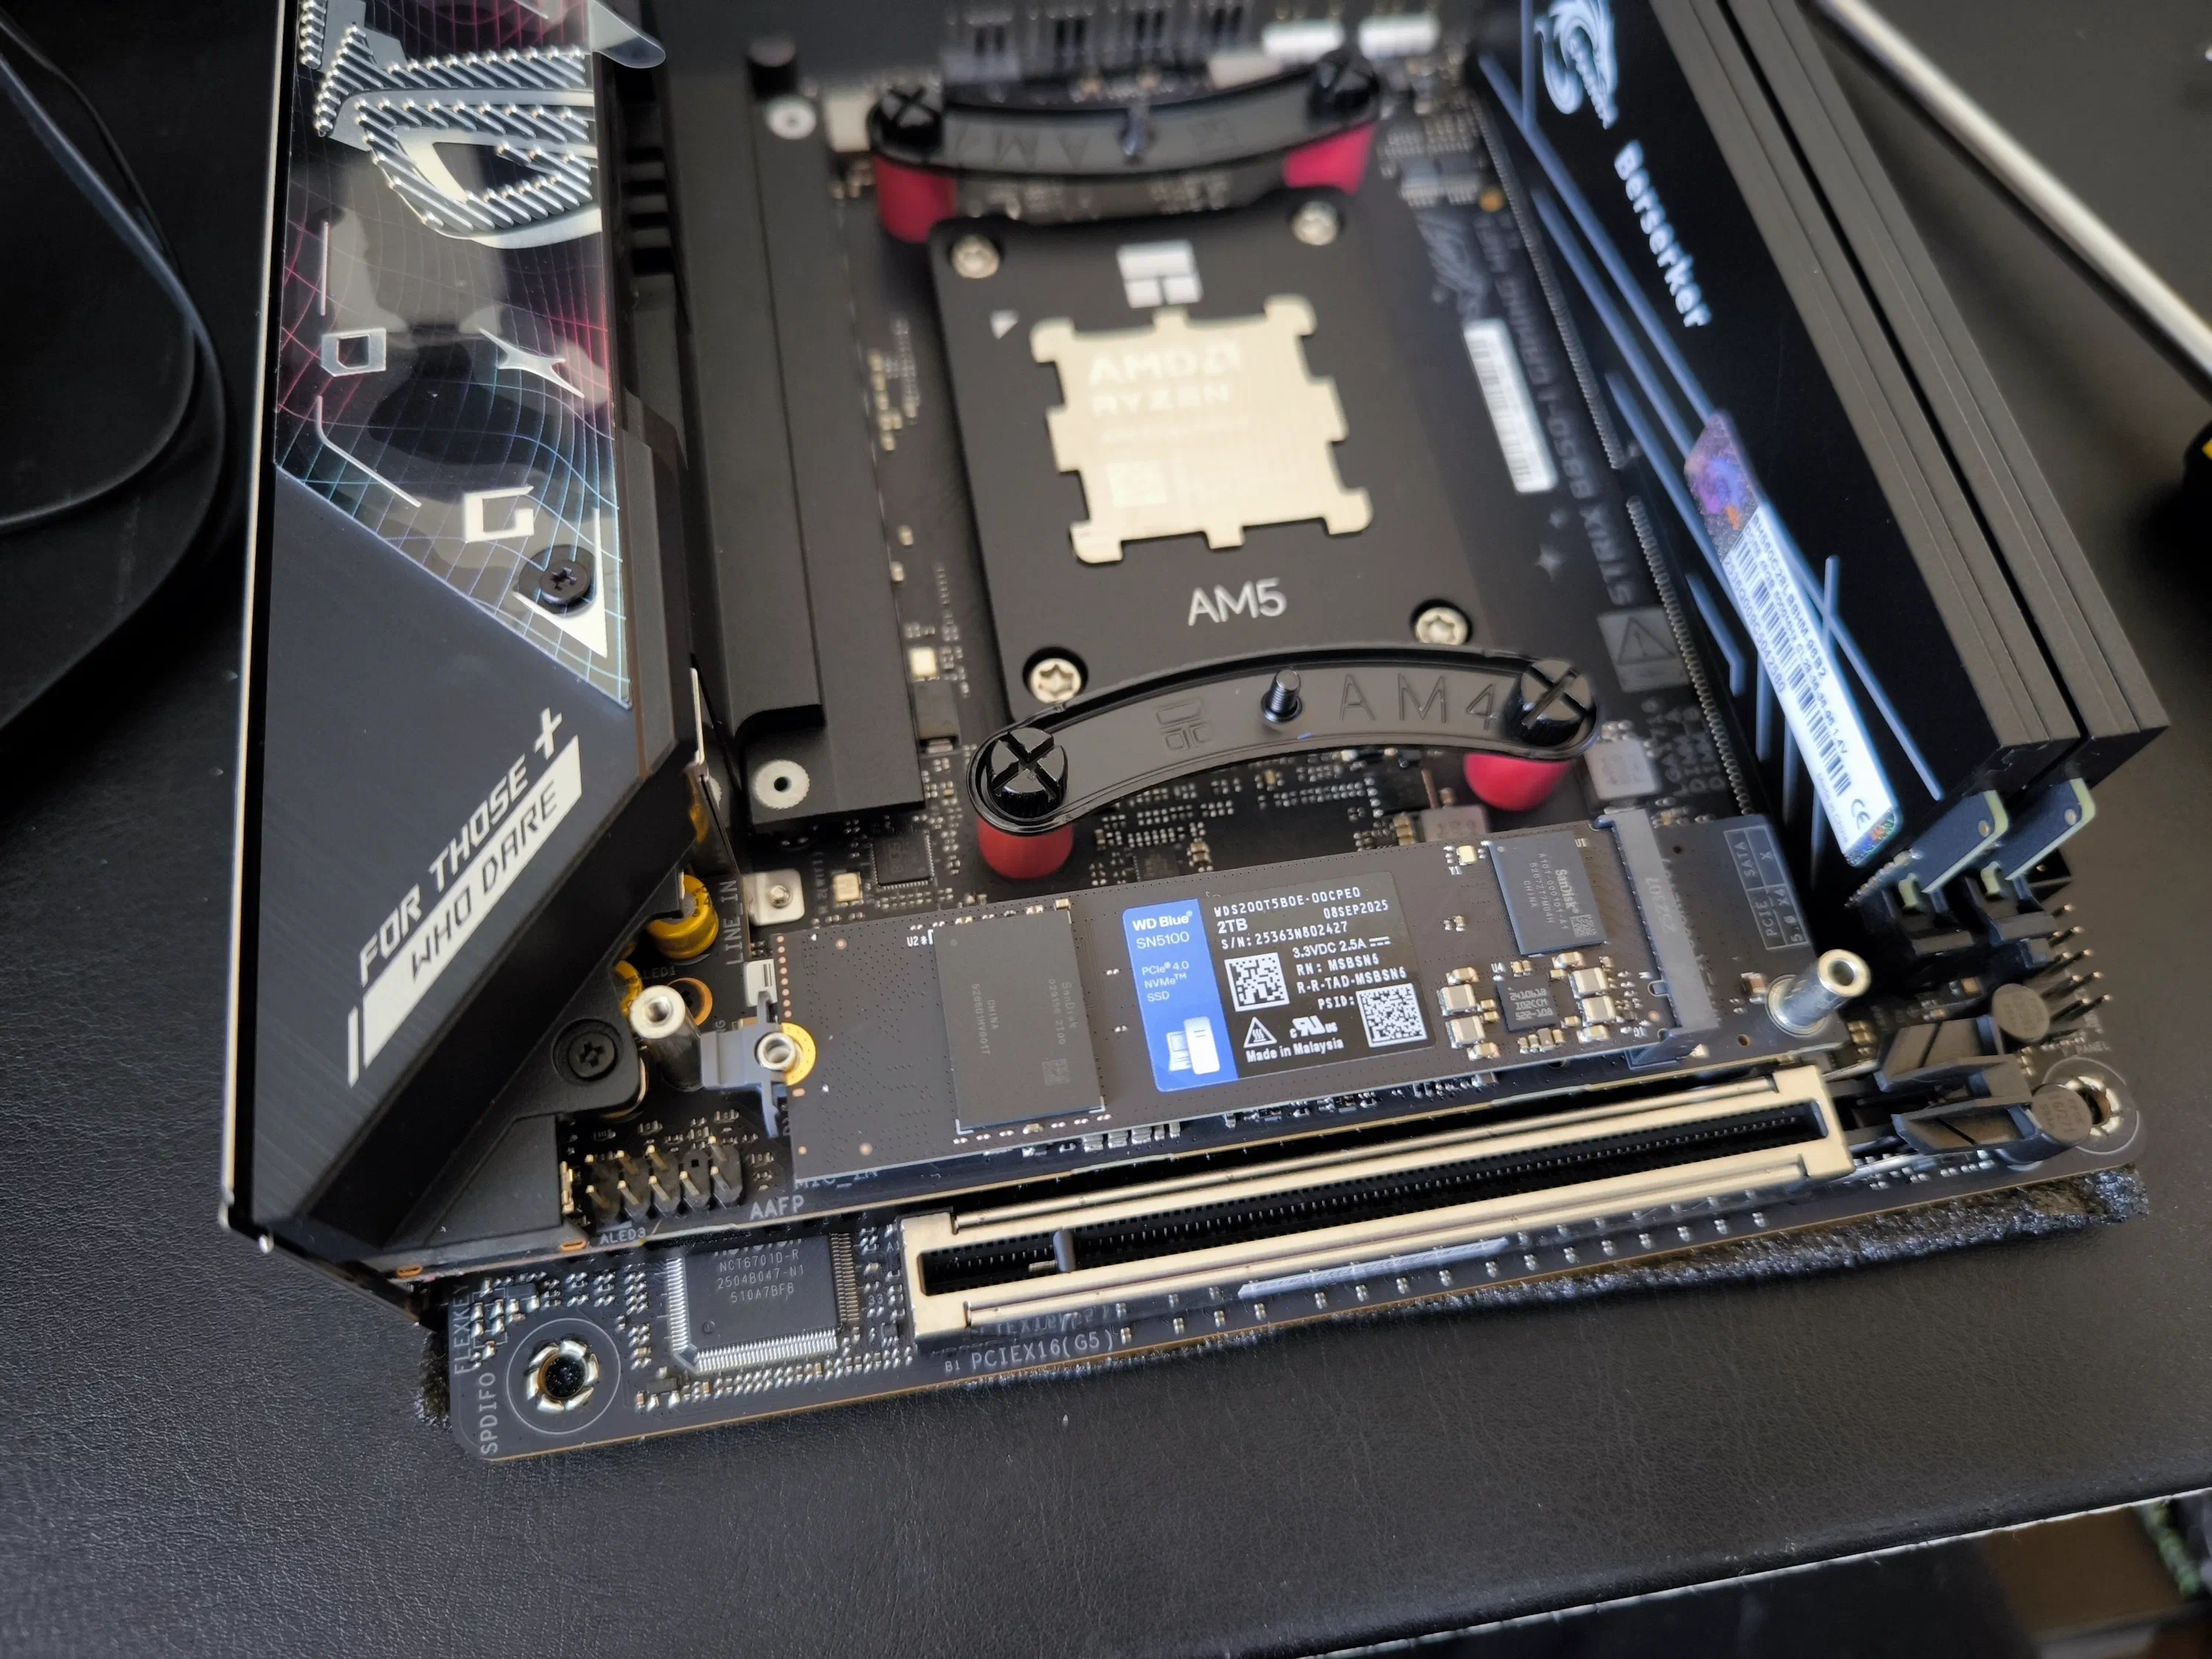
| Custom | Thermalright CPU Bracket |
| Generated by PCPartPicker 2025-12-16 09:36 GMT+0800 | |
Using this new ITX case, the LianLi A4-H20 initially seemed to come with a lot of compromises, mainly the single PCIE slot for GPUs. However, this is one of the few ITX cases supporting water cooling, besides the FormD T1 which seems to be made of unobtanium at this point. Going ITX did drive up the price of the overall build, but it is an amazing case being able to house very powerful components even though it’s only an 11L case.
The objective for this build was clear from the beggining; coming from a Lenovo Legion Y9000P gaming laptop with a 5800H and RTX3060 Max-Q GPU, I wanted something that was very powerful for all sorts of programming, simulation, rendering, AI, VMs, gaming and video editing workloads (as many cores as possible and strong CUDA).
These contraints made the CPU choice quite easy. It had to be AMD, because I am not having any of that P-Core bullshit from Intel, and the current top 16-core chip was the 9950X/9950X3D.
The GPU choice on the other hand, was quite a bit more tricky. With the dissapointment in terms of VRAM with all of the new NVIDIA launches, as well as the reminescent scalper pricing of anything in the 40XX and 50XX series still present in December, 2025; I made the concious choice to stick with the RTX30XX series. Of which the RTX3090 leads the line with 24GB of VRAM which should be plenty for my needs. The key strategy was to source this second hand, which I managed to score from a Chinese gaming cafe. Refurbished and in great condition, never used for mining, for around U$D800 from a reputable Taobao shop in China.
The RAM choice also became a point of contention. Although originally I wanted to get 128GB, as I’m the kind of power user that would have too many browser tabs open at the same time and also wanted to run a few virtual machines (VMs) simulatenously. However, at this point the RAM crisis had already started as AI companies had bought up all of the future production capacity until 2028, with prices currently sitting at around 60-80% their starting value. Little did I know how much this price increase would continue for. That said, I was able to score a reasonable deal with some Chinese-made DIMMs from the brand Samnix; which actually turned out to contain SK Hynix dies. Albeit at the odd amount of 48GB*2 or 96GB.
With the case selection explained, not much is left with the choice of the remaining components. The ROG Strix motherboard was the most feature-rich with good VRMs given my budget range that was available in China. The PSU was not skimped on going with a 1kW Corsair unit to leave room for future GPU upgrades. Meanwhile the storage was a mix of WD drives I had laying around (Huge WD fanboy here).
Without a doubt, one of the toughest challenges with this build is going to be getting enough air-flow and cooling for that beastly 170W TDP CPU and the monstrous 350W TDP GPU. For this reason I went with a ThermalRight FrozenEdge 240mm AIO, which claims to have a thicker radiator than usual. Crucially though, I purchased it without any included fans. As the 69CFM included fans probably wouldn’t cut it. For this I looked at the top fans I could get without going Noctua expensive. Which landed me on the Arctic P12 Max fans. They seem great for the price, with the Max model specifically made with a high static pressure and 81.04 CFM rating for pushing lots of air through thick AIOs. This proved to be an essential performance enhancement for quiet idling fans.
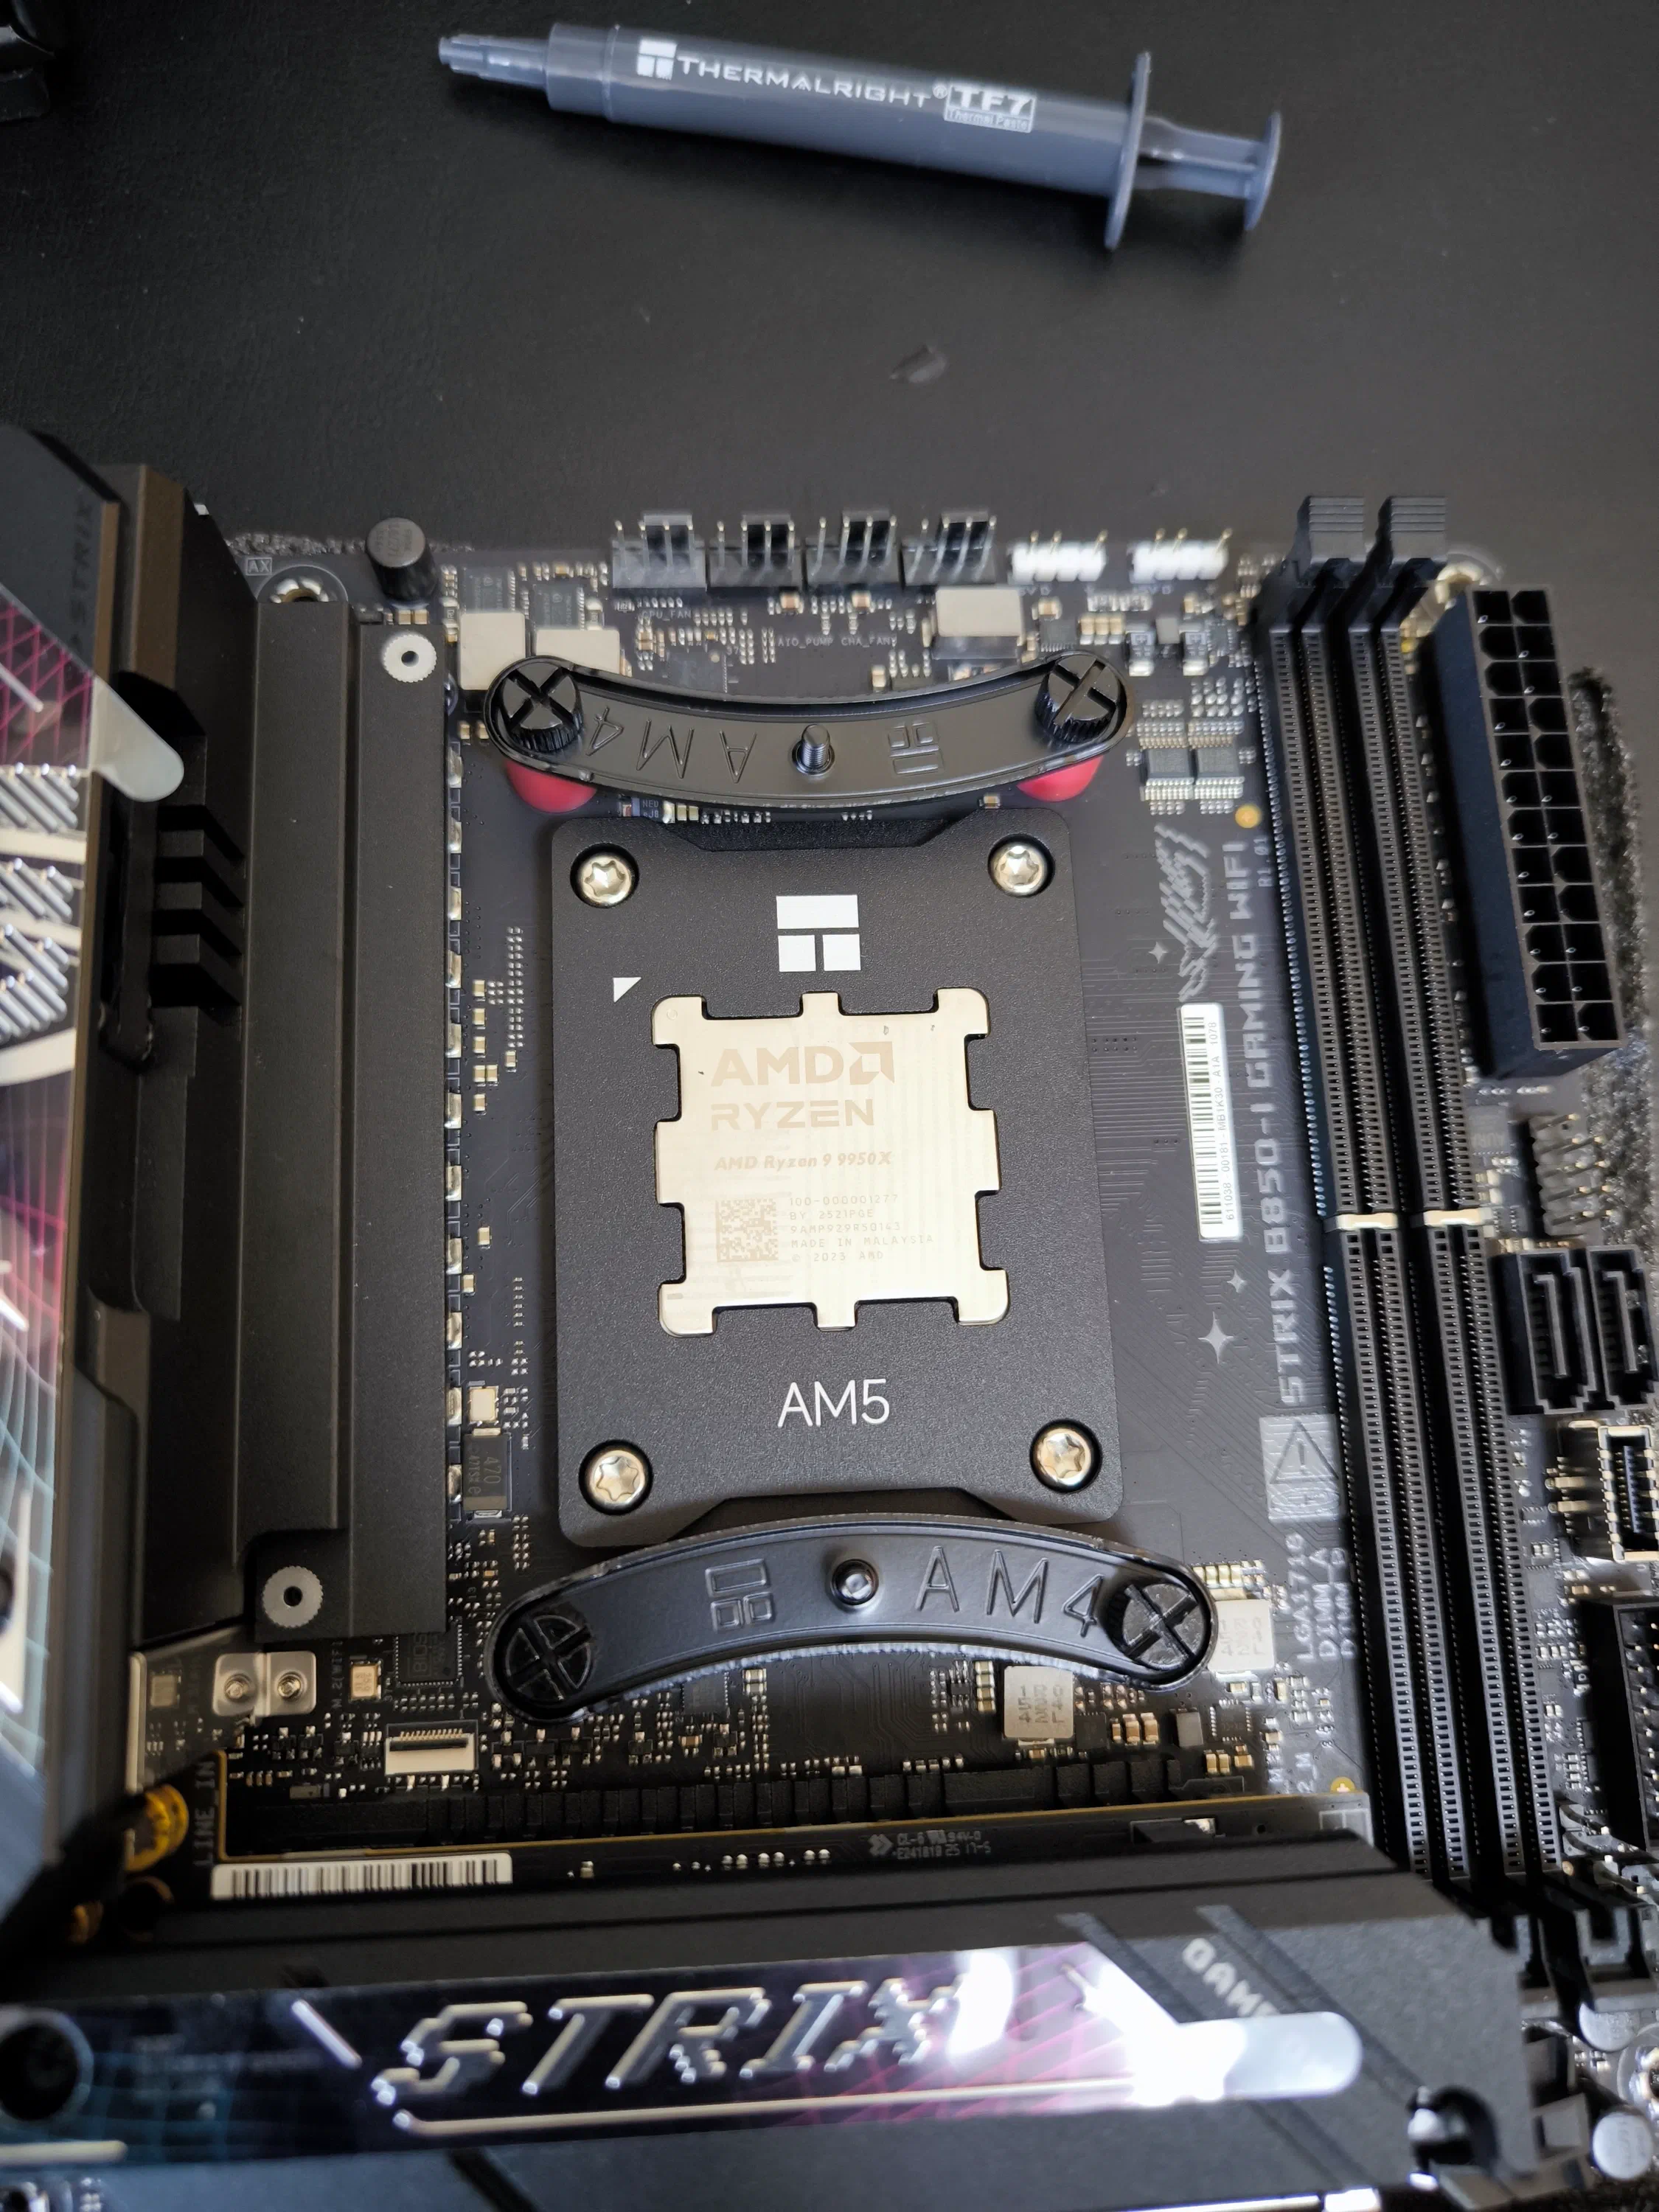
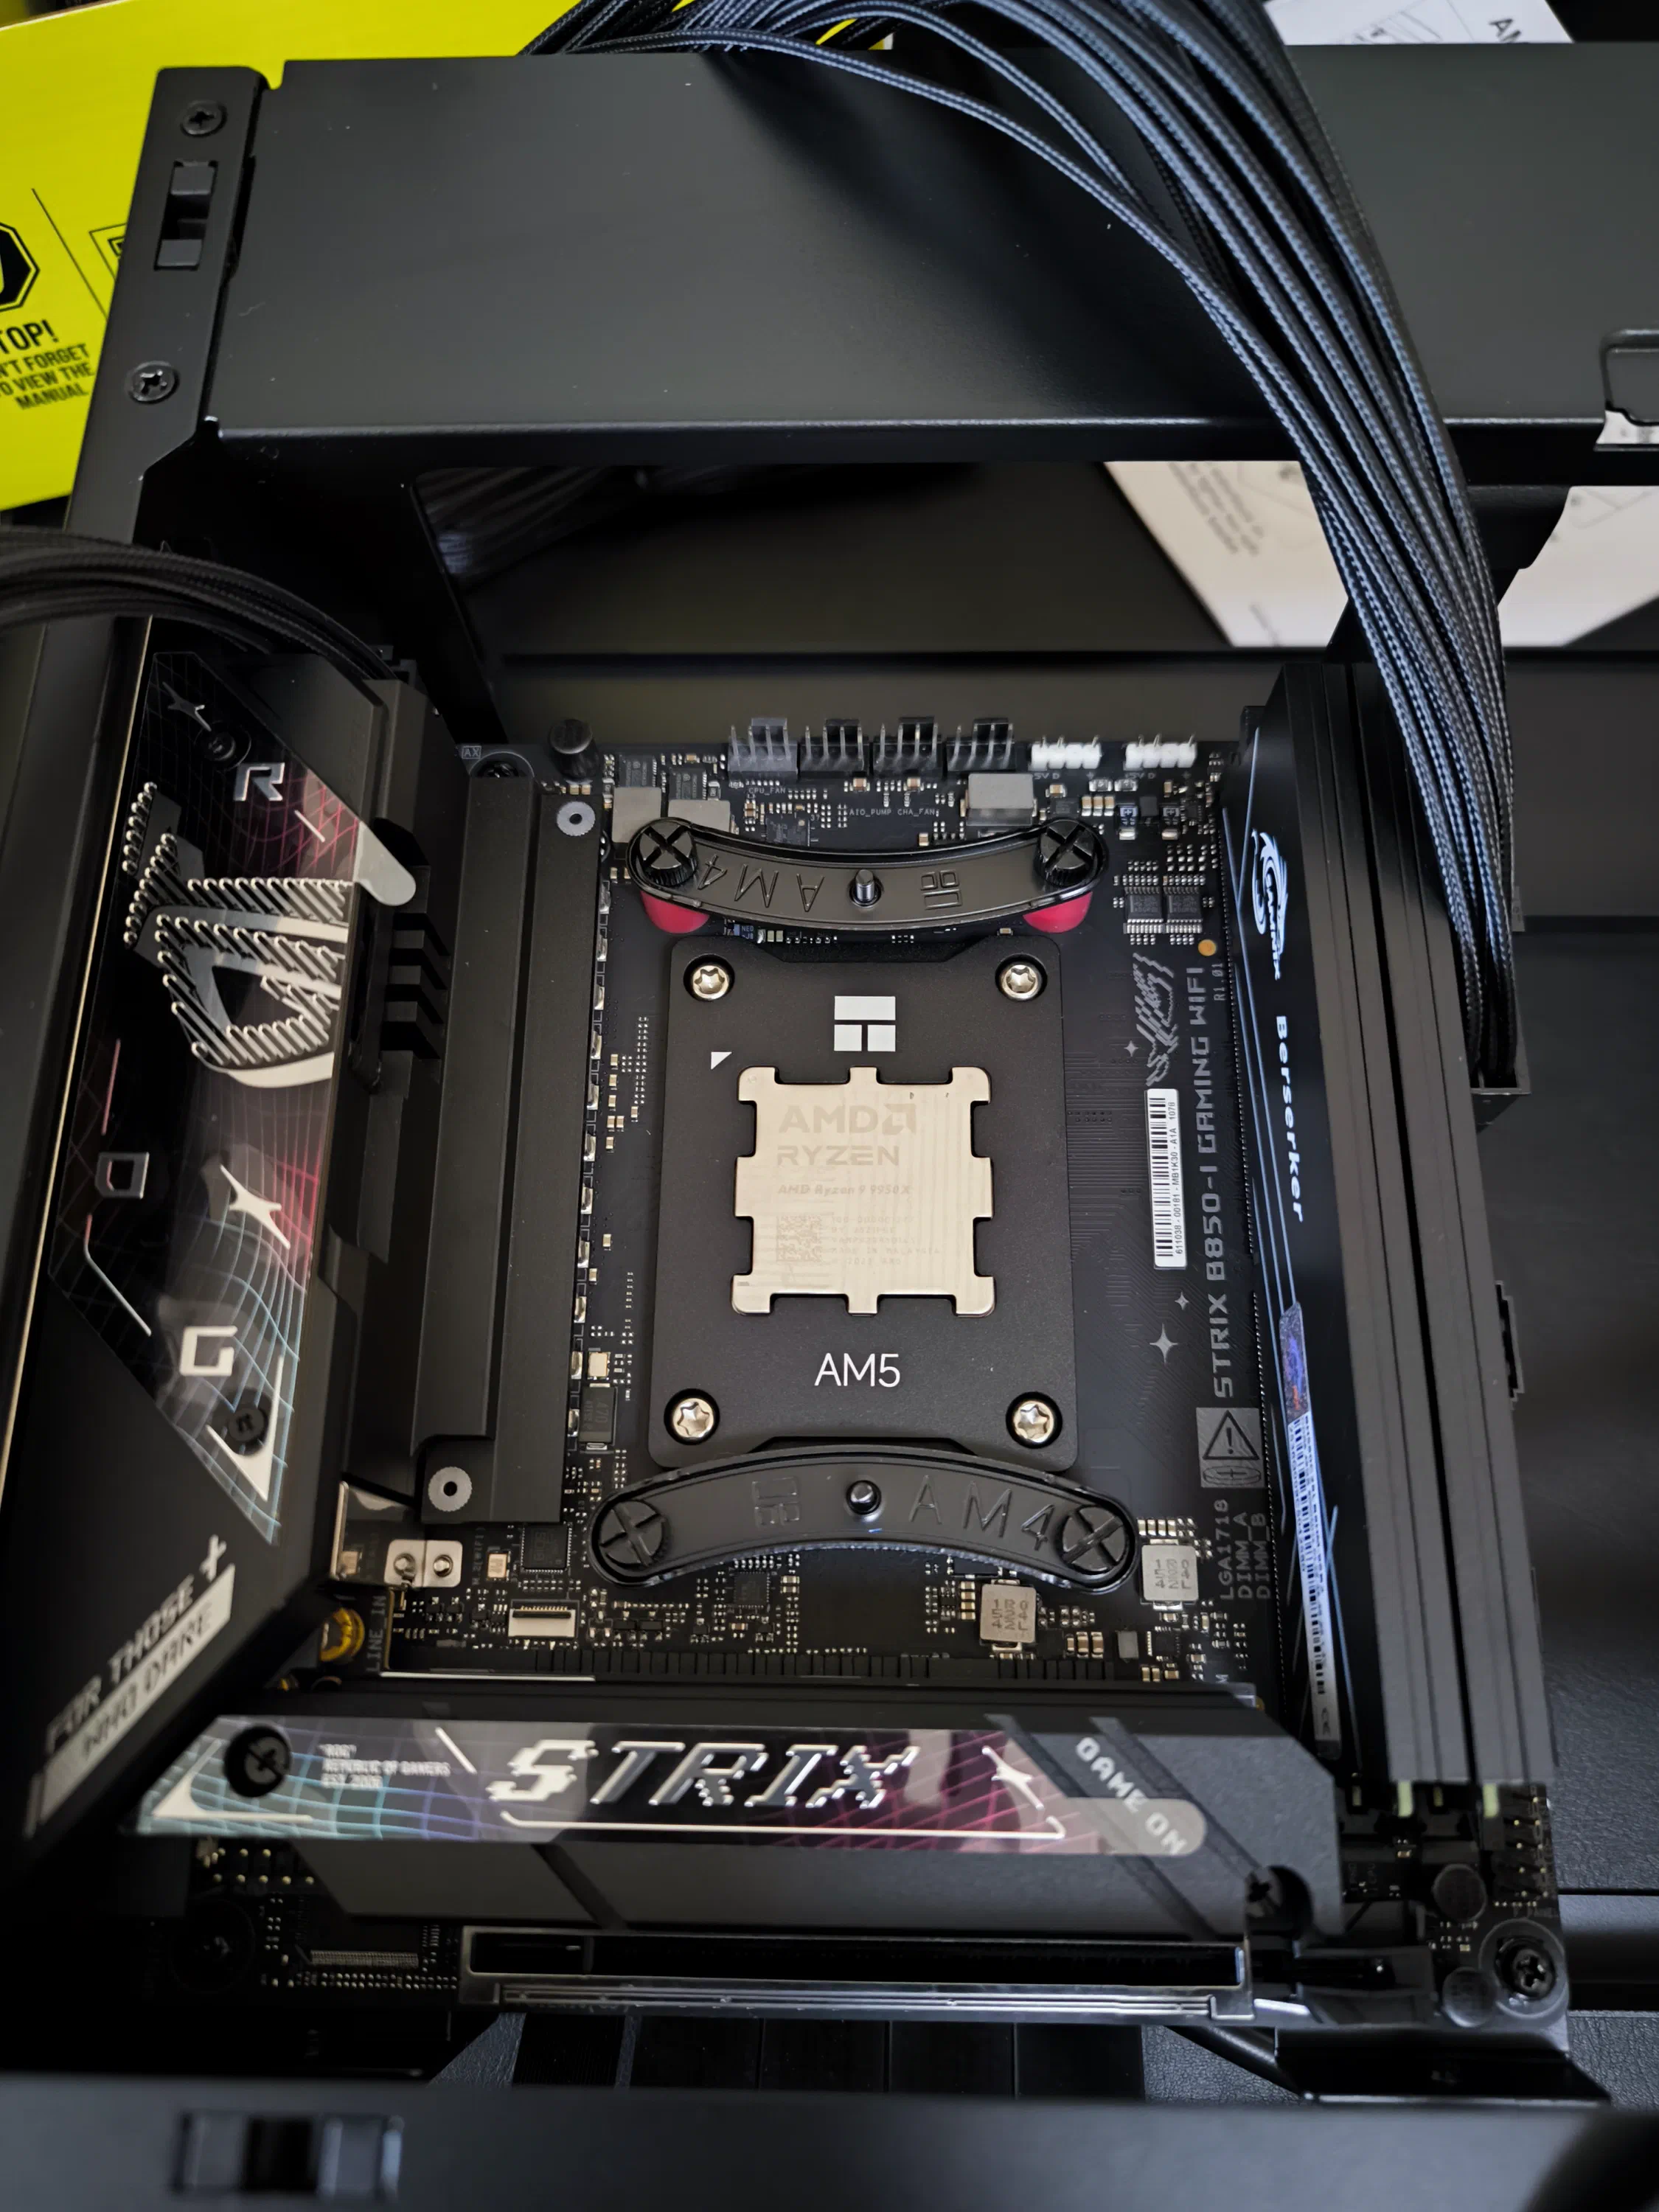
An additional 40x10mm fan was selected to be added as a dedicated RAM cooler, as performance testing under load showed some instabilities when running with hot RAM. Another little, but significant, addition is the ThermalRight CPU bracket. This is a machine aluminium piece that replaces the default puny CPU mount, ensuring not only more even pressure but providing a much larger thermal mass right at the CPU IHS. This seemed to prove worth the tiny investment for a few degrees negative temperature delta.
And the star of the show: the HKC GM27M2 Pro 2K MiniLED 27" monitor for just around U$D120 is an absolute steal. It’s a top quality gaming monitor with wide-gamut DCI-P3 color support, up to 180Hz refresh rate, and MiniLED! The contrast-ratio is close to OLED thanks to the MiniLED backlight addition and for video/photography work this has proven a blessing. Highly recommend this monitor, it’s an absolute steal at this price.
The Build
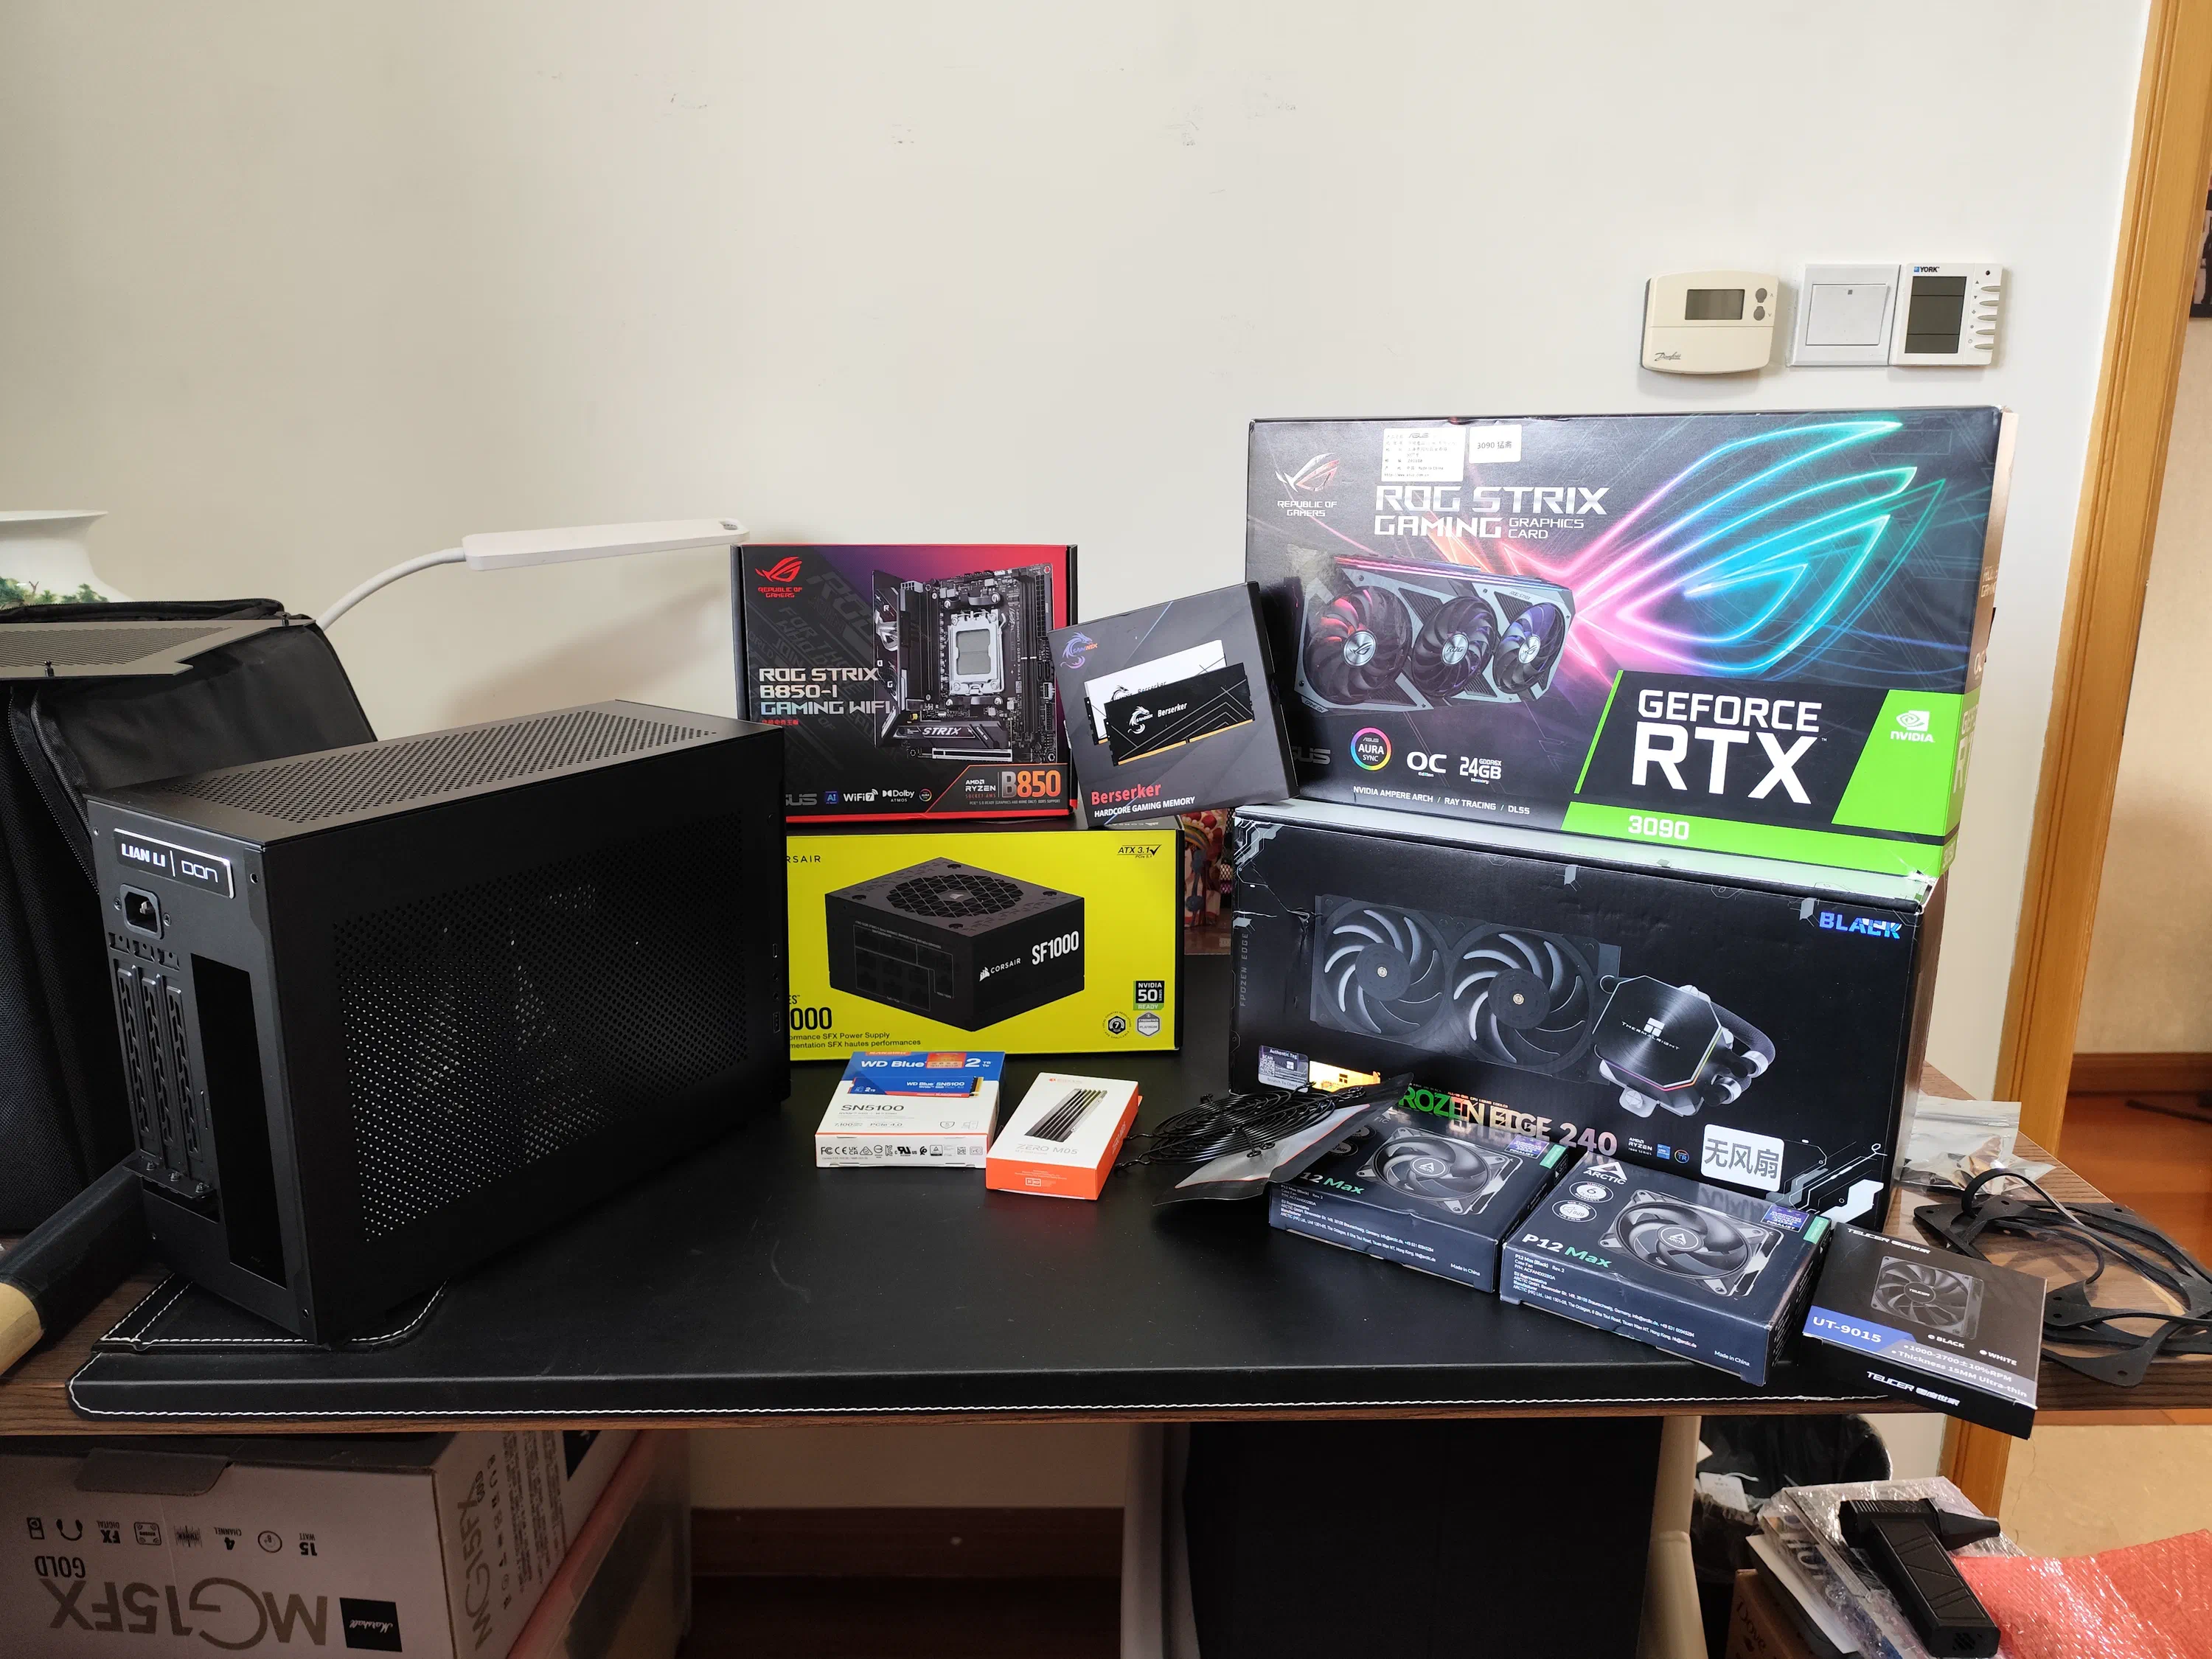
Now, on with the build! Starting with the obligatory pic of all the component boxes:
Preparing the Motherboard
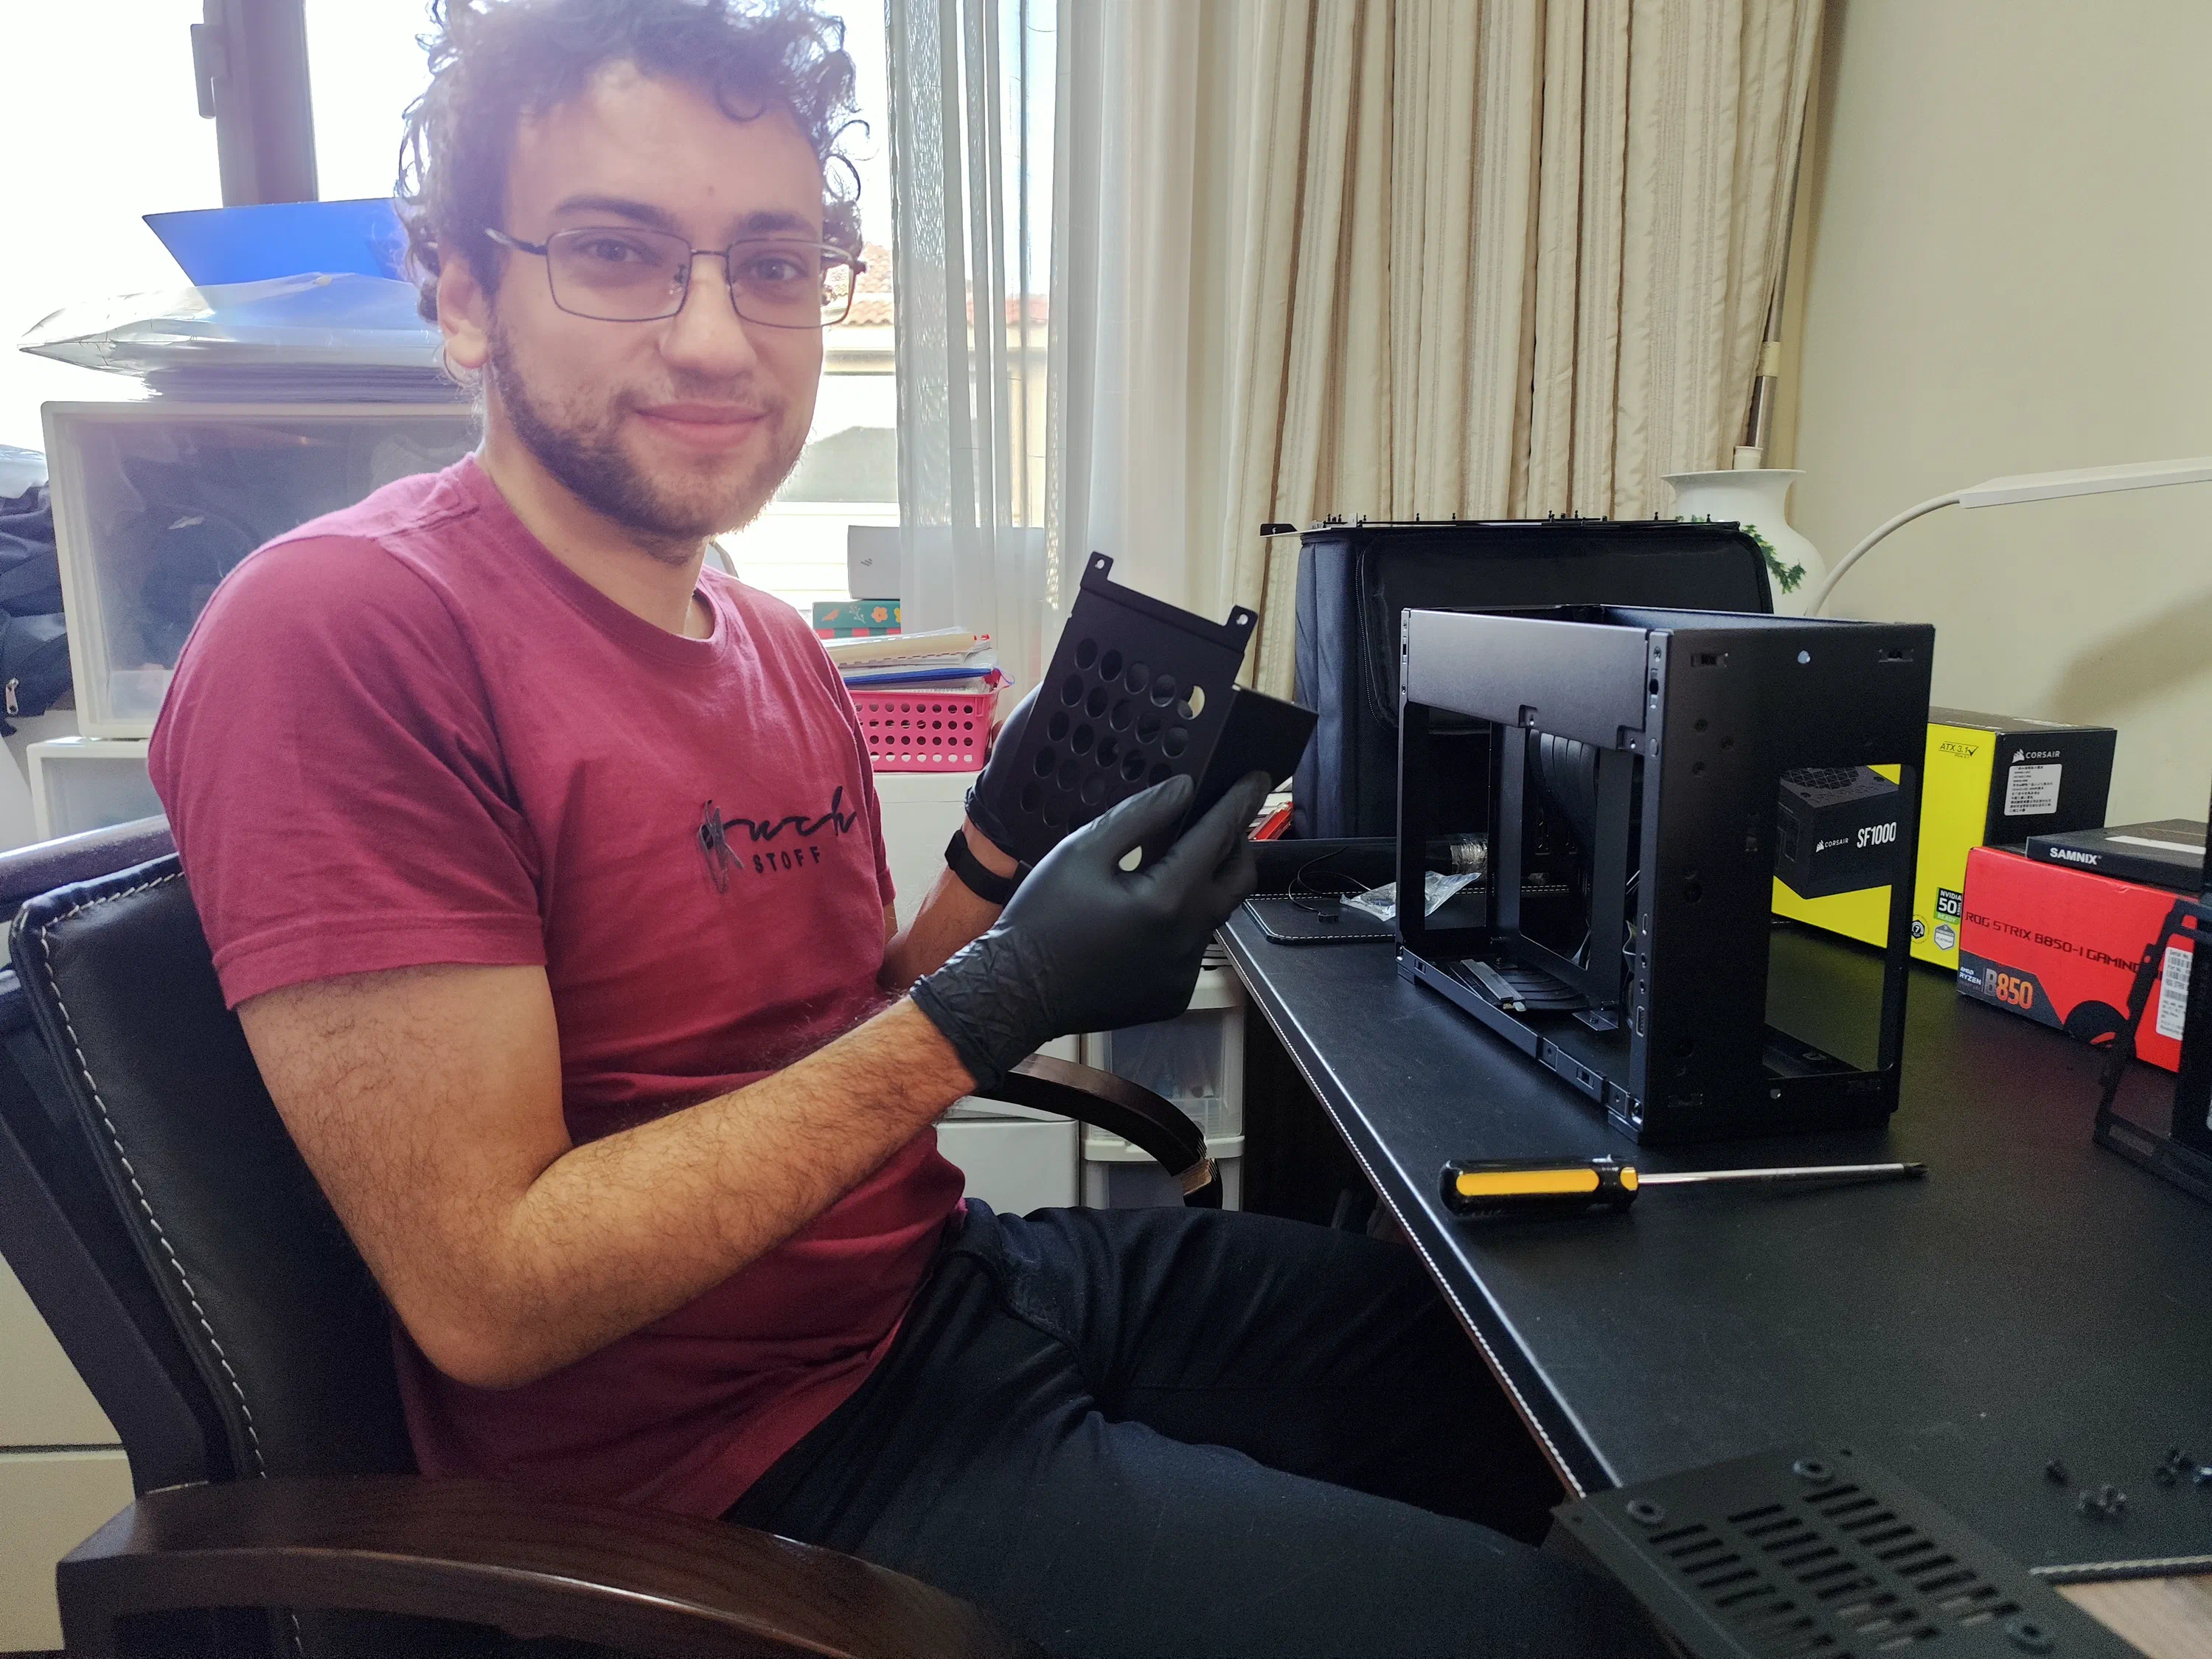
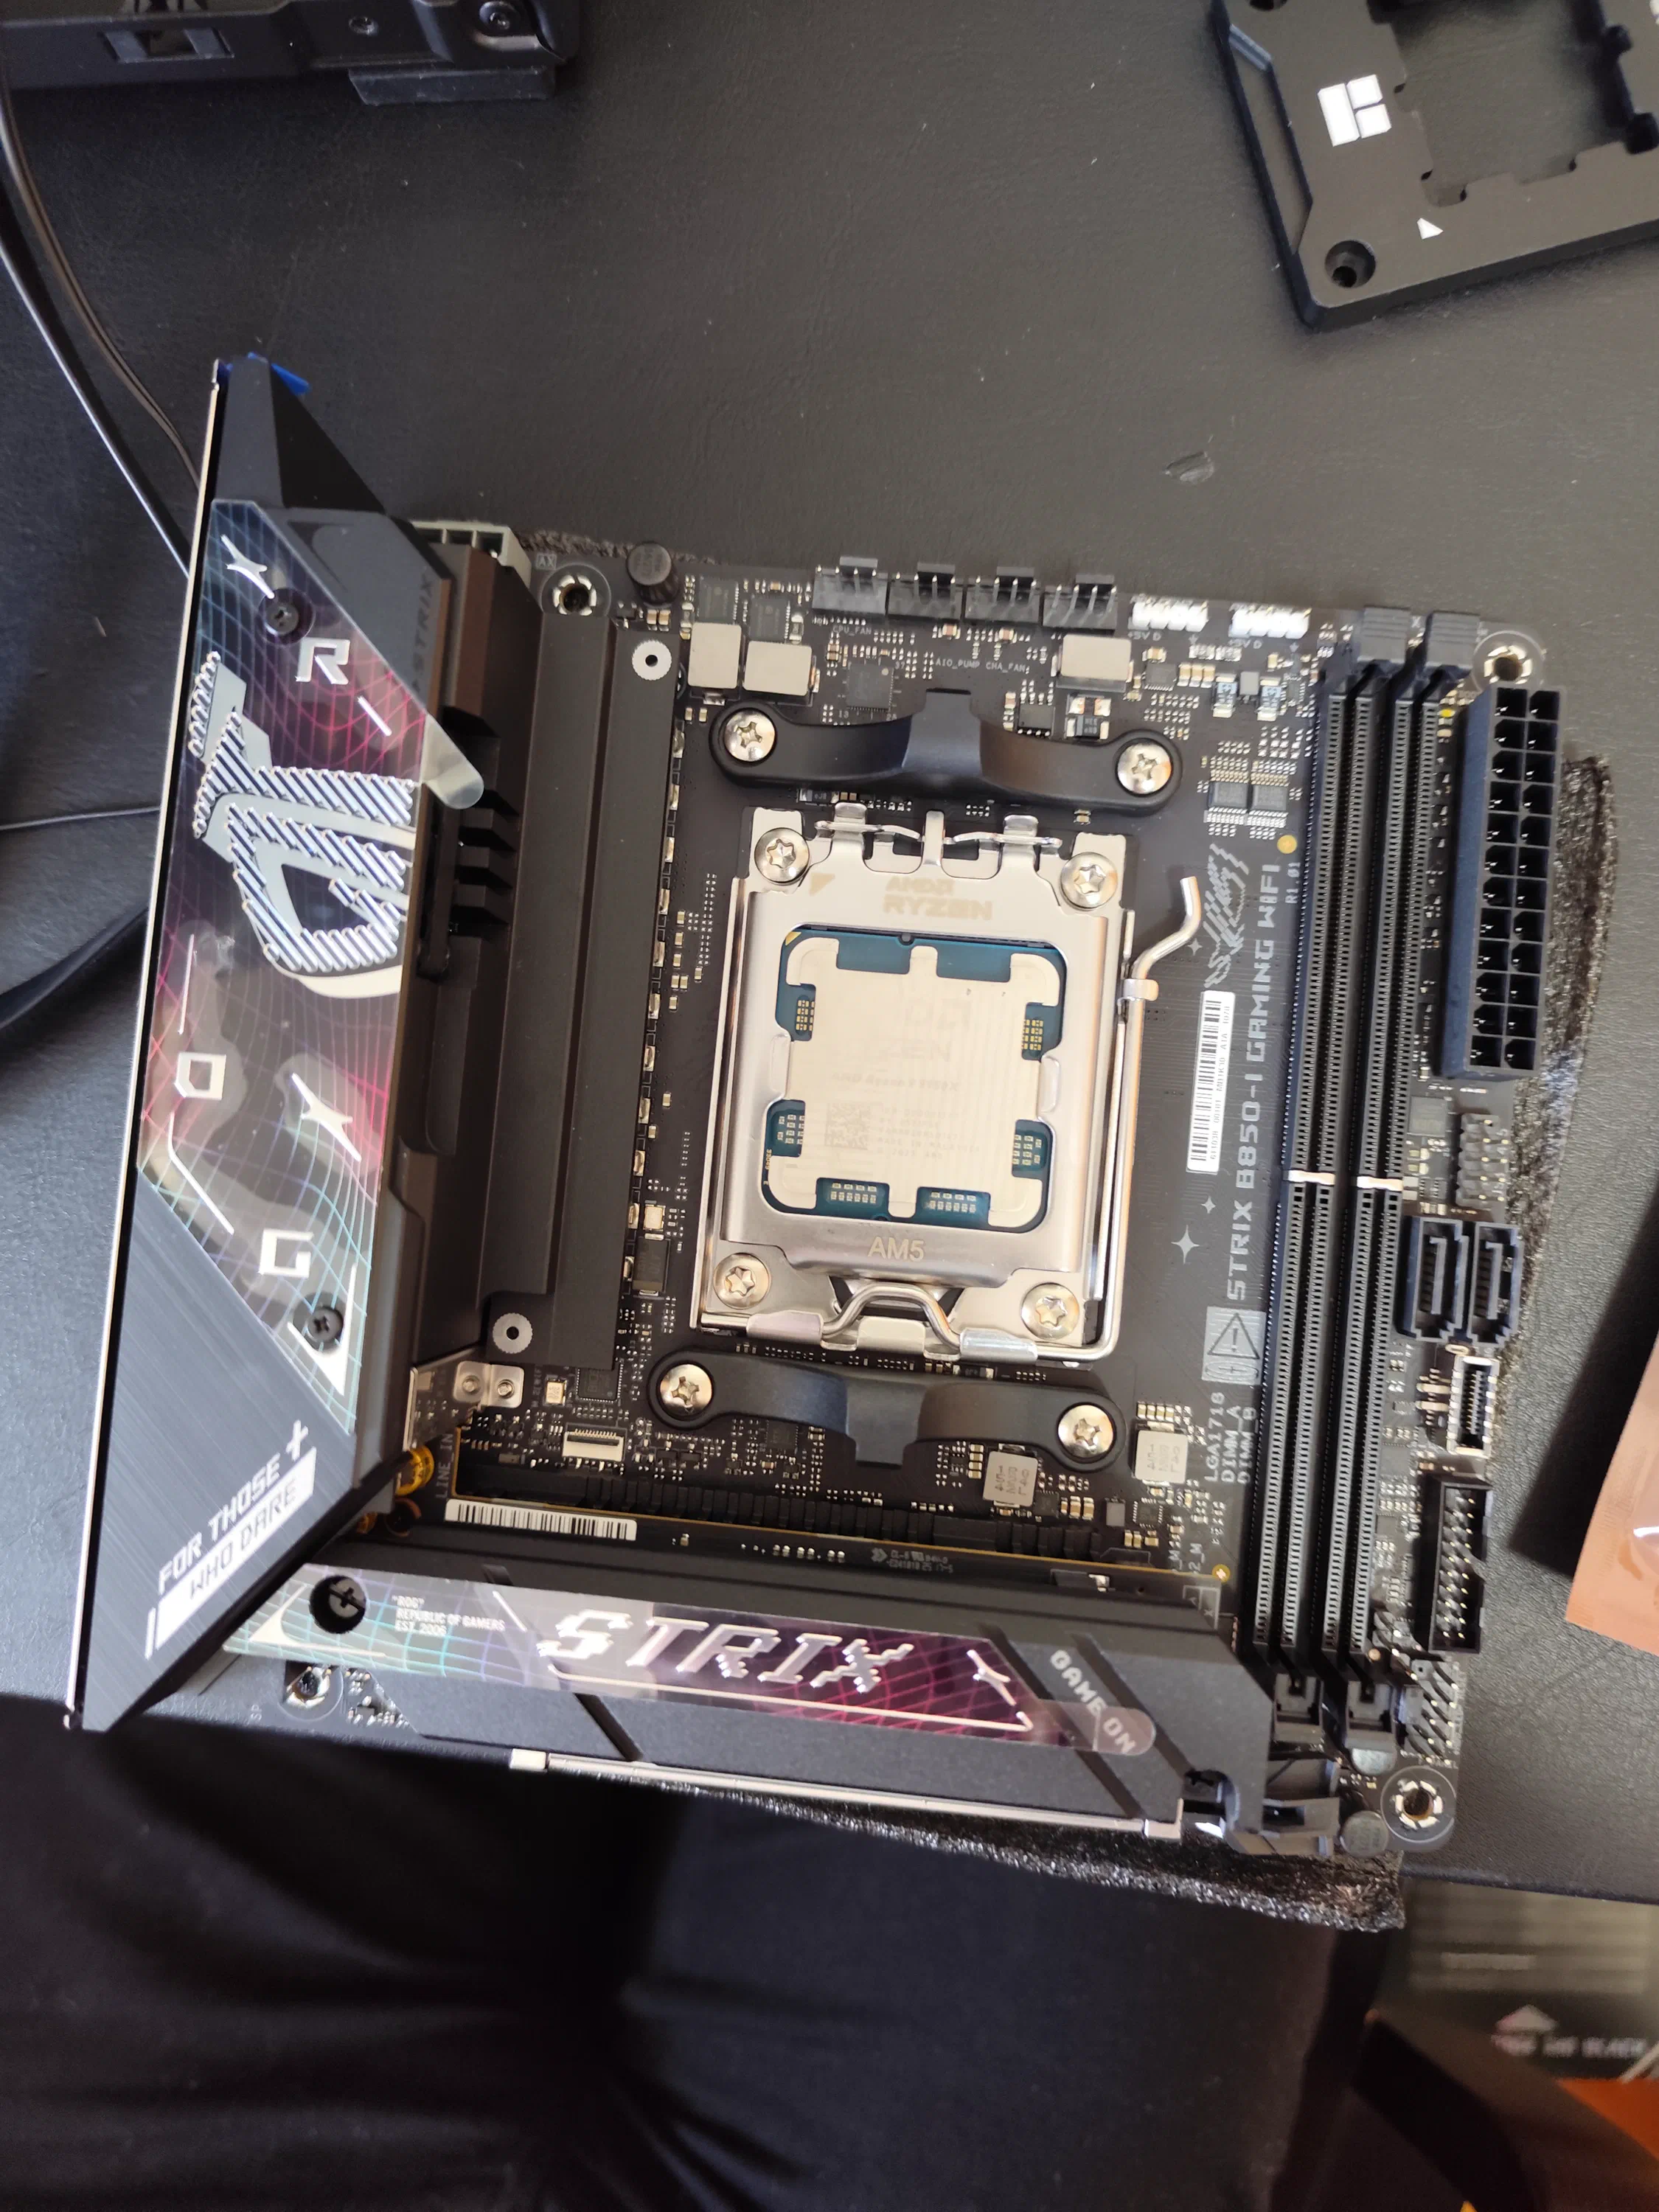
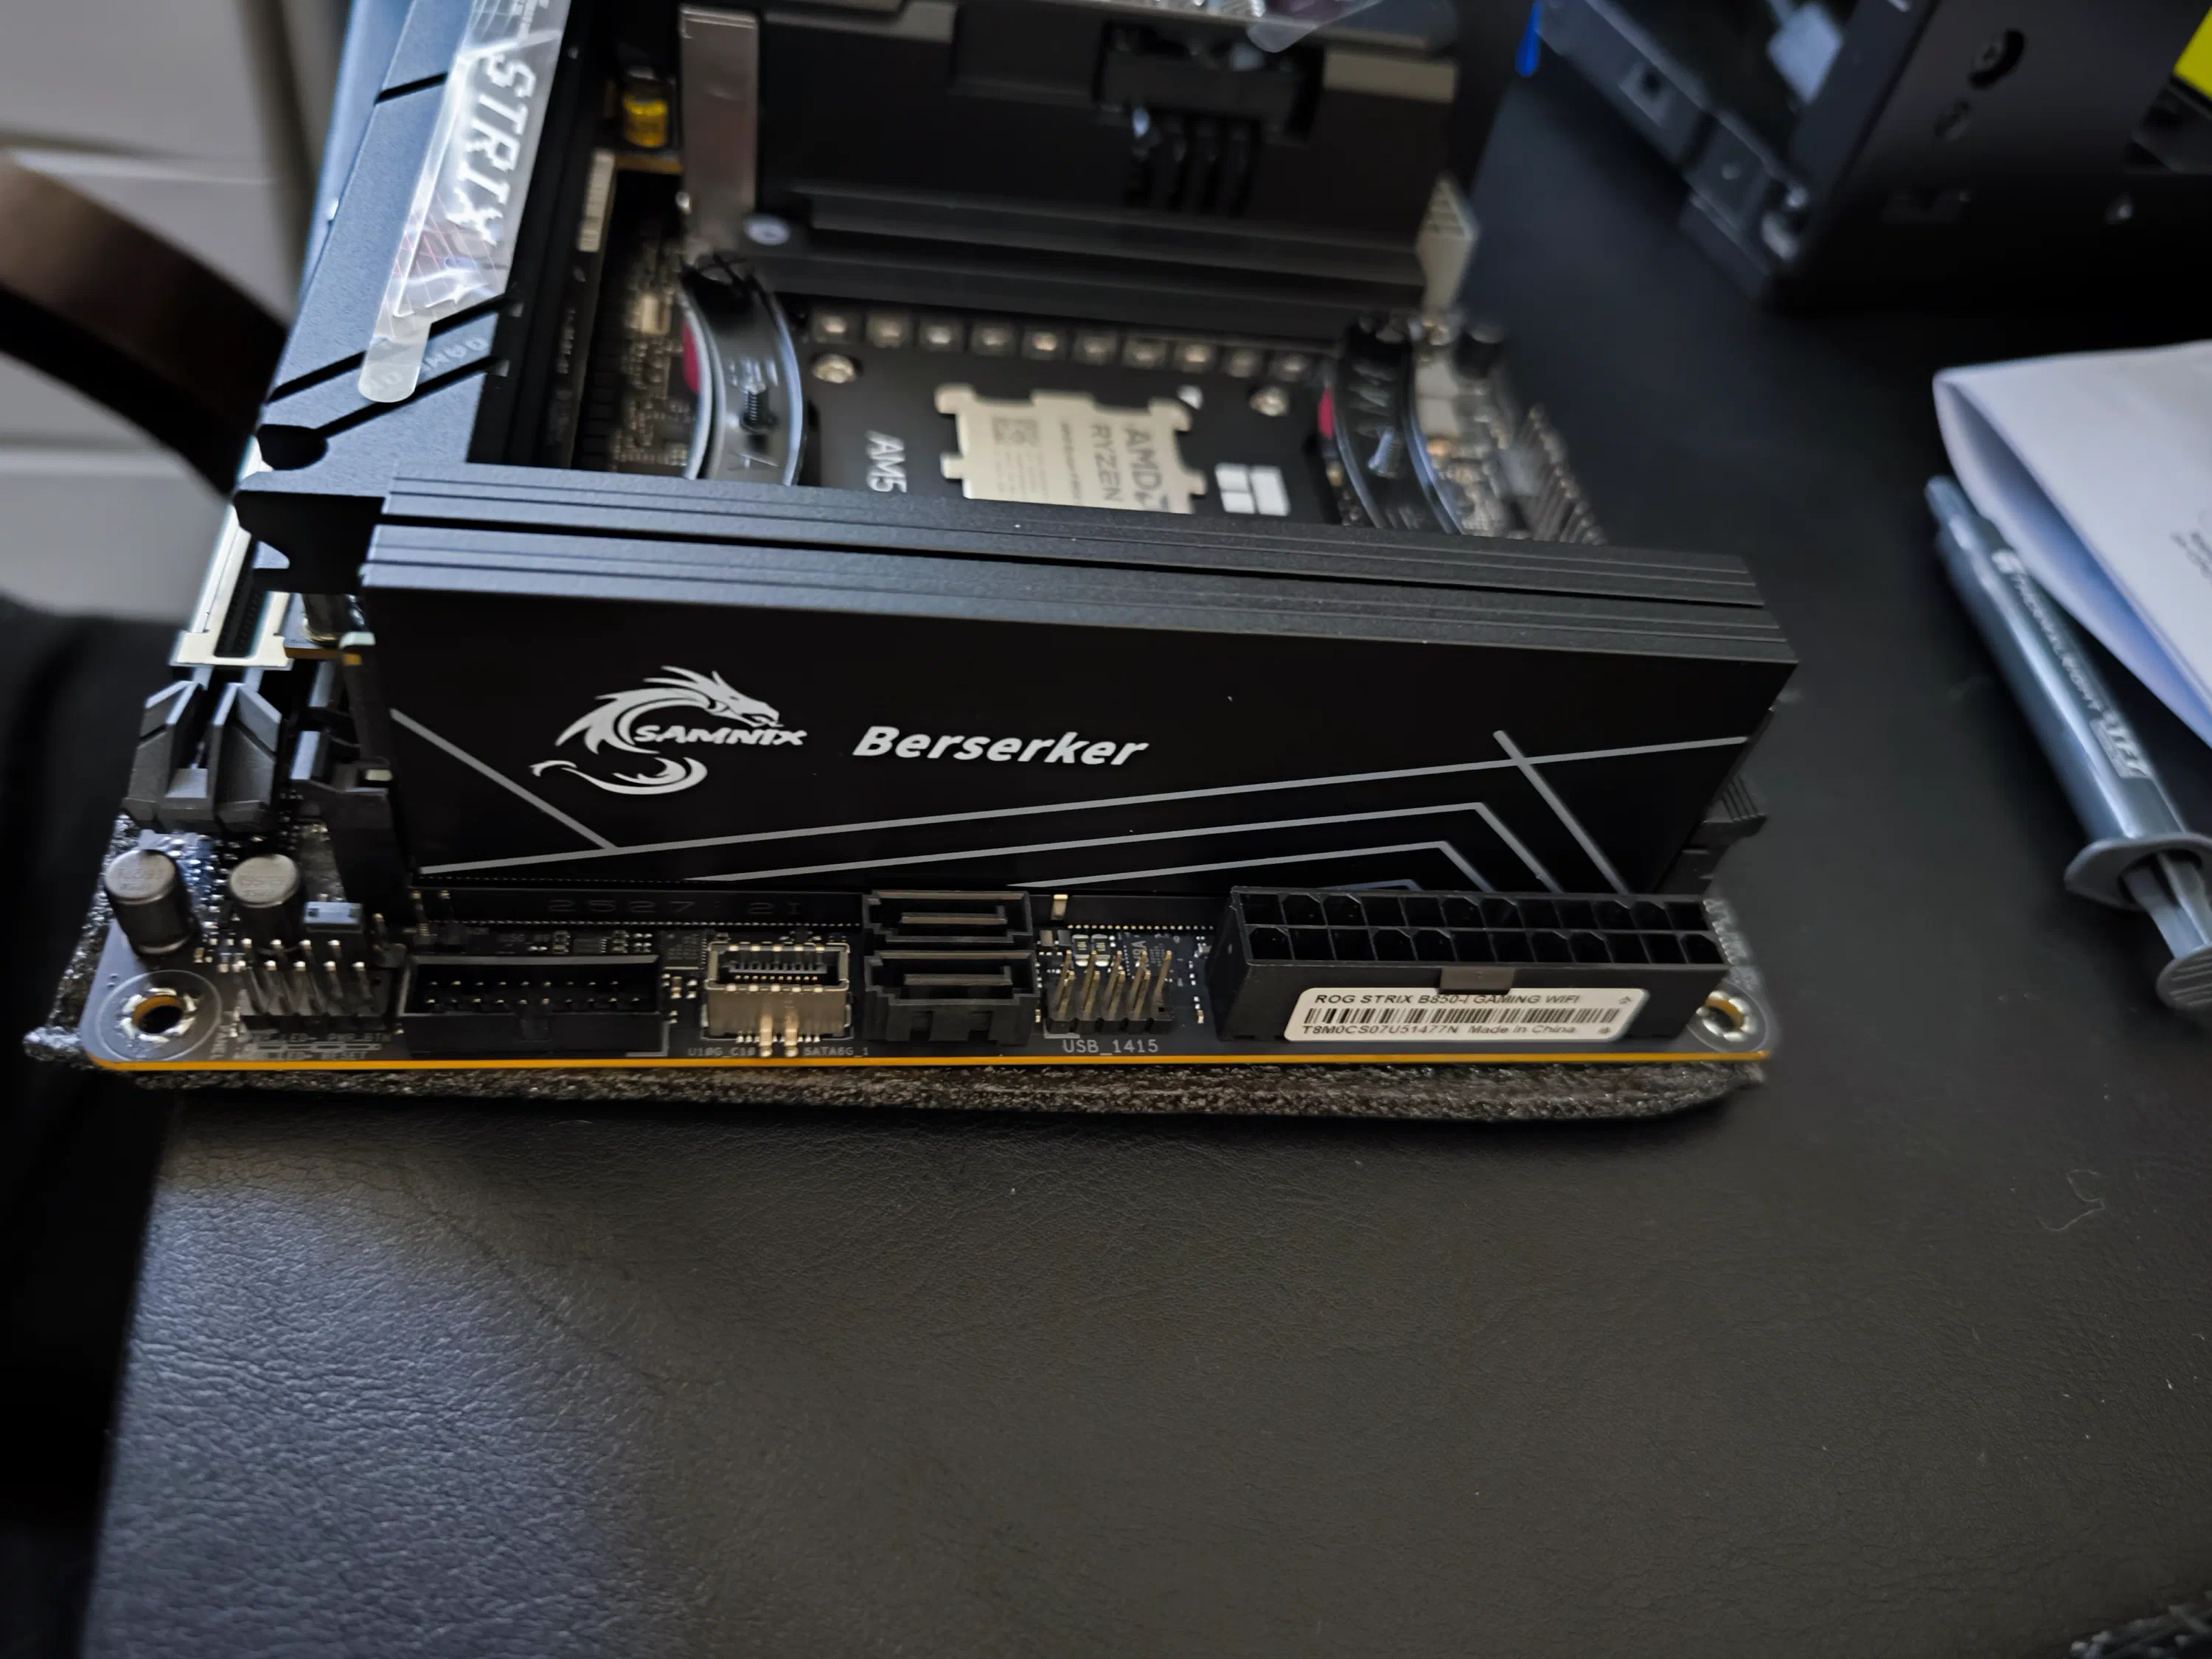
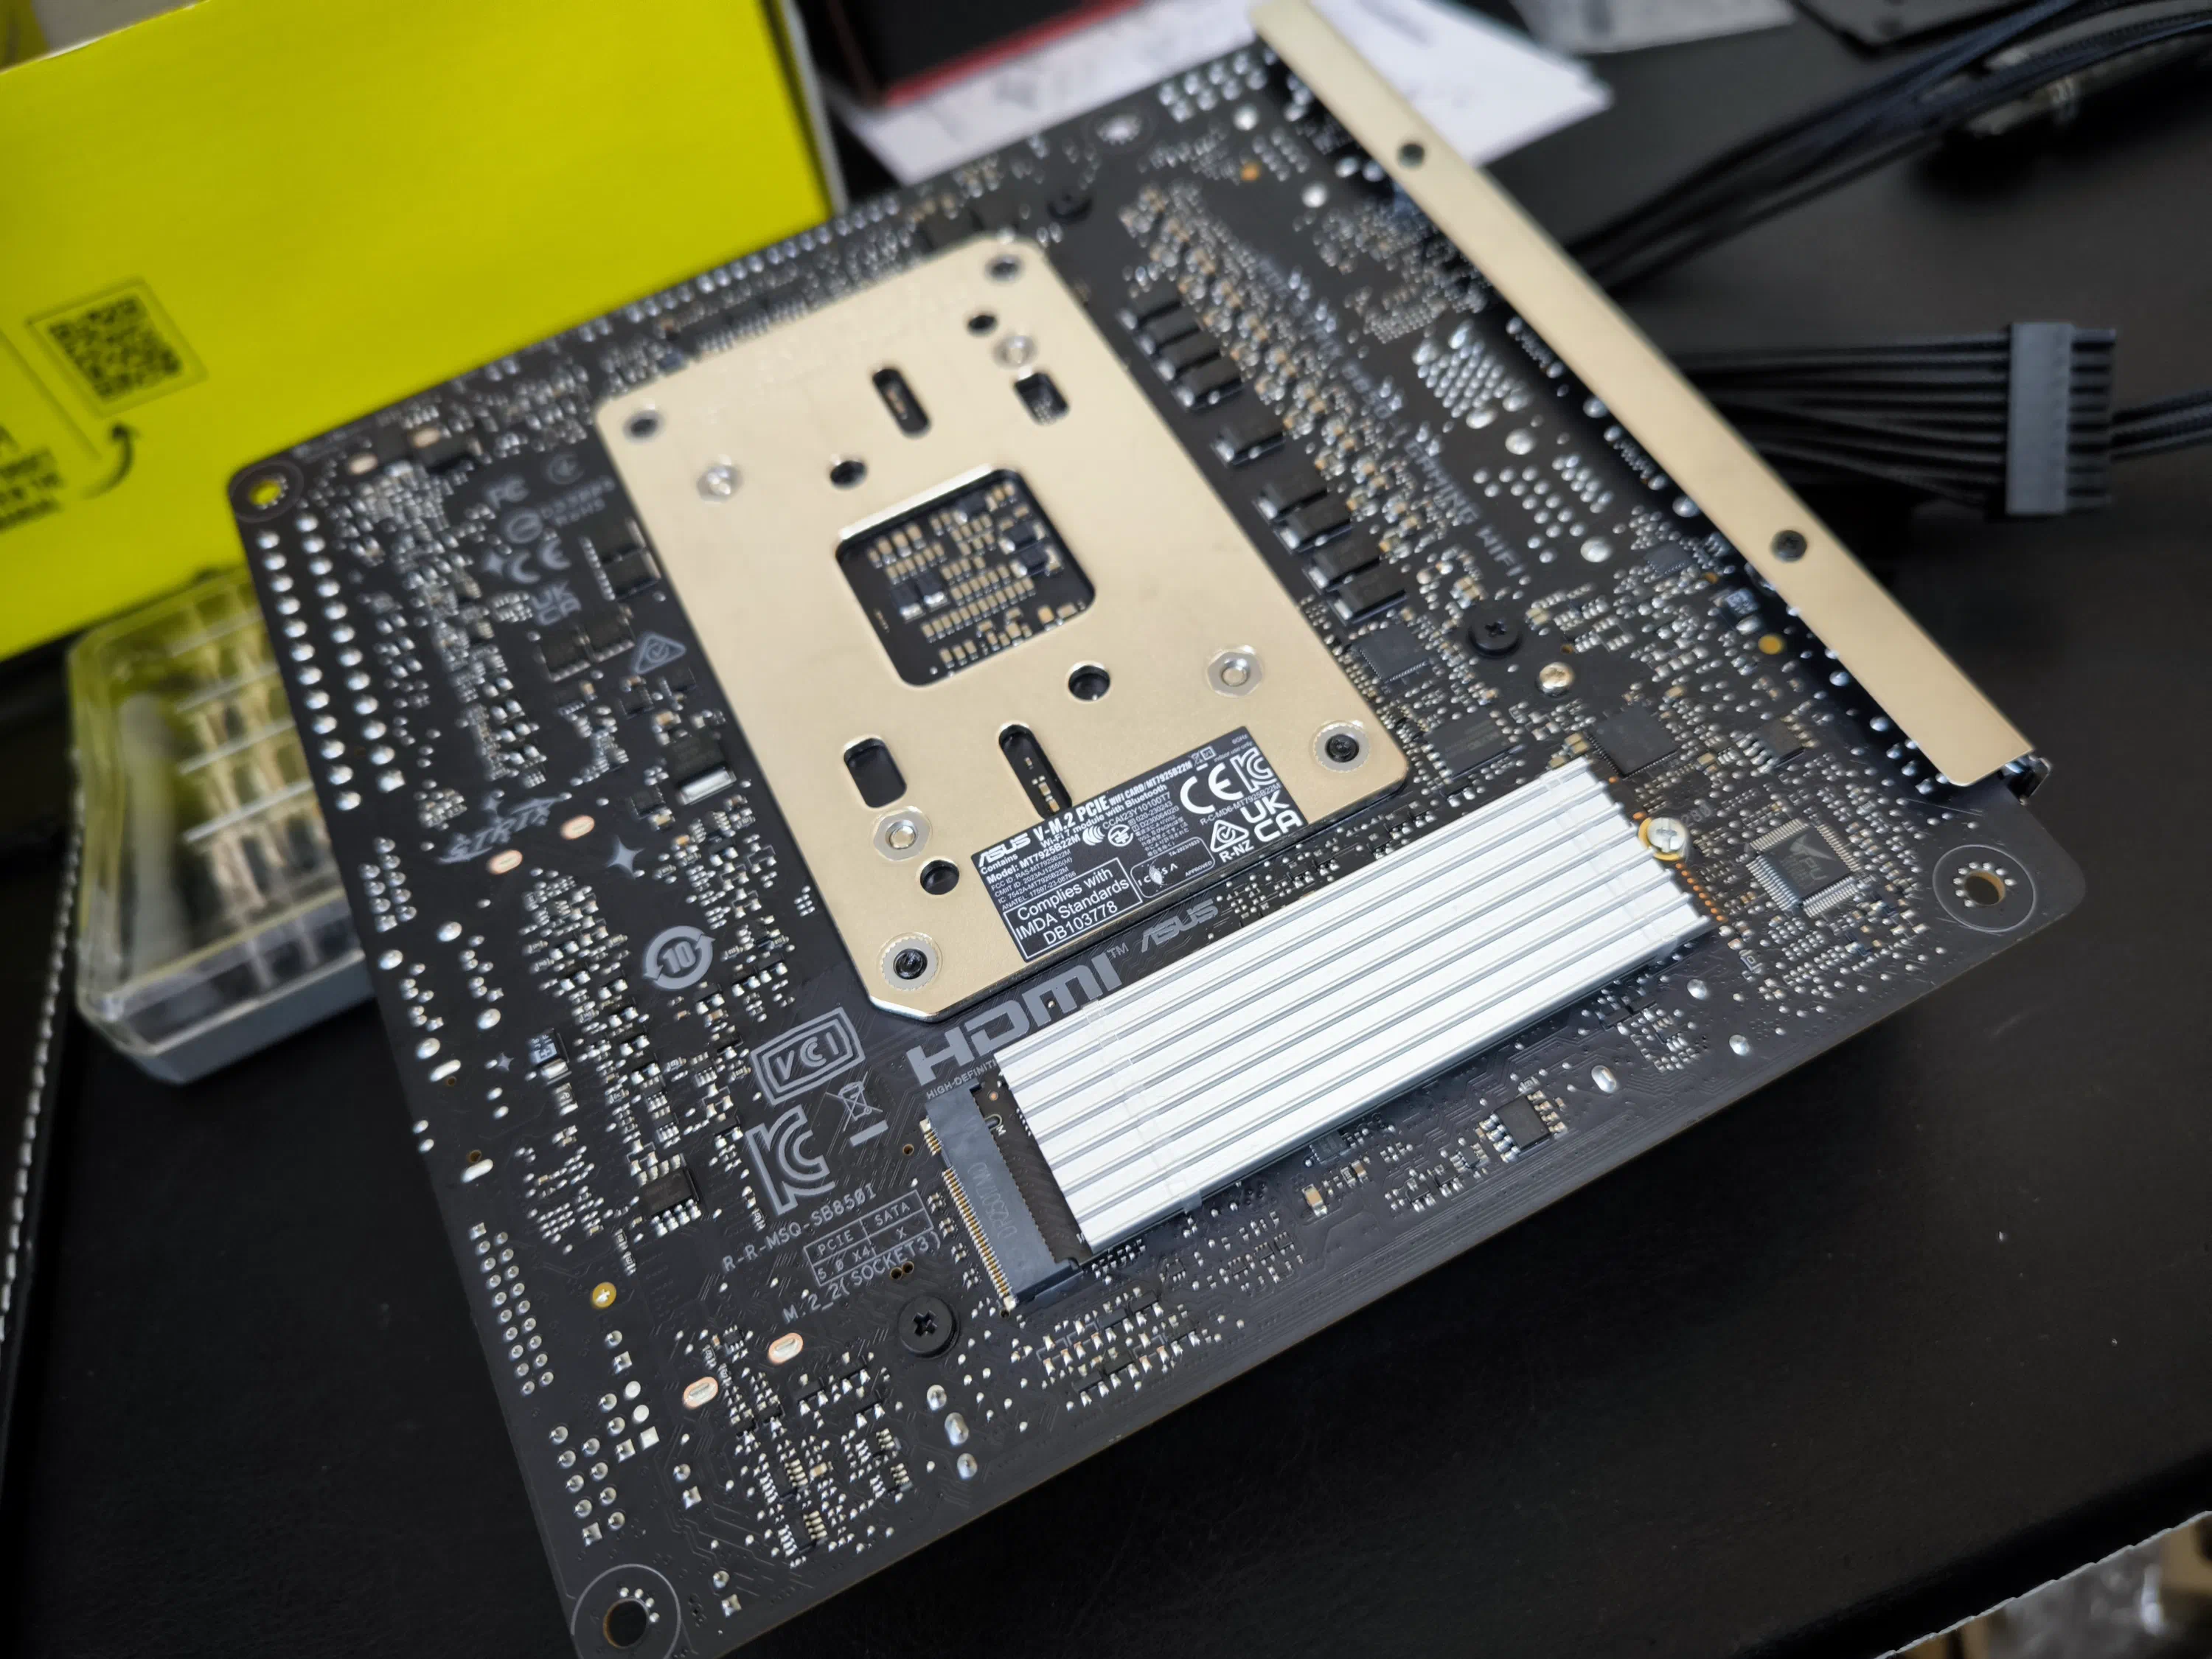
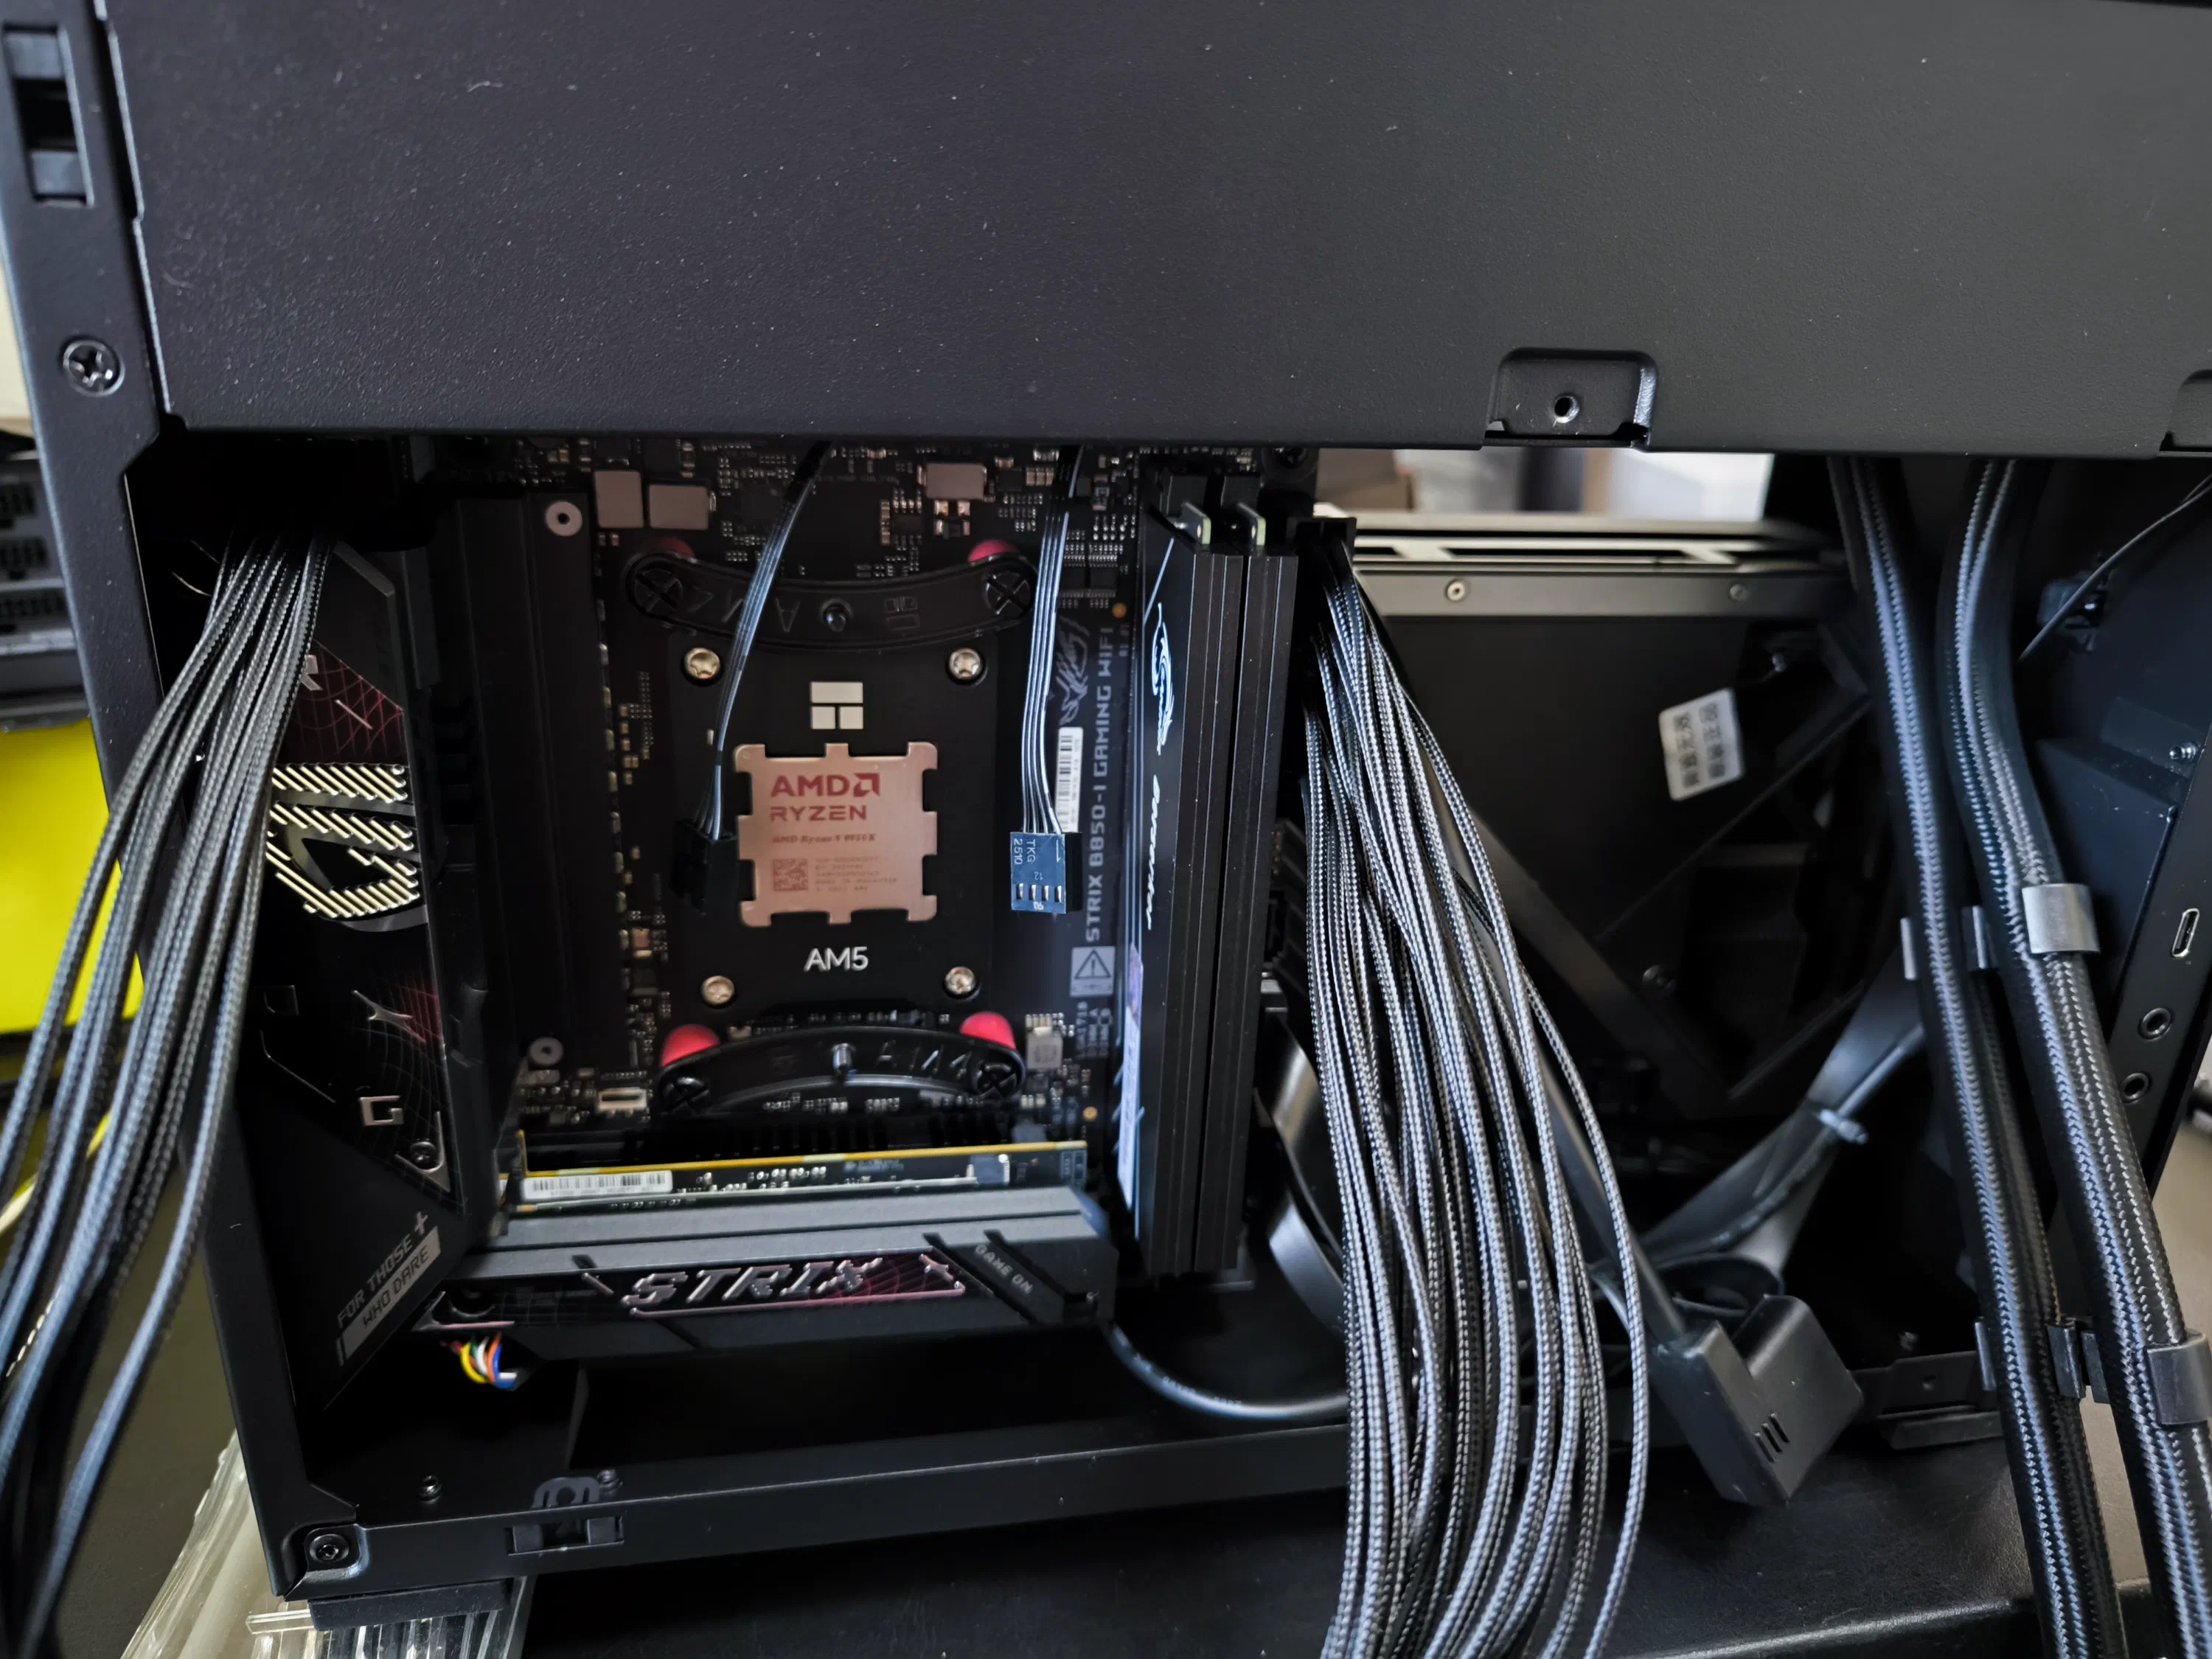
First step was to open up the case and unscrew the AIO and PSU mounts. Then I proceeded with preparing the motherboard, by mounting the CPU, removing the CPU bracket and replacing it with the thermal-guard bracket, installing the RAM, installing the SSD and their heatsinks, and finally mounting the motherboard into the case:
Installing the GPU
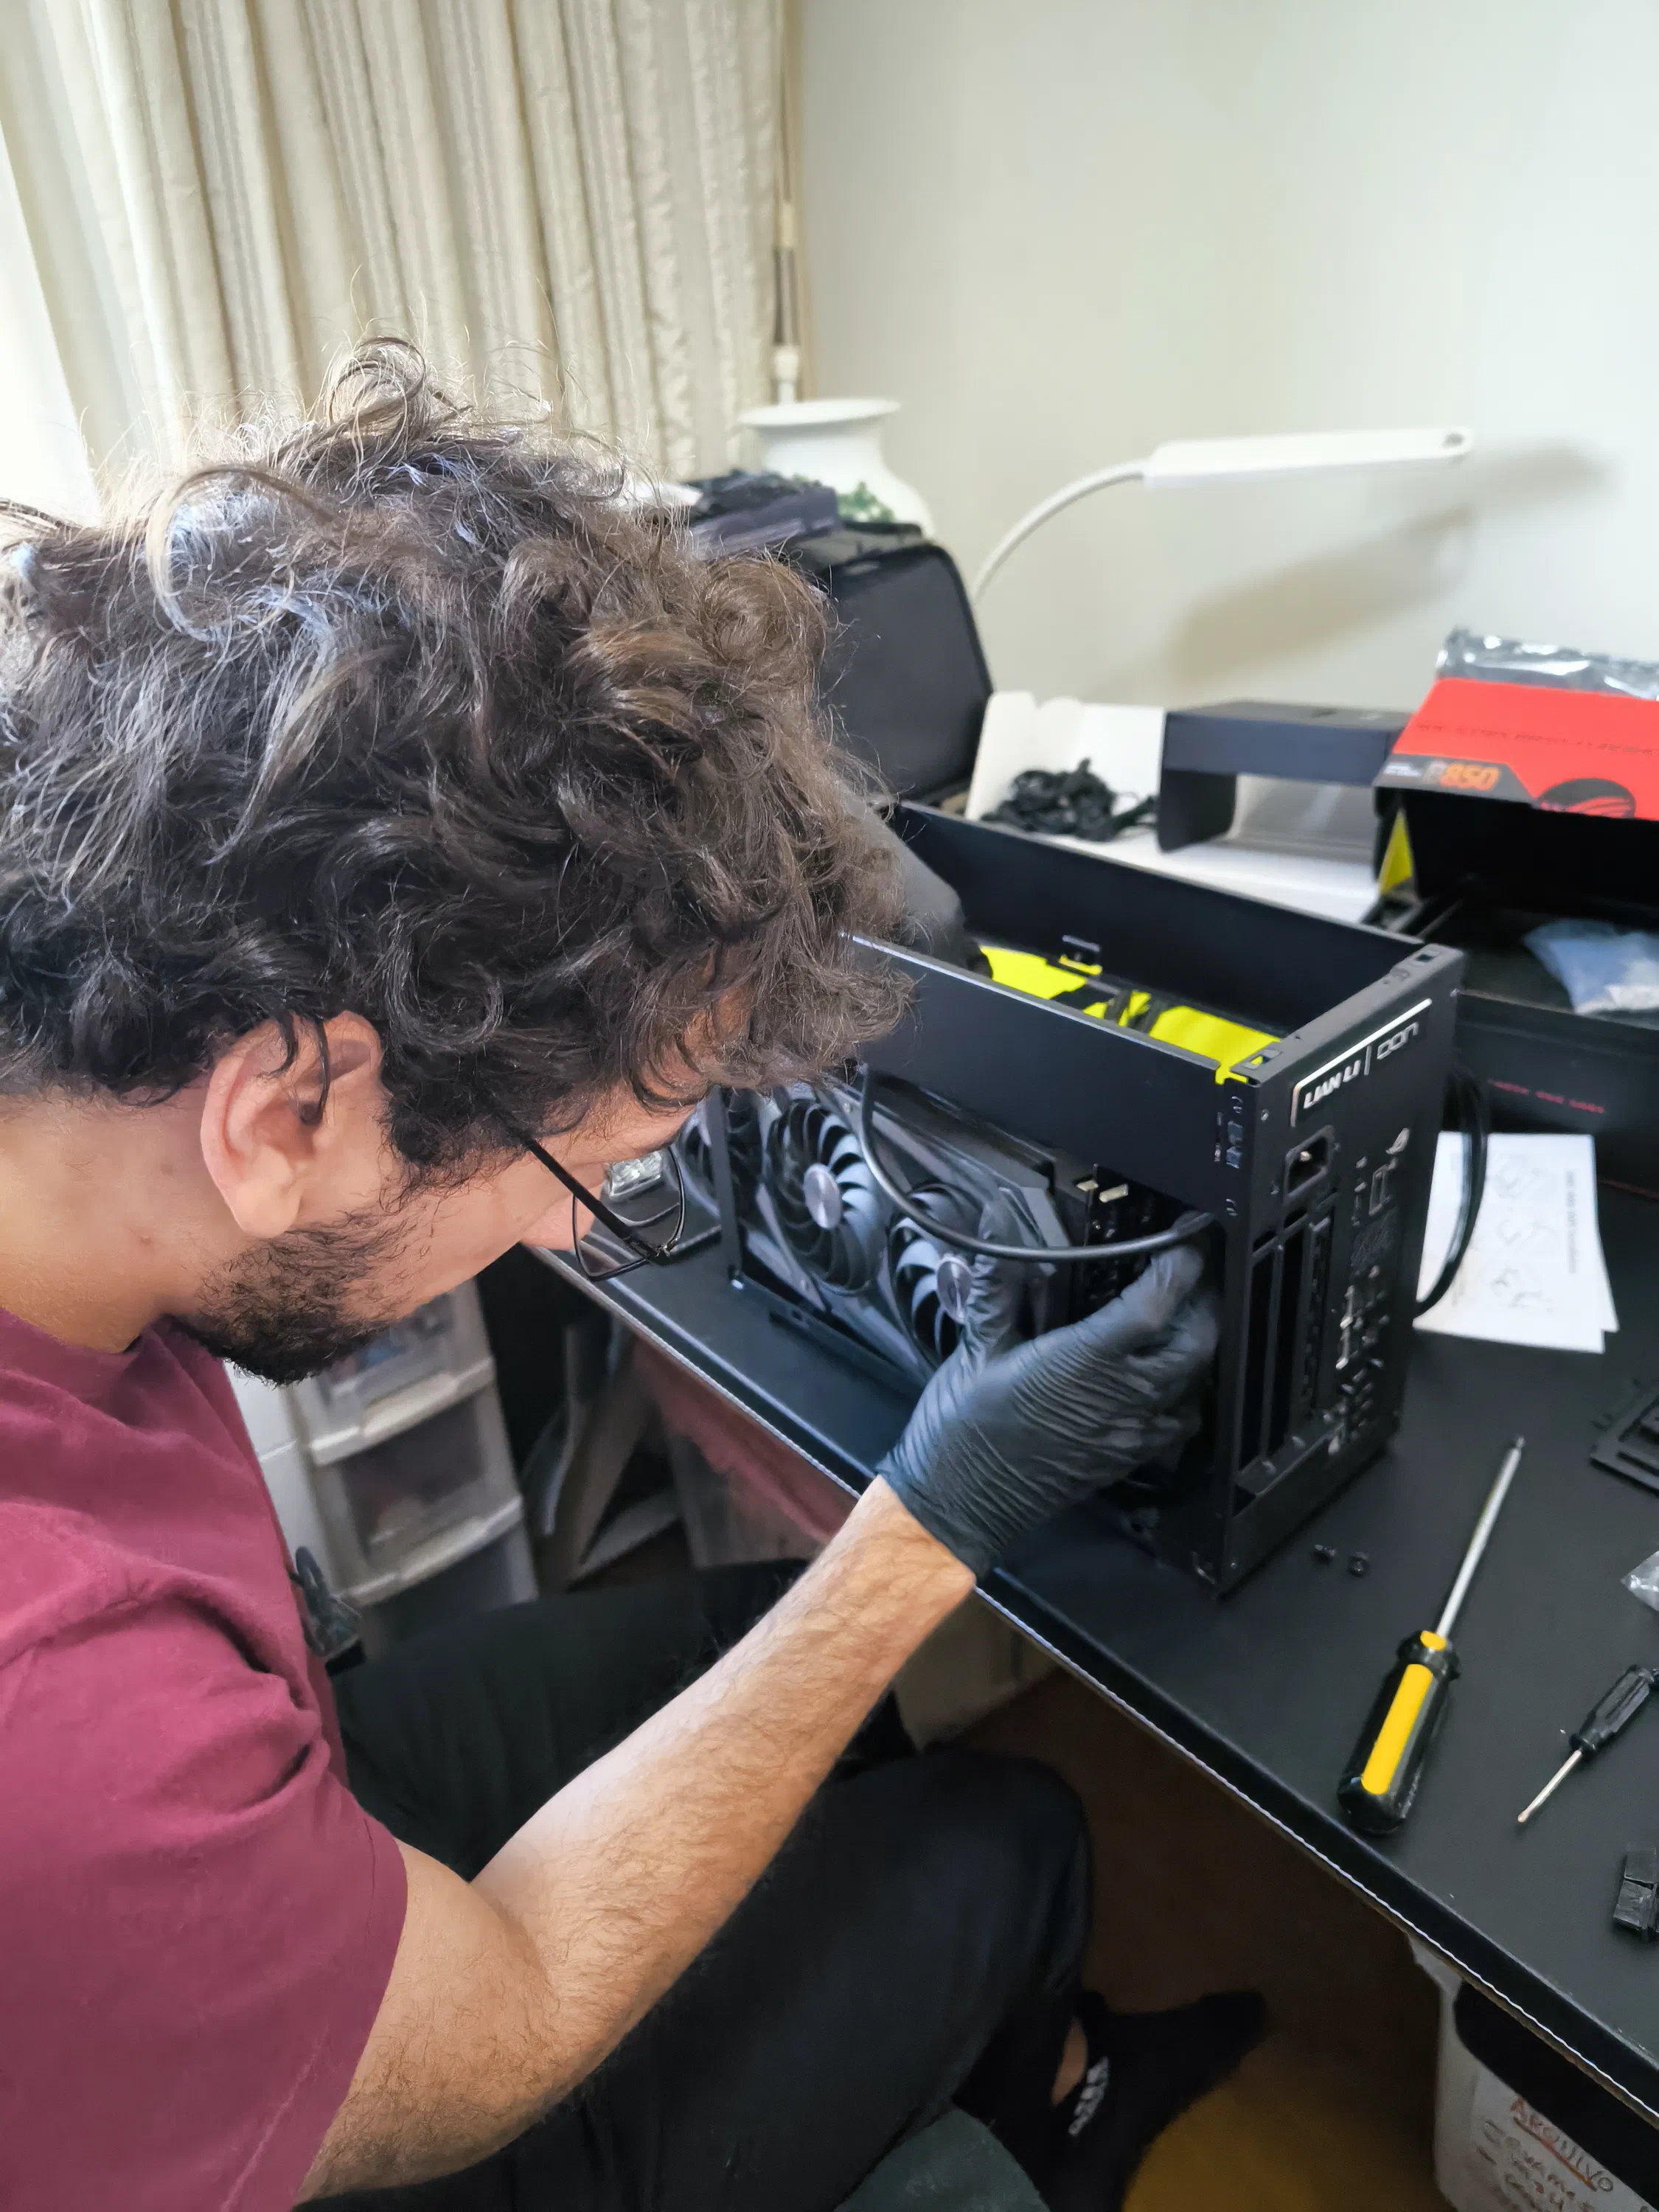
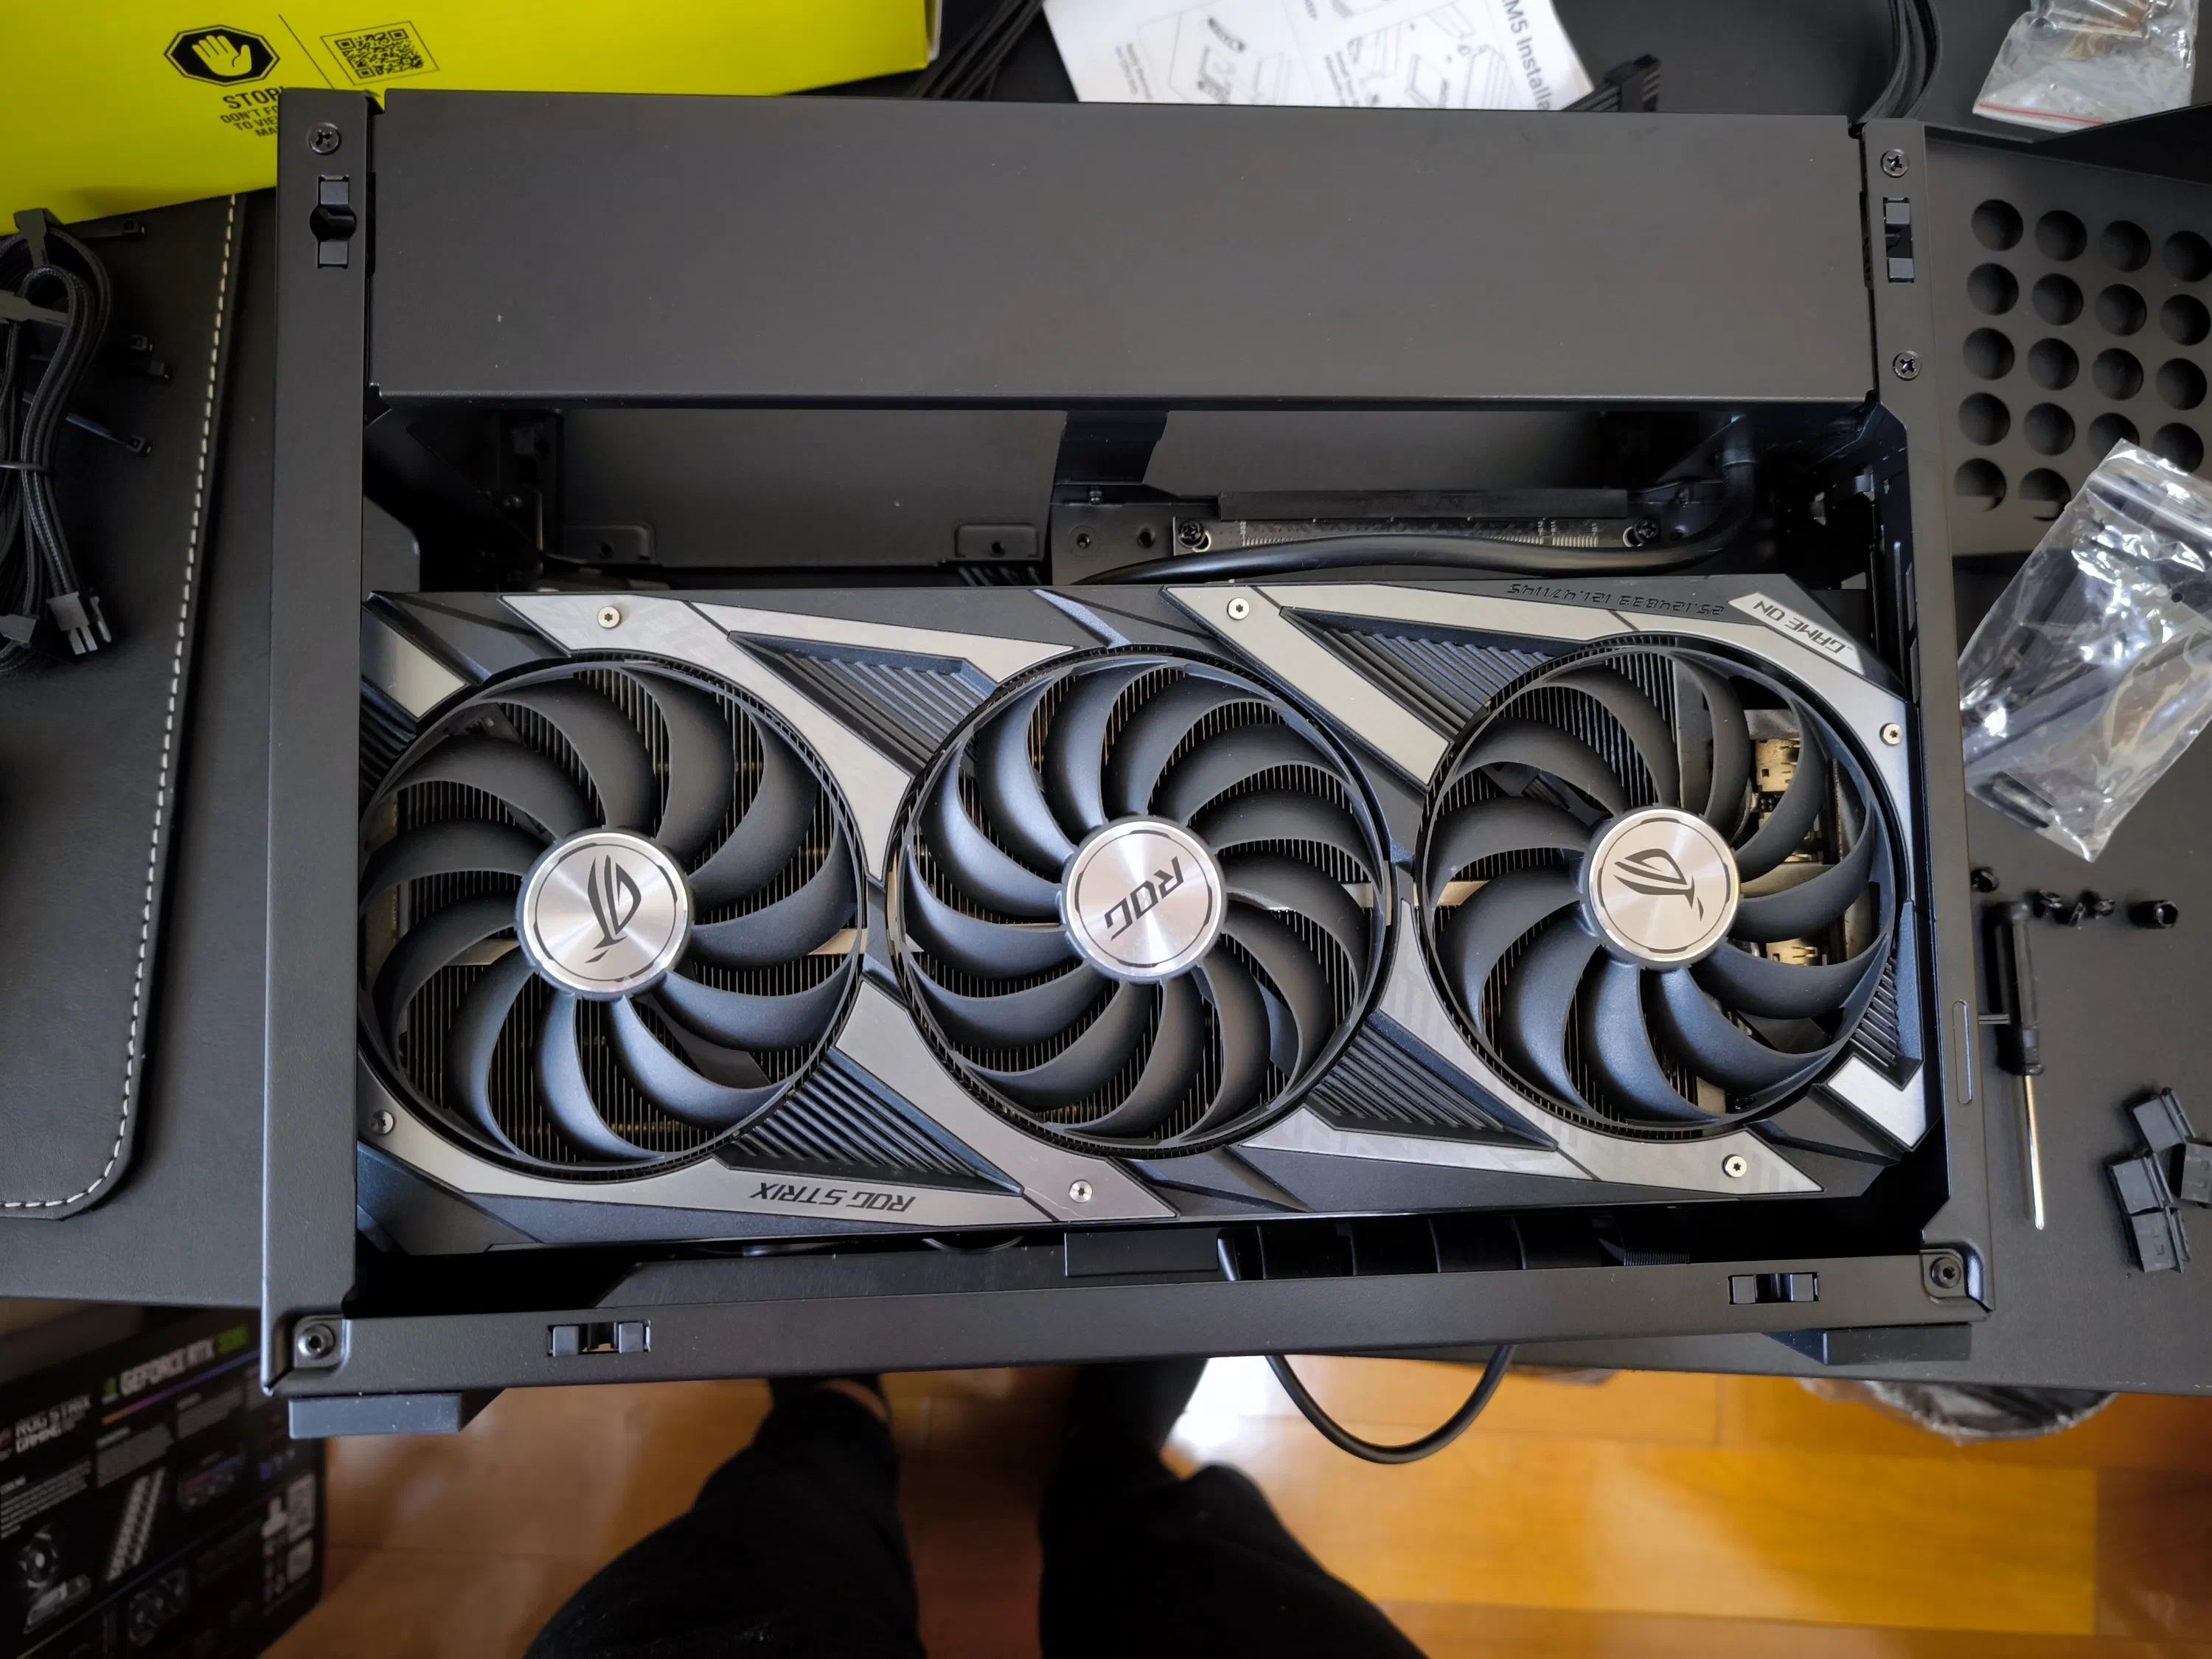
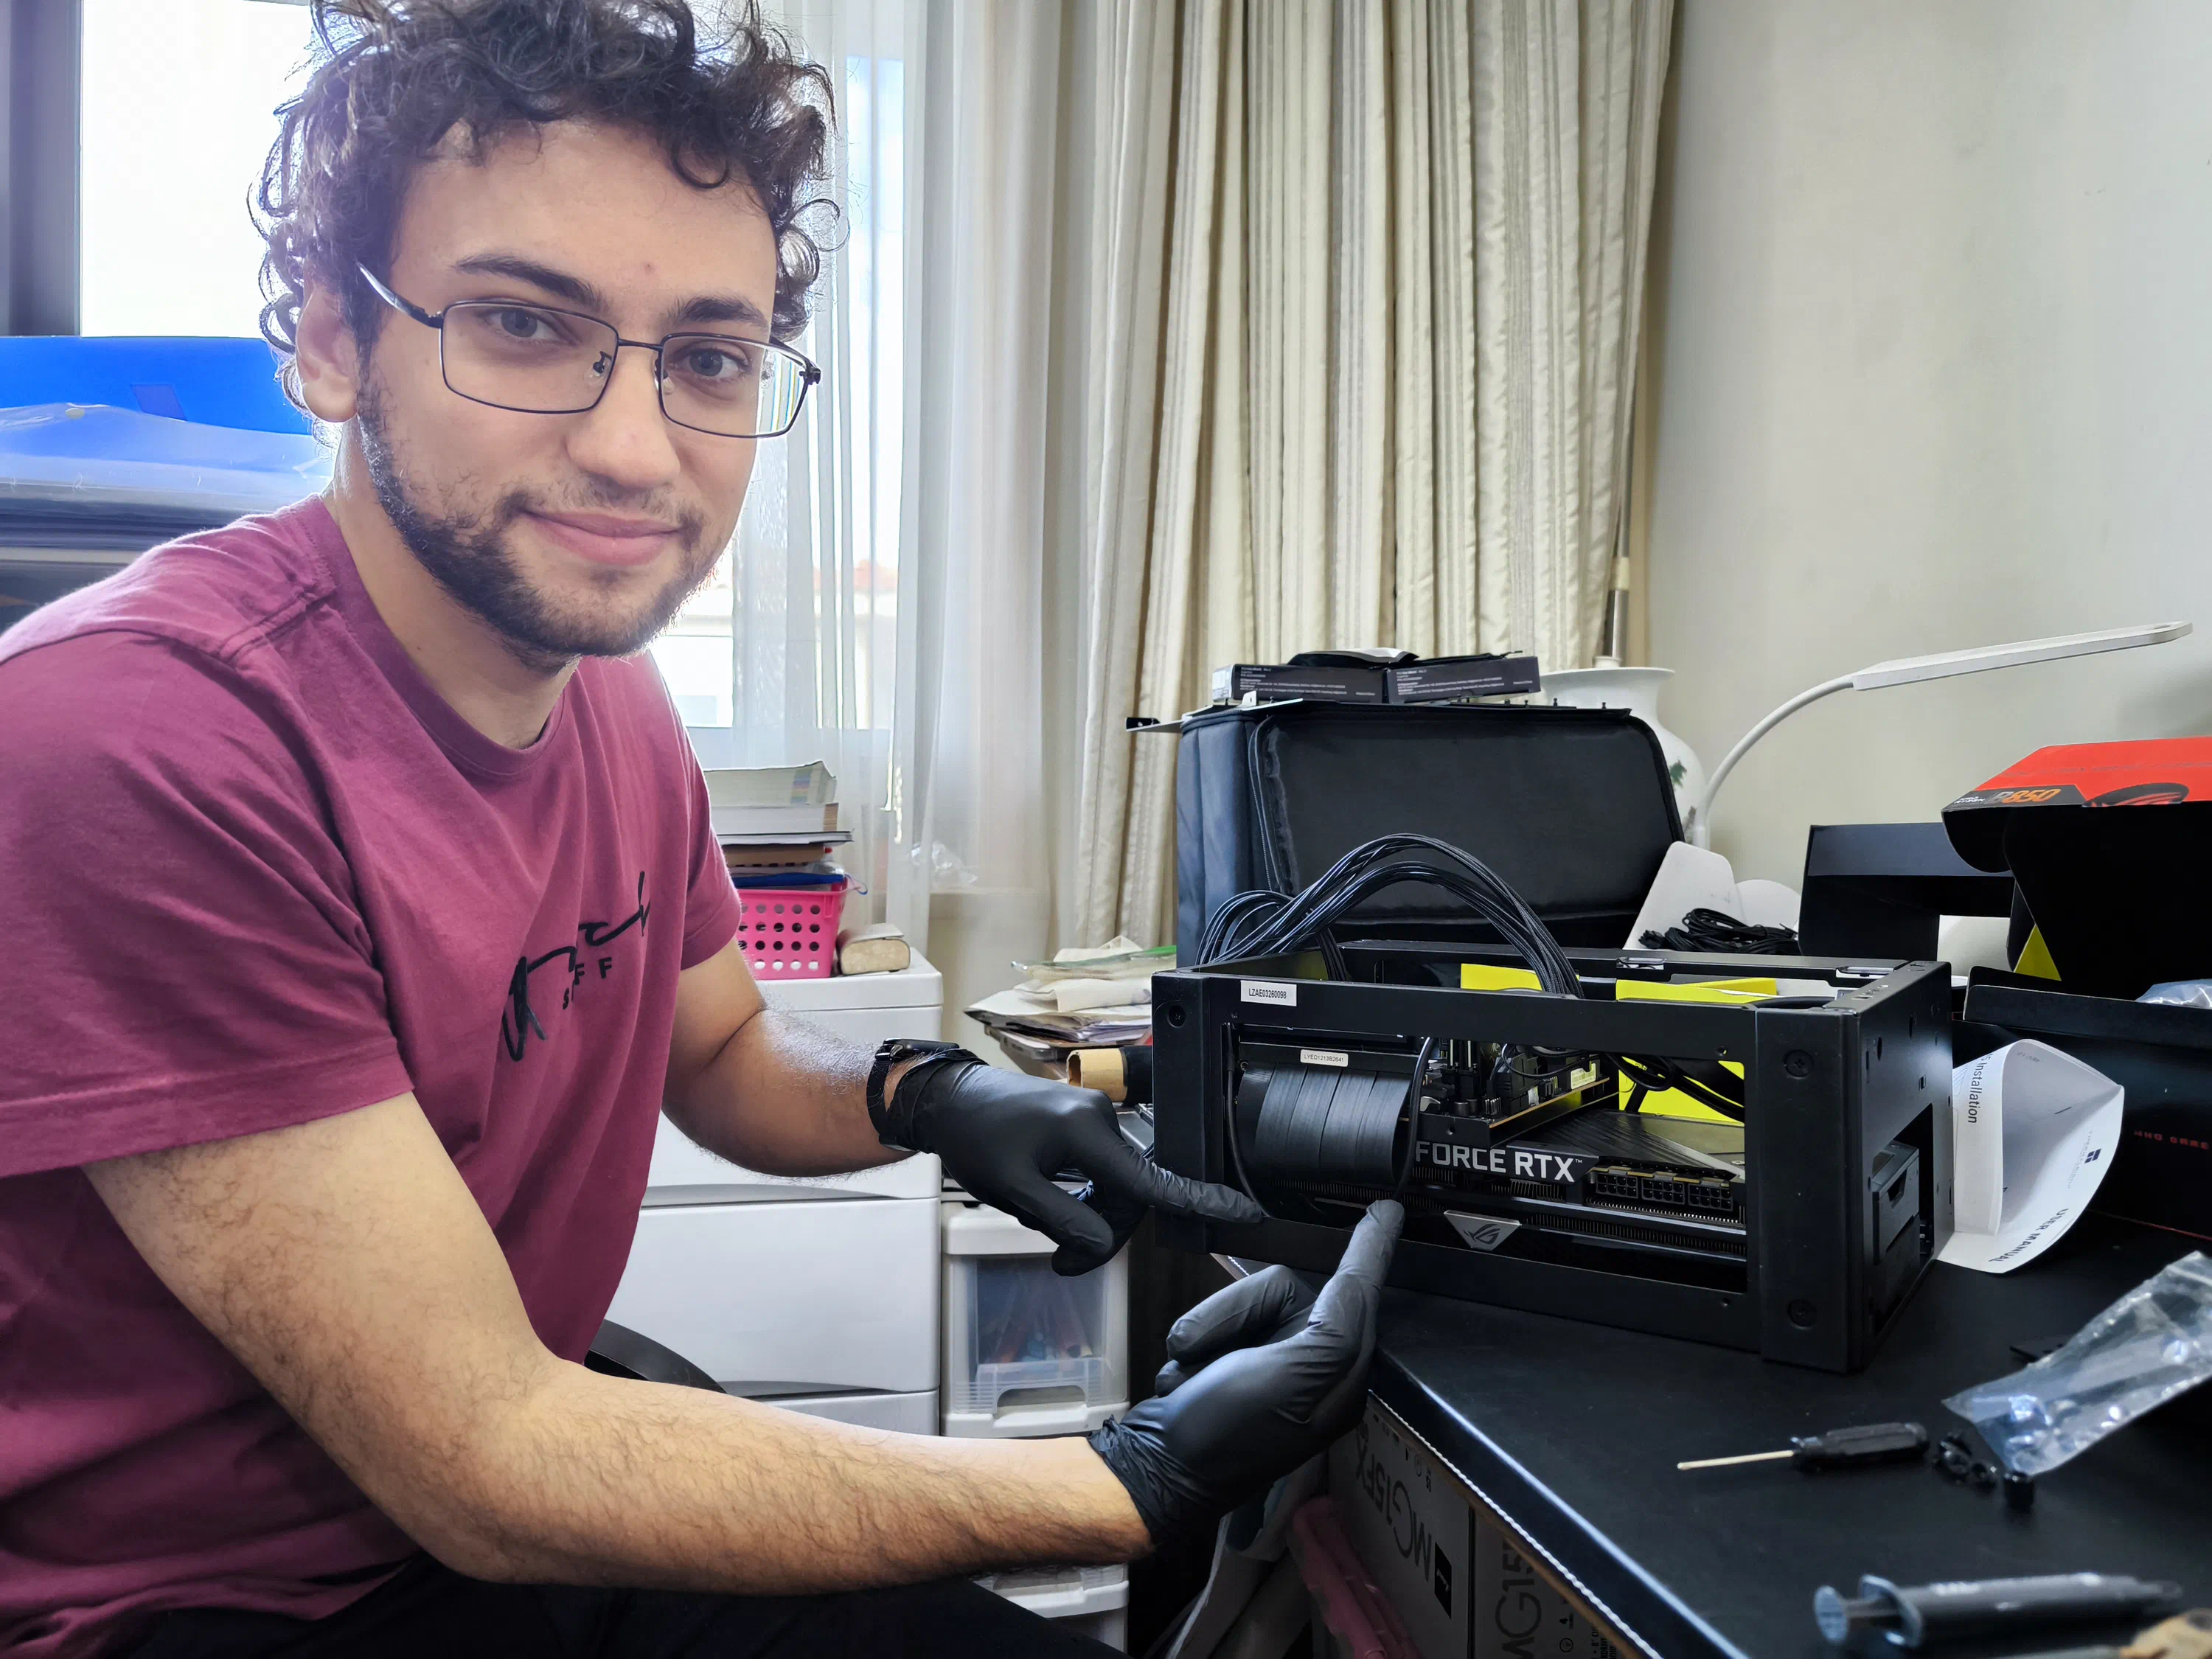
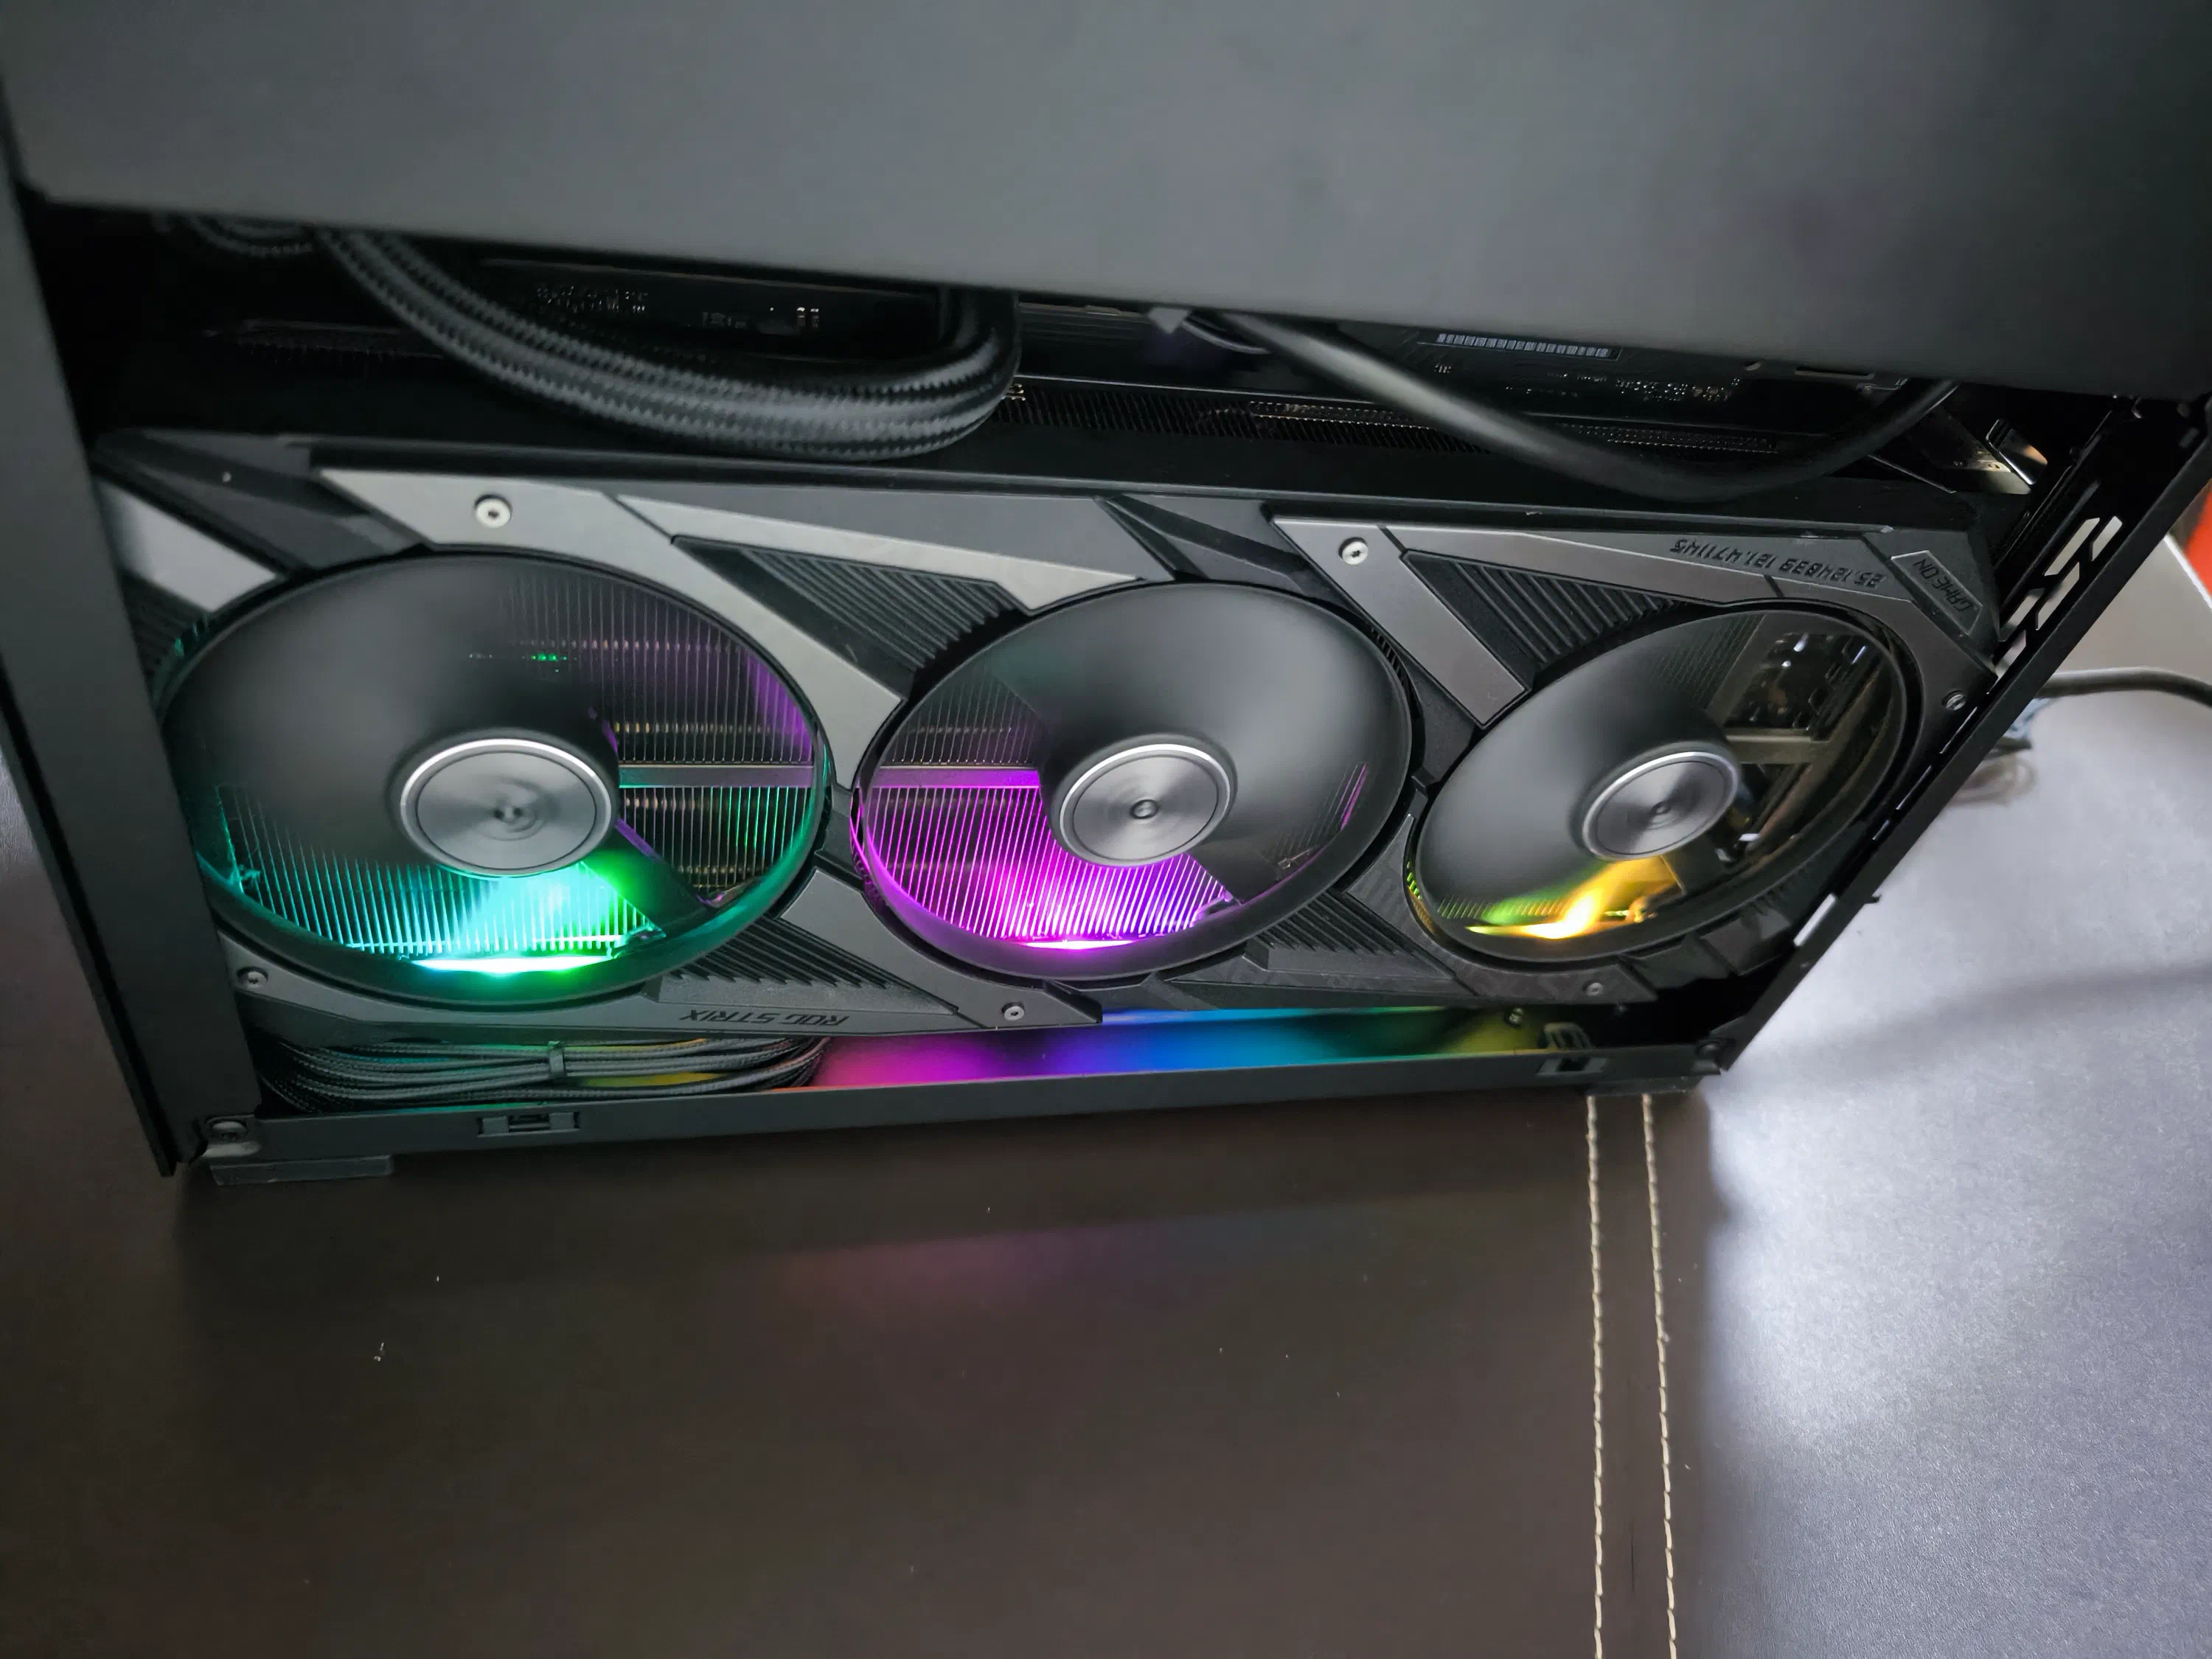
Next up was installing the GPU. Which was particulairly tough, as this ROG Strix RTX3090 model is 318.5mm long! The absolute largest GPU this case can fit. Thanks to the front GPU cut-out slot it is quite feasiable, but not without a fair bit of fiddling to mount it properly and attach the included PCIE riser:
Preparing and Mounting the AIO
Since I got the AIO model without the included fans, next step was mounting my own Arctic fans onto the AIO, and then installing this in the case and attaching the cooler block to the CPU. Thanks to the separate AIO mounting tray, this was actually quite straightforward, except for routing the AIO tubes which were quite rigid to say the least. The orientation of the AIO tubes was later changed to better take up the extra slack on the tubes.
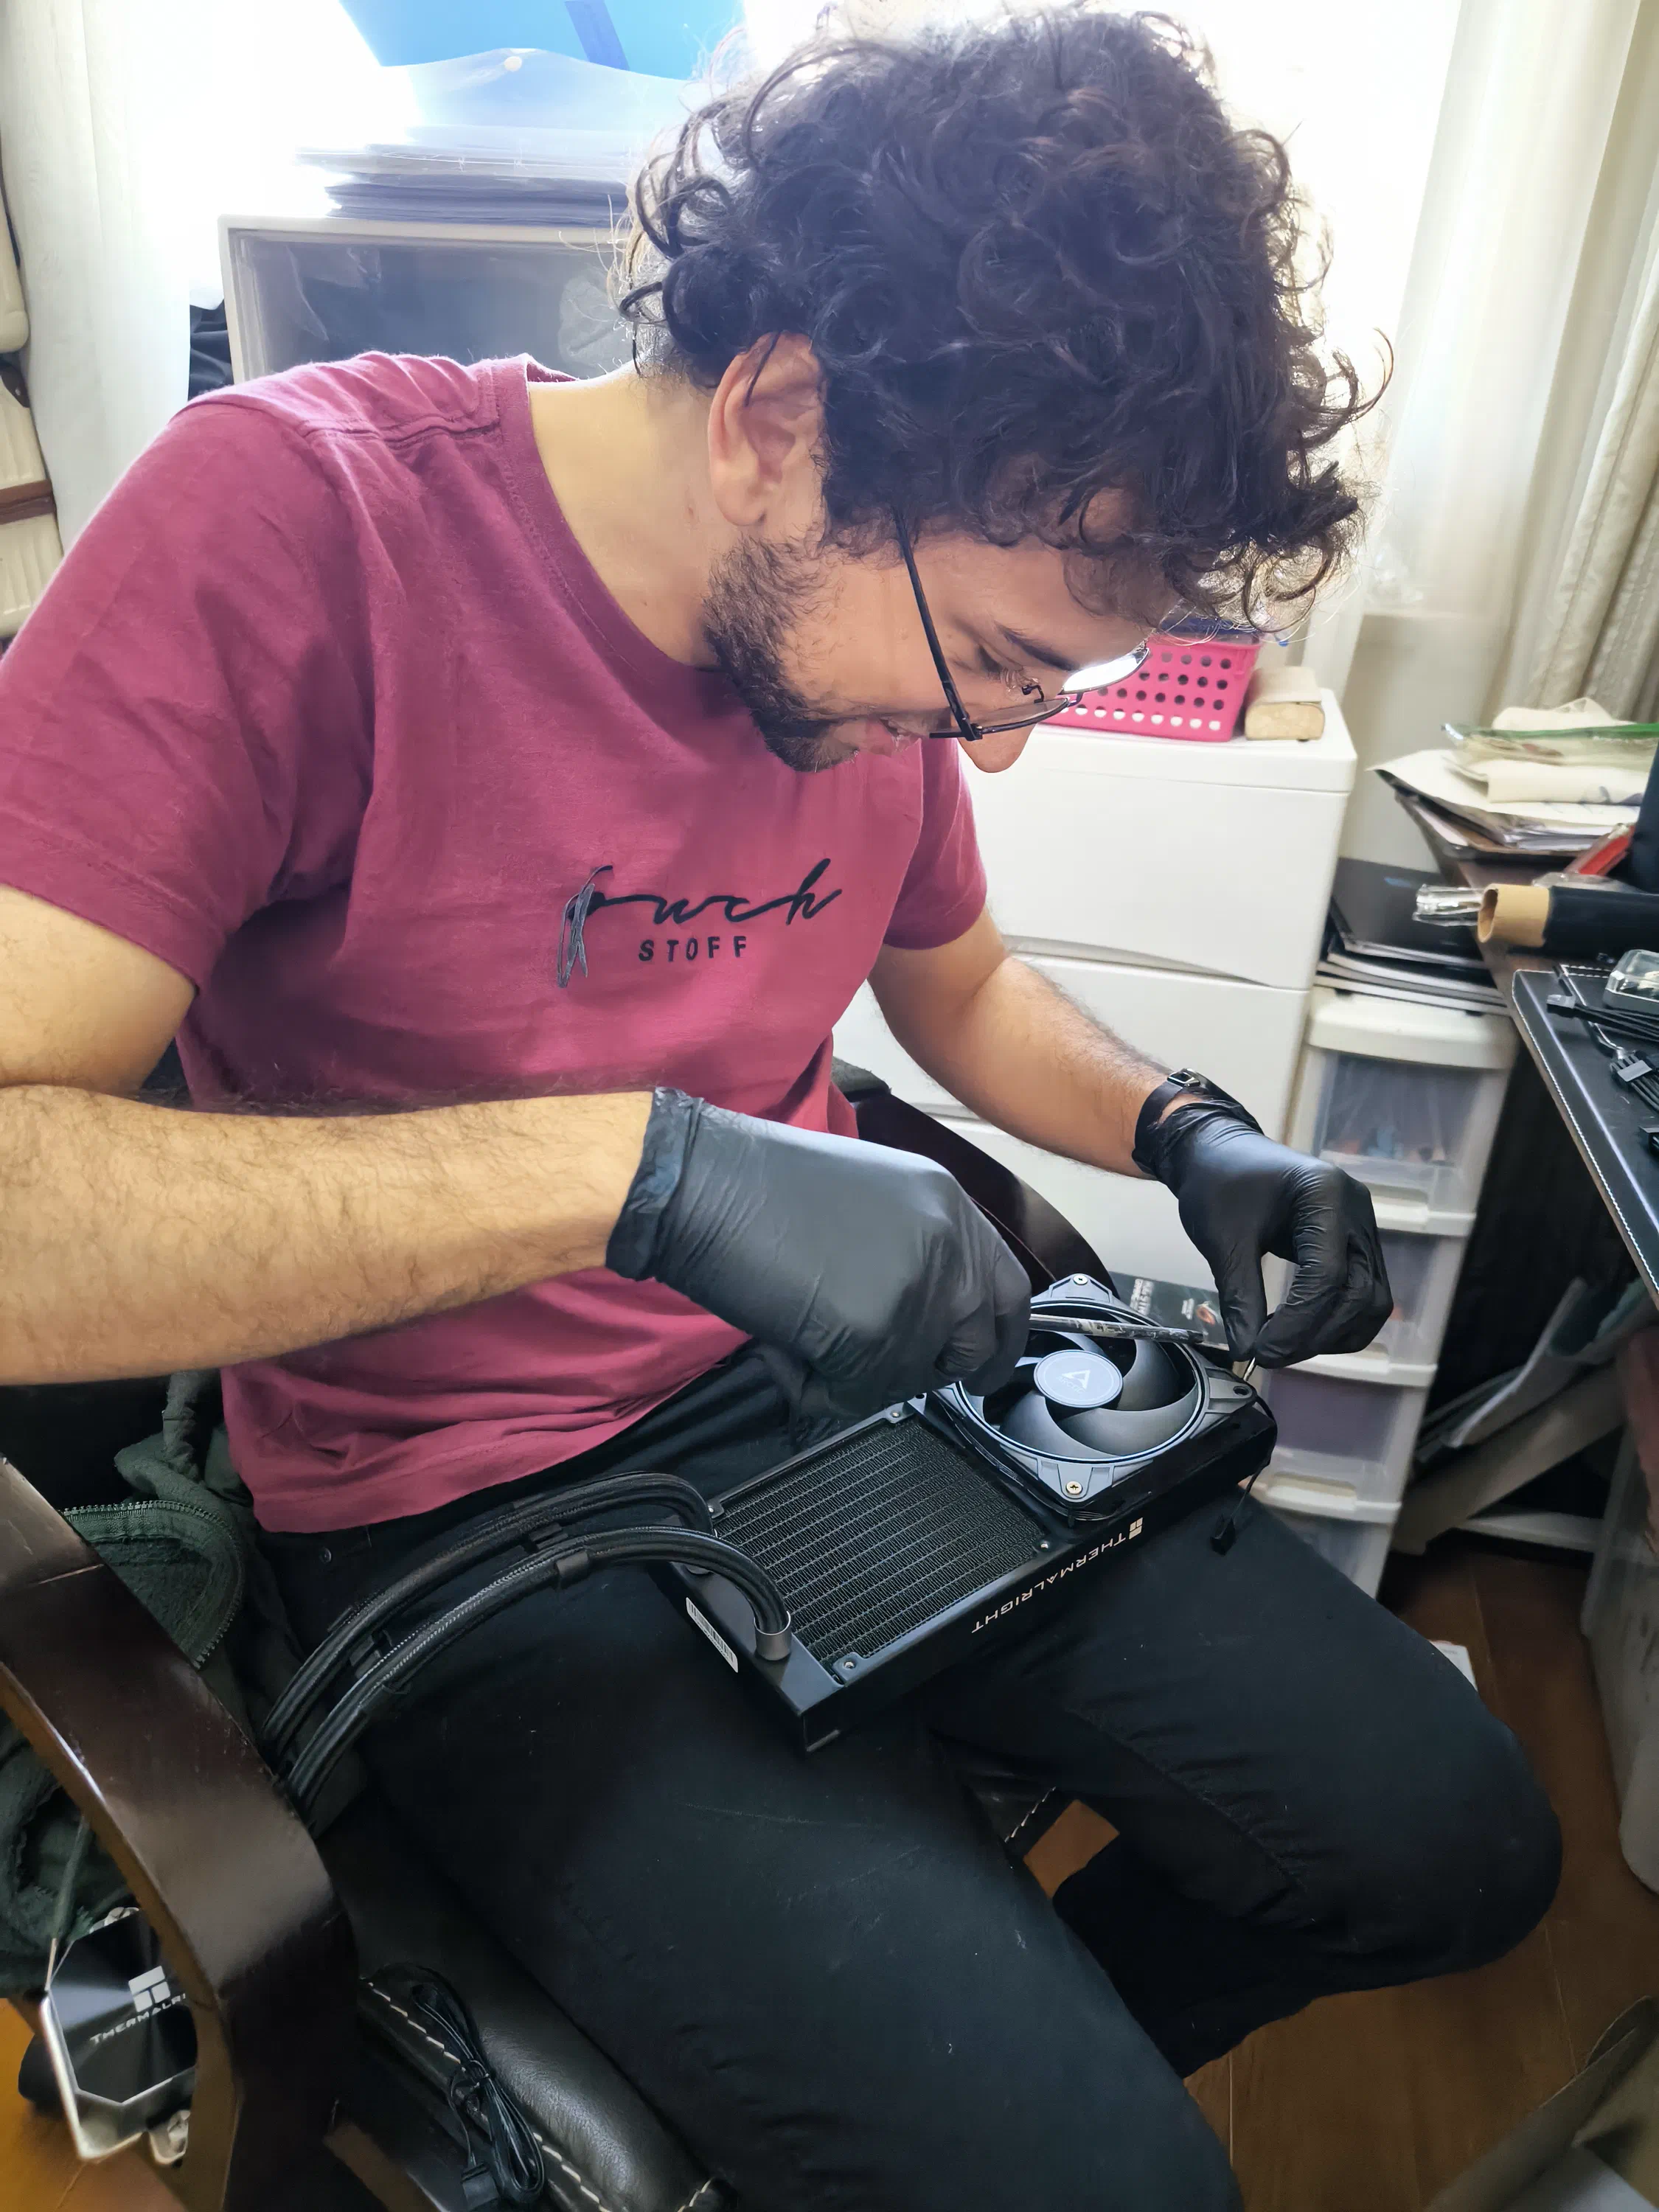
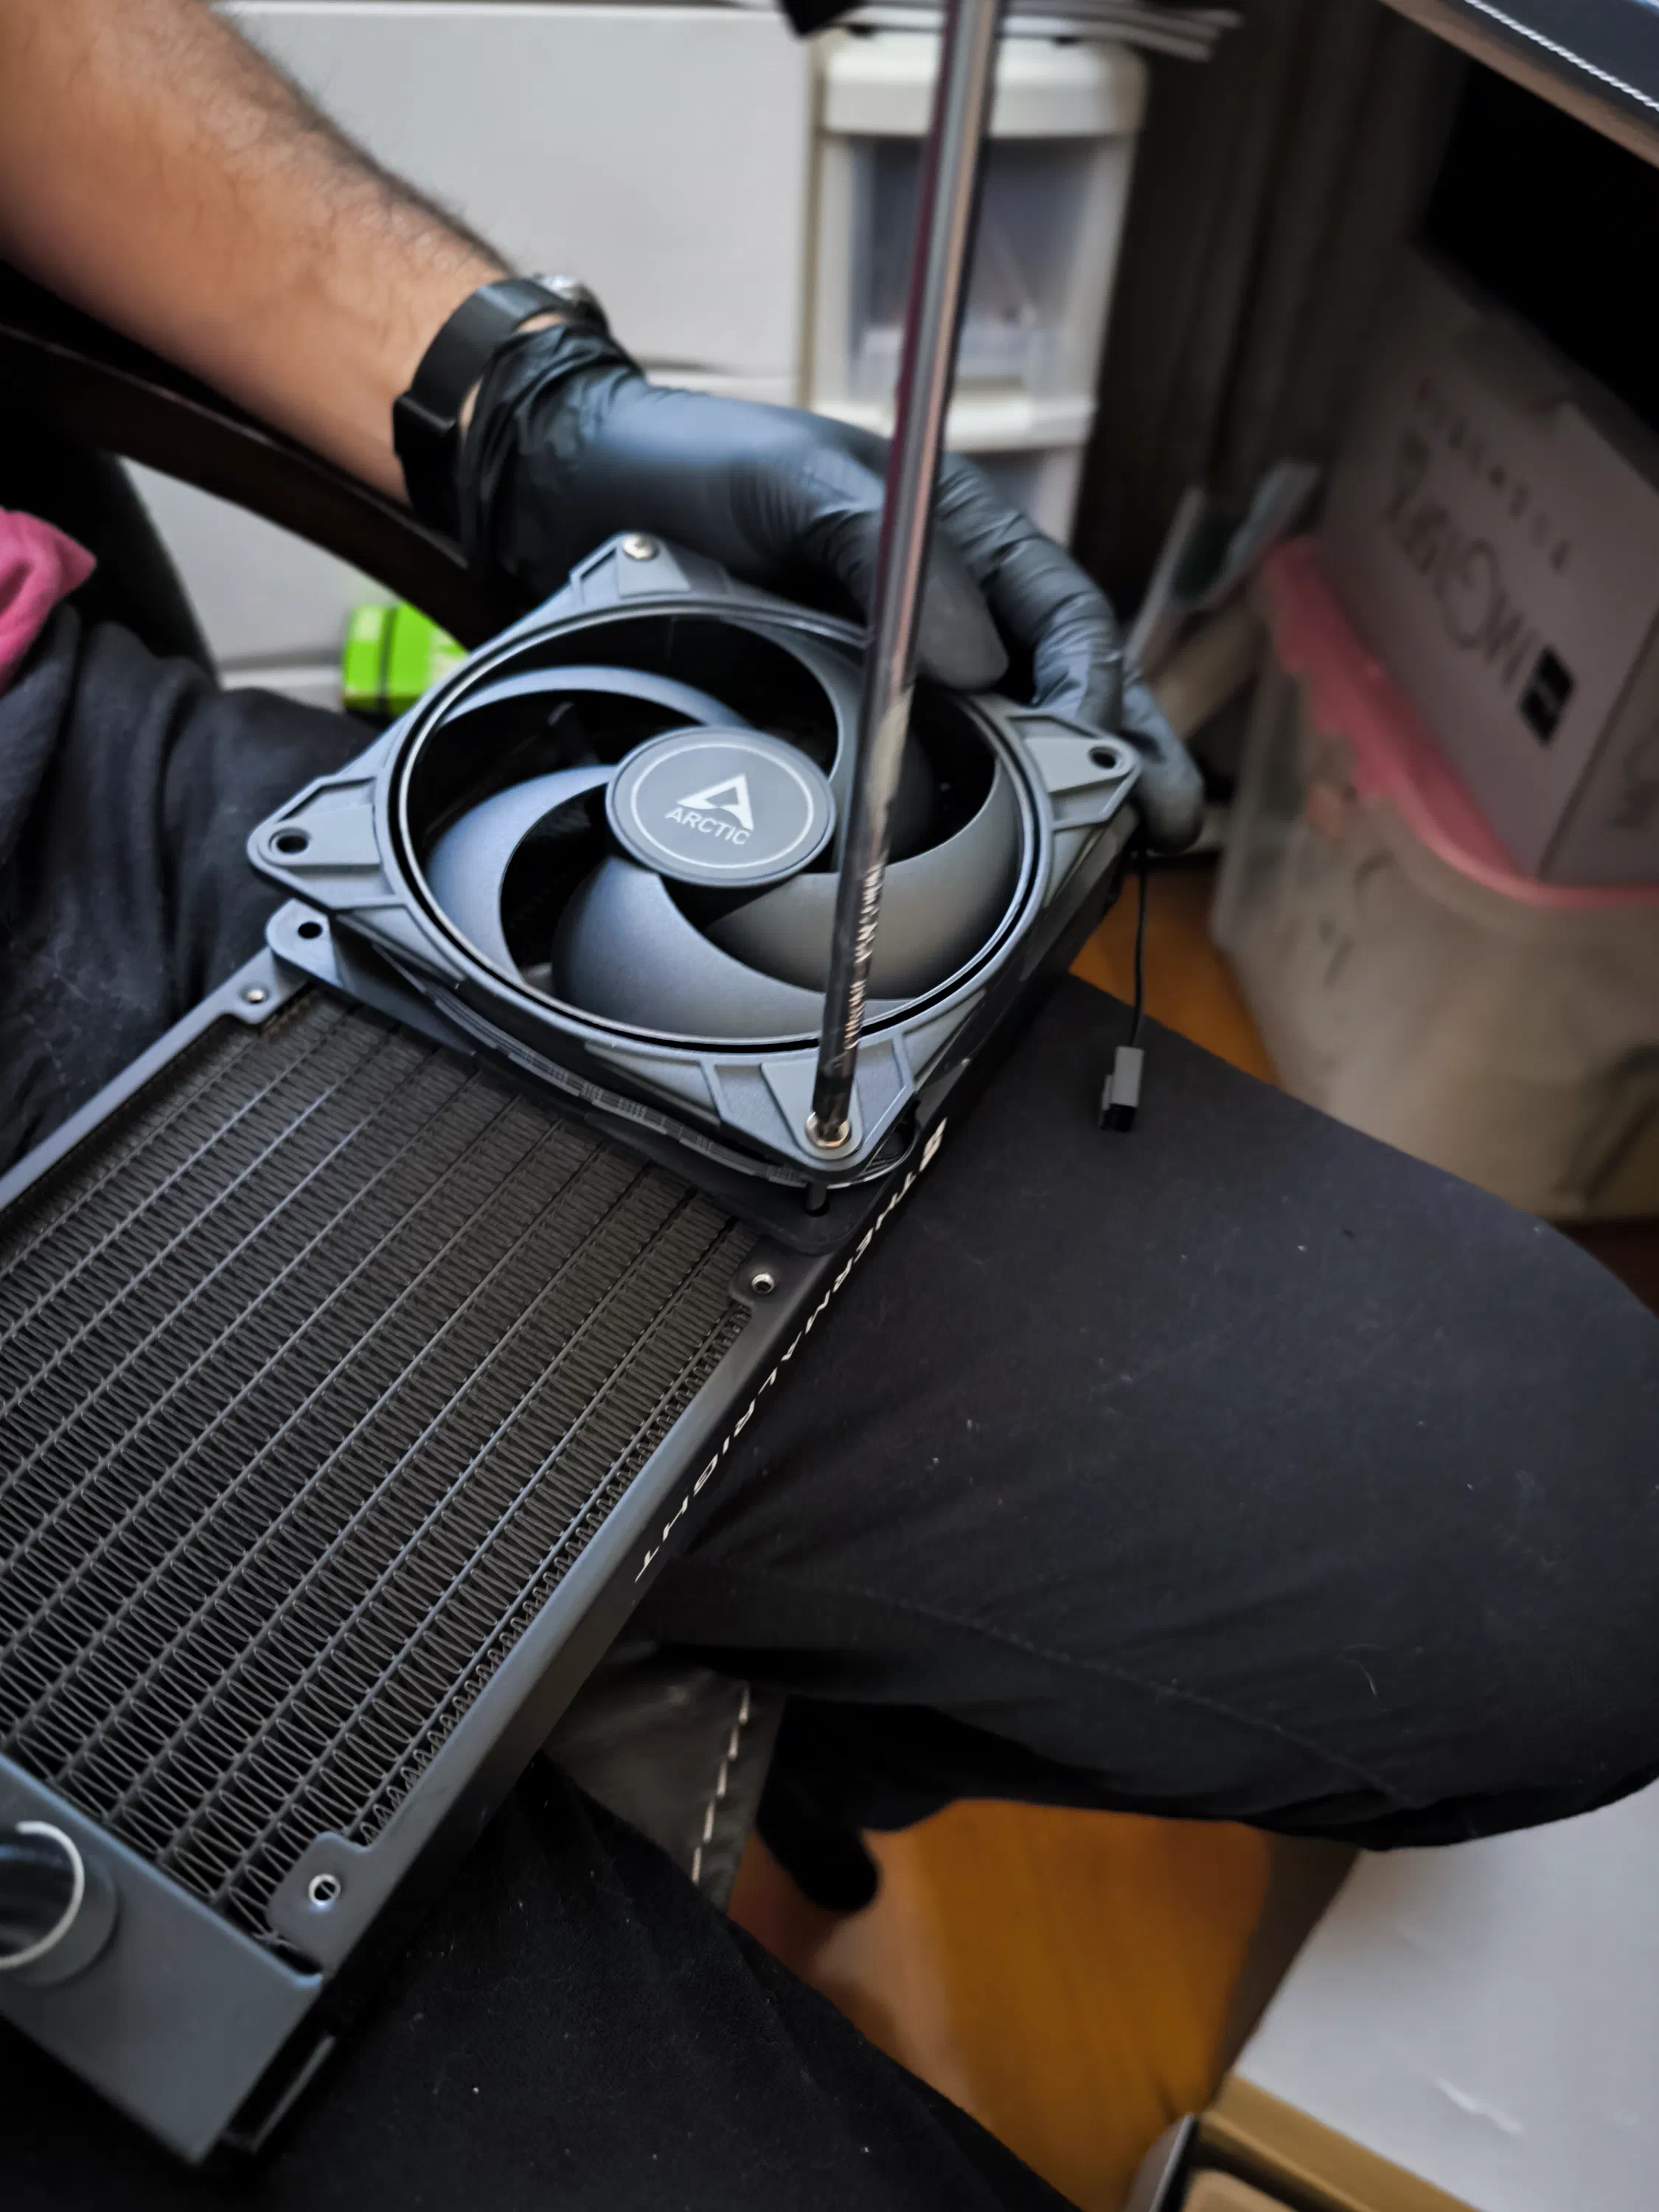
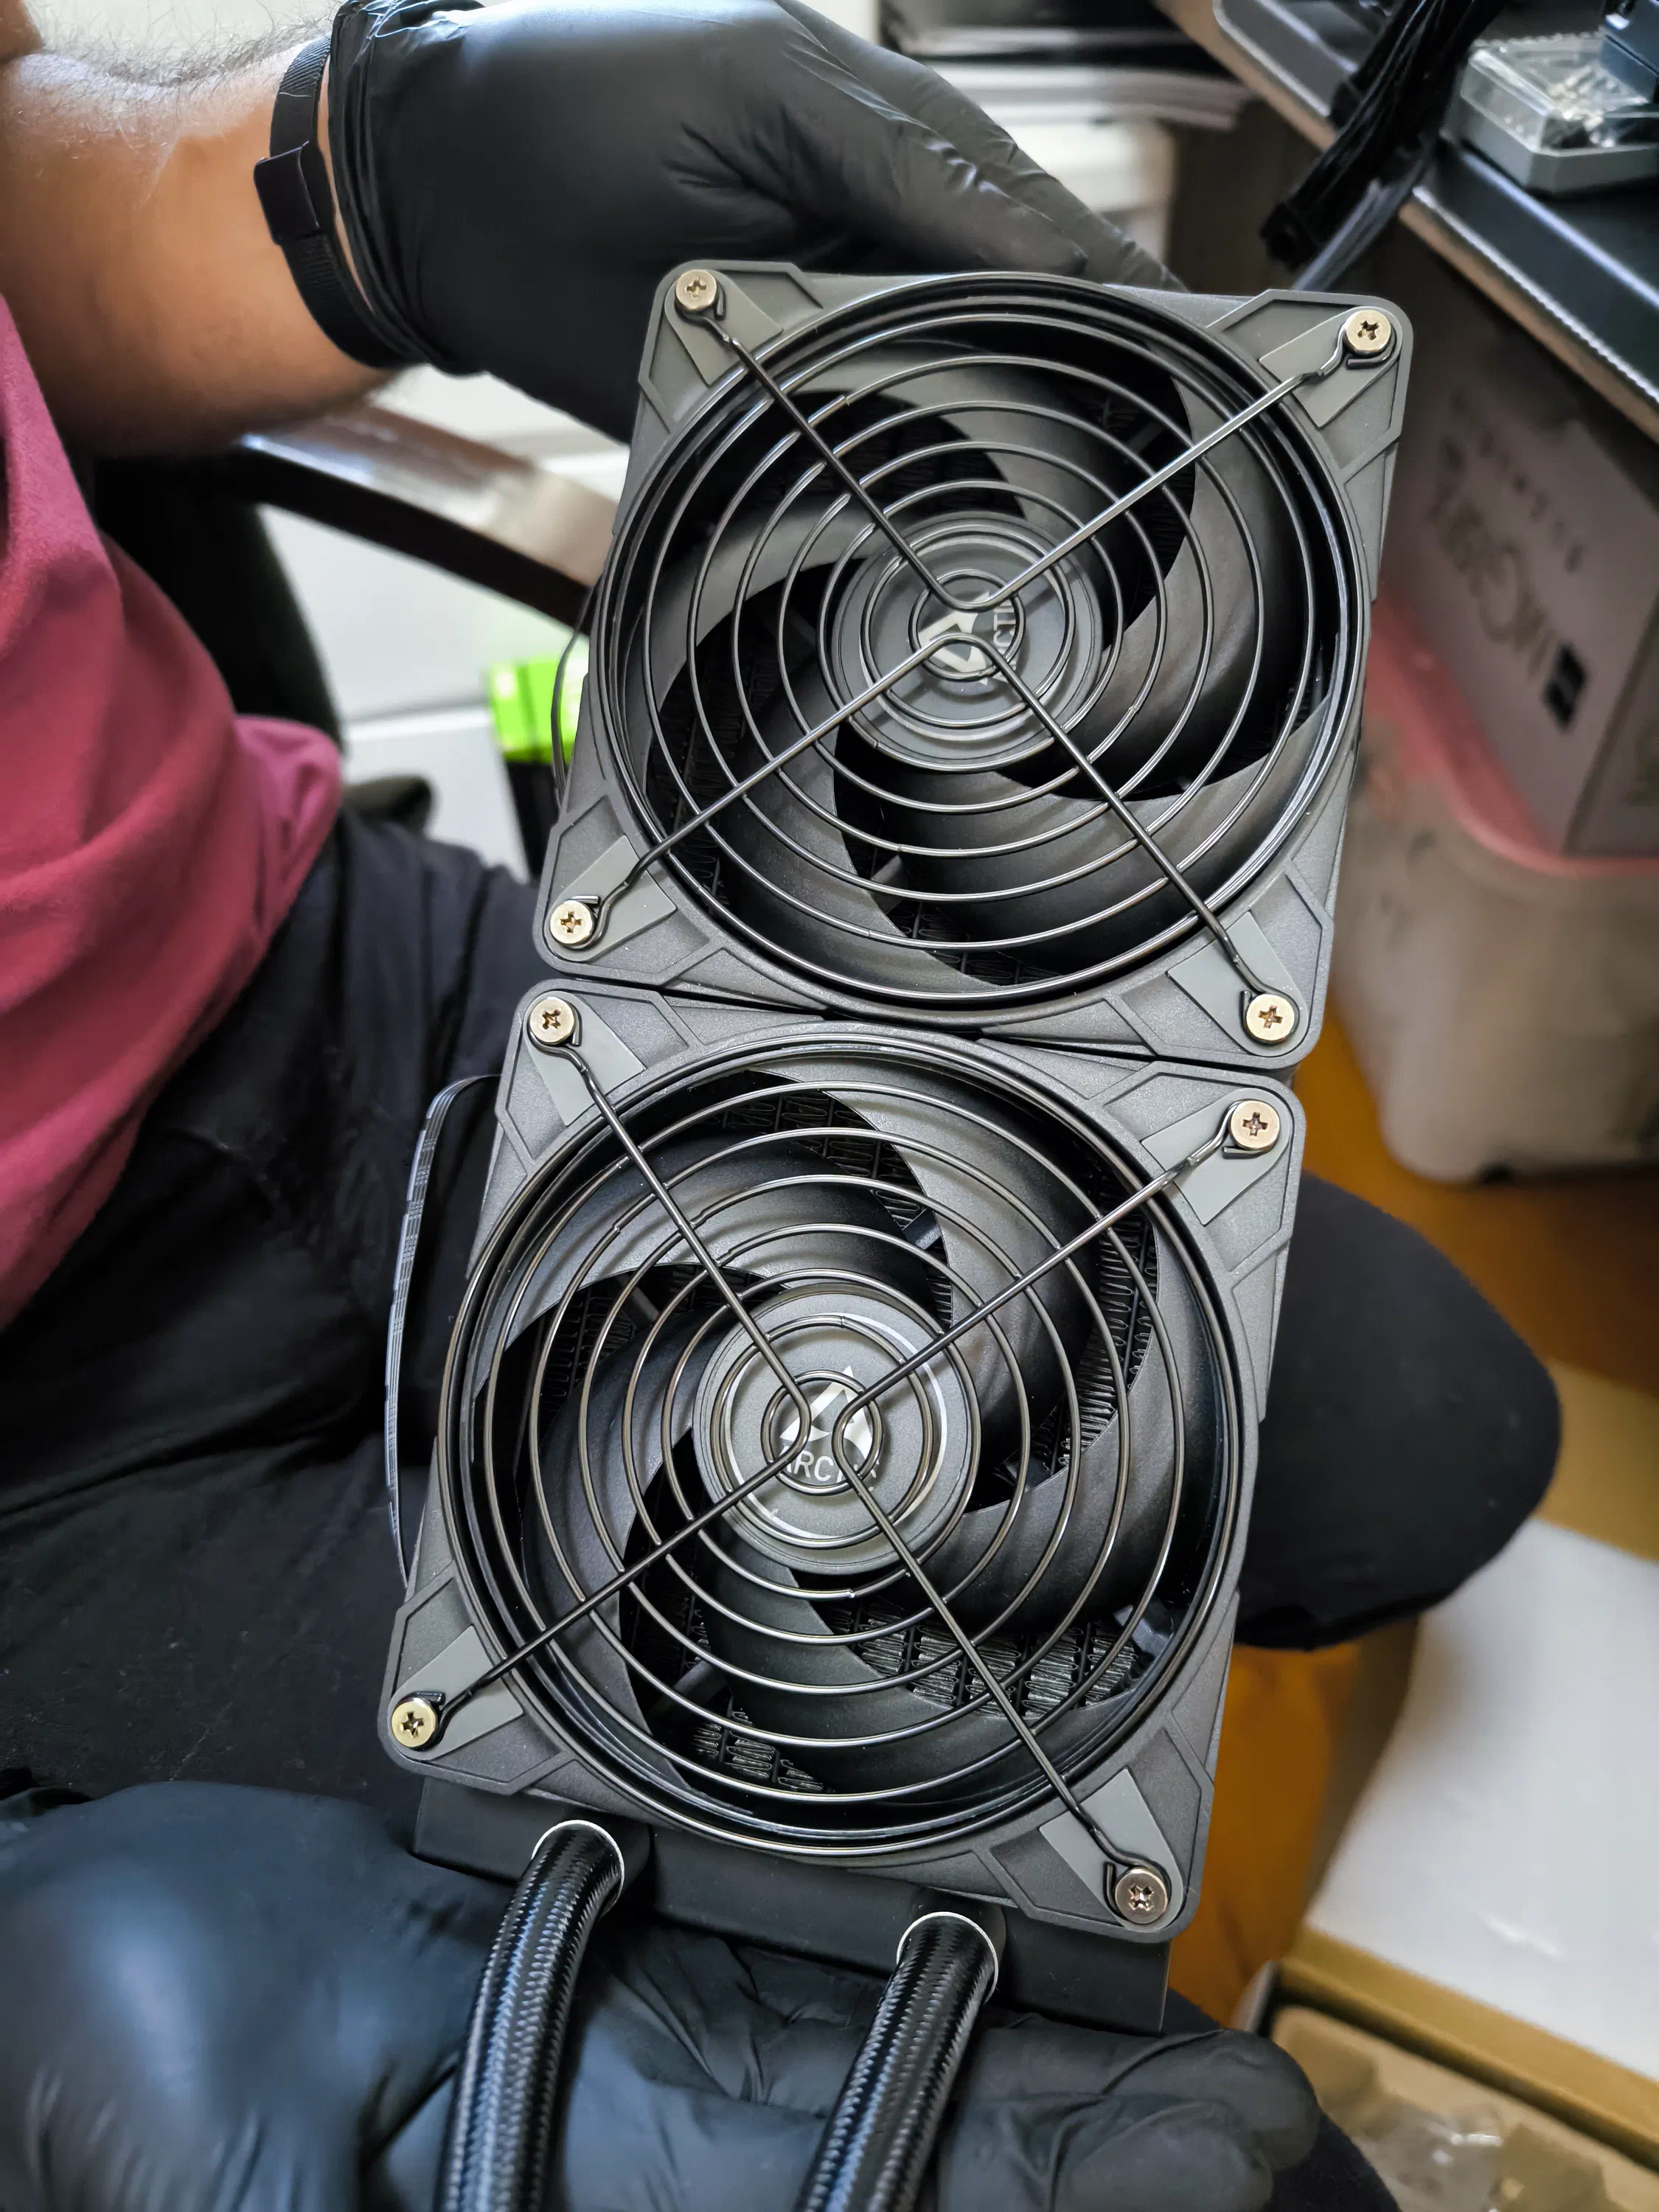
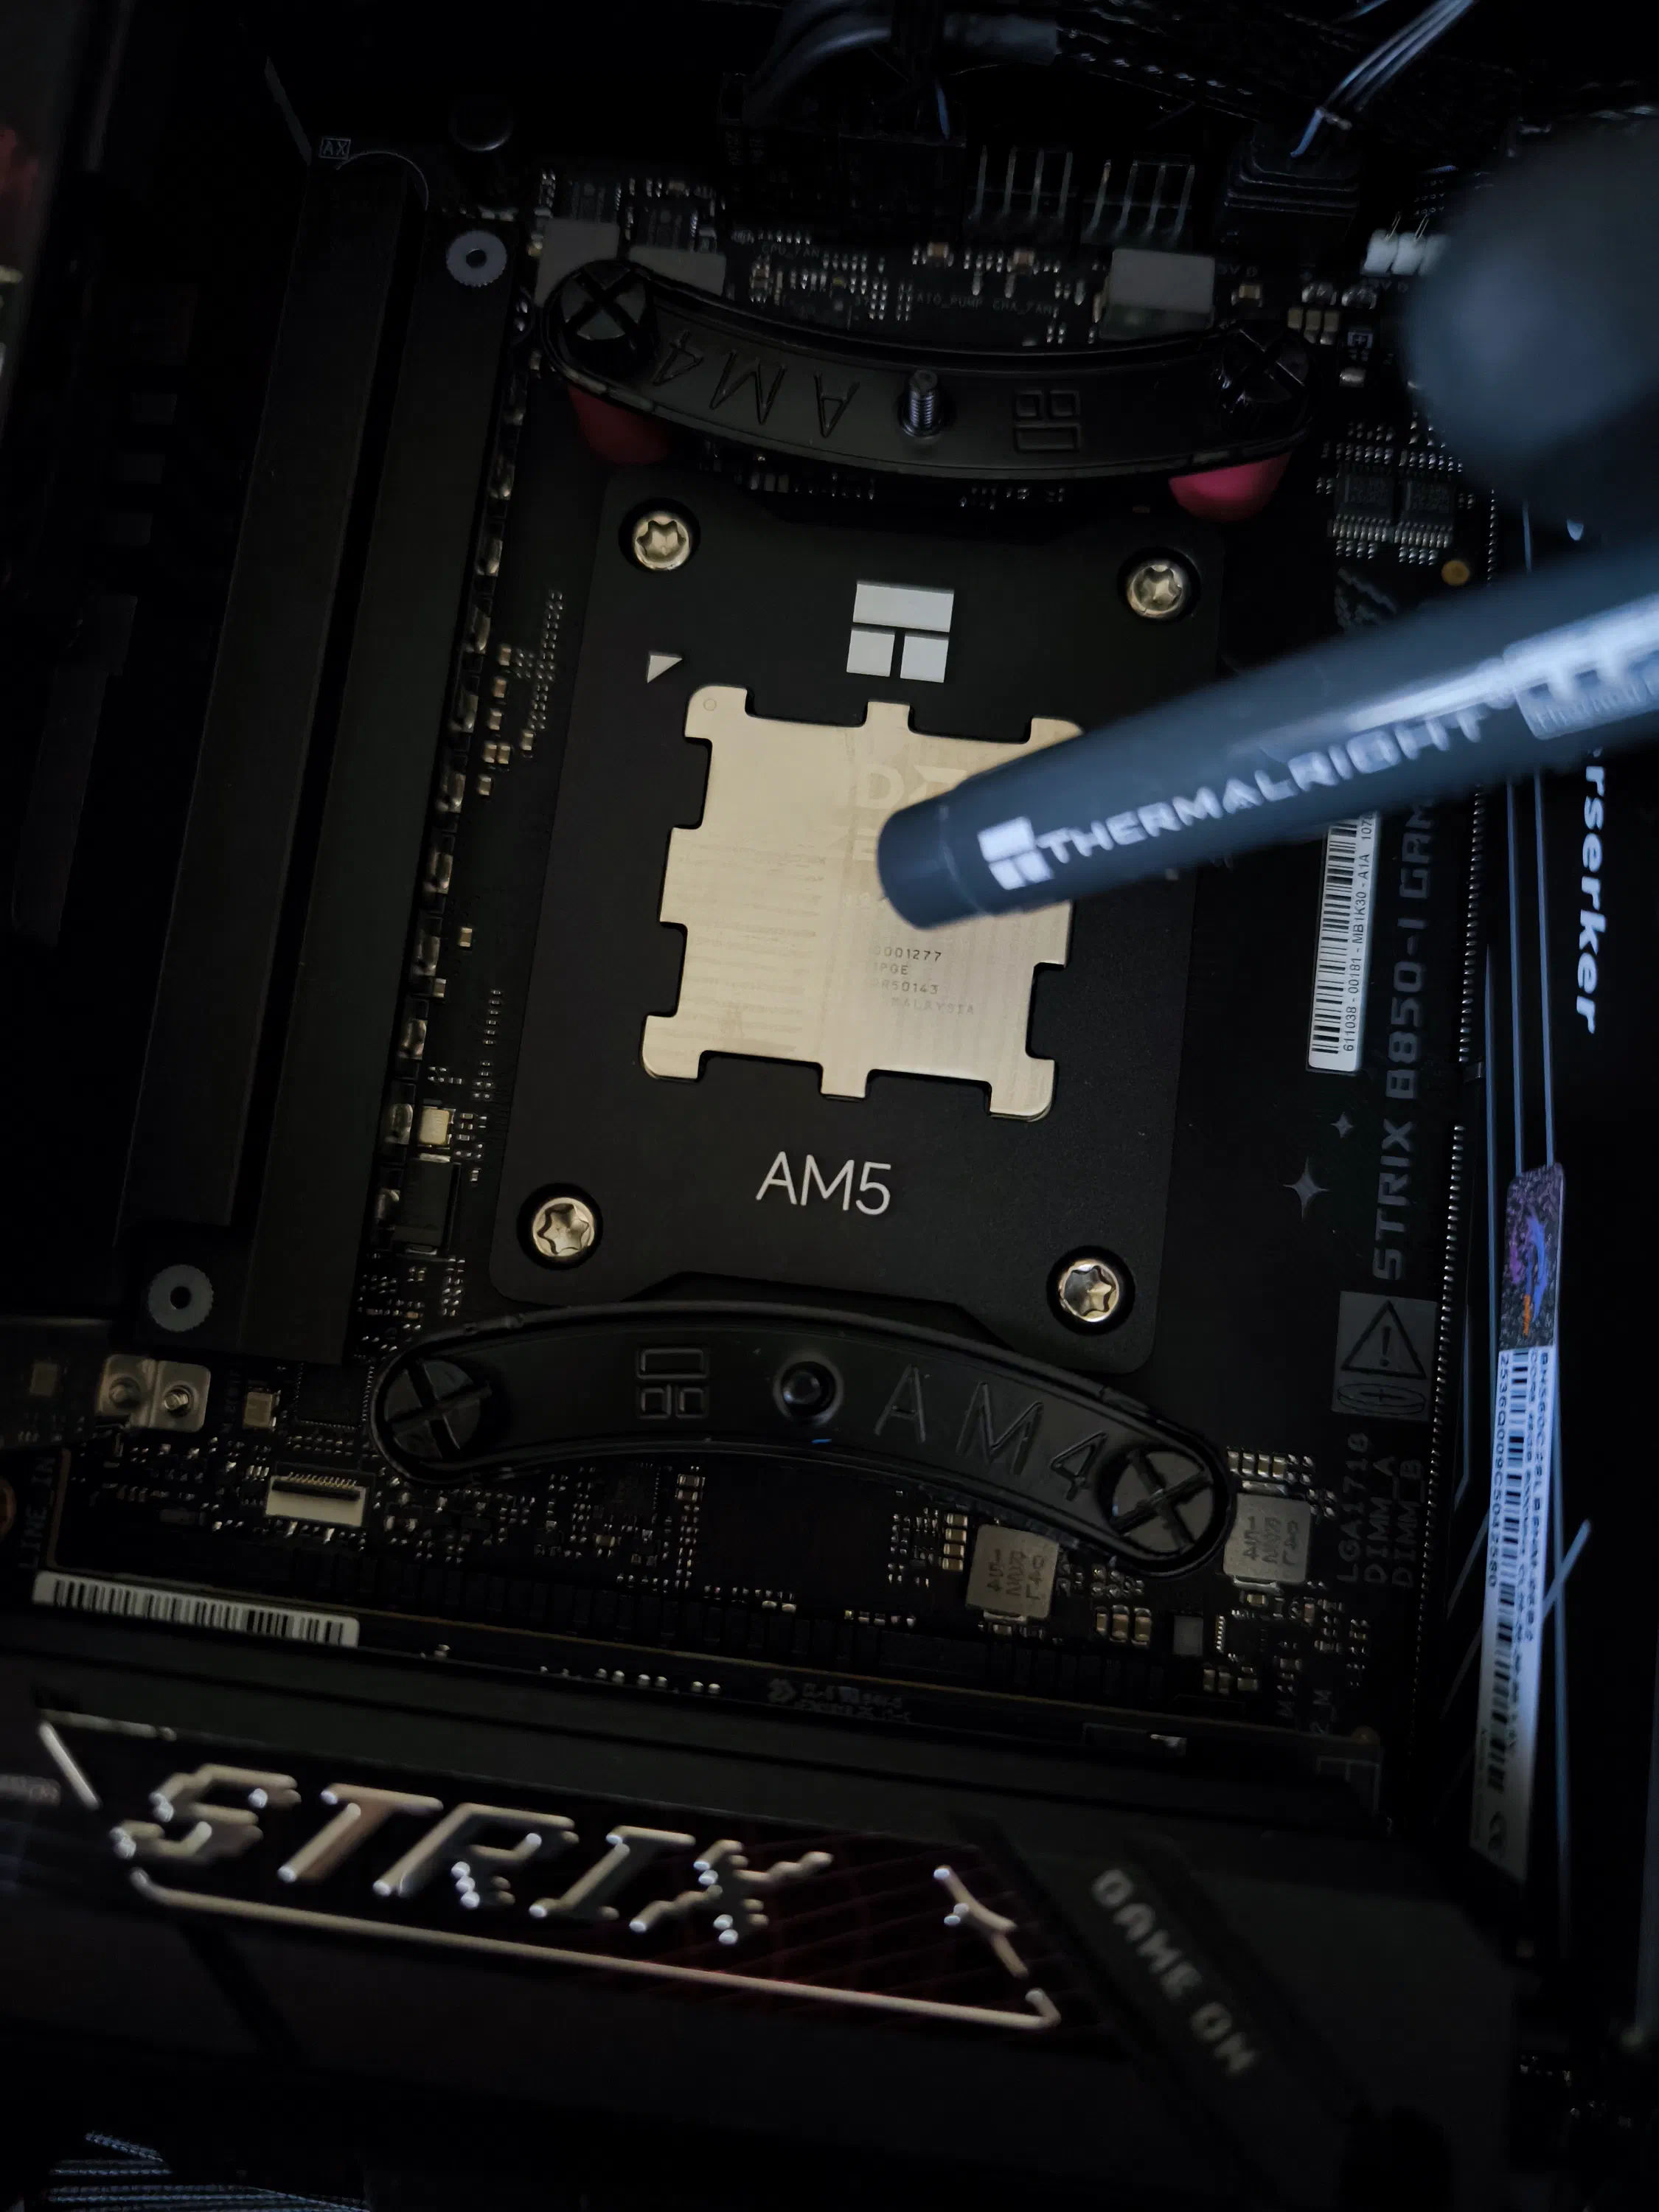
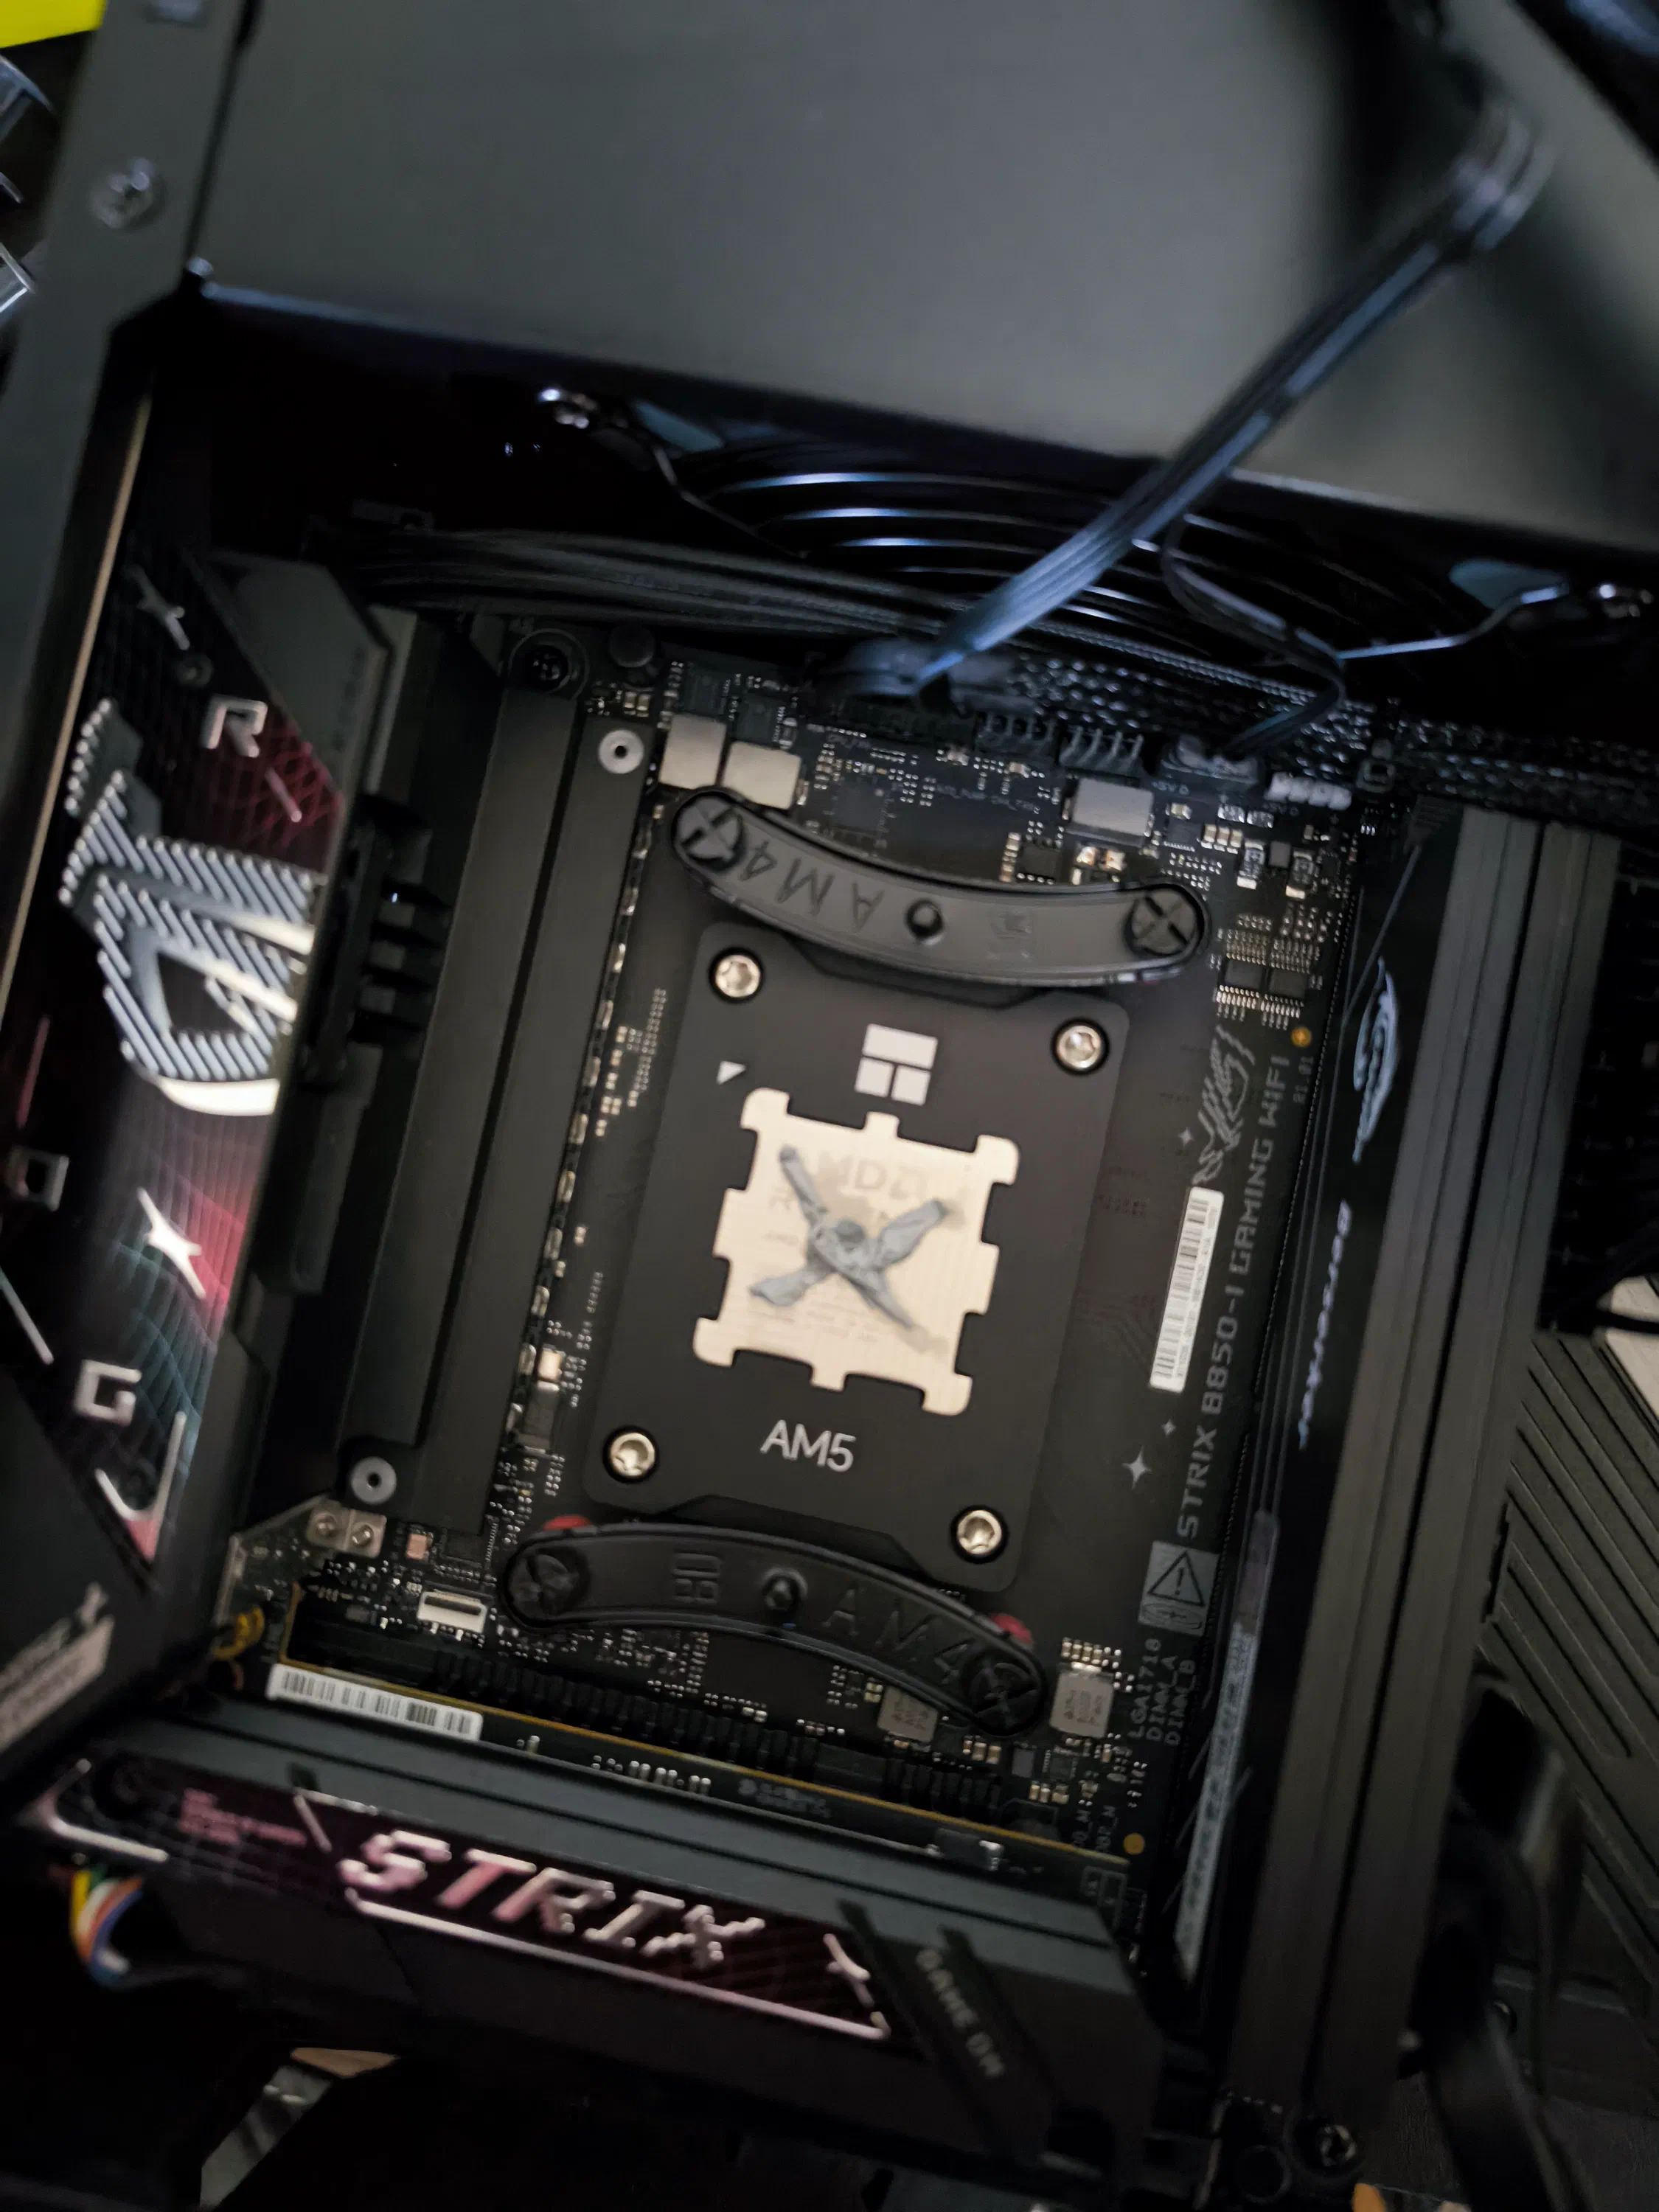
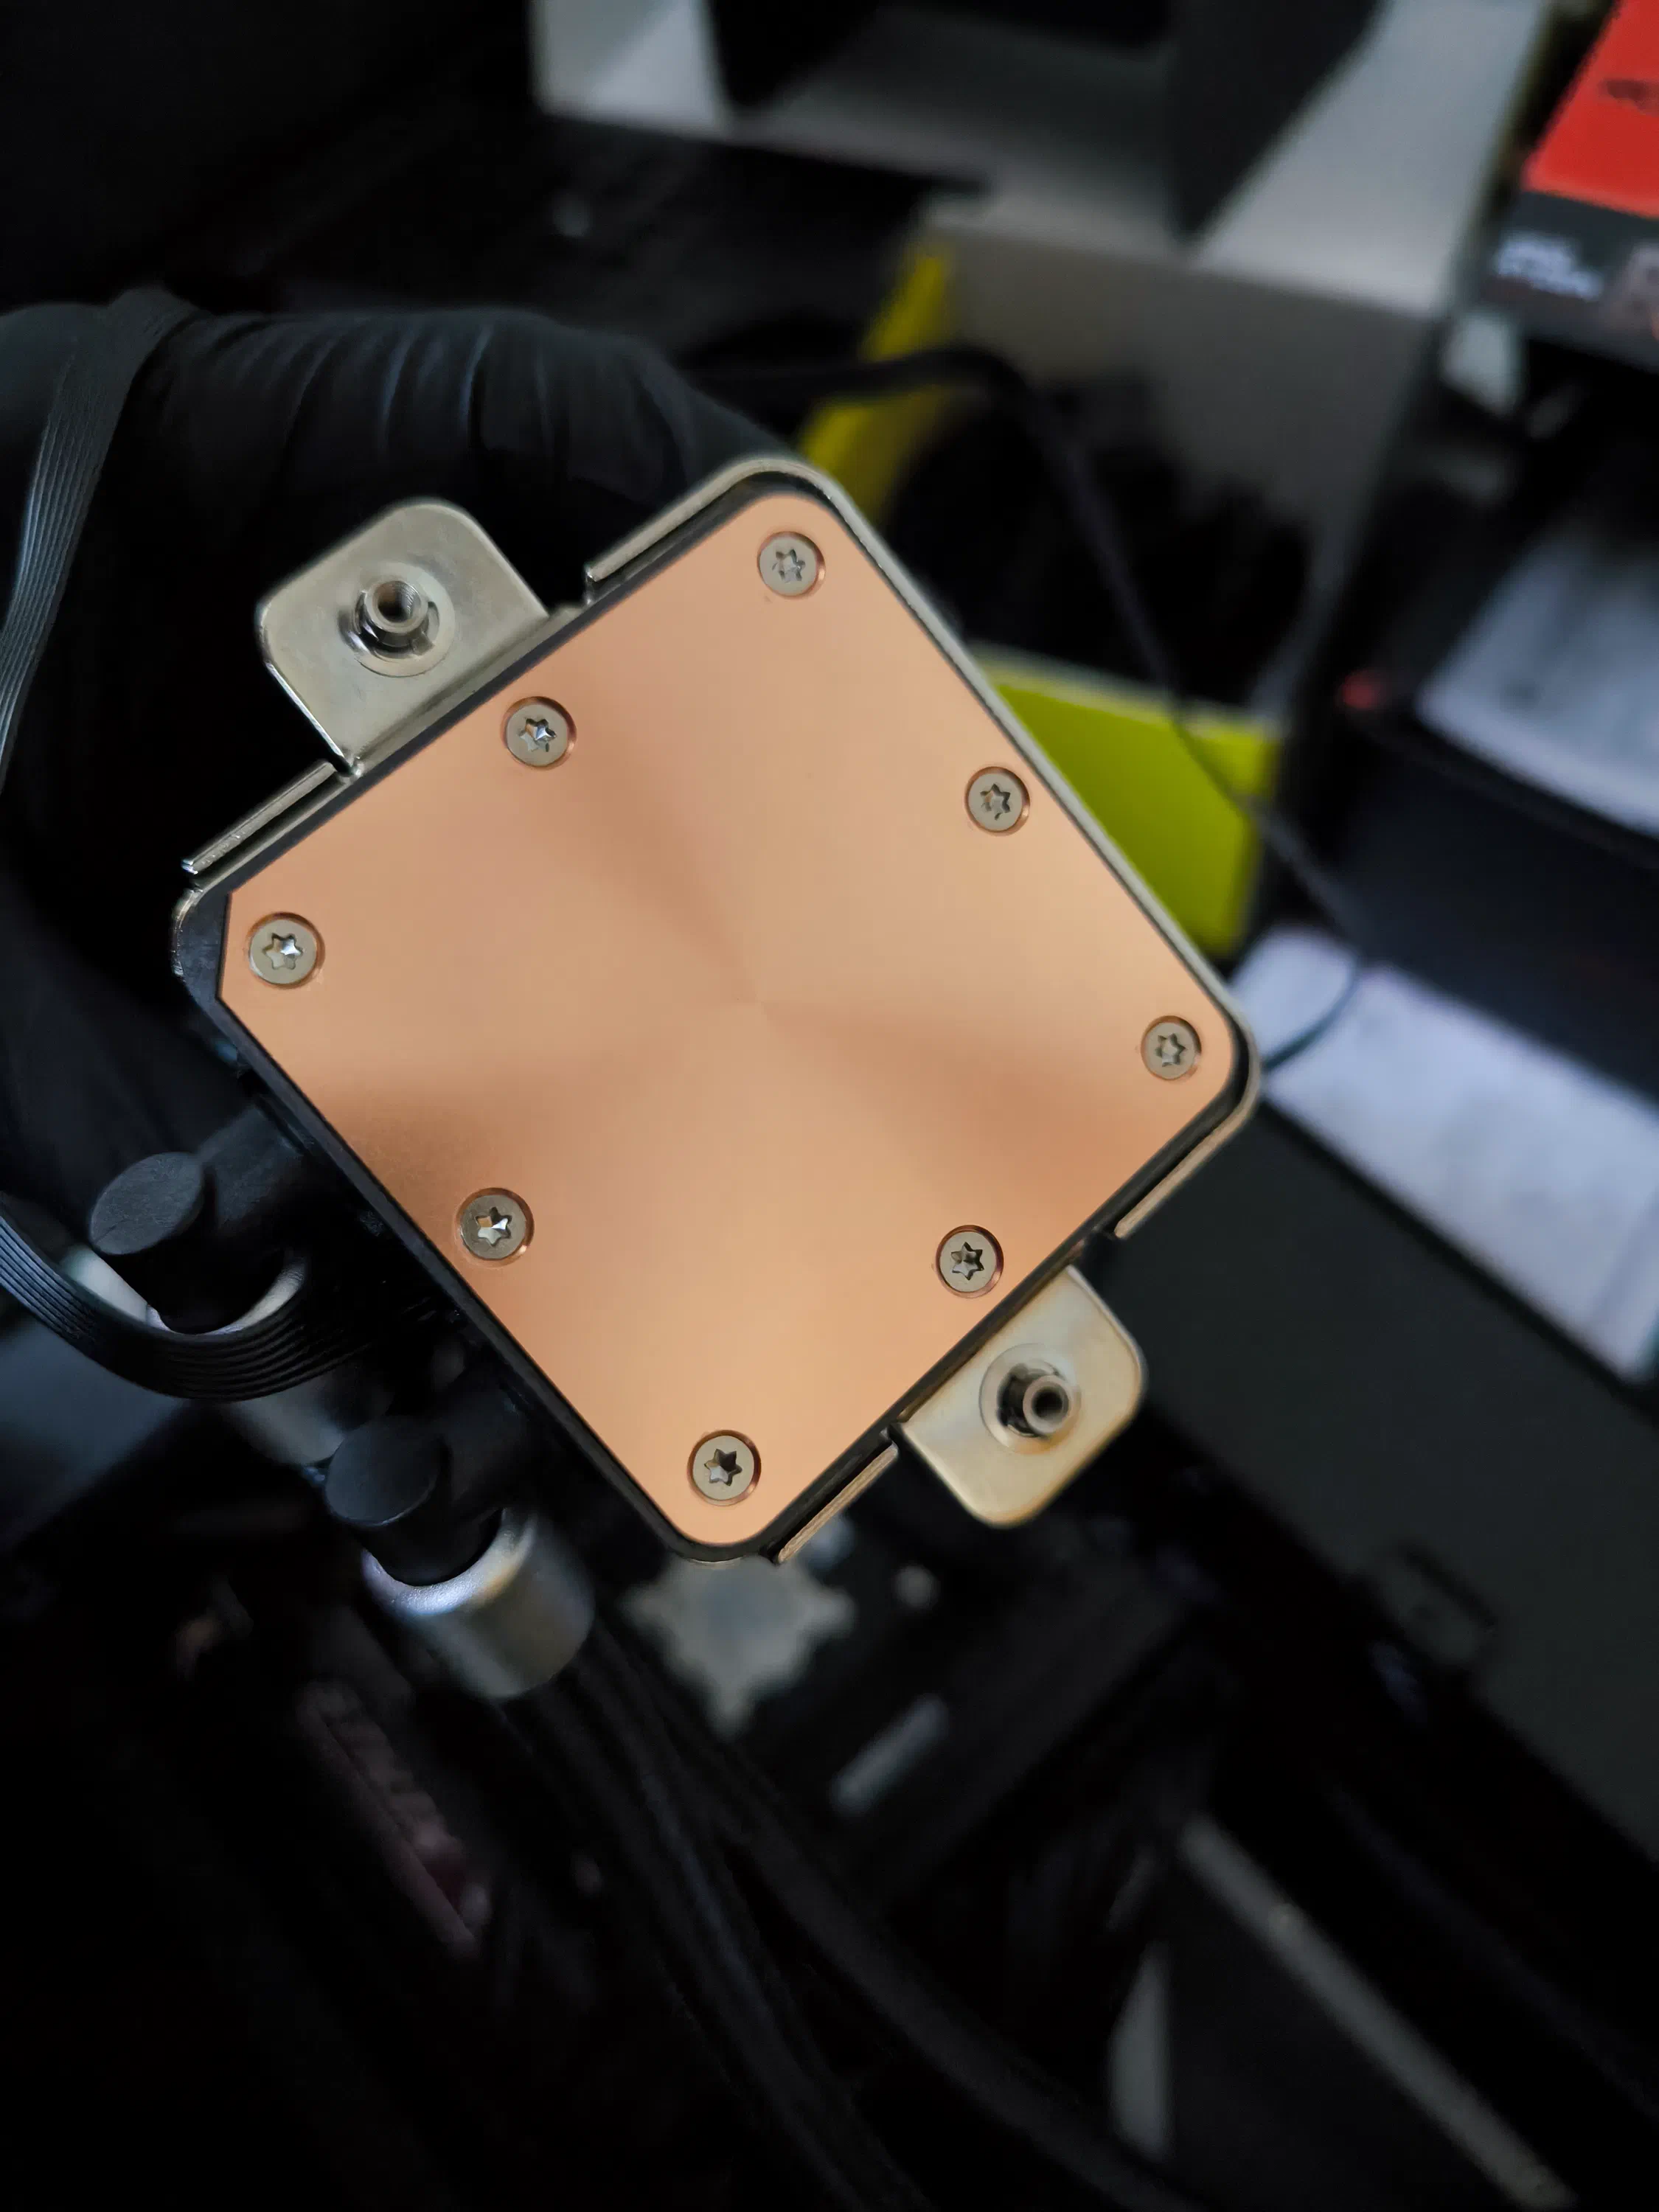
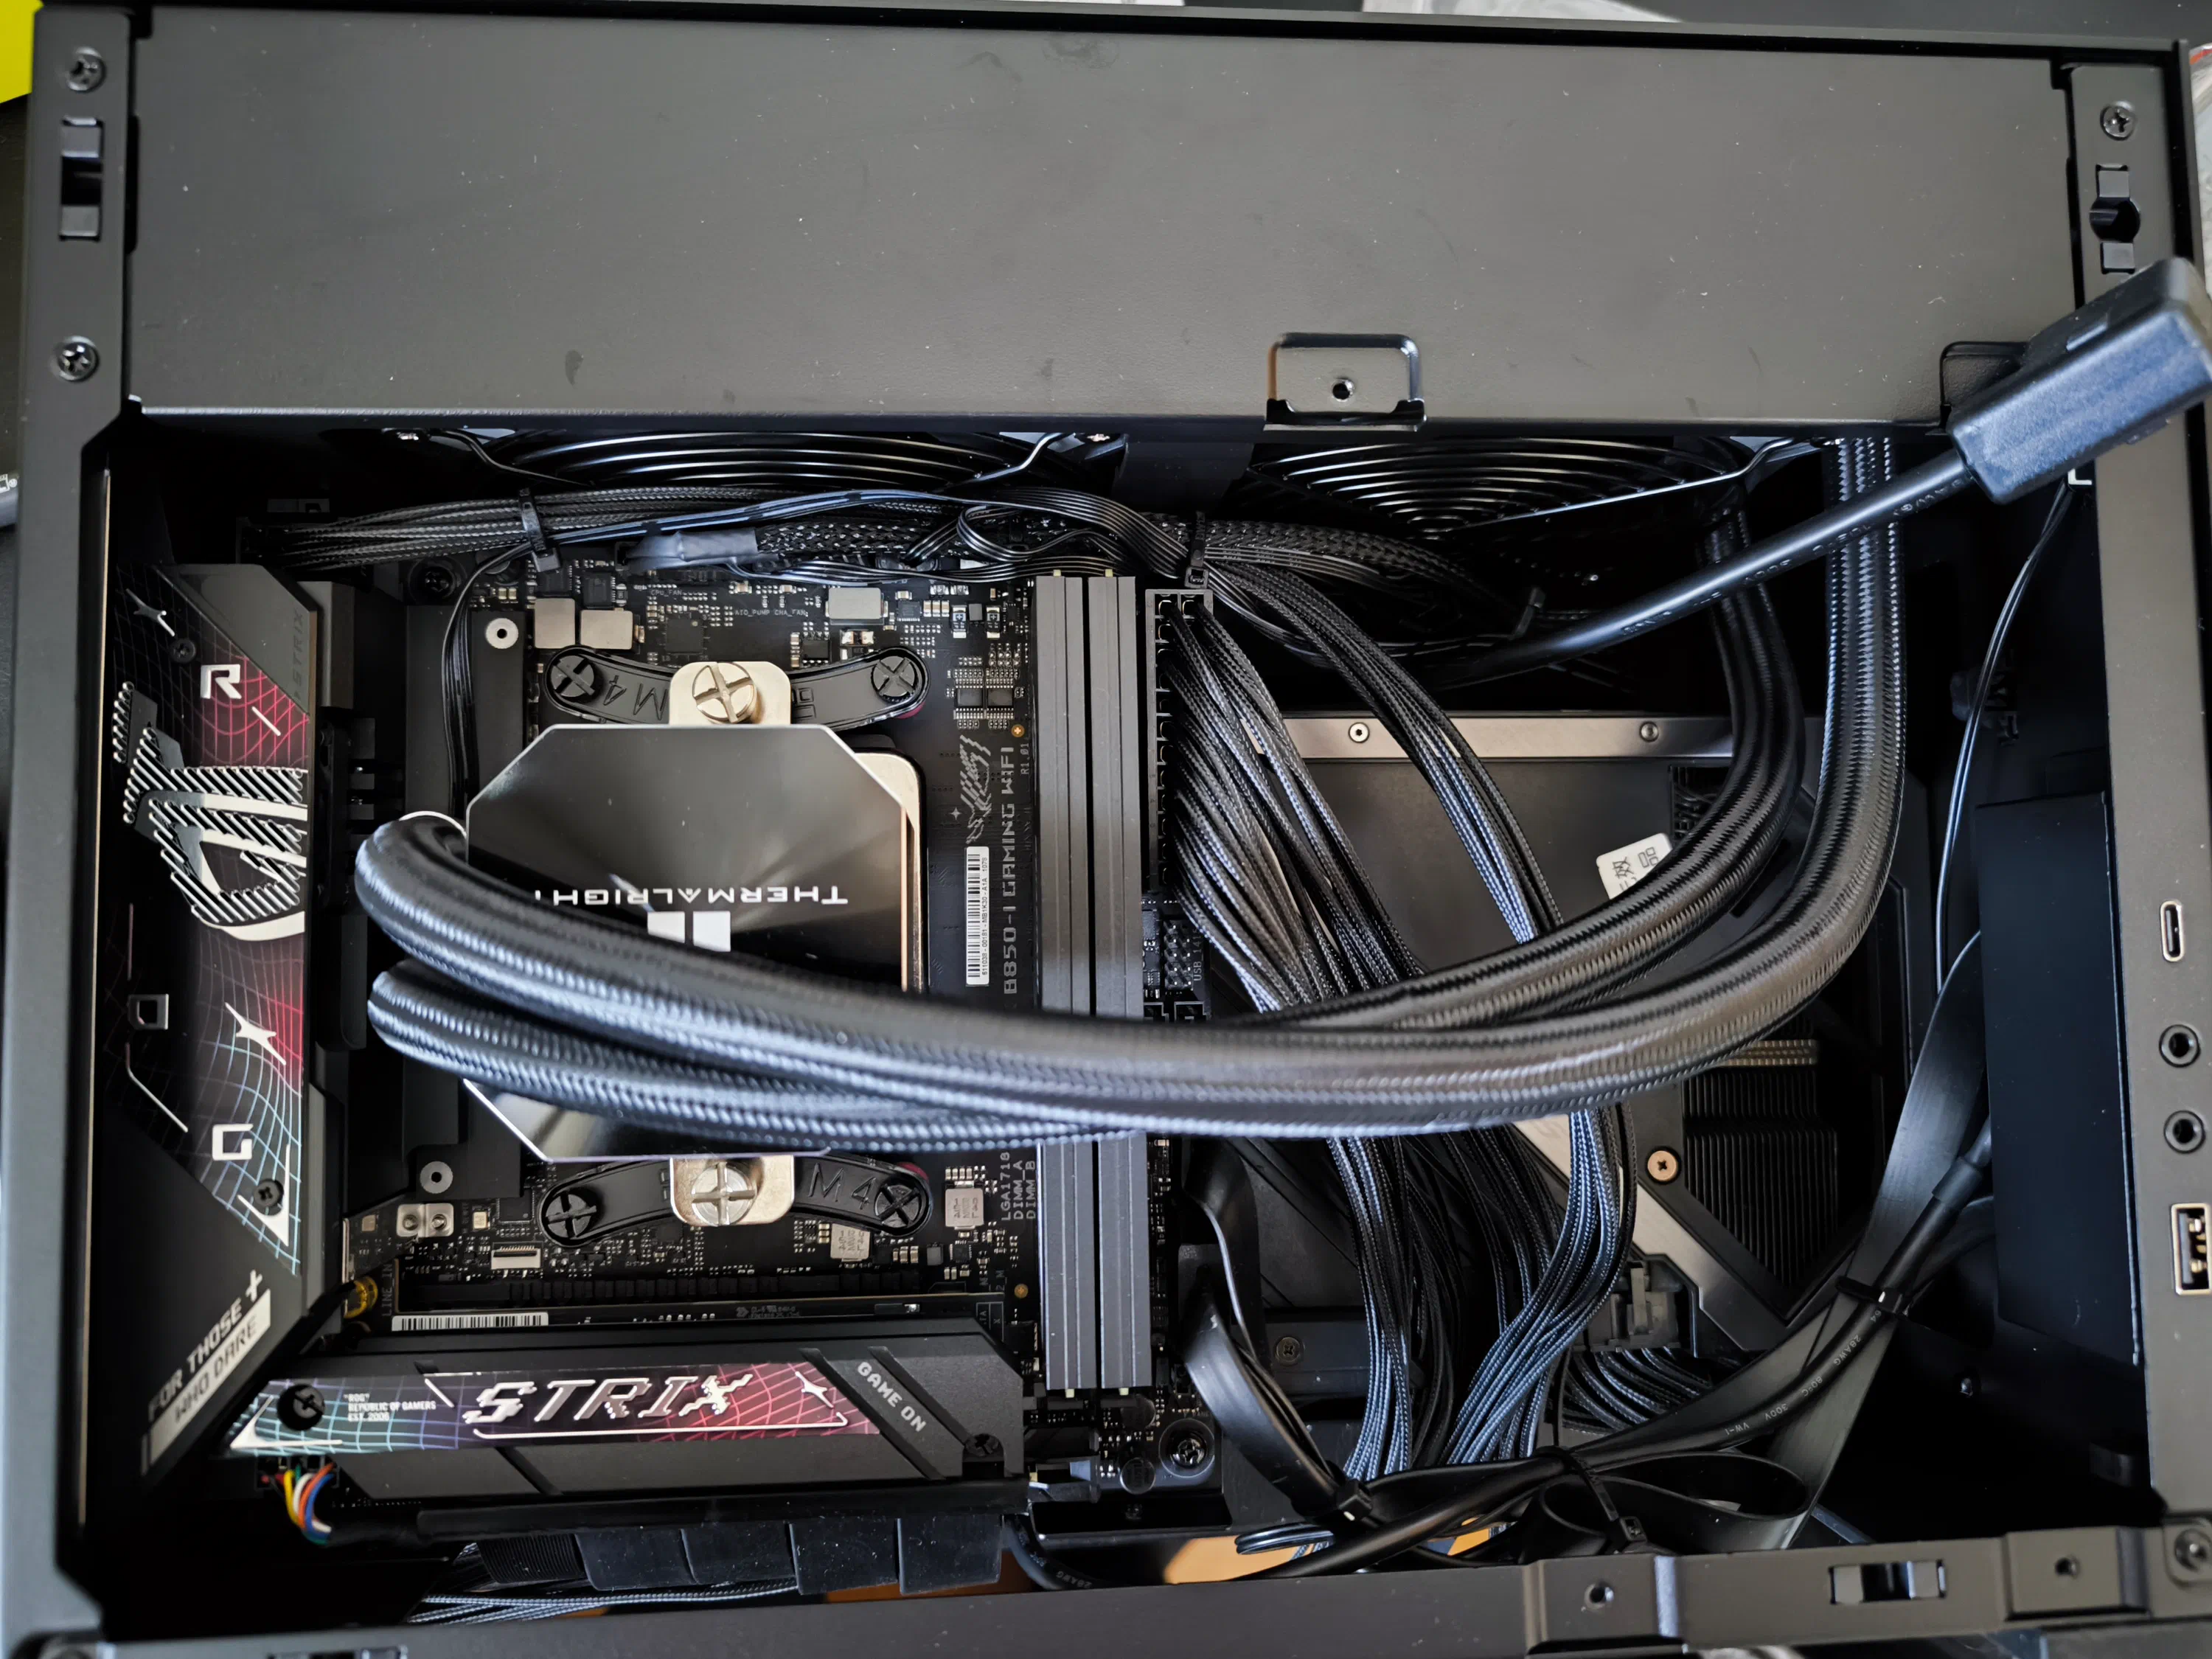
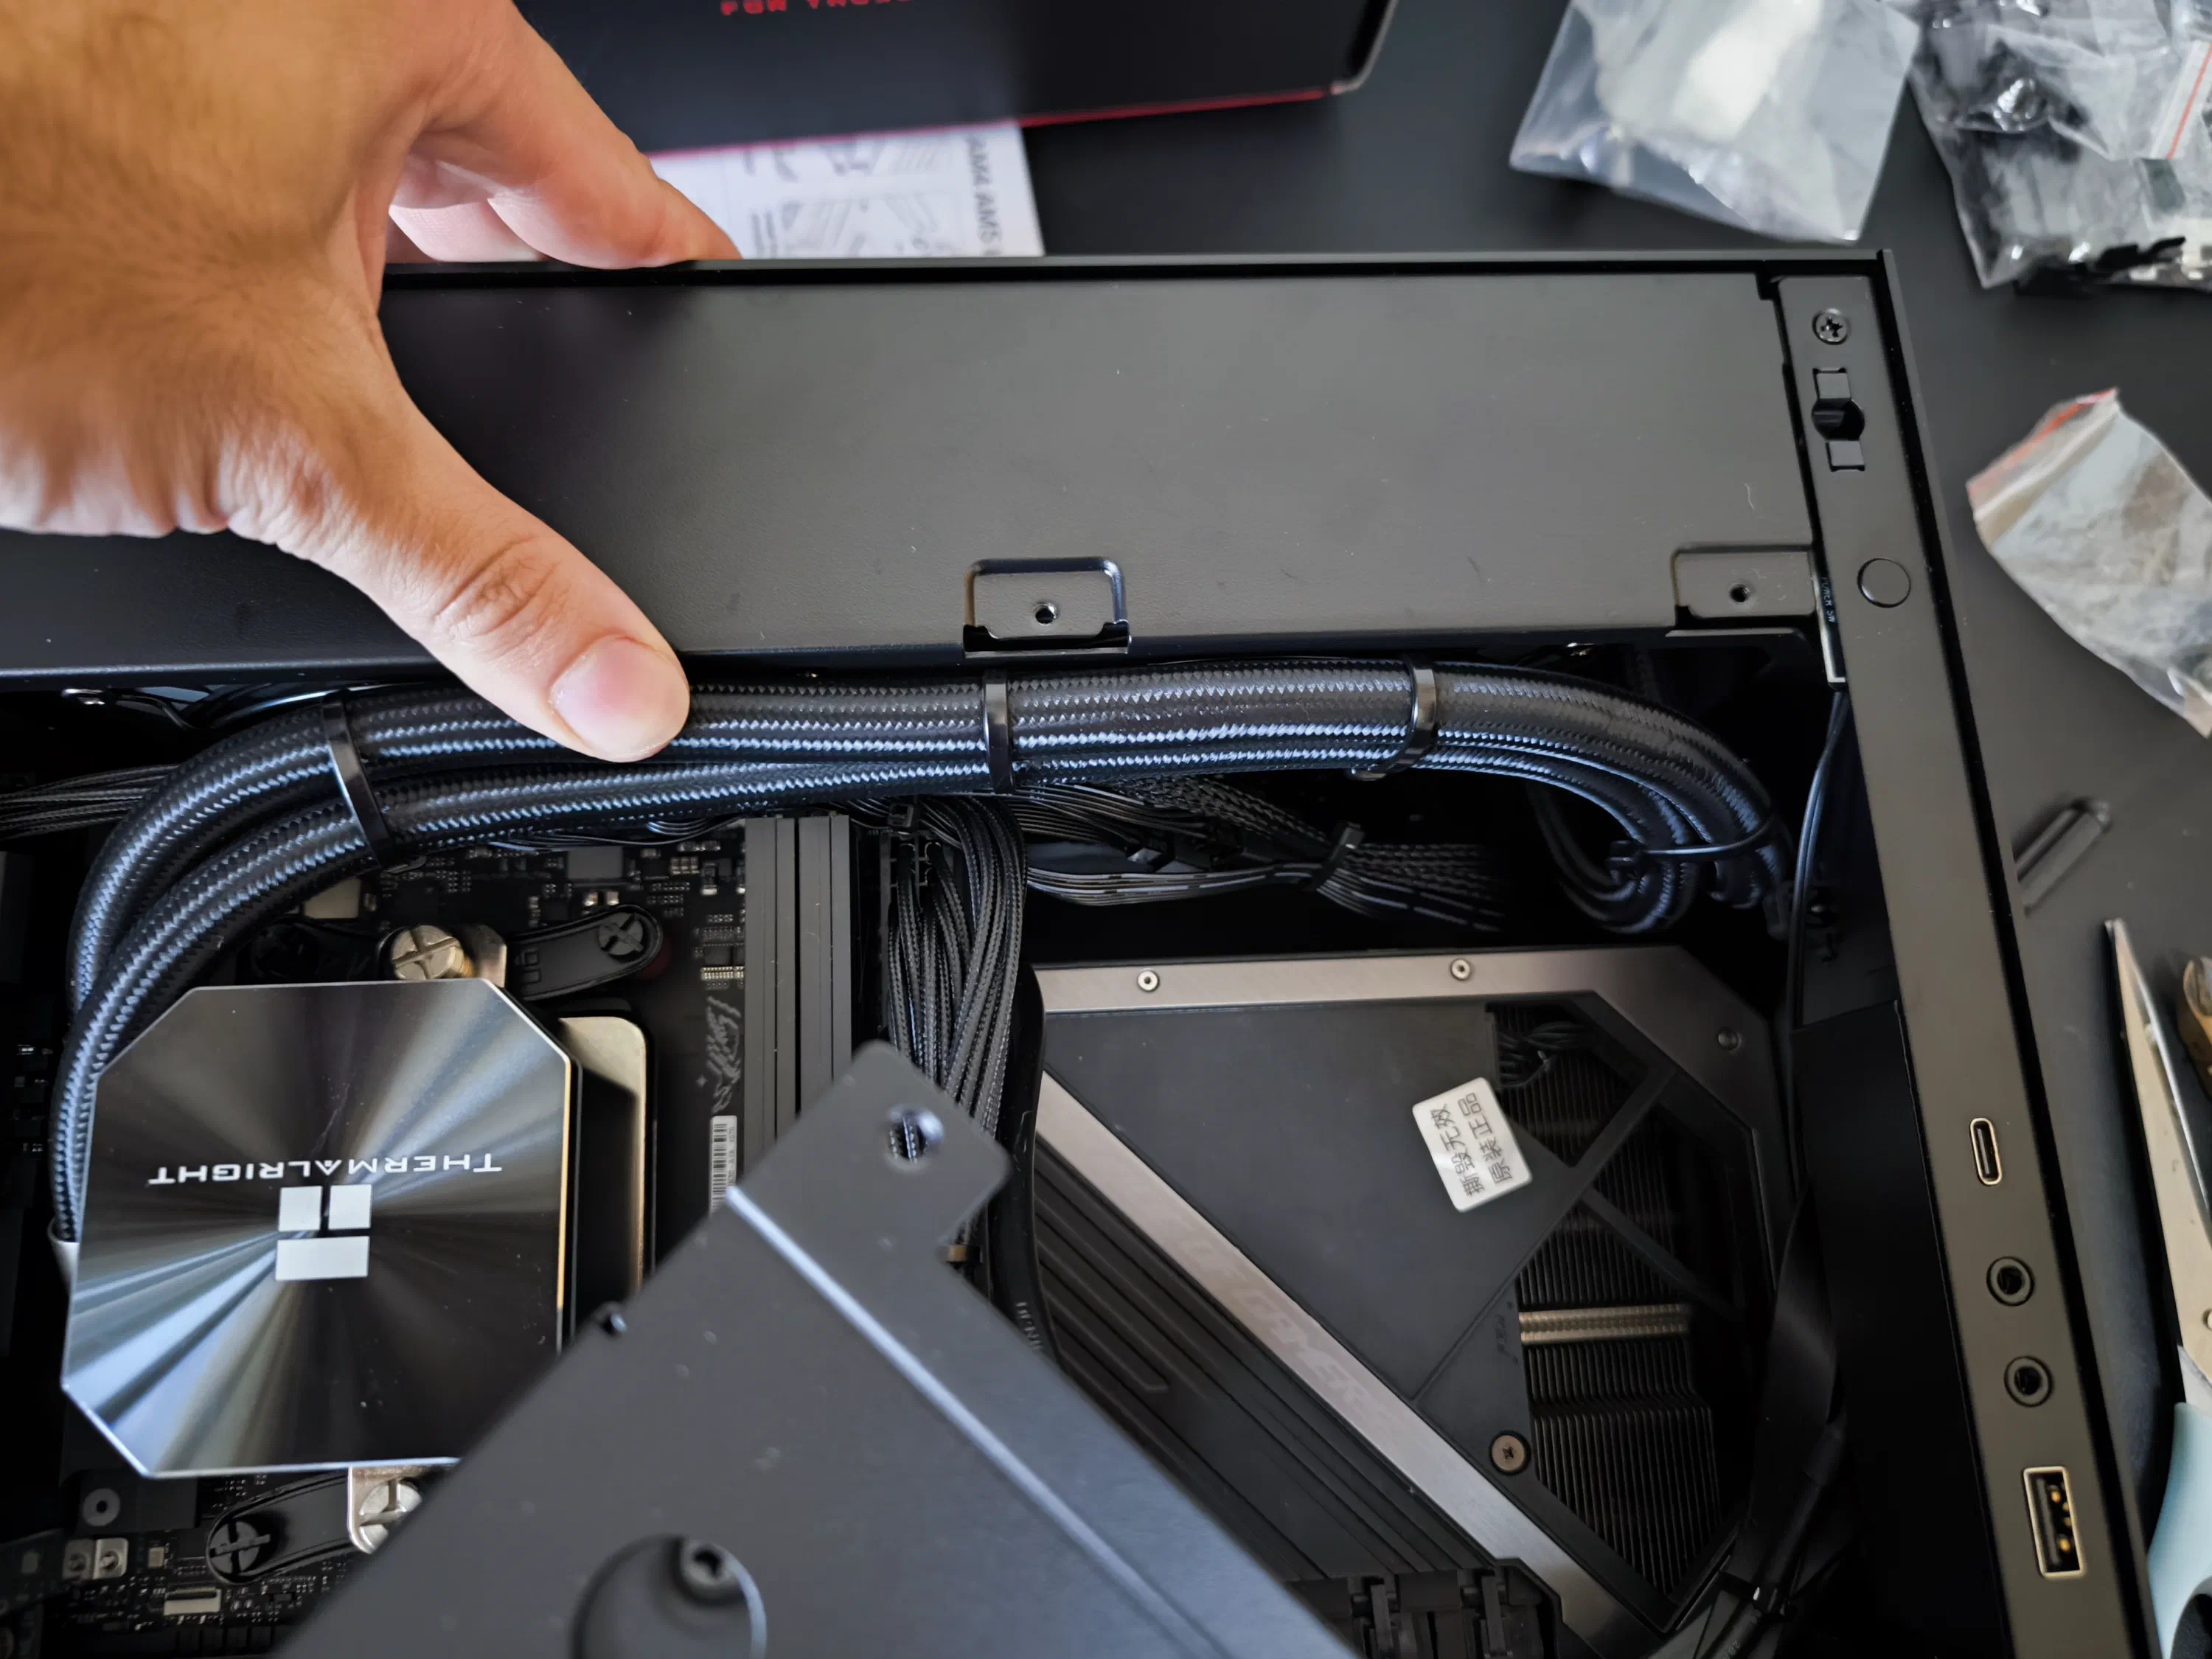
Something seemingly insignificant to note here is the fan guards that I attached. This was a vital addition, as they save a lot of headache in SFF builds by keeping the cables out of the way of the fans. For the very little cost, they are an amazing and highly convinient addition to any SFF build.
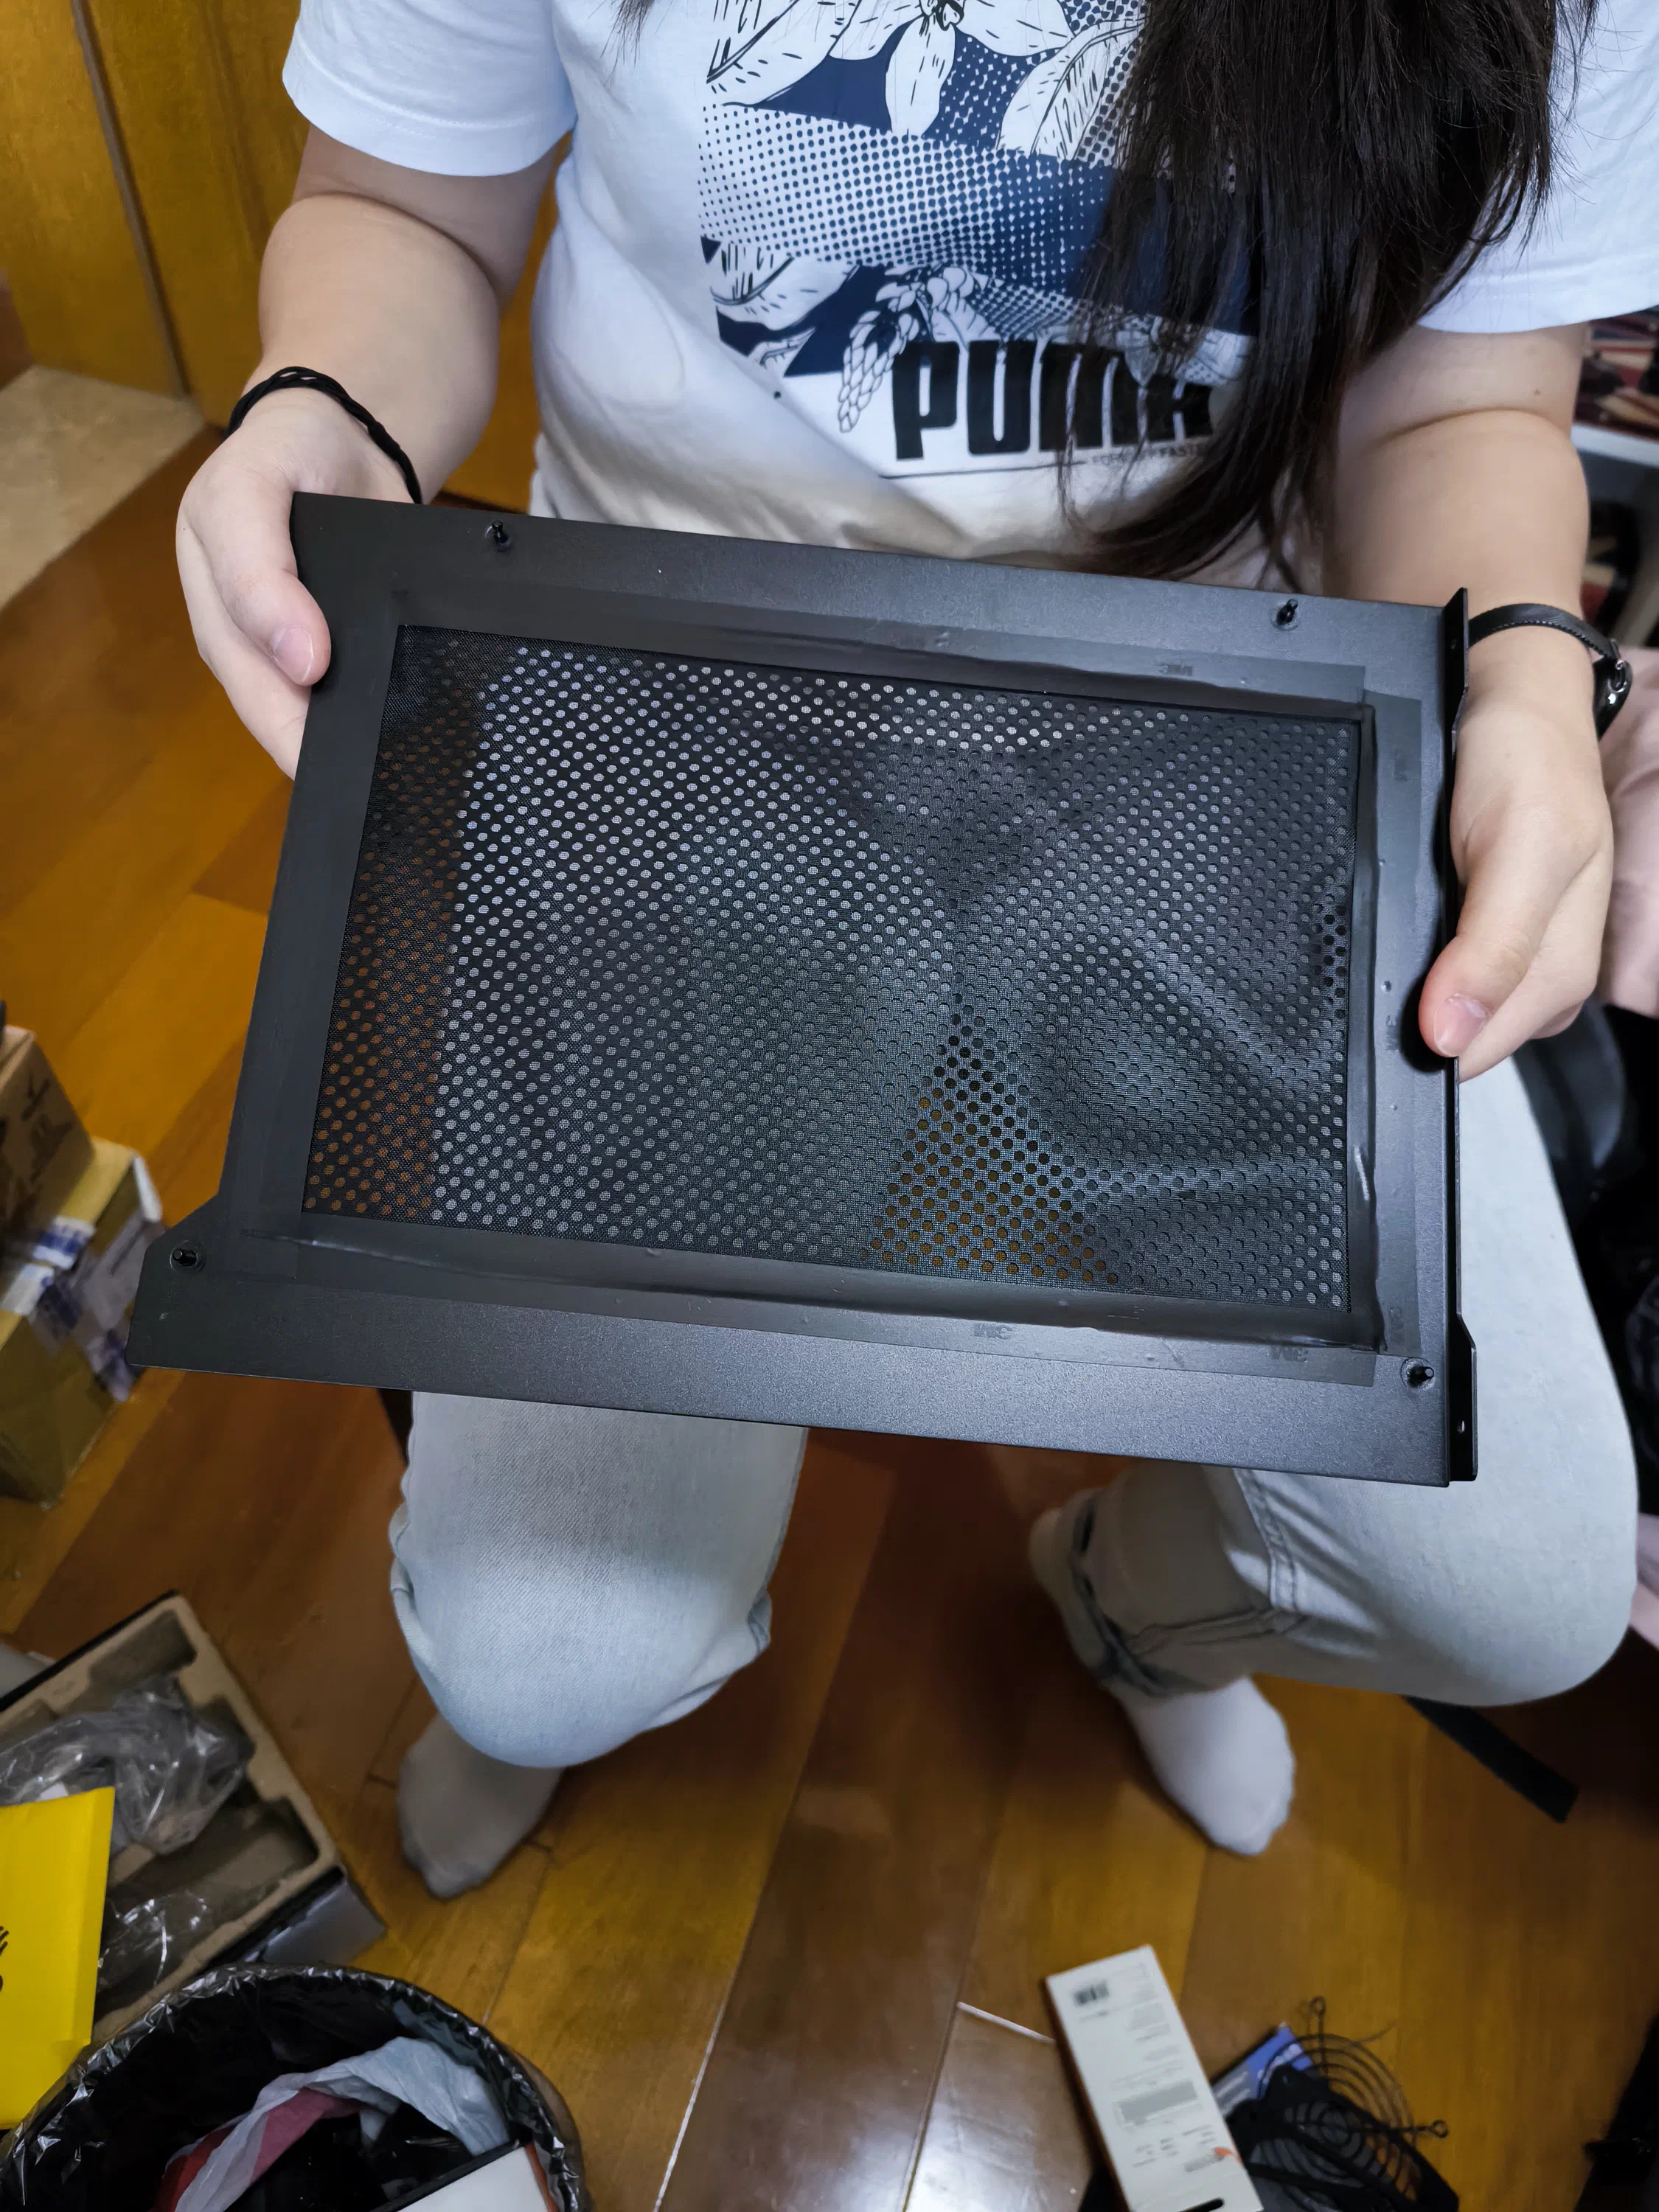
Also of note, I purchased some PVC mesh that I attached on every intake panel with some electrical tape. The vent holes on this case are 2mm in diameter and that is quite big when it comes to dust. To help with this, this 60 holes per cm (0.32mm) mesh greatly reduces dust build up without restricting airflow too much on the intakes.
Cable Management & Mounting the PSU
The last step was to mount the PSU and work on some cable management. I used the zip ties included with the MB and PSU for this, and slowly worked my way to neatly bend all of the PSU cables underneath in the generous space at the bottom provided by this case. I also added a small GPU riser before closing the bottom panel to ensure a secure placement for the very large RTX3090.
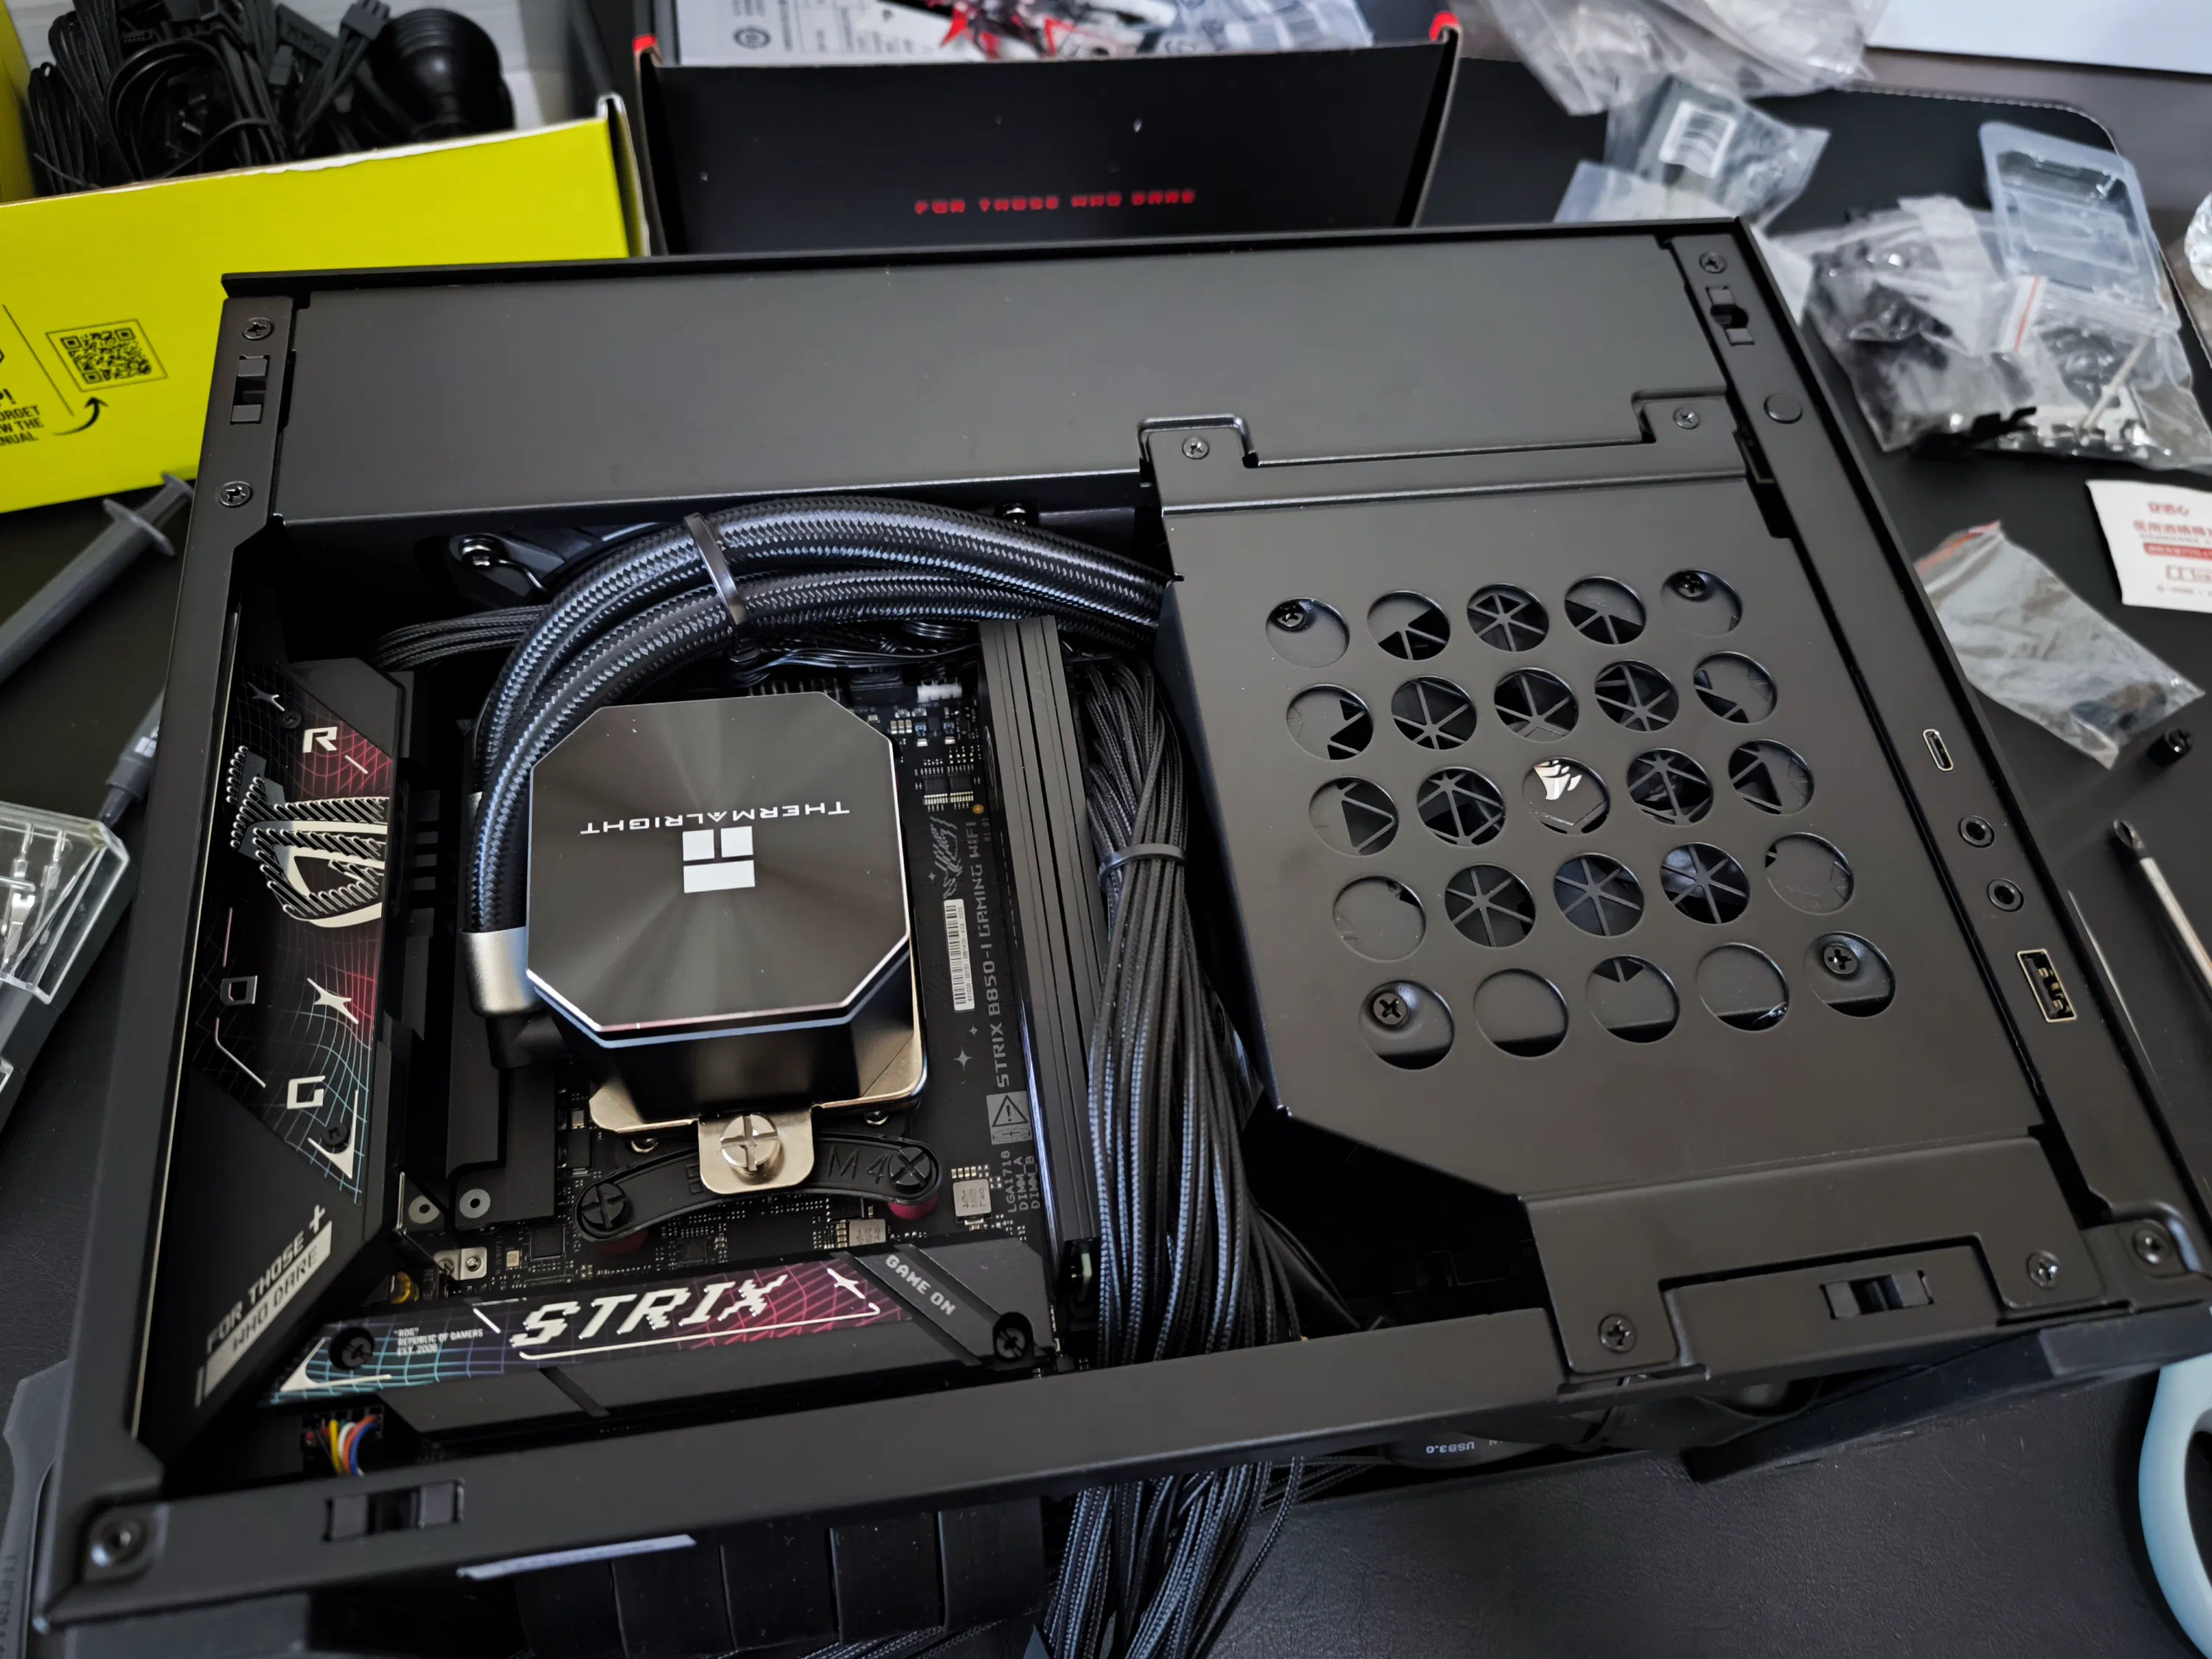
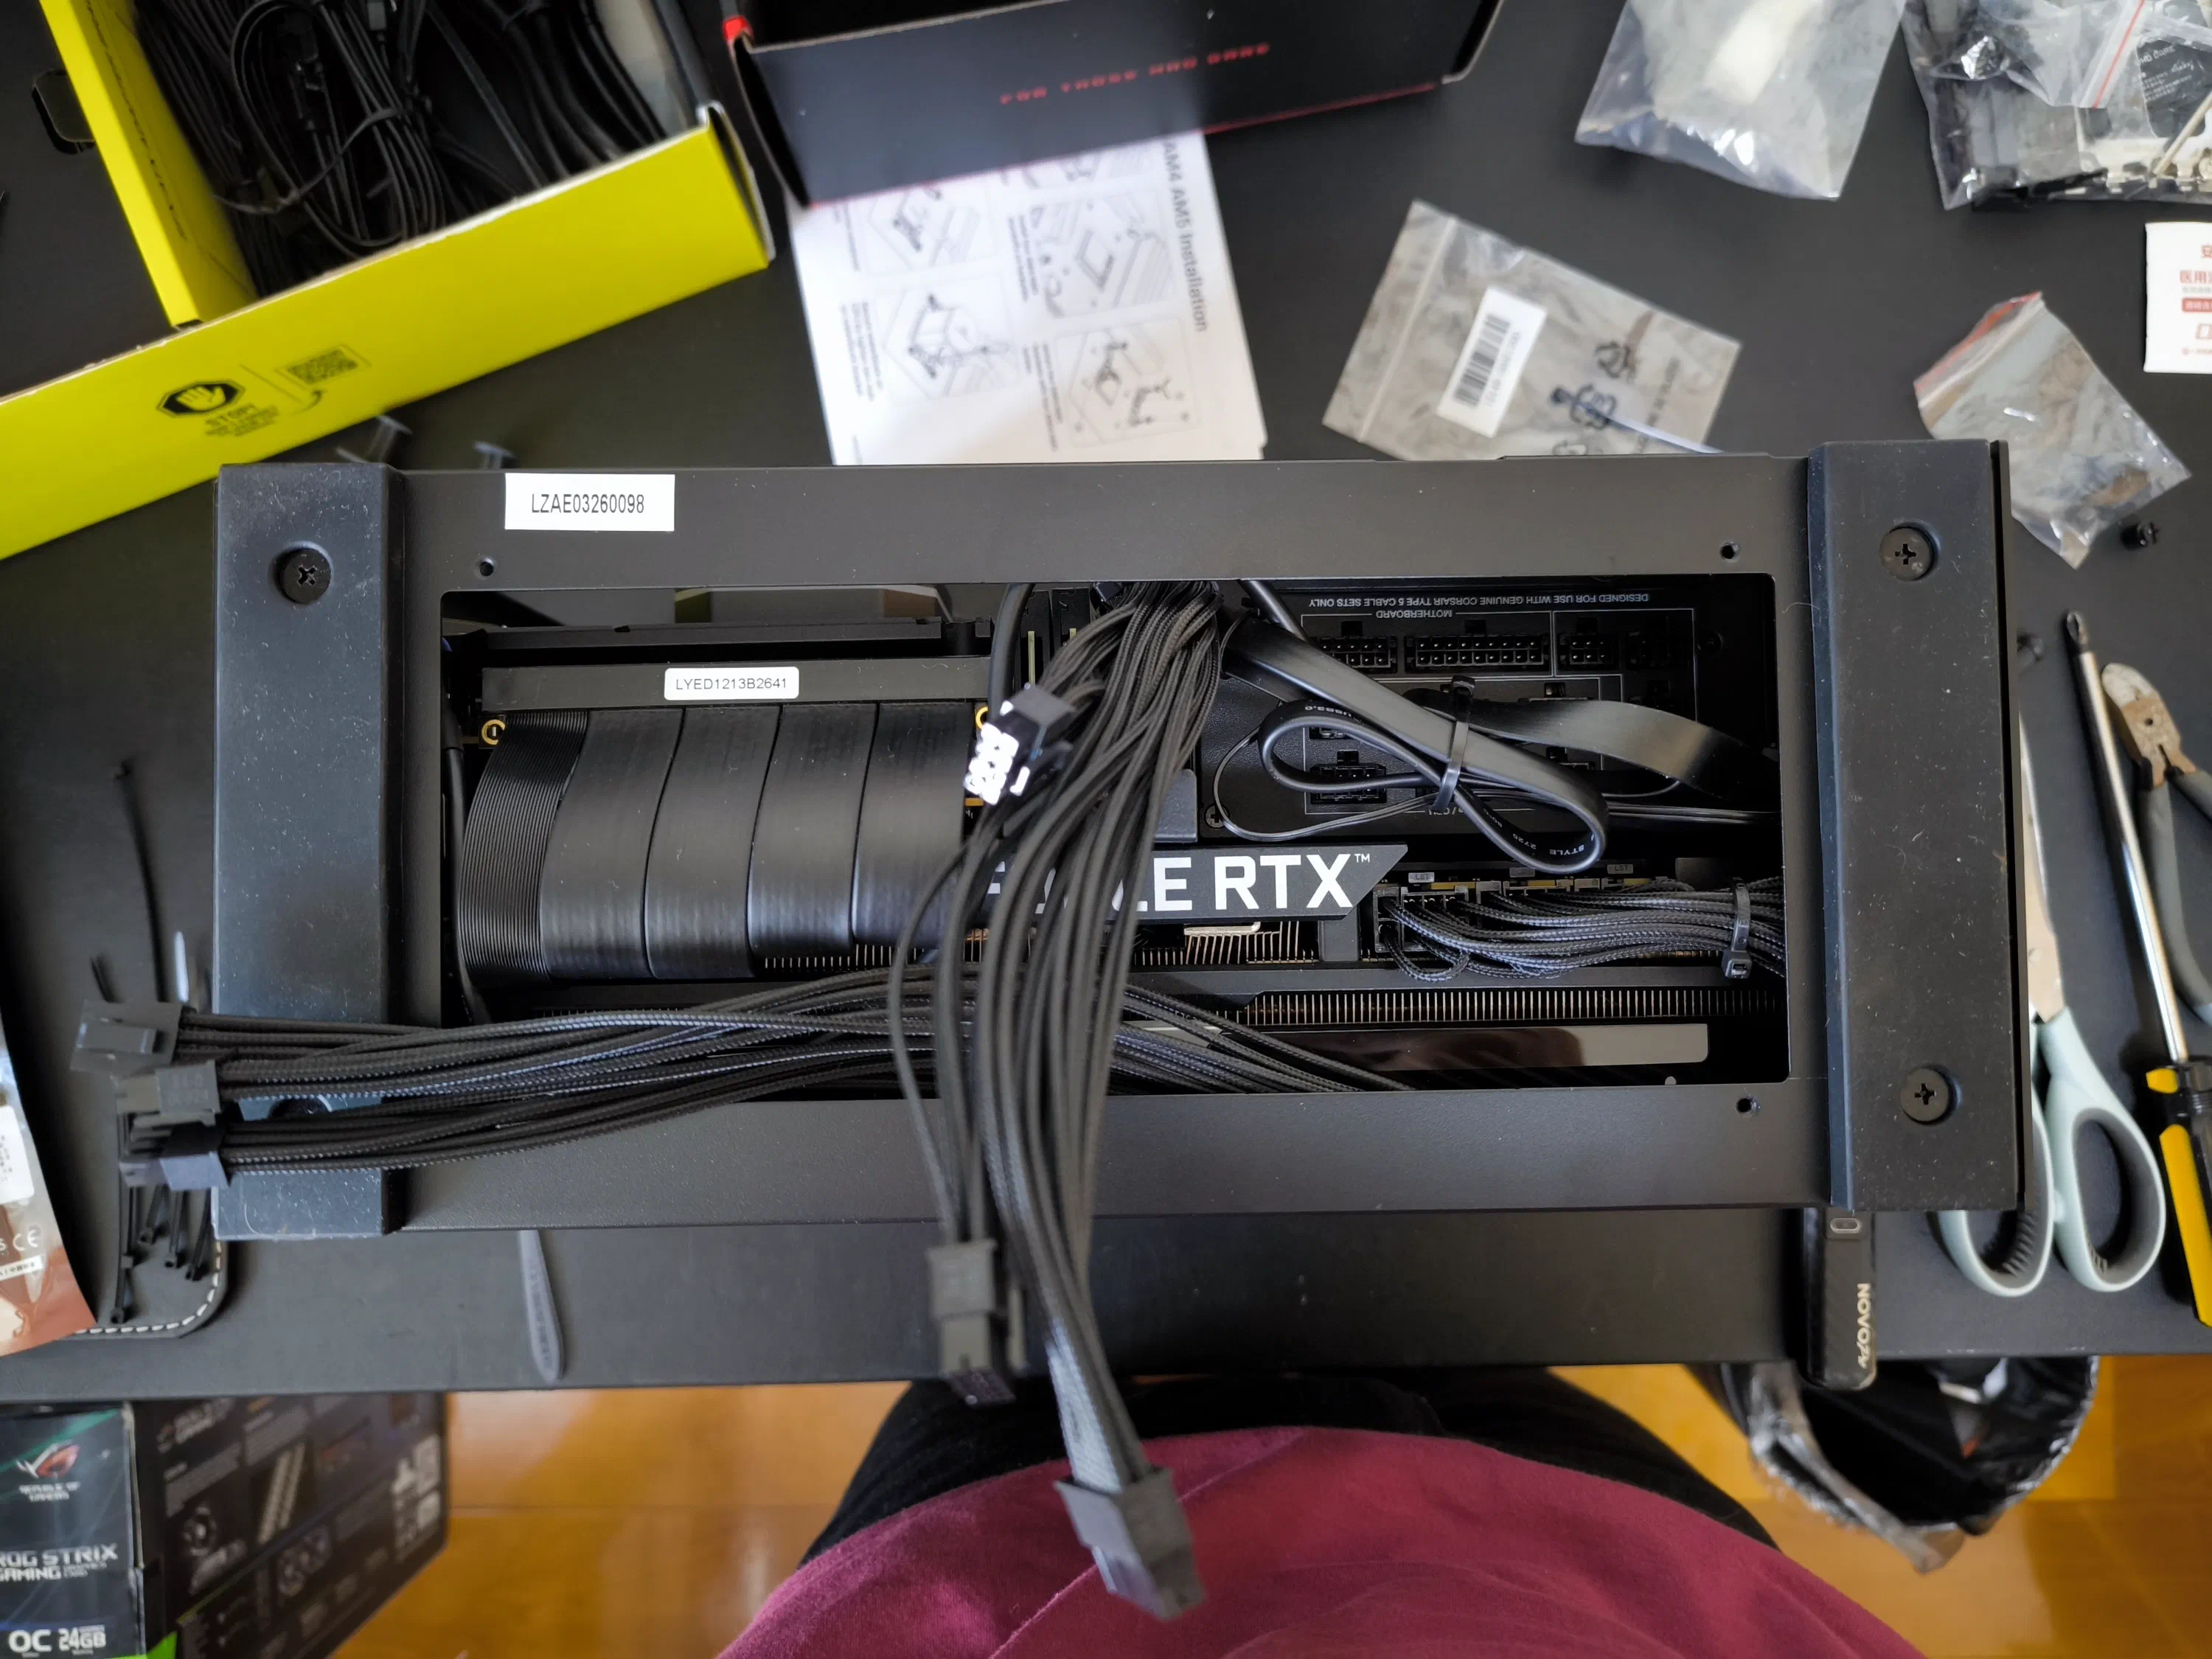
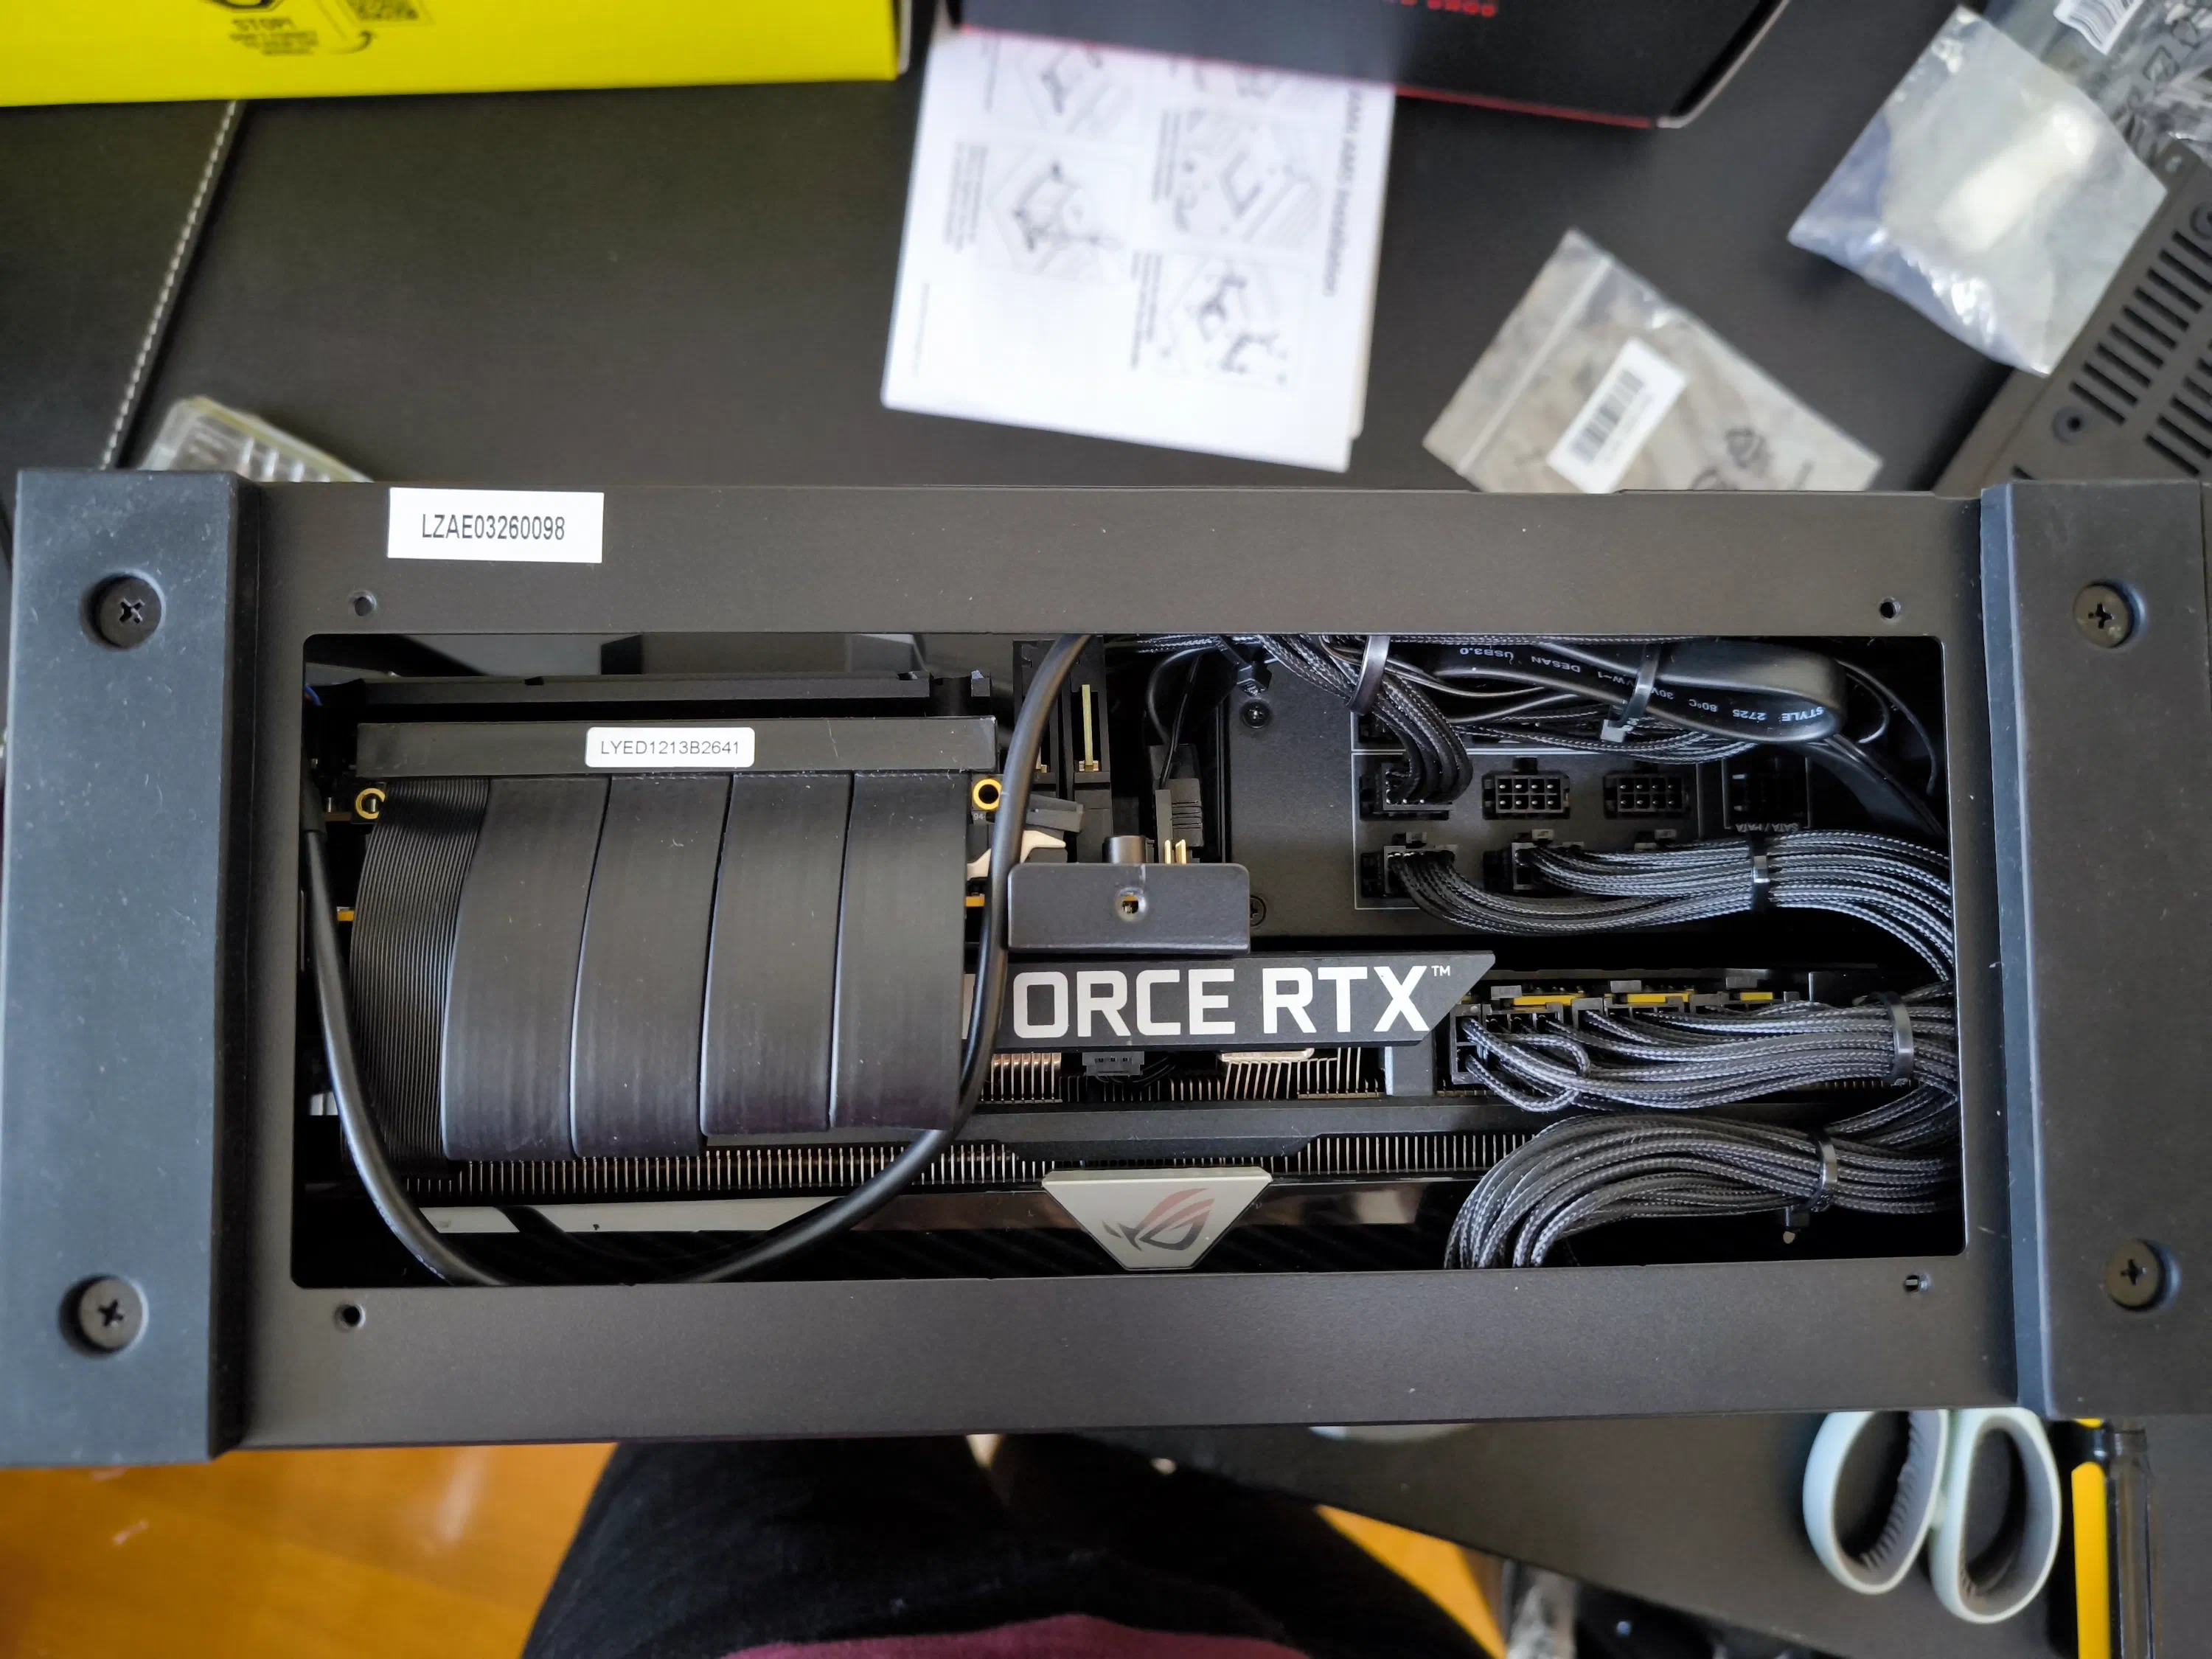
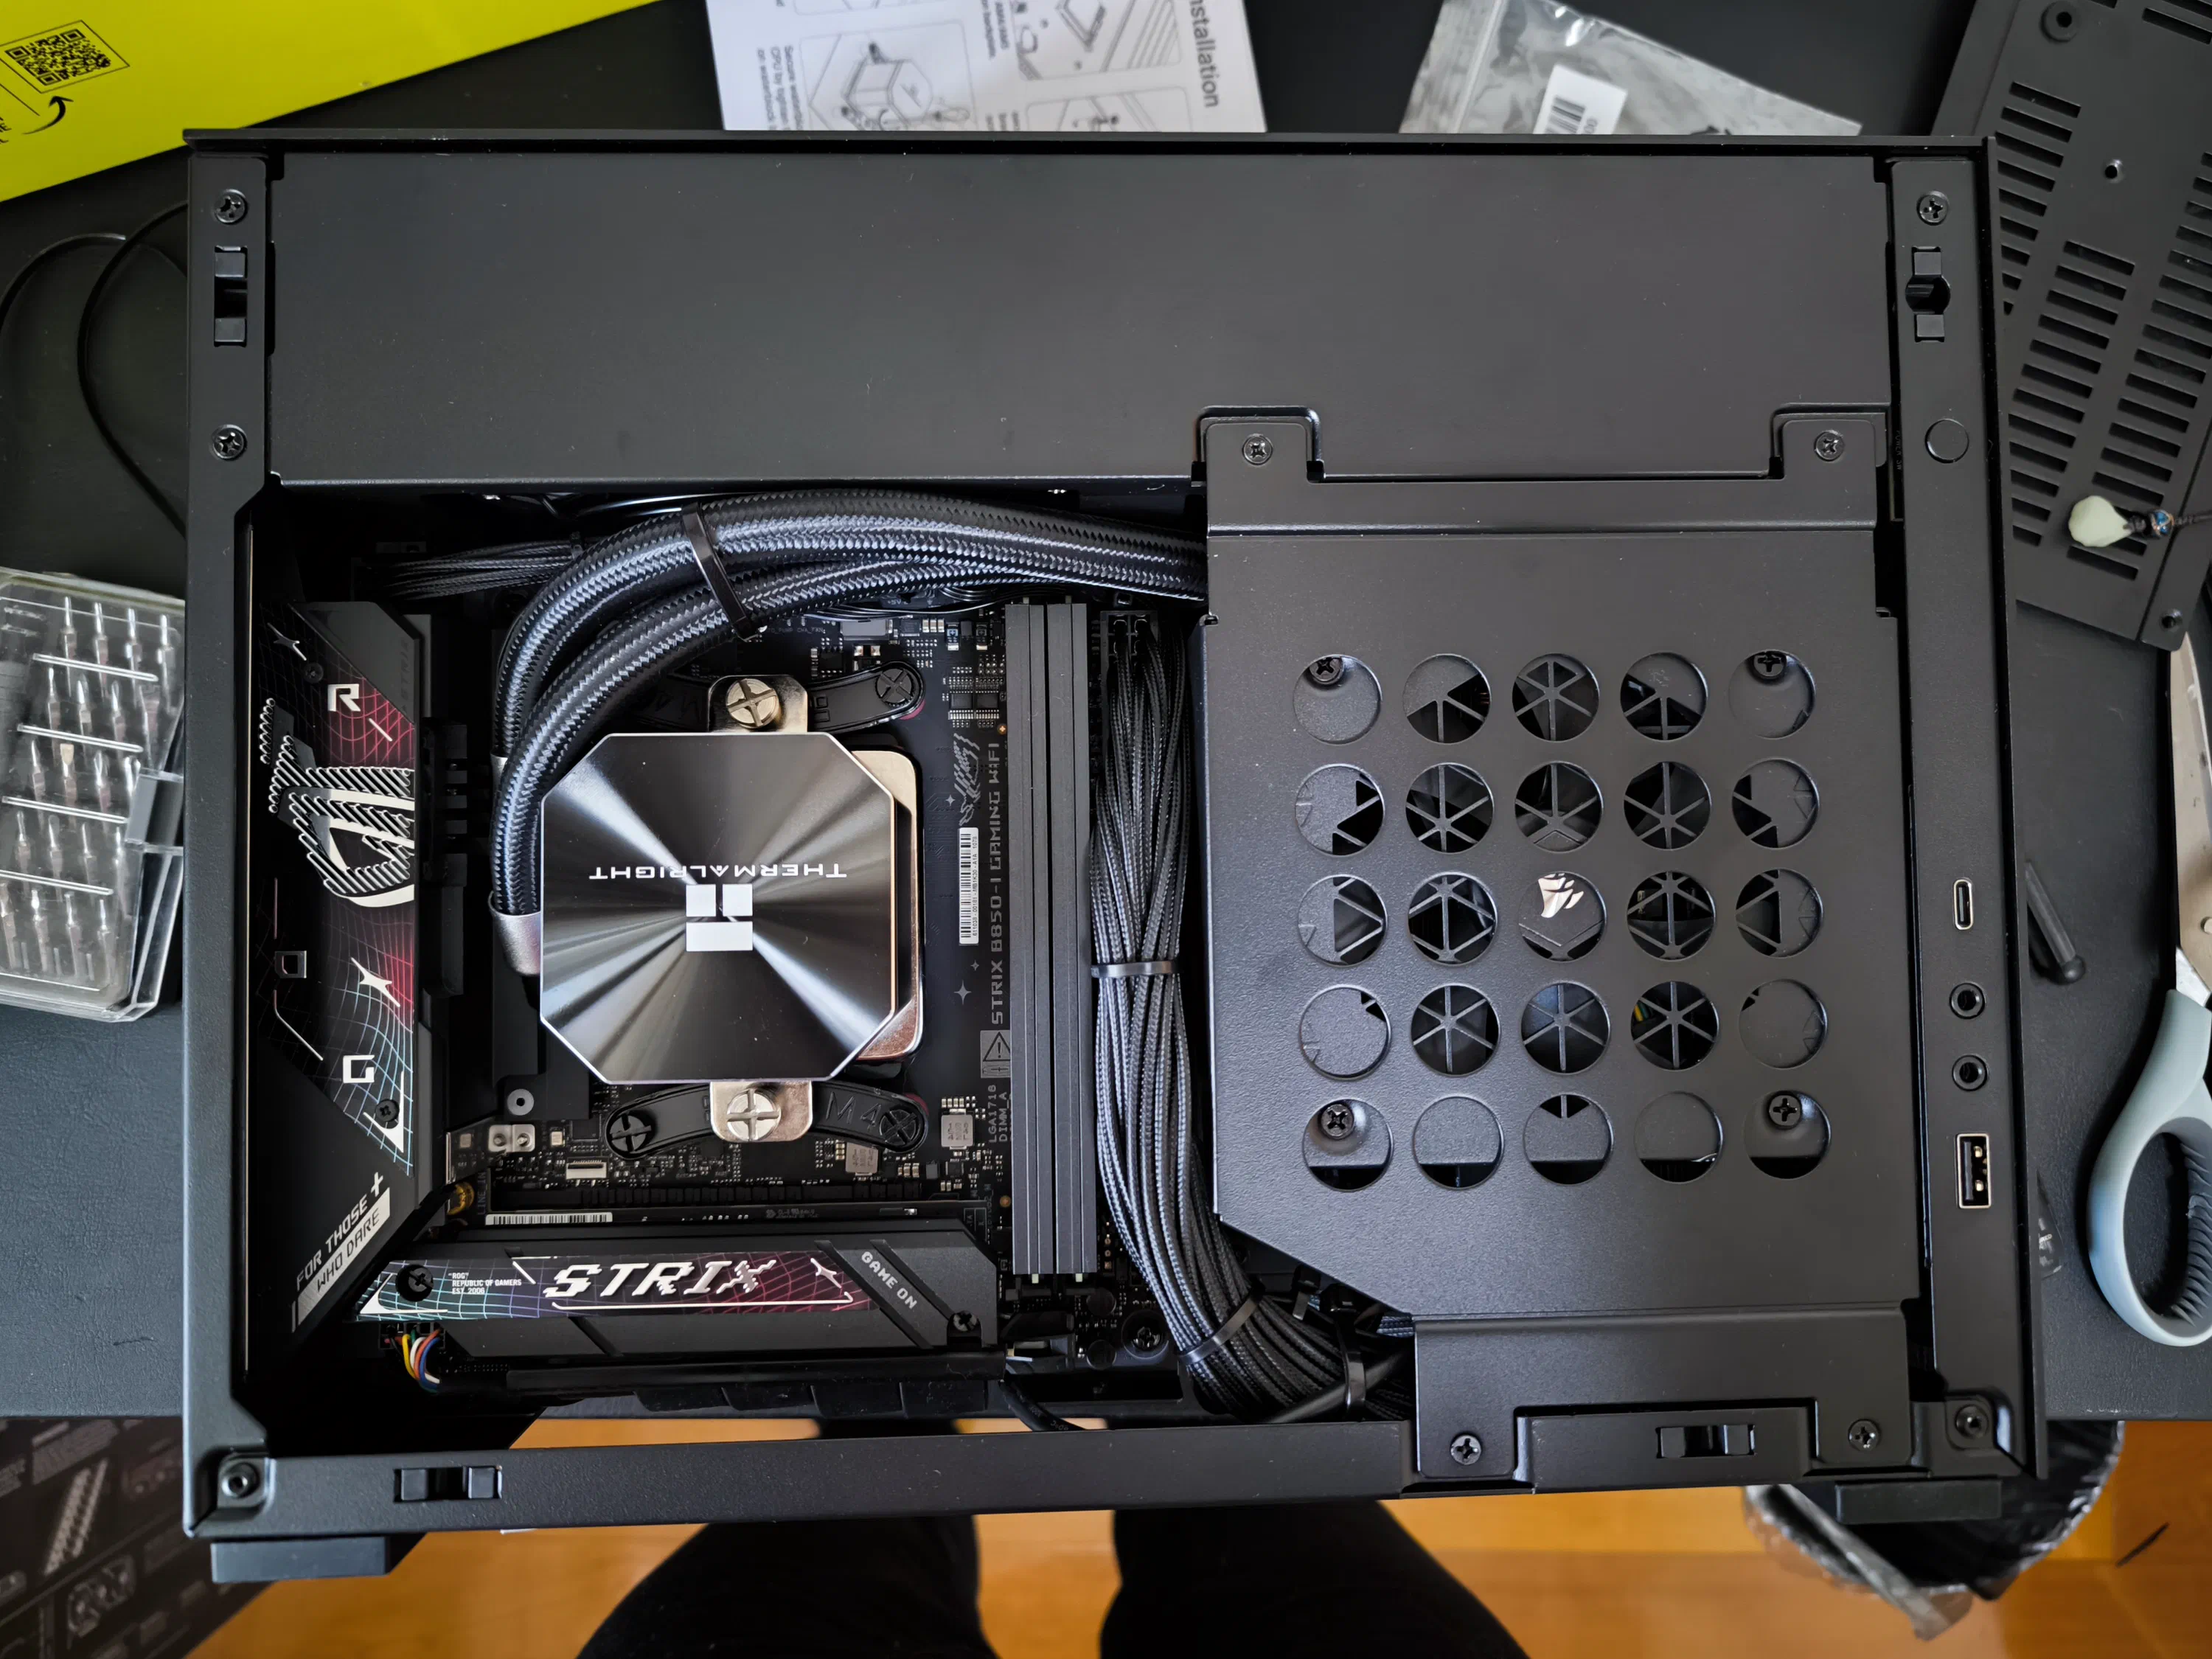
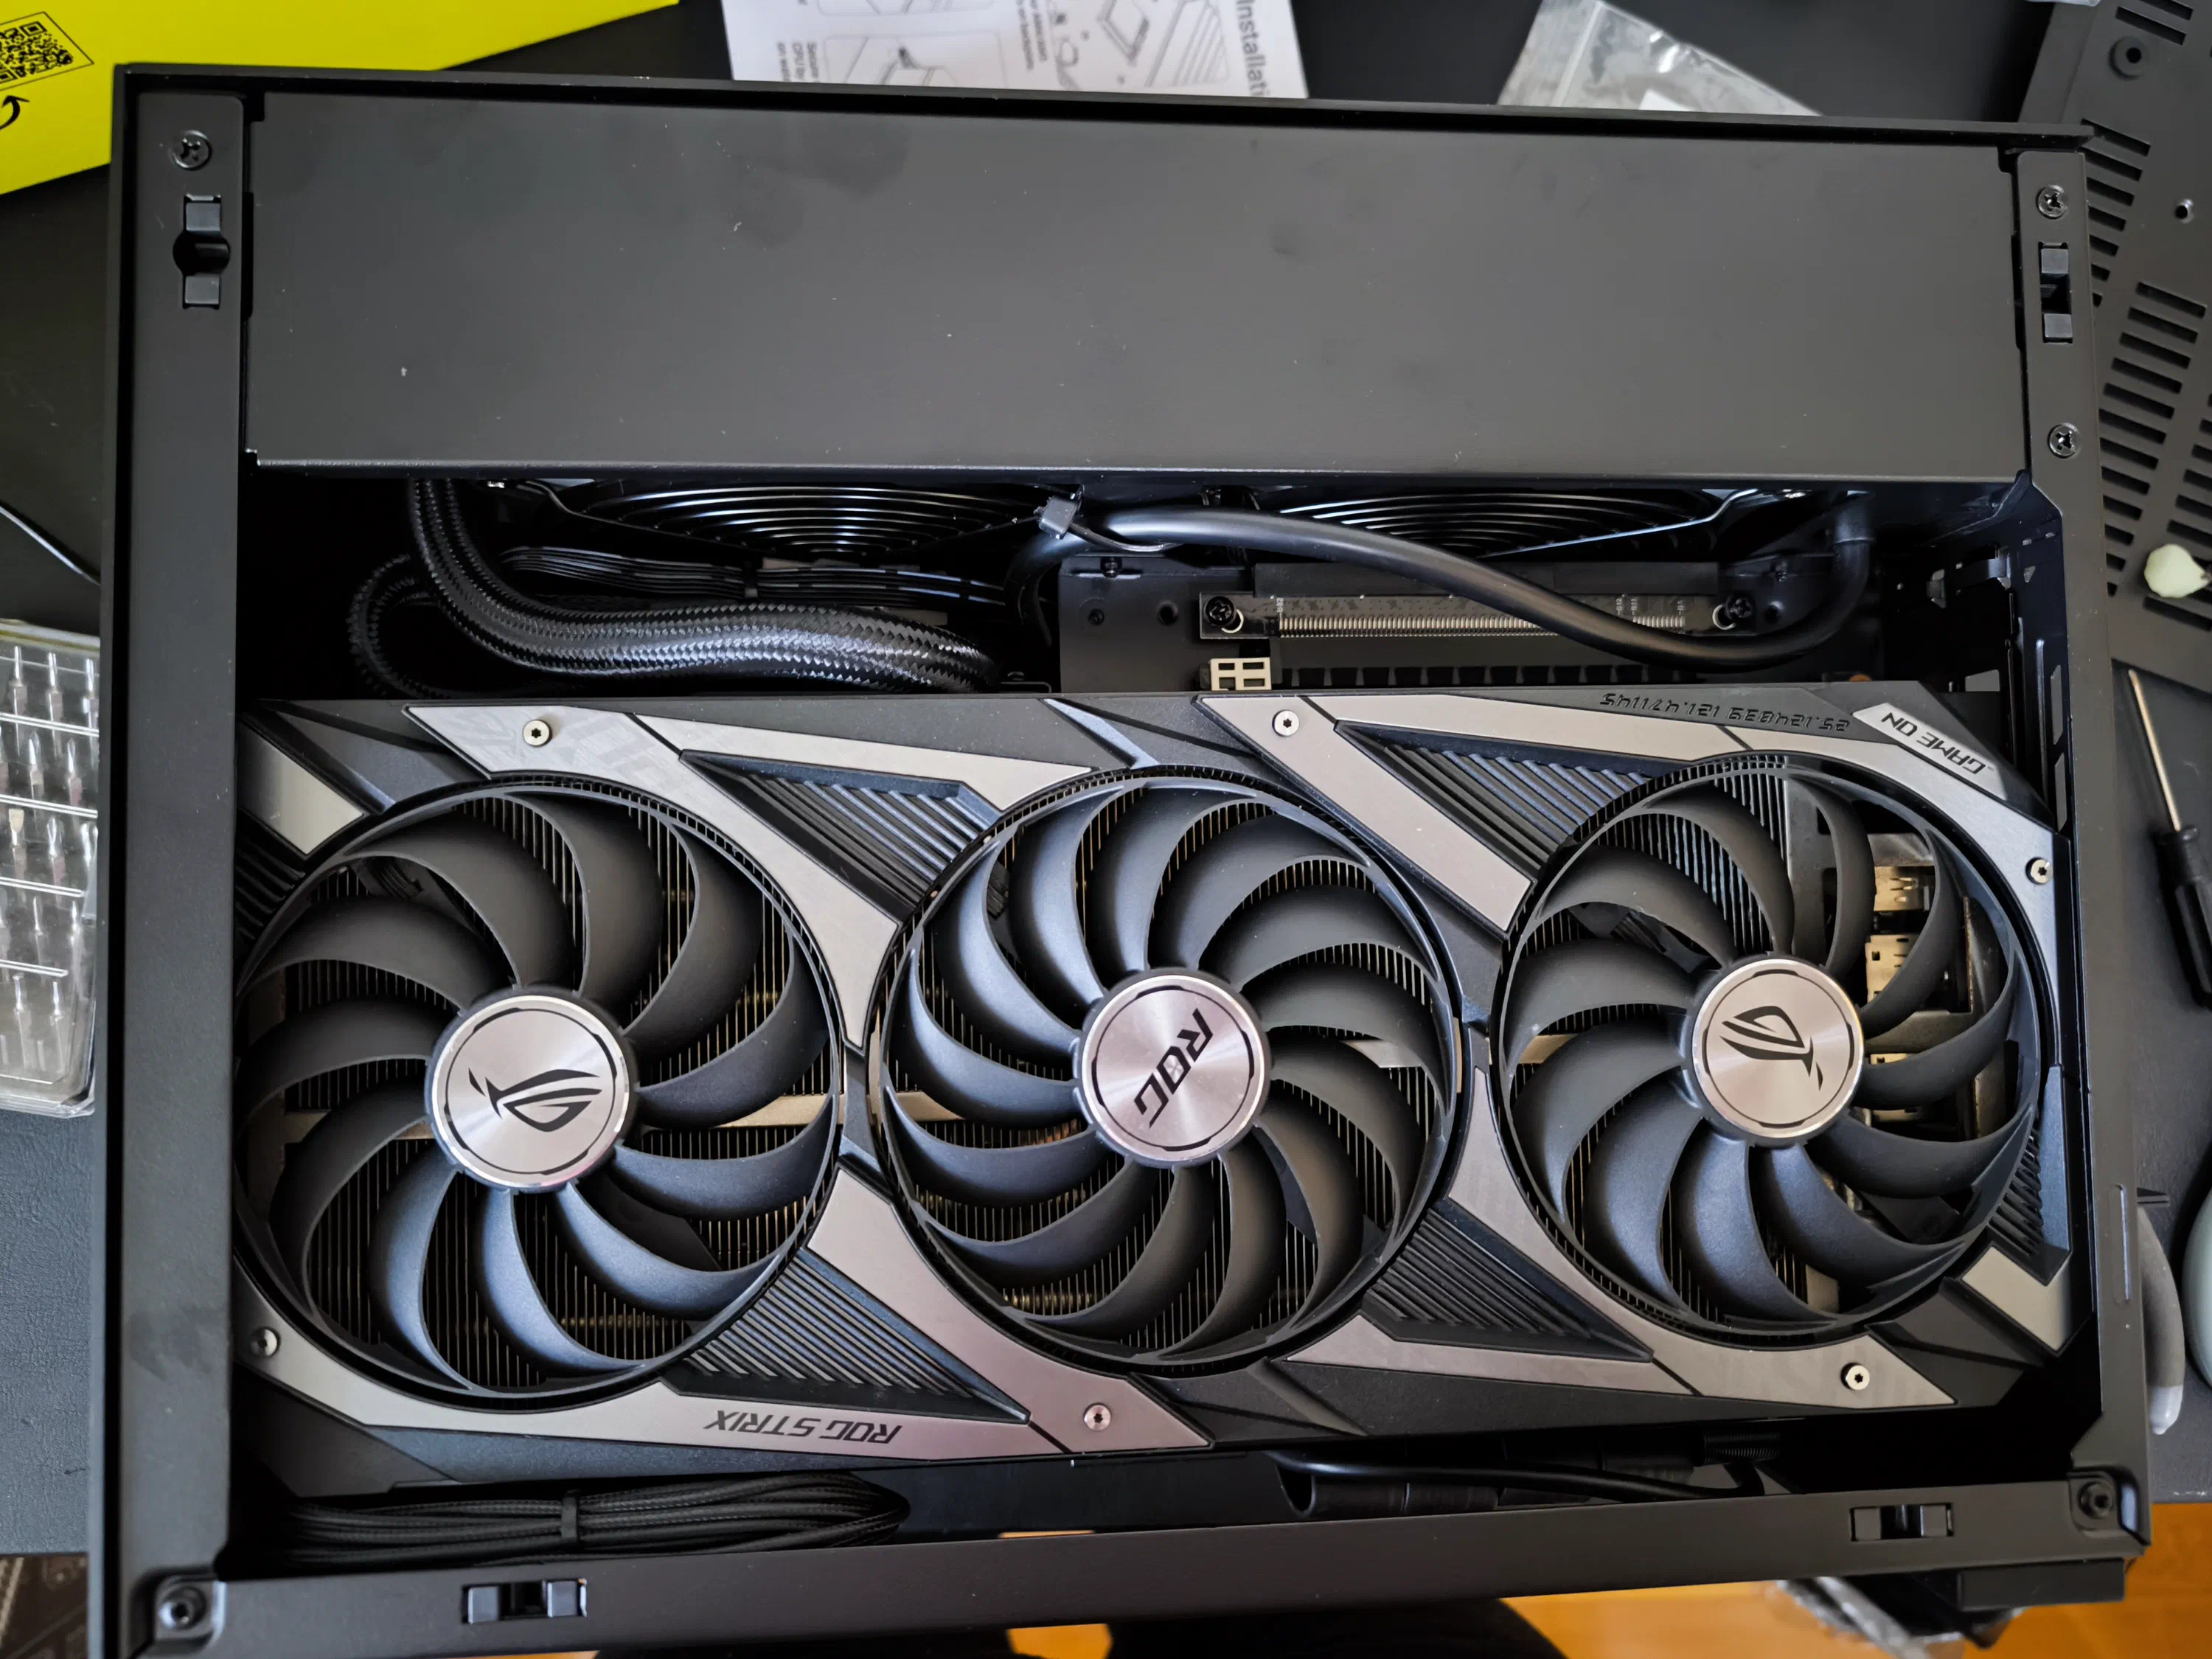
Despite cable management being some people’s arch enemies, perhaps being an electronics guy, this was one of the most enjoyable parts of this PC build for me. The modular cables included with the Corsair power supply have very nice and robust nylon sheaths which were conviniently stiff and stable to fold up and zip tie together, making the process not too challenging. A most soothing experience.
Final Assembly & Power Up
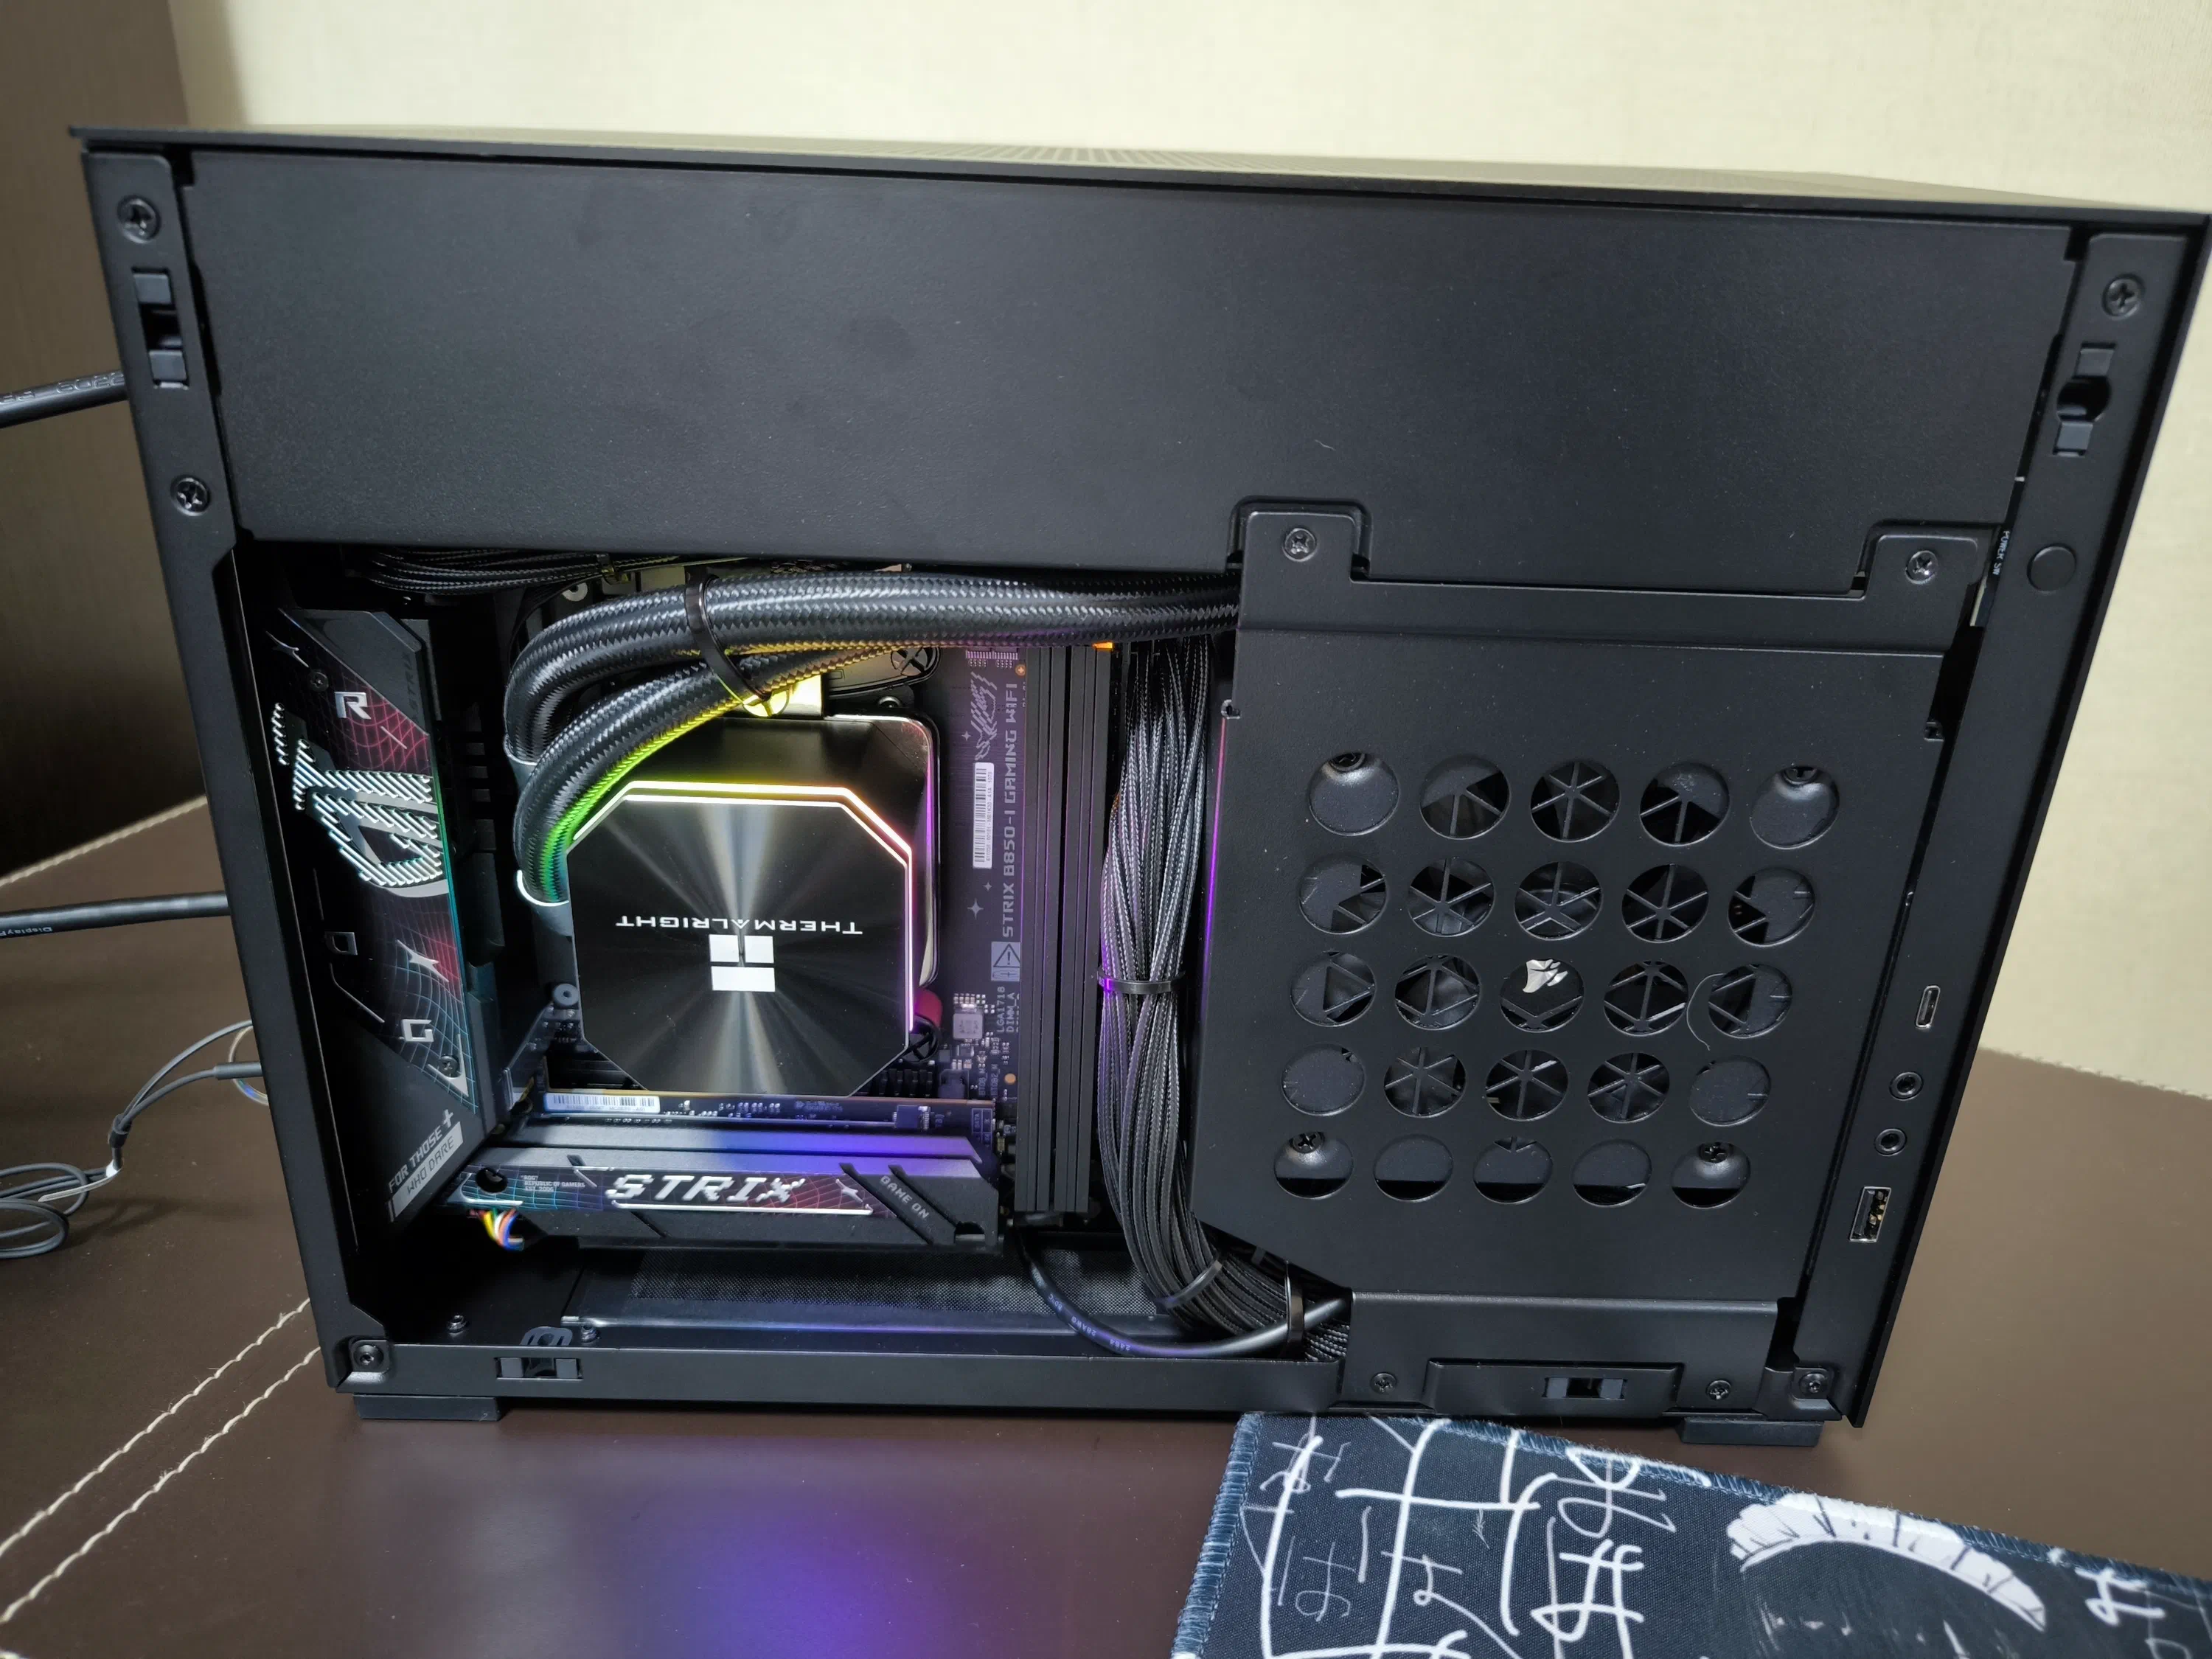
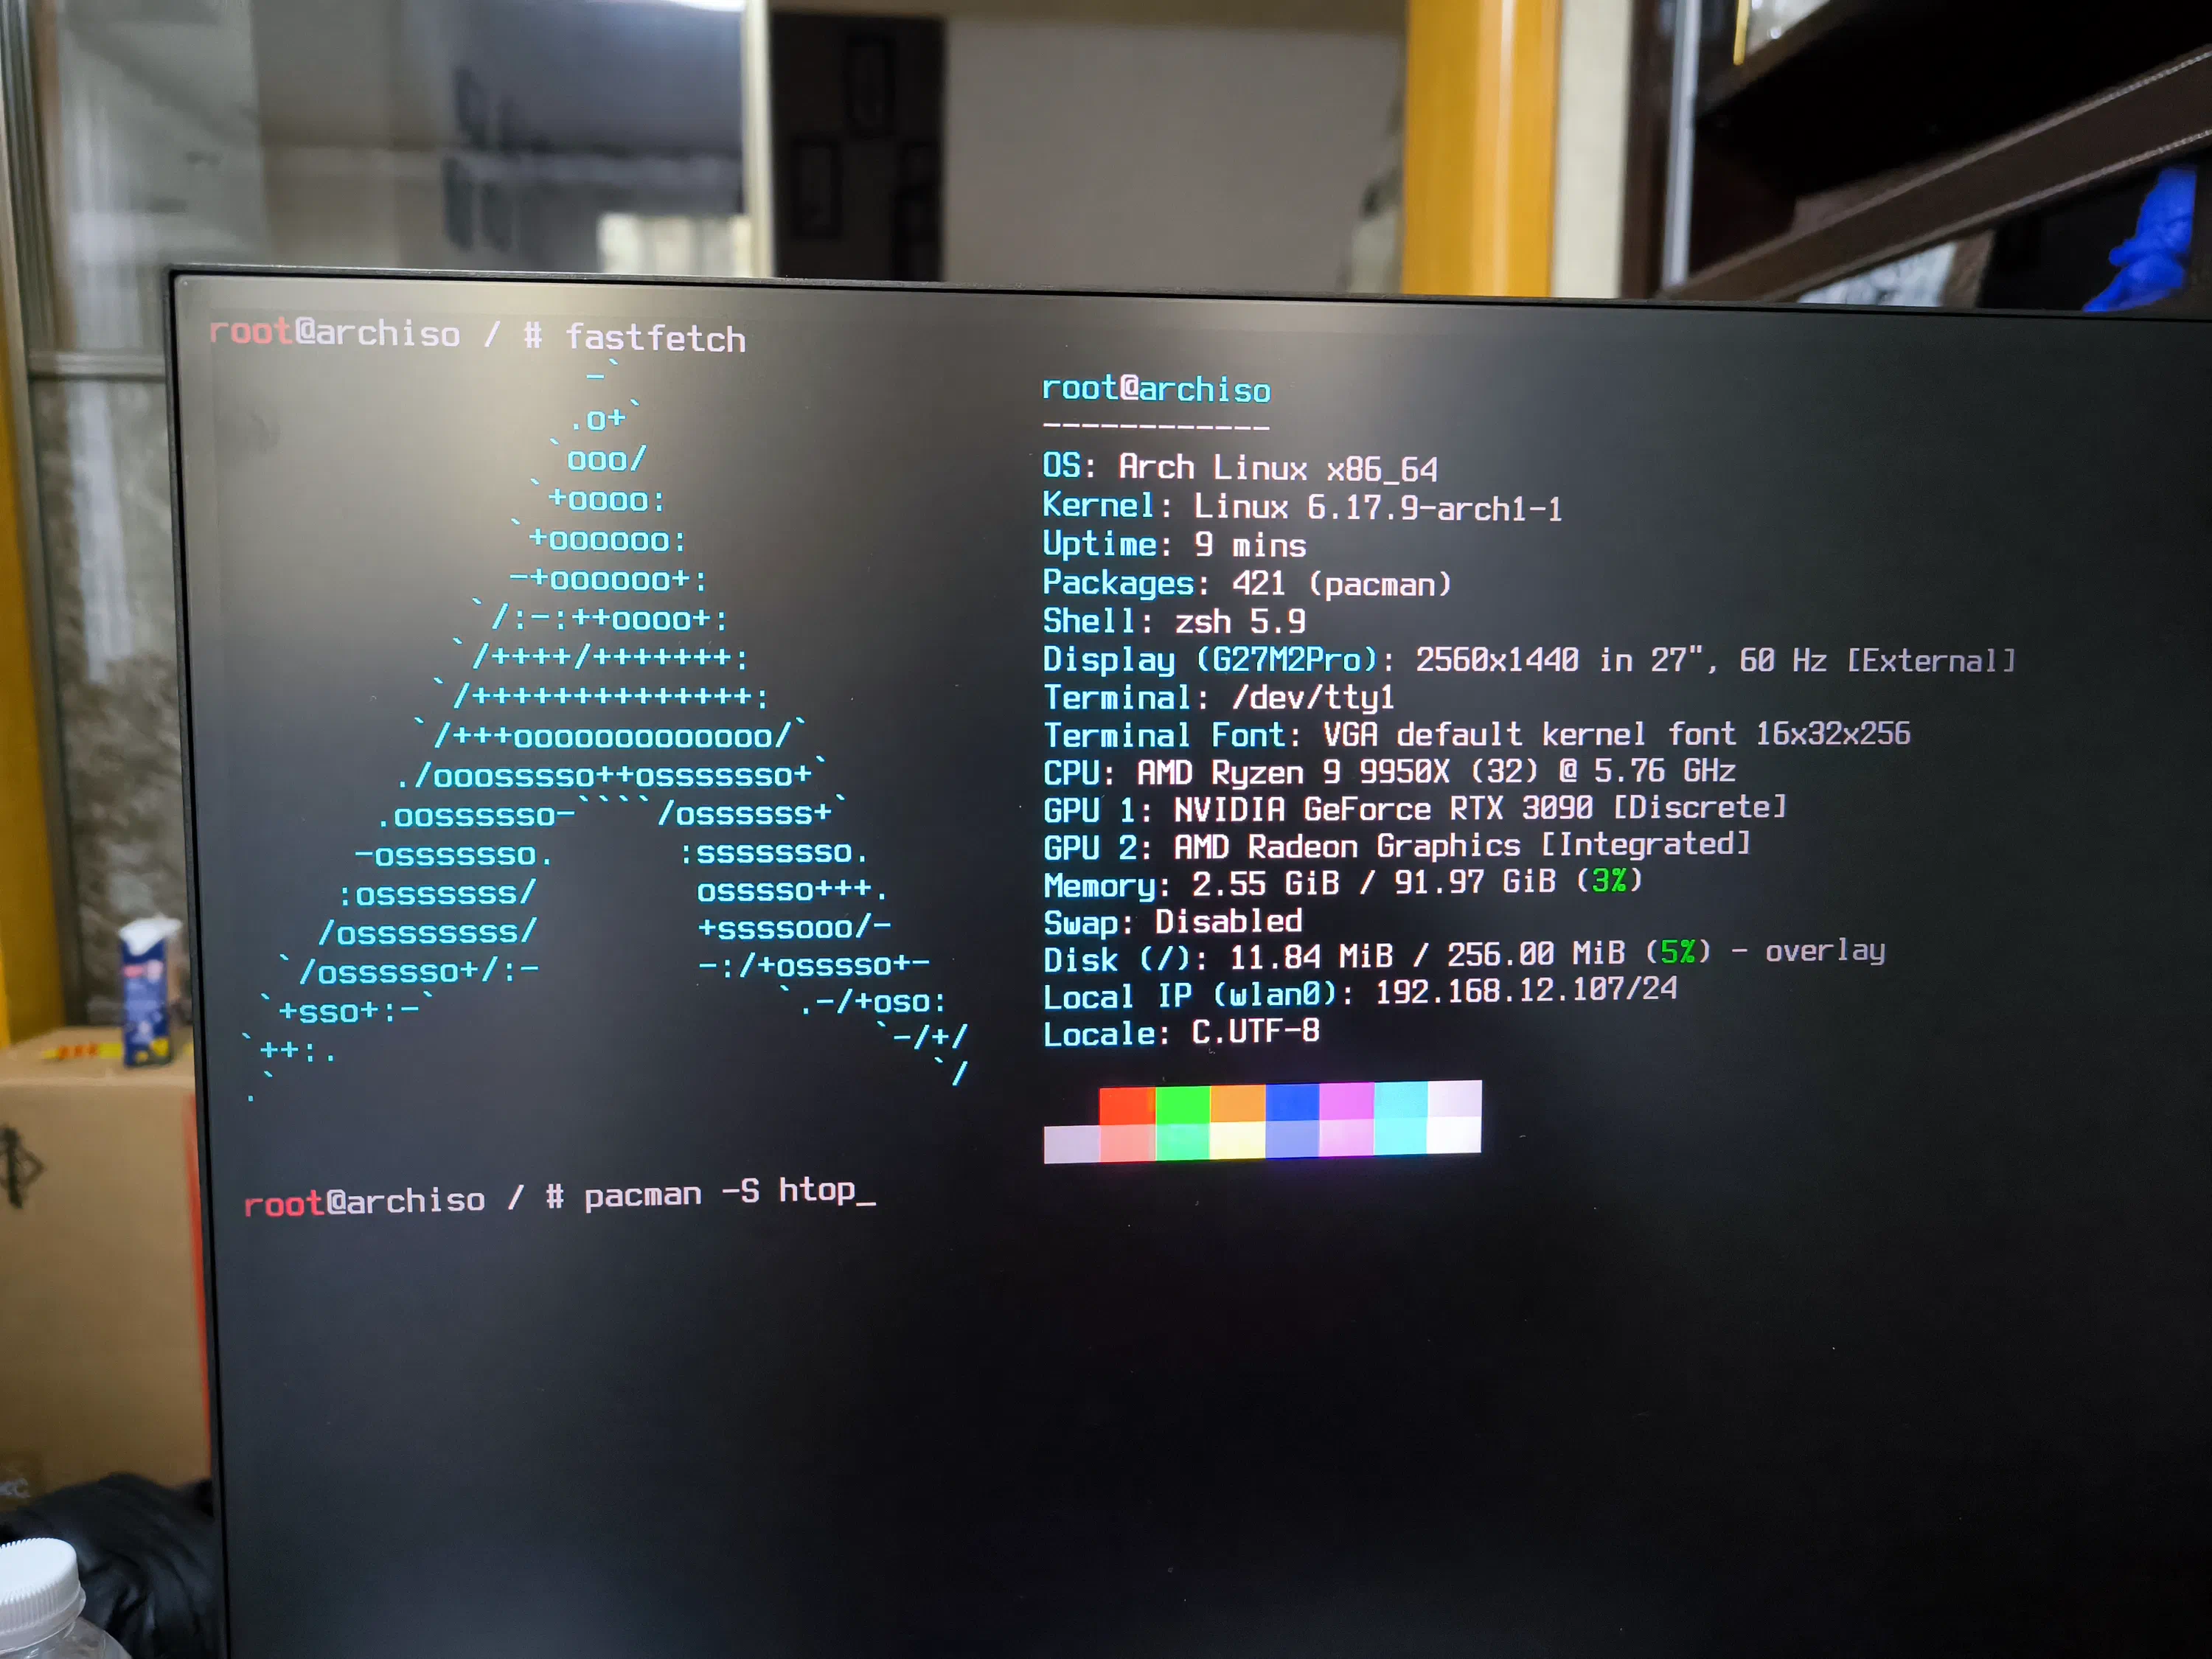
Lastly, the finishing touches were added, and before the panels were mounted I did my first boot. Waiting for the memory training gave me a straight fright as I did not know that was a thing for modern motherboards and was desperately searching up BIOS boot errors thinking my expensive RAM was faulty. Thankfully, everything was good to go and I proceeded with installing Arch Linux.
To Be Continued
That’s it for this first post detailing the physical build of my dream SFF PC workstation. A follow-up will come detailing the software setup, my window manager of choice, as well as running a VFIO GPU-passthrough VM for Windows gaming and more.