
Neon Stick (USB Neon Inverter)
Contents
This is an old cross-post from Instructables, see the original here.
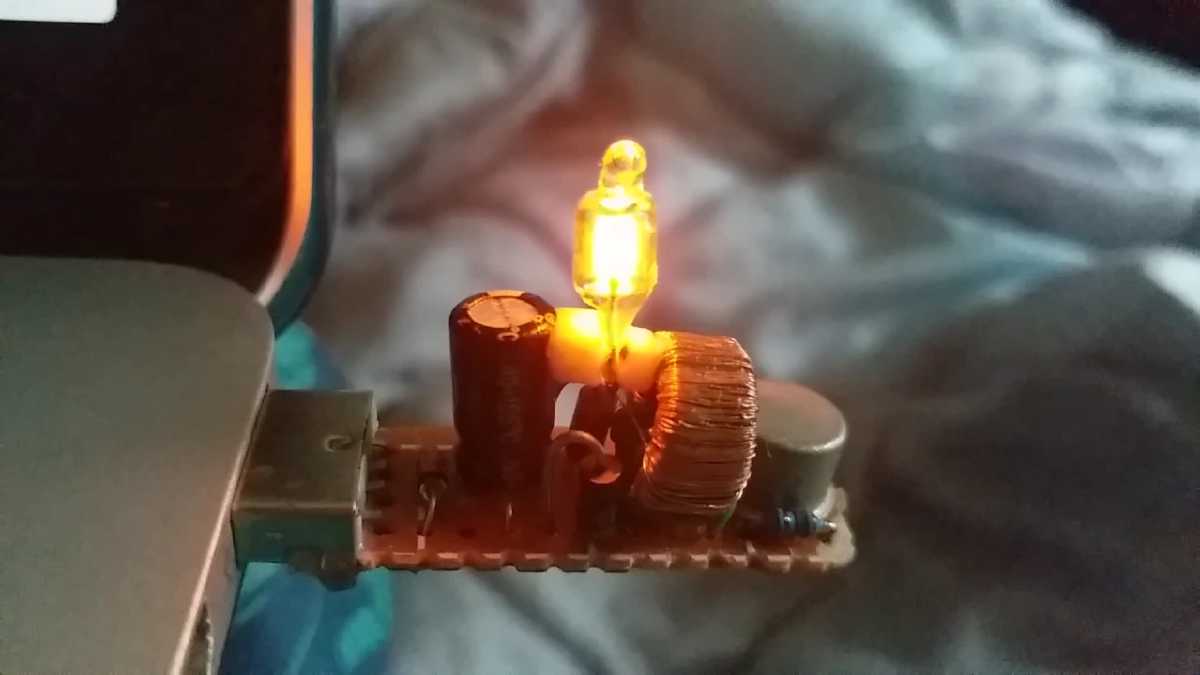
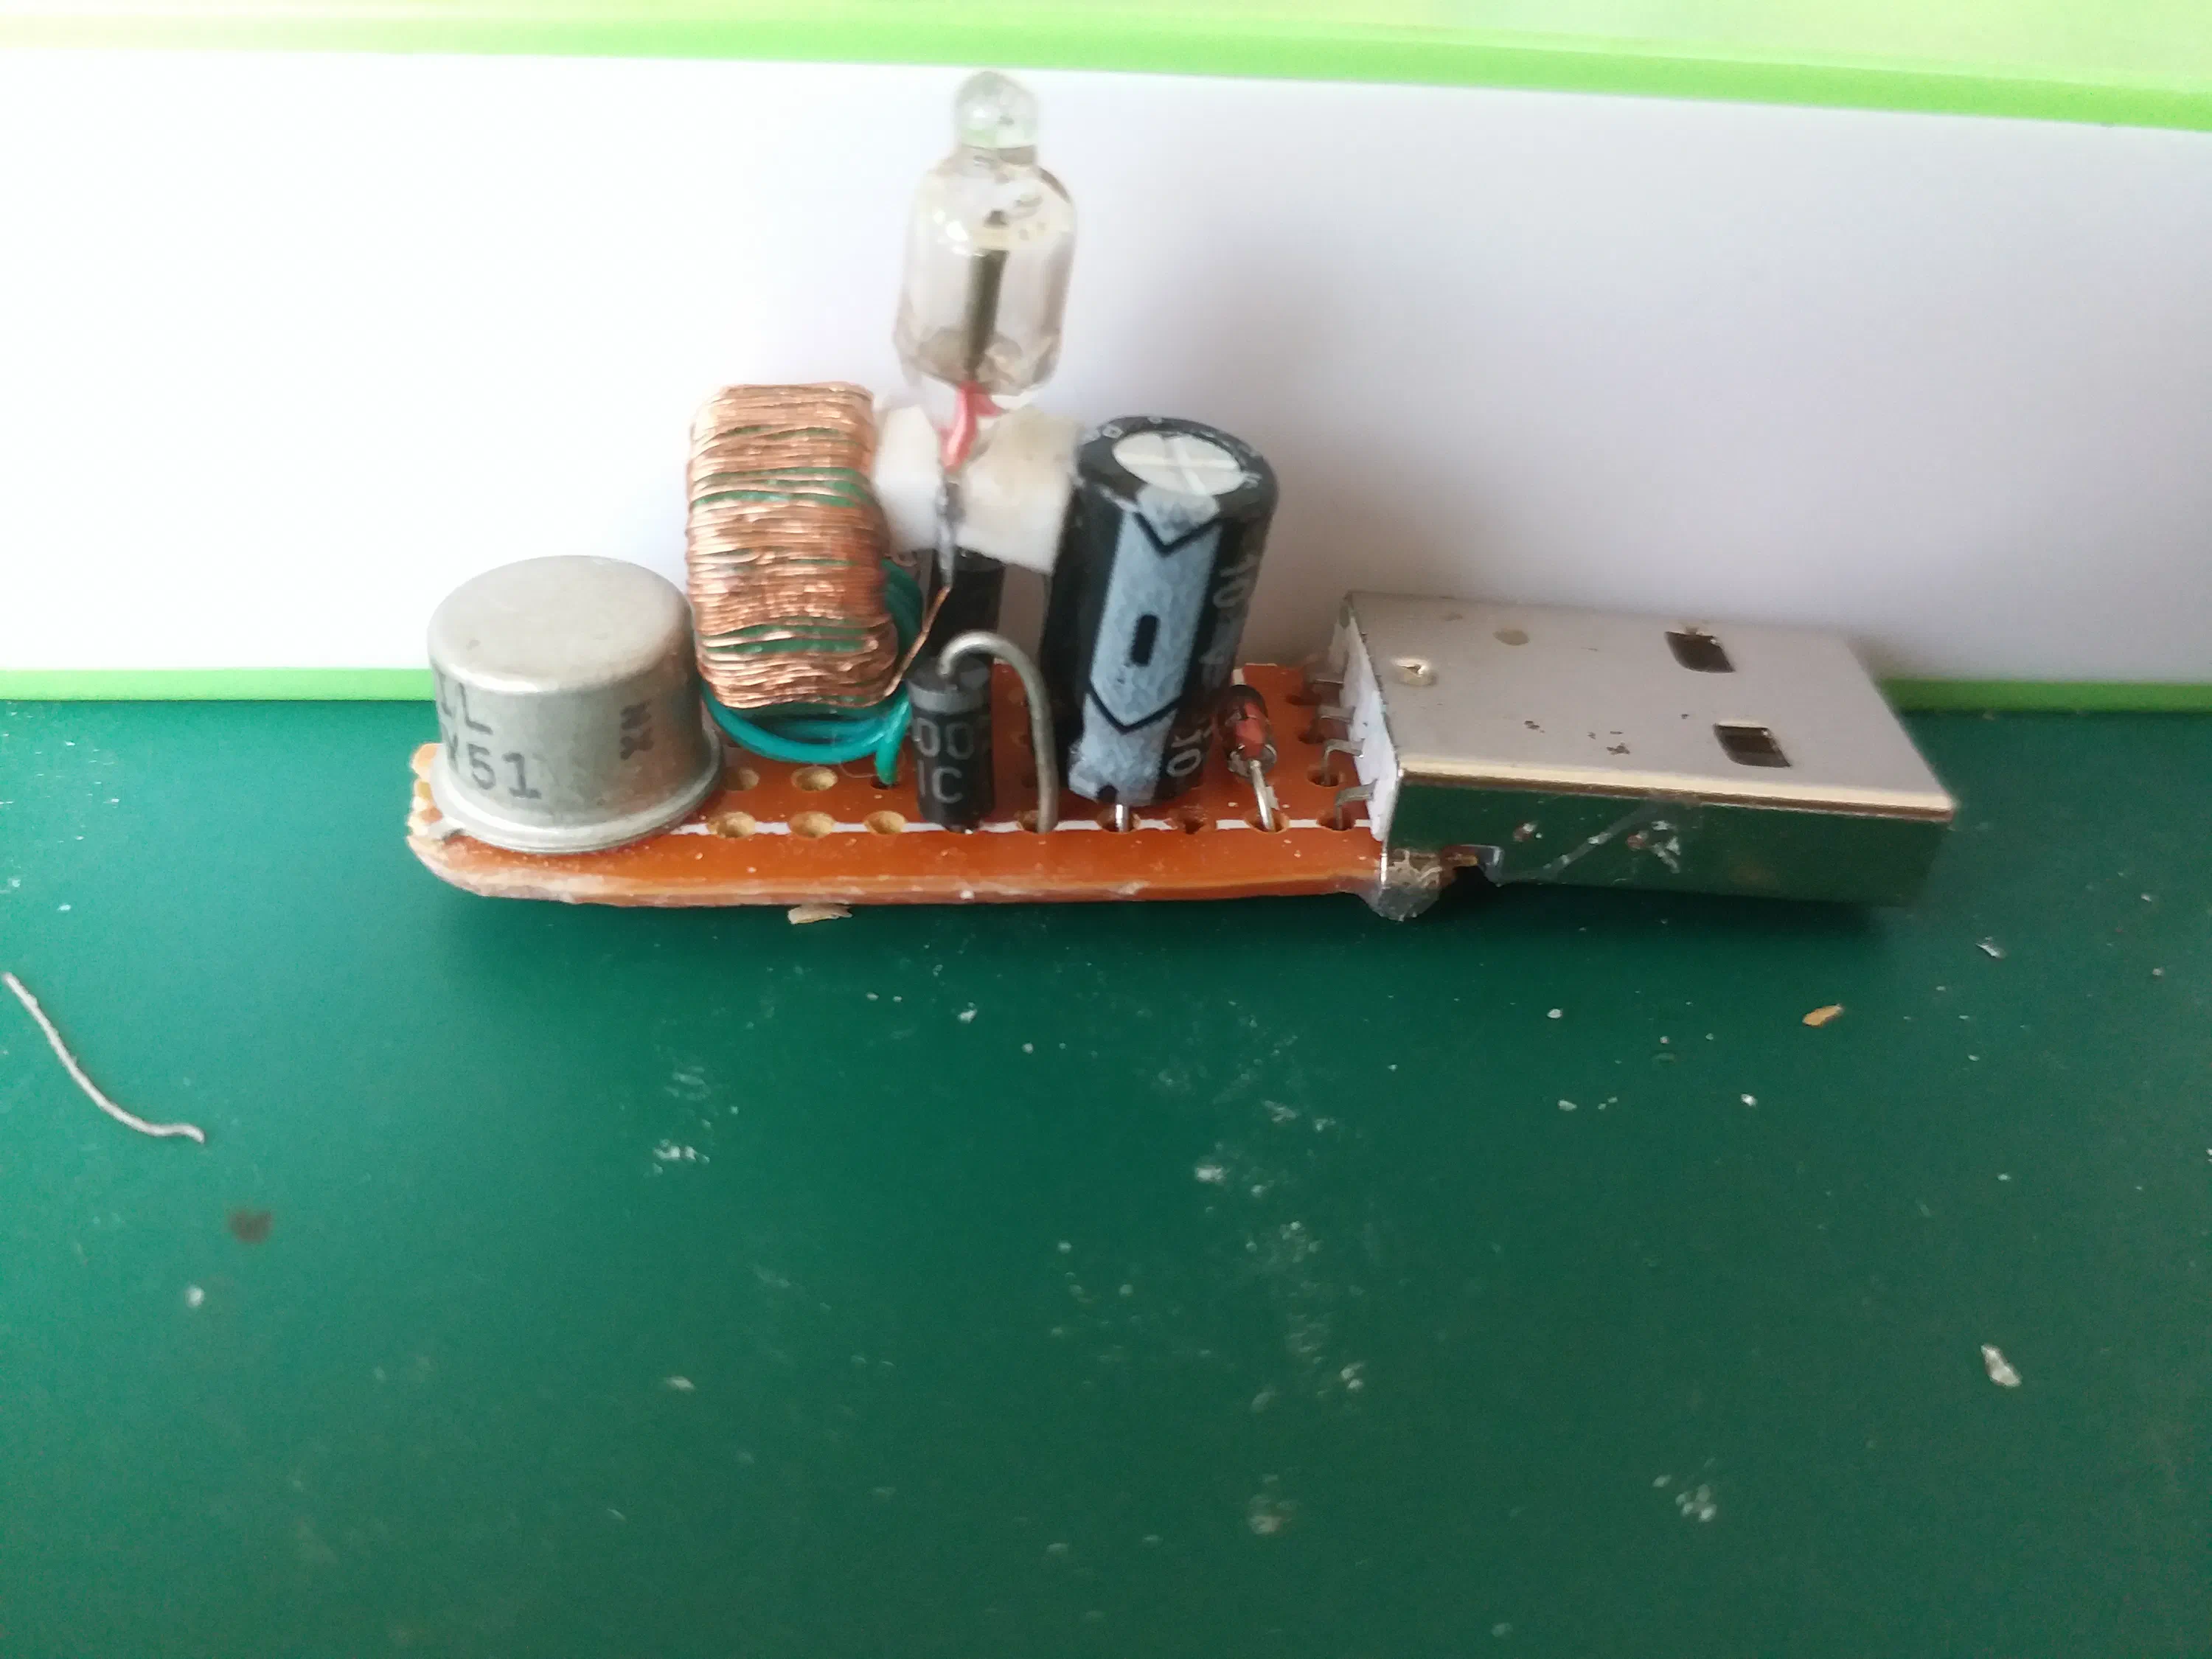
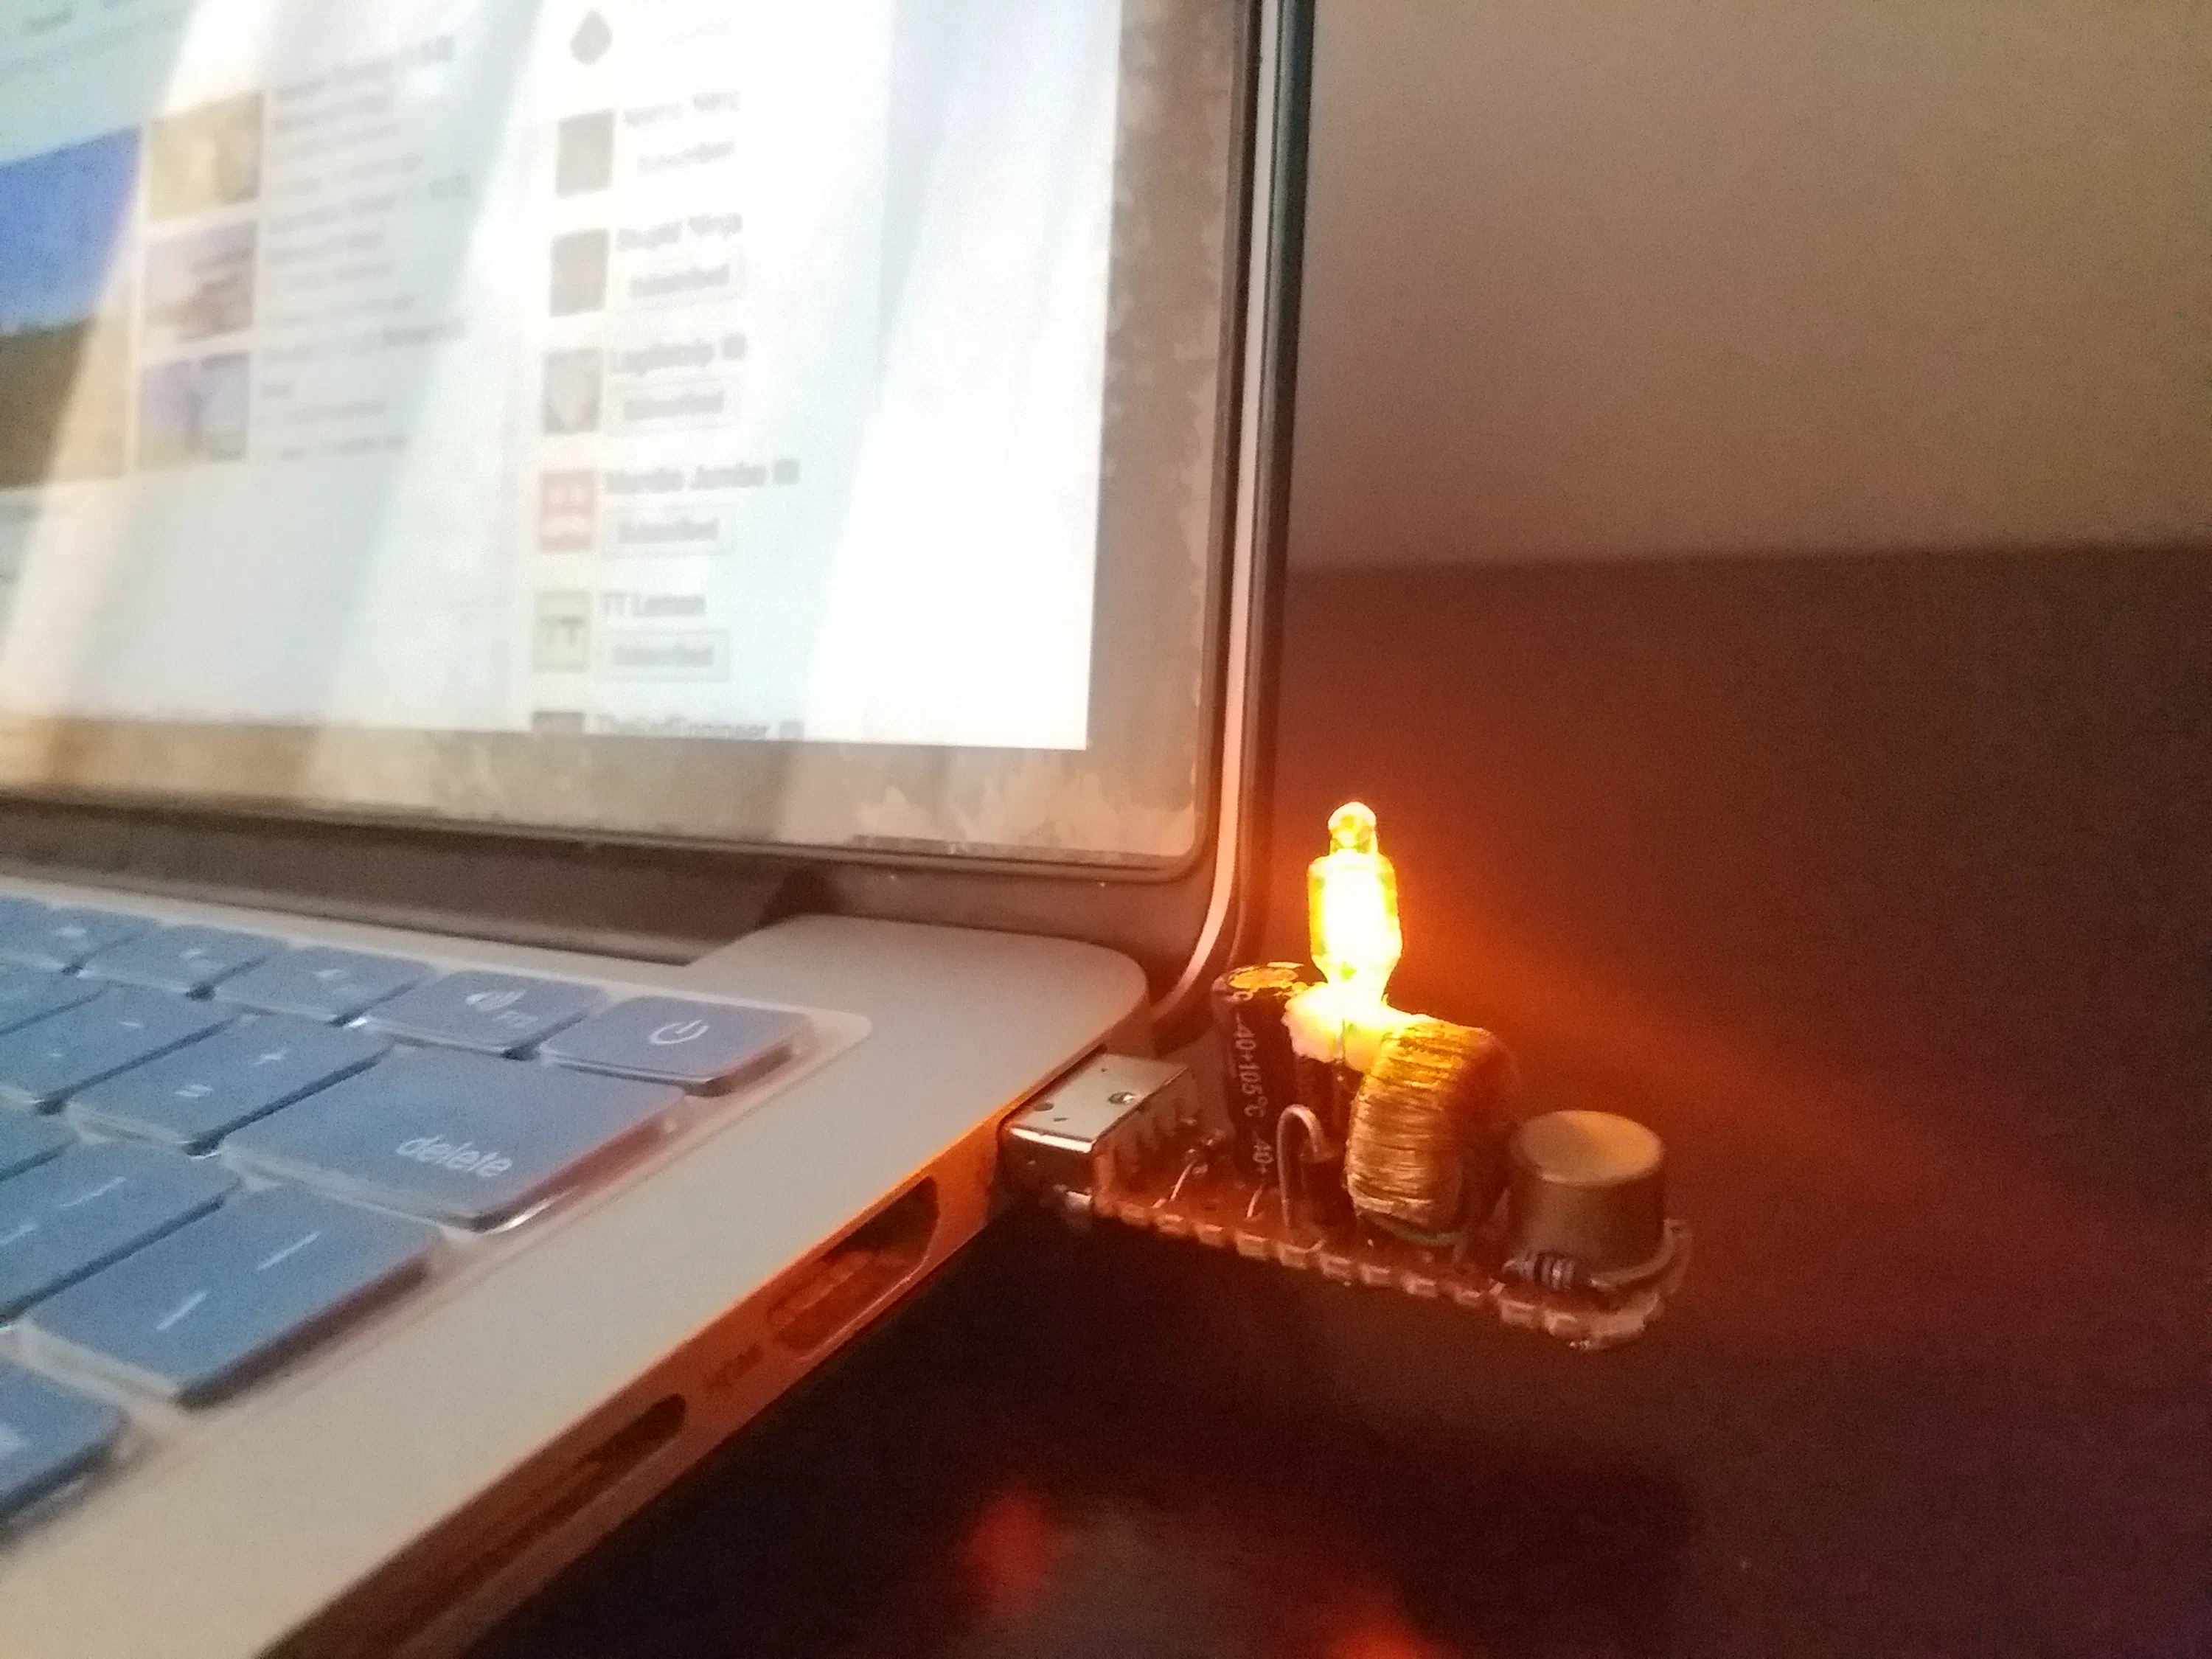
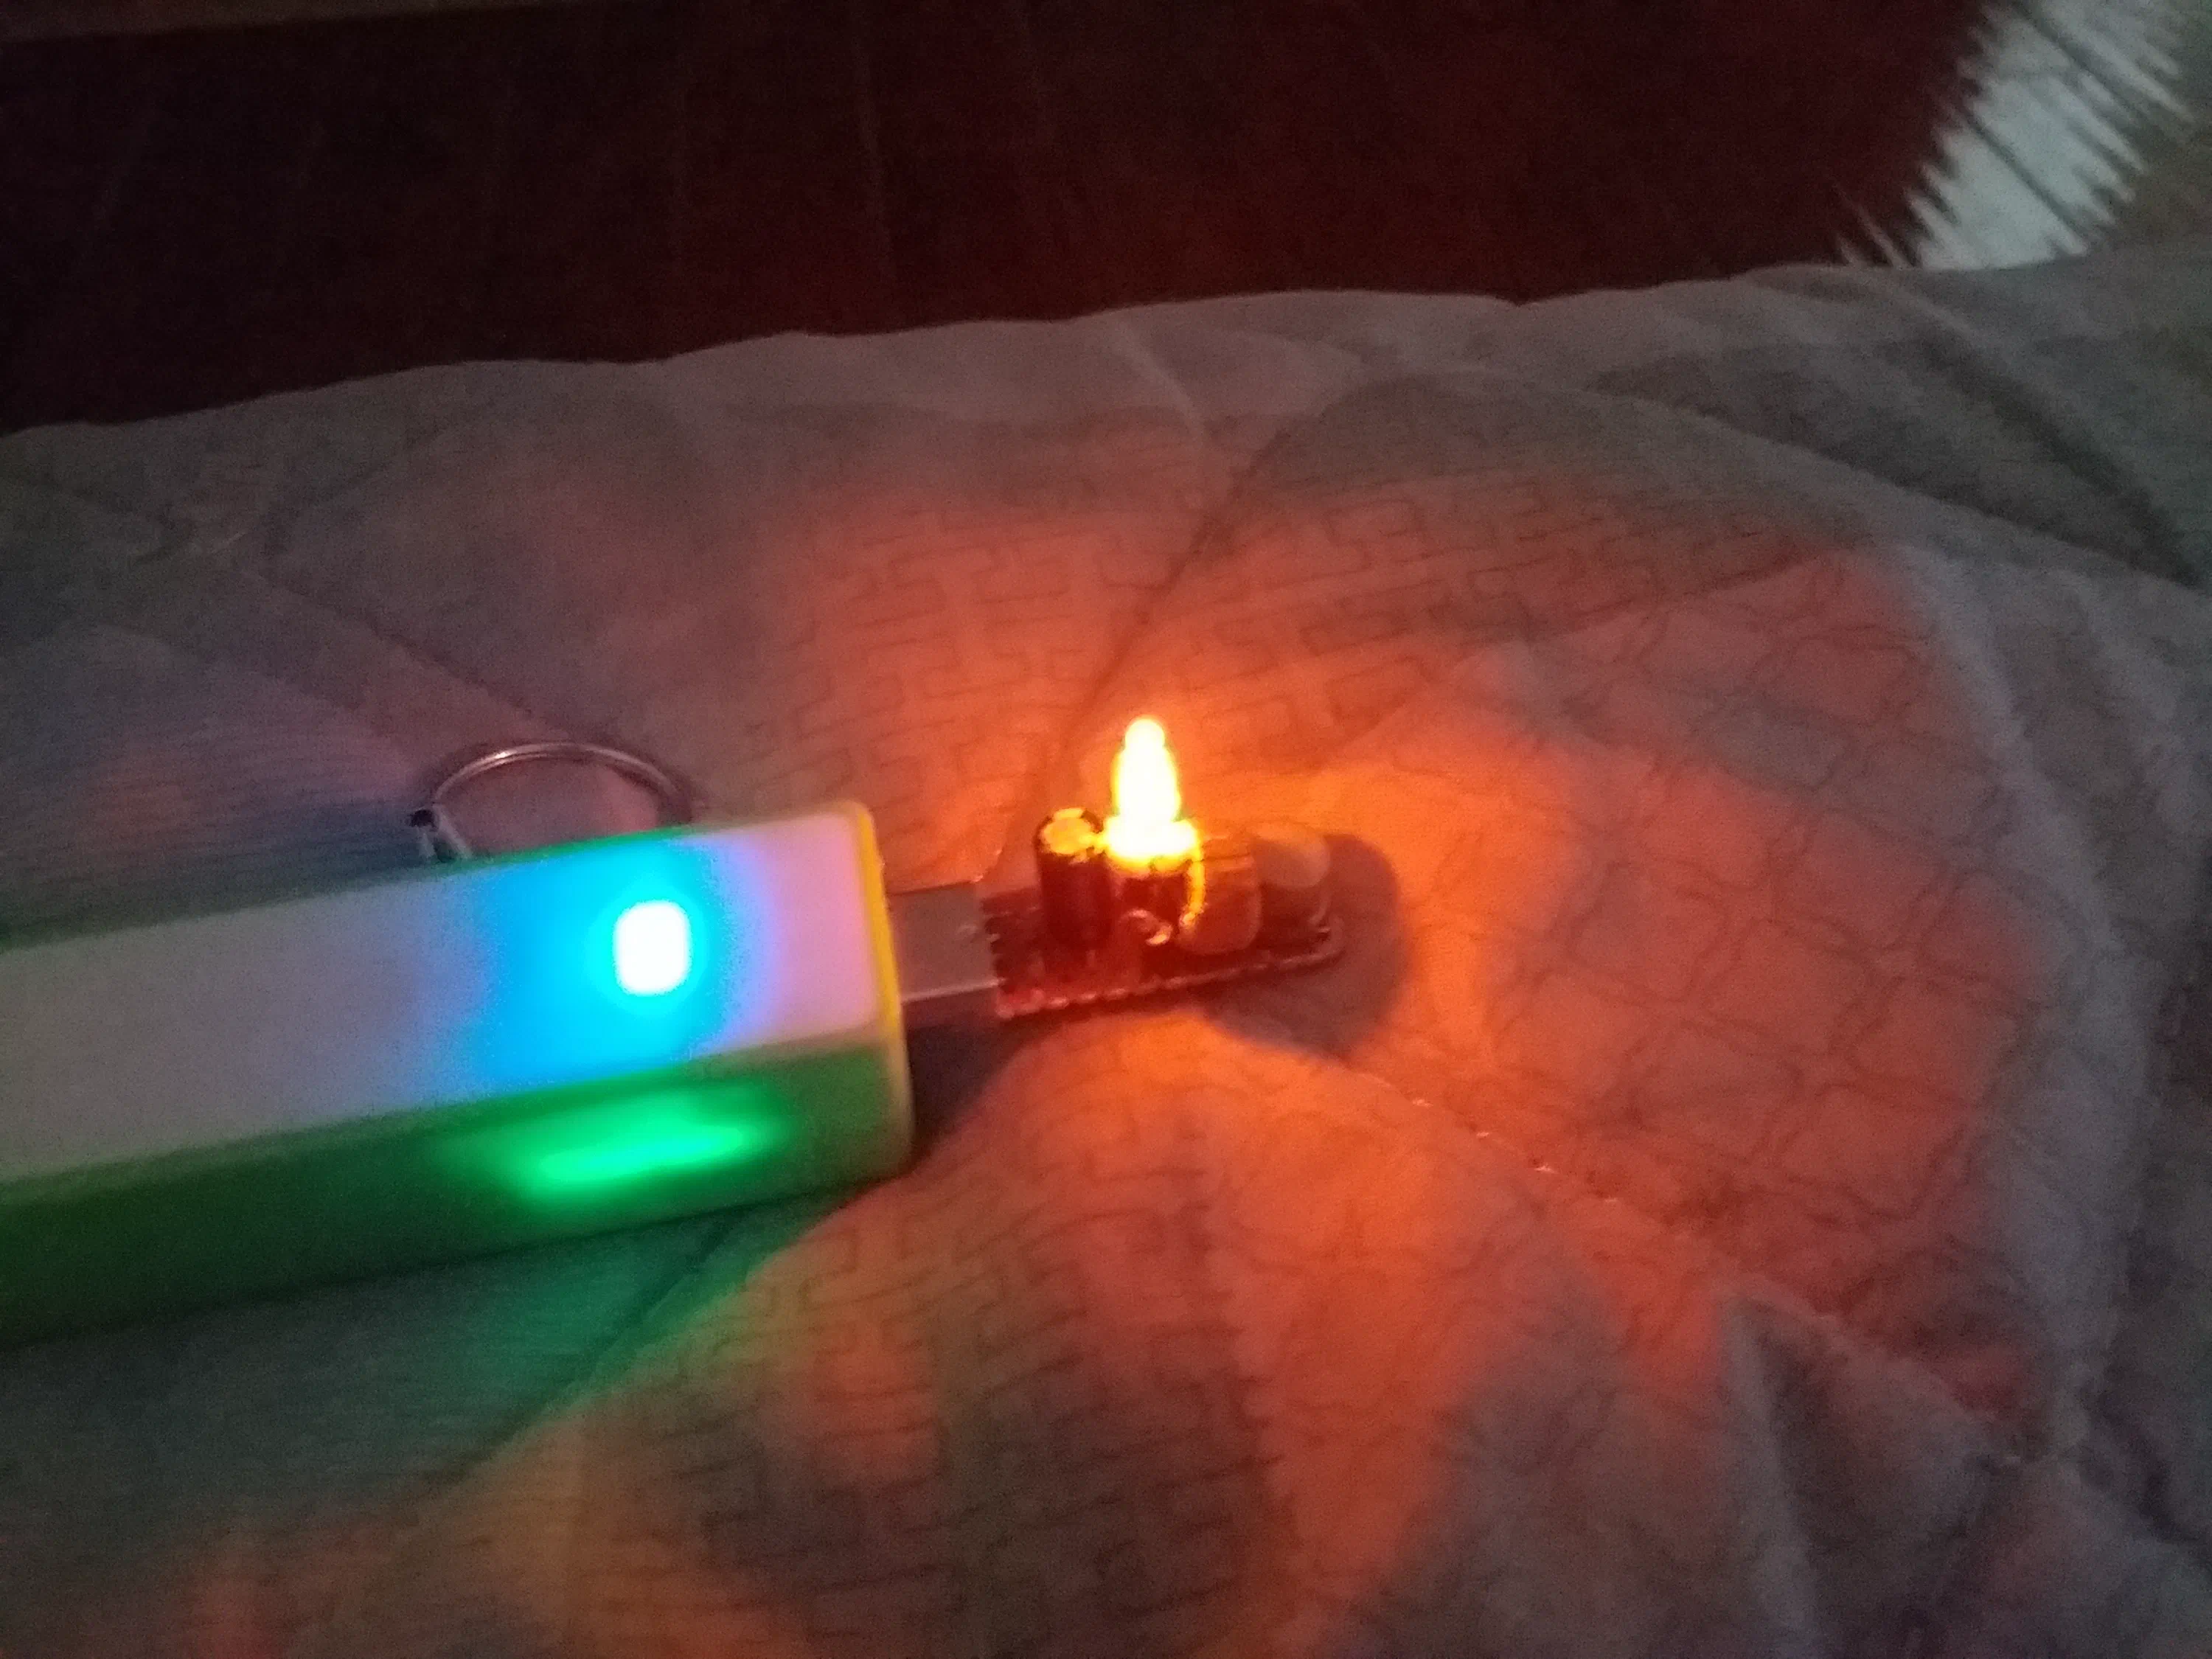
Have you ever wanted to stare at a mesmerizing neon lamp without the dangers of the AC mains? This little inverter will let you power neon bulbs off 5-3 volts. It boosts the voltage to +100 volts, but with tiny current, just enough to light a neon. The current is so tiny that touching it with your finger turns the output off, safe high voltage. It is basically a joule thief with a high voltage winding. The circuit is from this instructable. Definitely worth checking out.
It is basically a low power jeanna’s light.
DISCLAIMER:
This device generates high voltage off the 5v usb line, it is not guaranteed that no high voltage will get back into the usb line. Use this device at your own risk, I will not be liable for any damage or harm caused by this device.
Step 1: Bits and Bobs
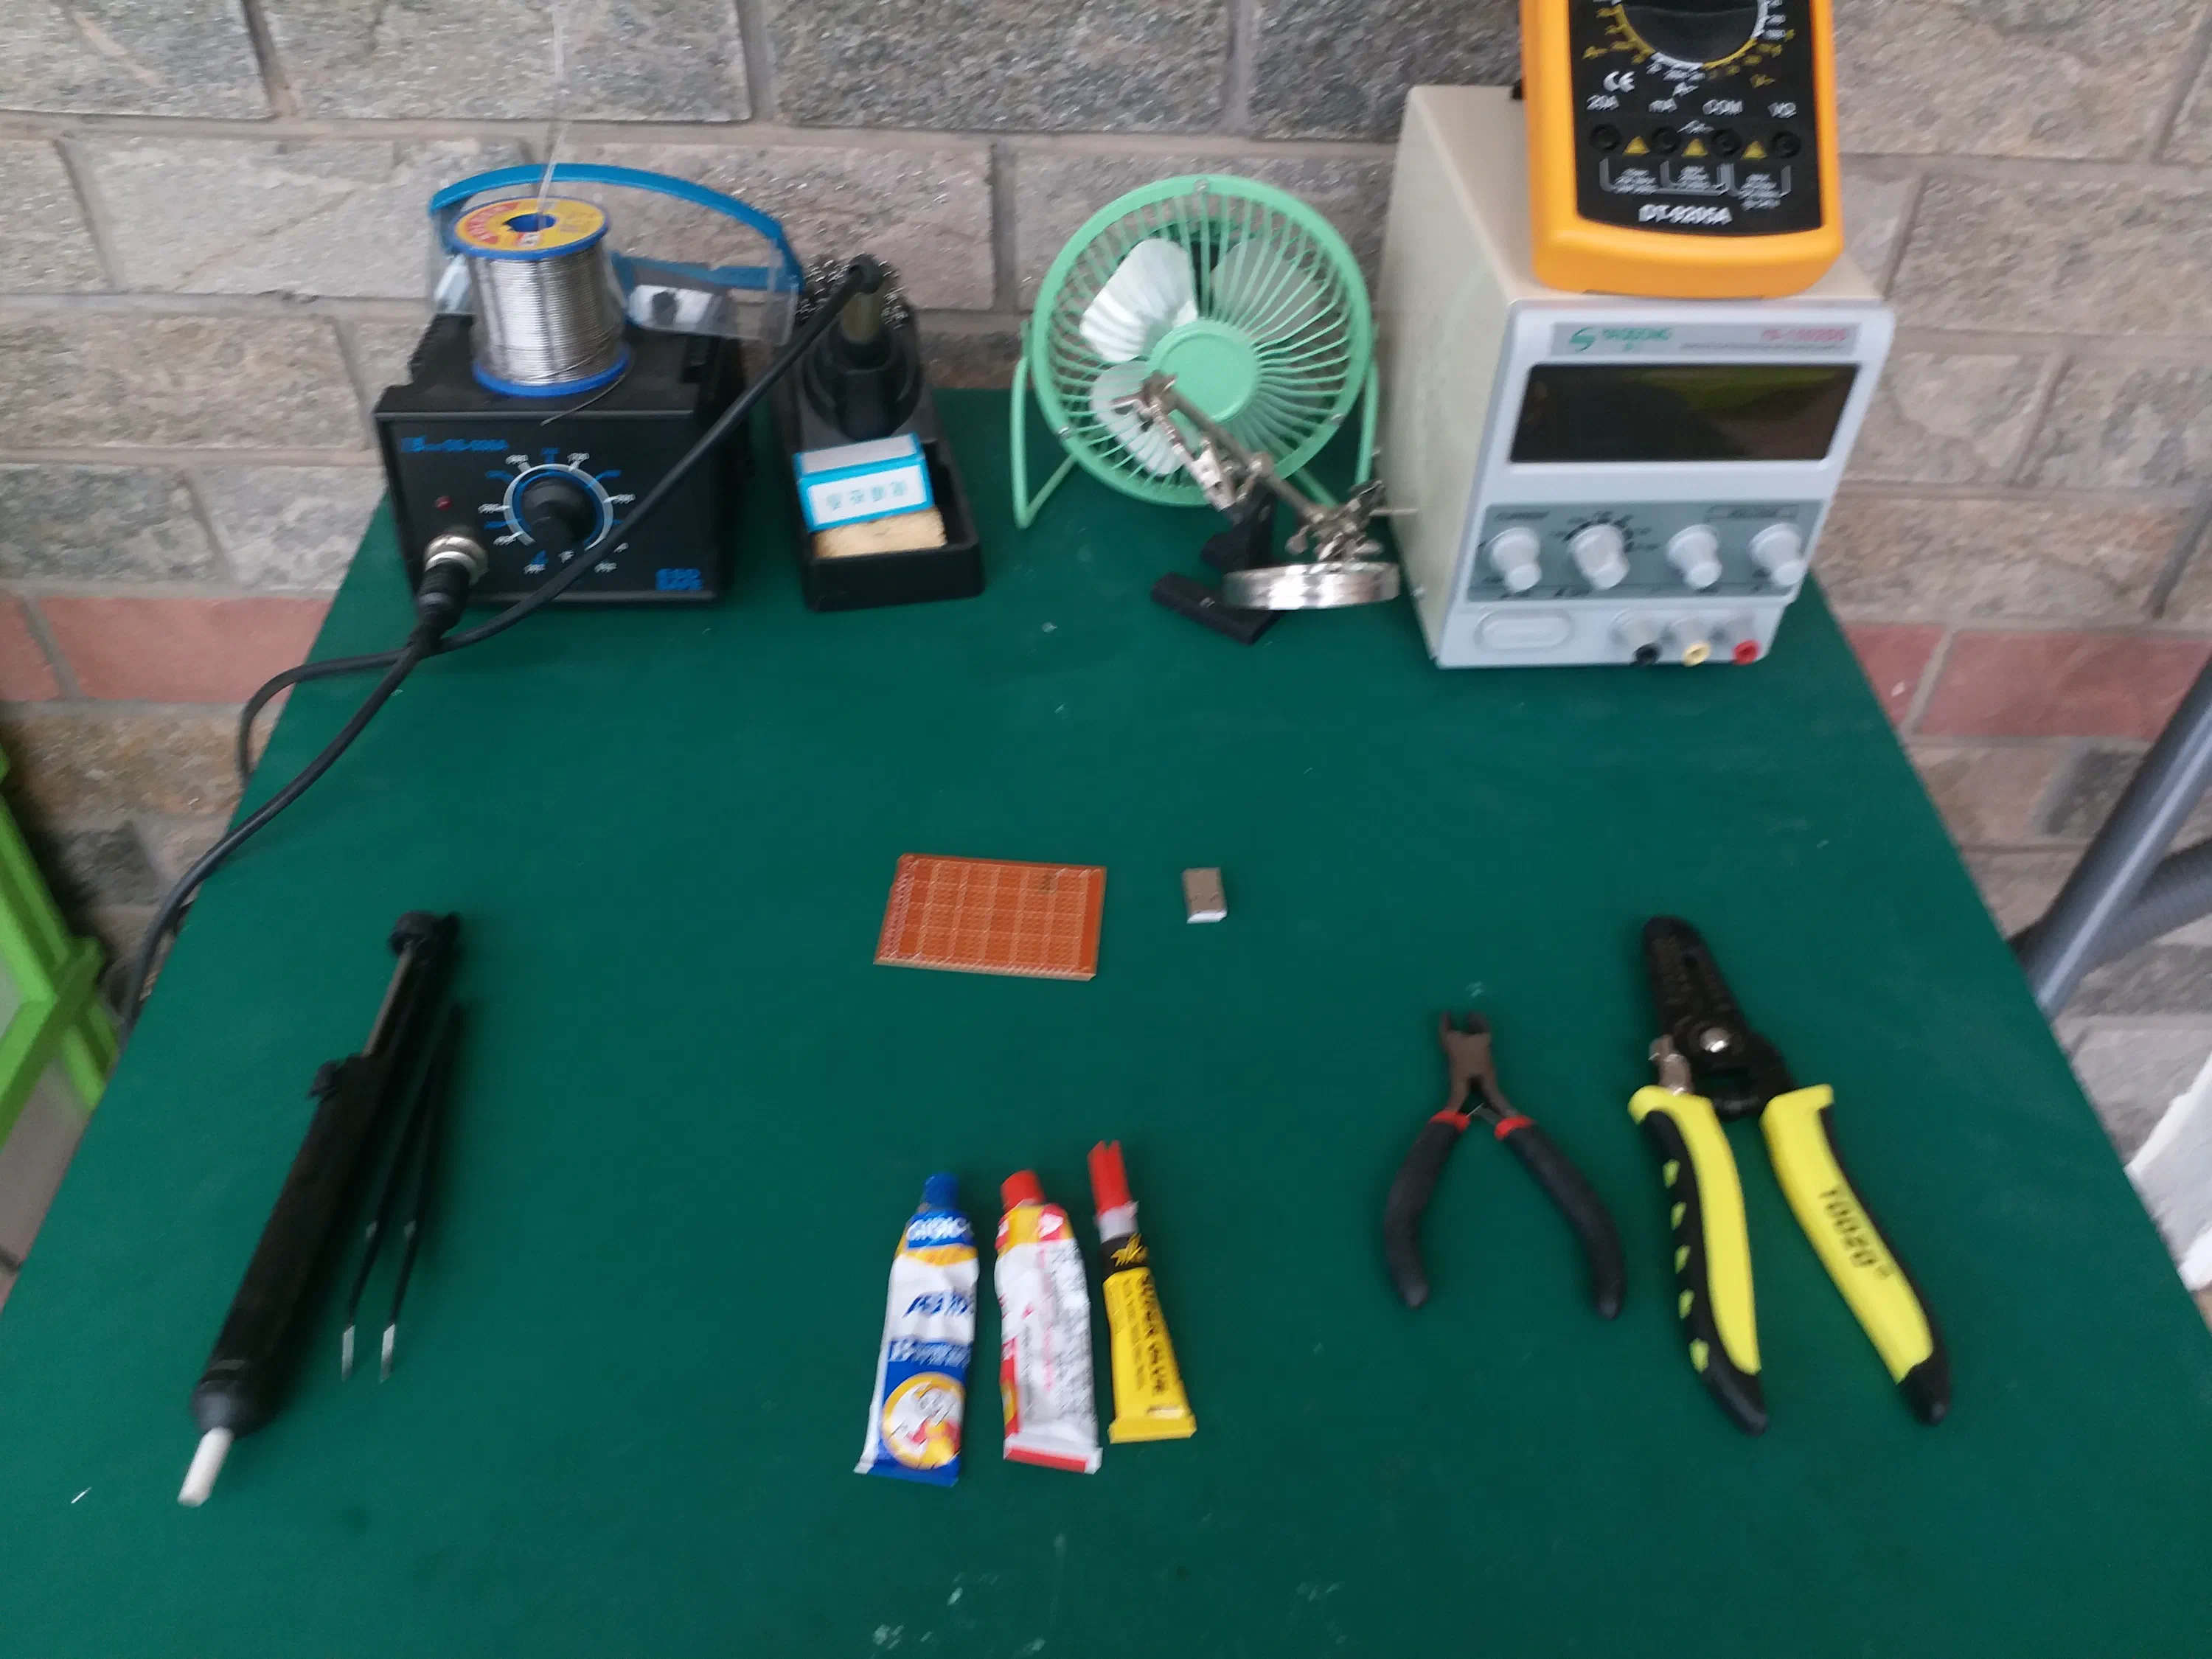
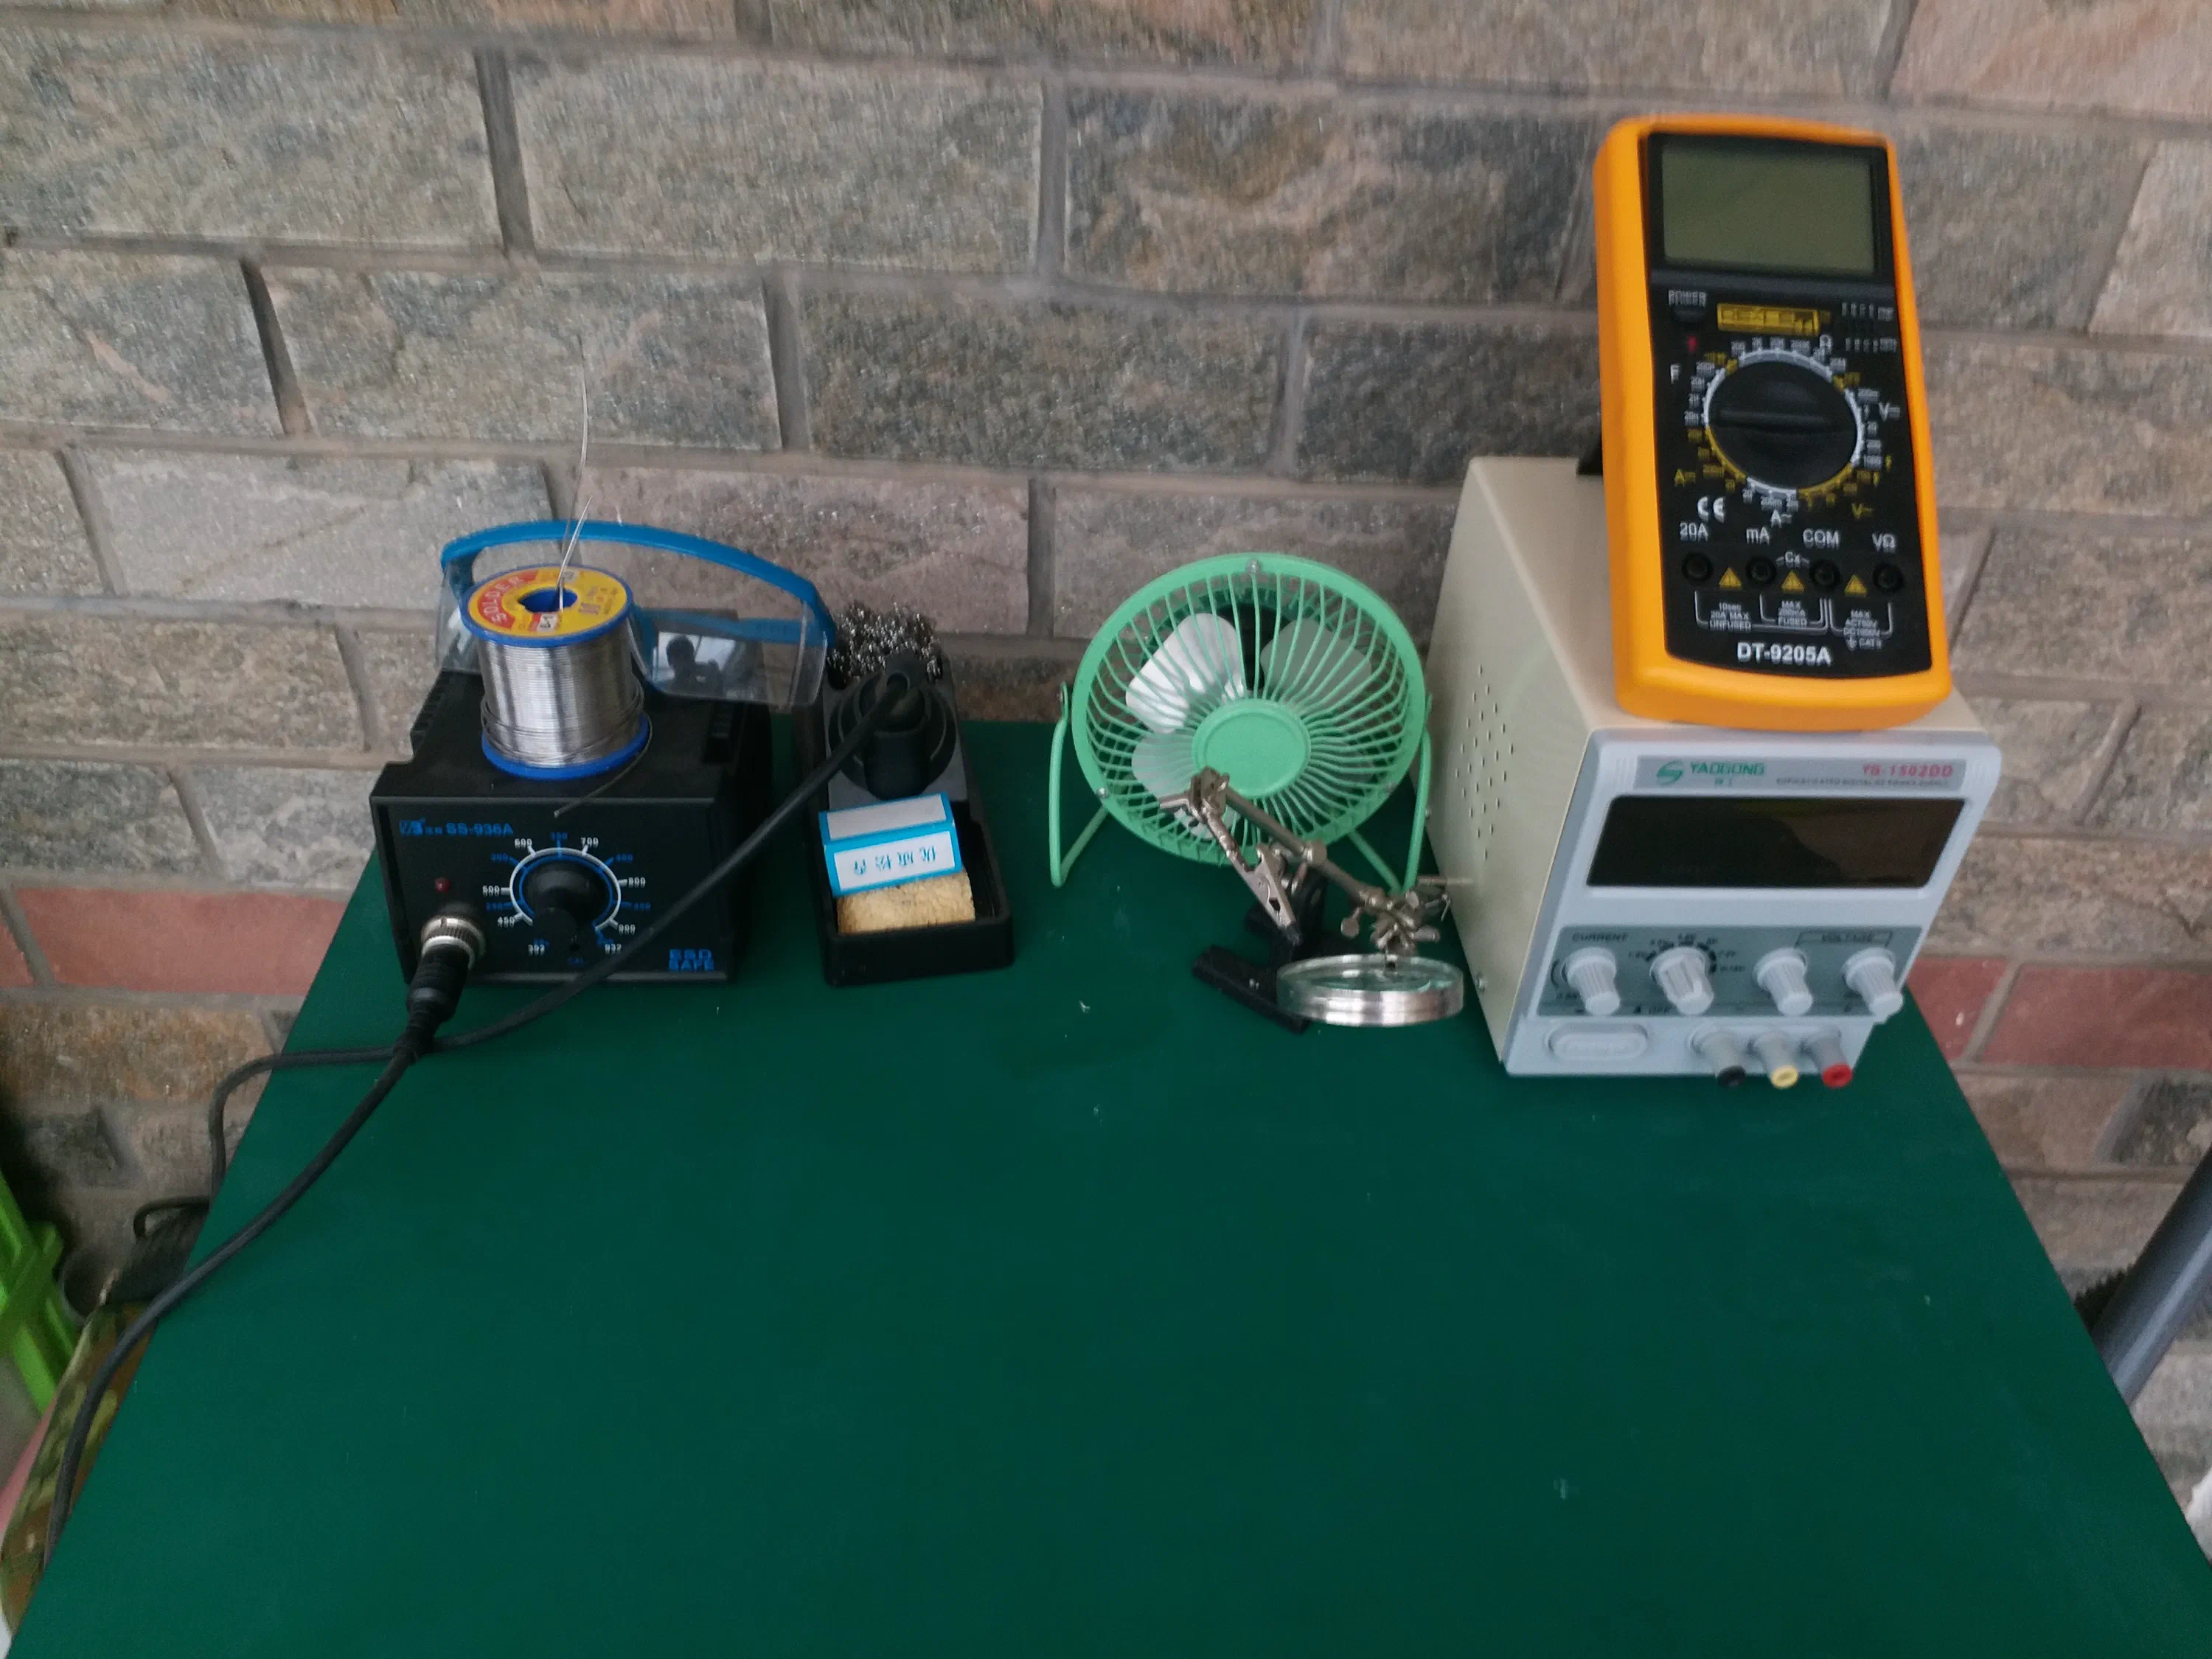
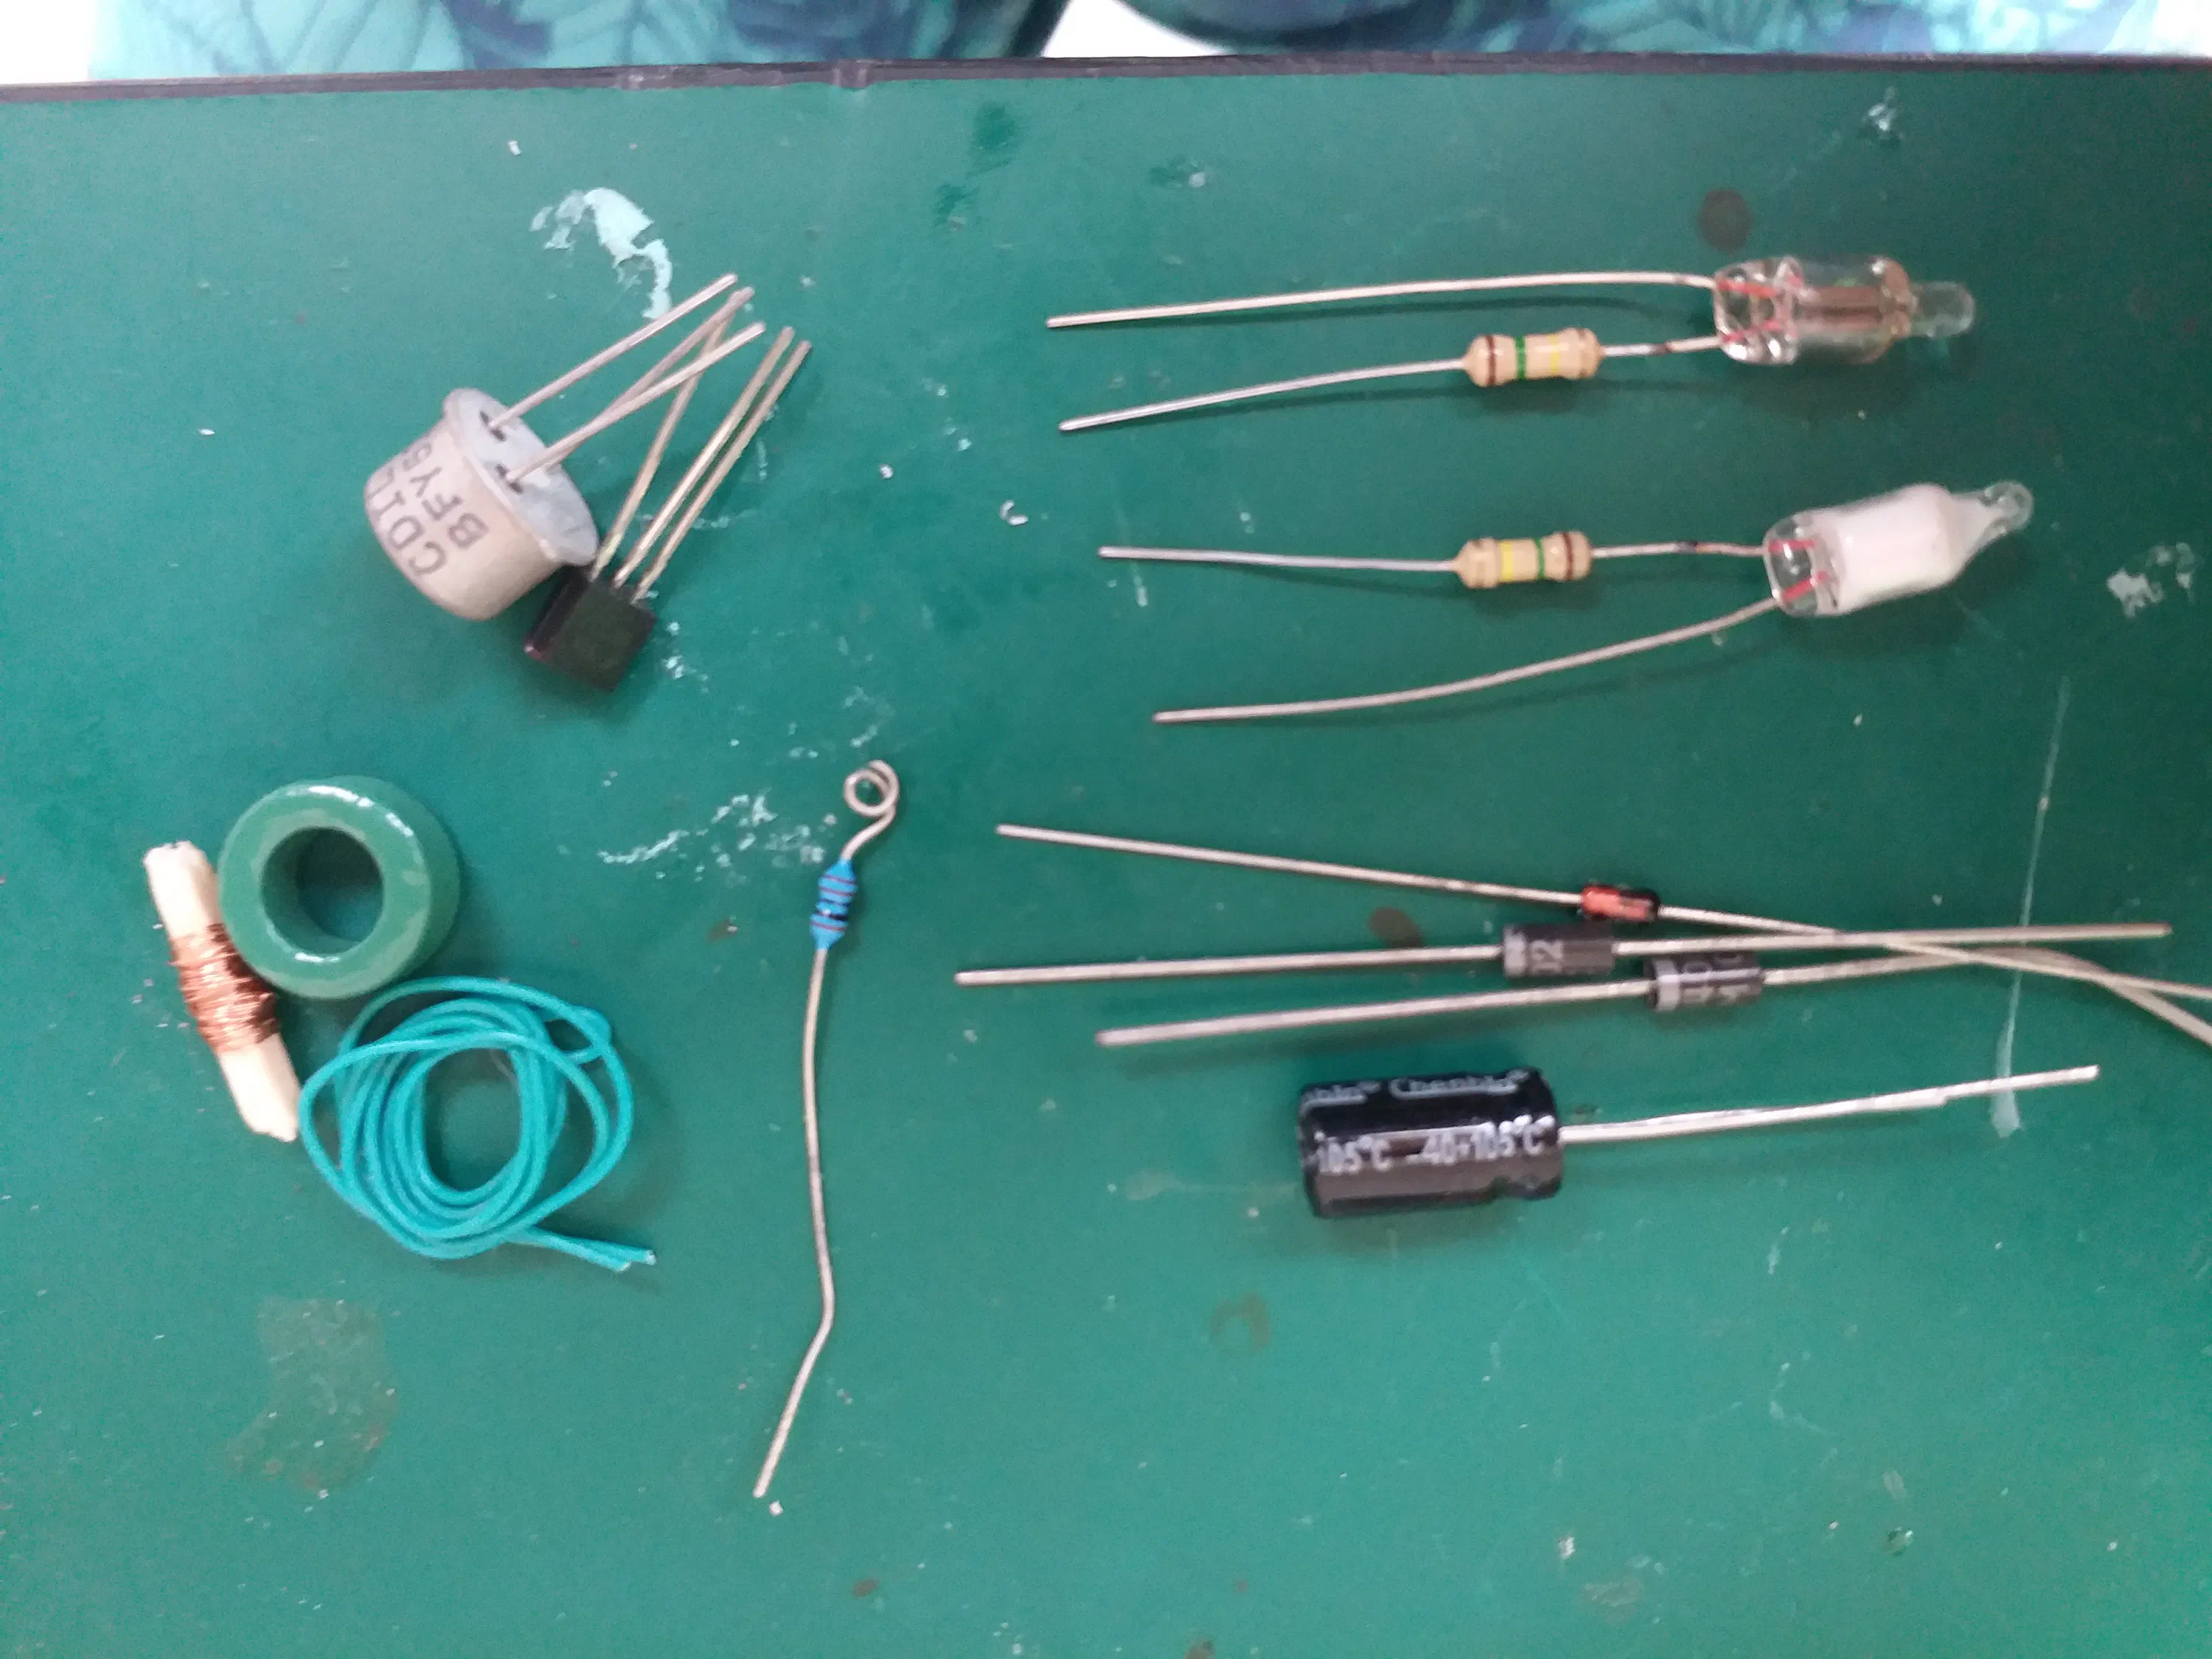
Your going to need a couple of parts for this project.
Components:
- Inverter:
- NPN Transistor (You will want to experiment, any should do, but keep in mind it will dissipate about 0.5W)
- 500-1kΩ Resistor
- Ferrite Core Toroid
- Magnet Wire
- Thin Insulated wire (wire wrapping wire or similar)
- Neon Bulb (any color)
- Power Supply (If you want to run it off USB)
- Two diodes (I used 1N4007’s)
- 5.1V Zener Diode
- 470uF Capacitor (value is not critical)
- USB head. Tools:
- Breadboard & Wires (optional for testing)
- Stripboard & Wire clippers
- Soldering Iron & Solder (optional: flux)
- Wire Strippers
- Tweezers & Blade
- Two Part Adhesive and/or Cyanoacrylate(super-glue)
- Power Supply & Multimeter
- LOTS OF PAITIENCE
Step 2: Schematic
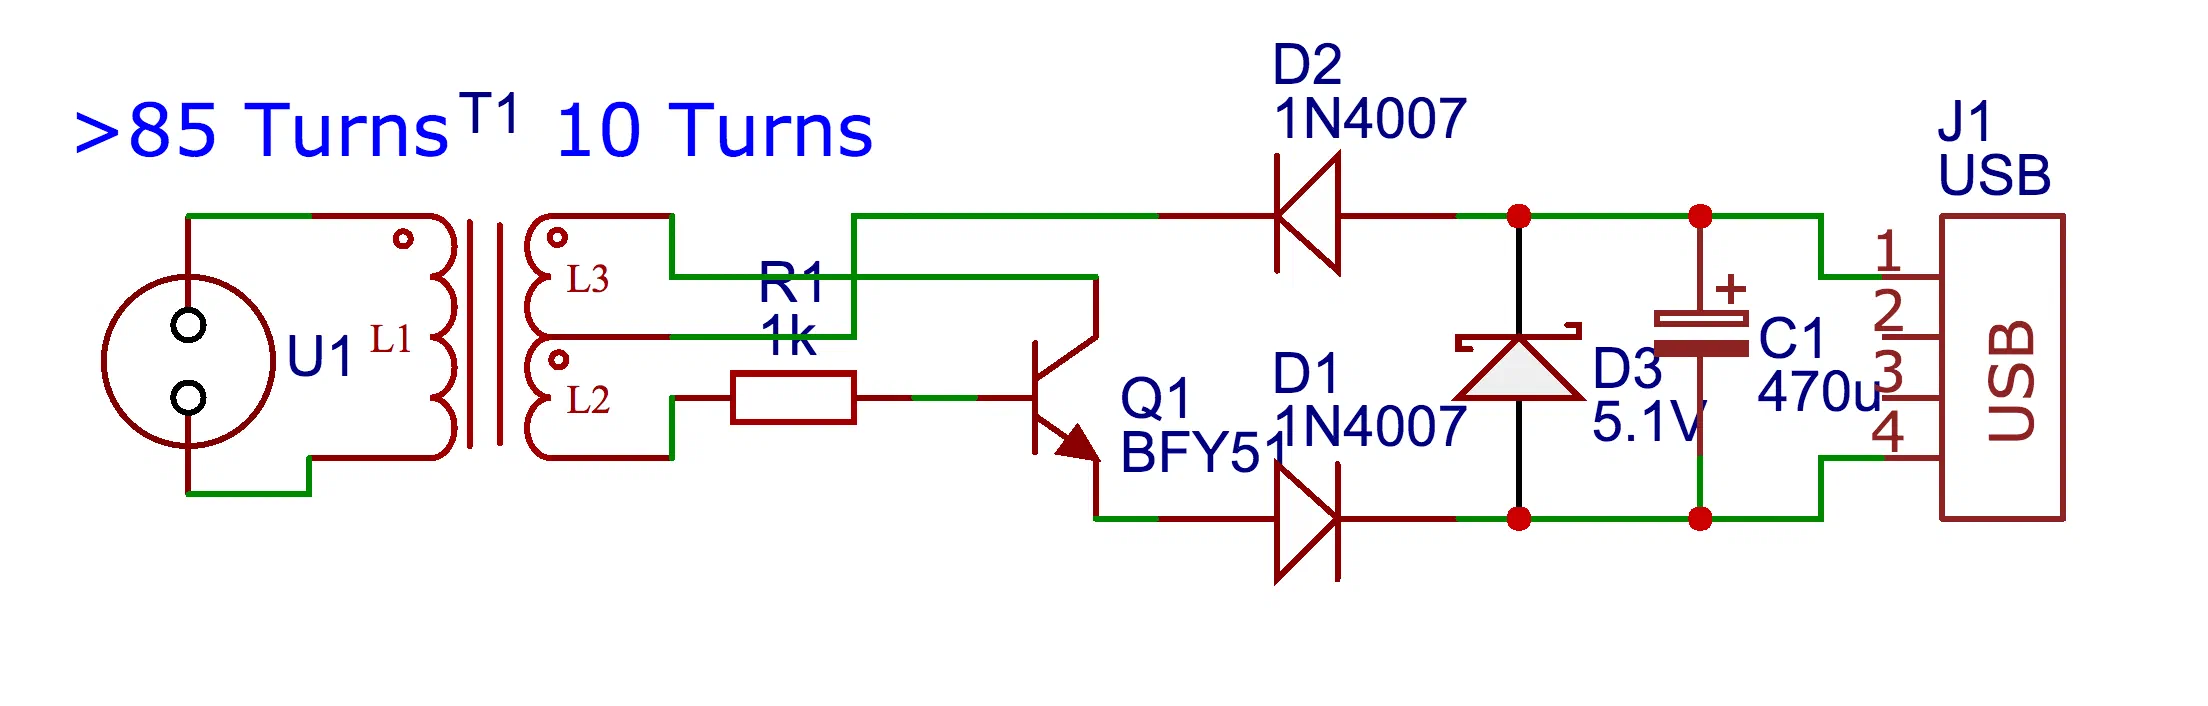
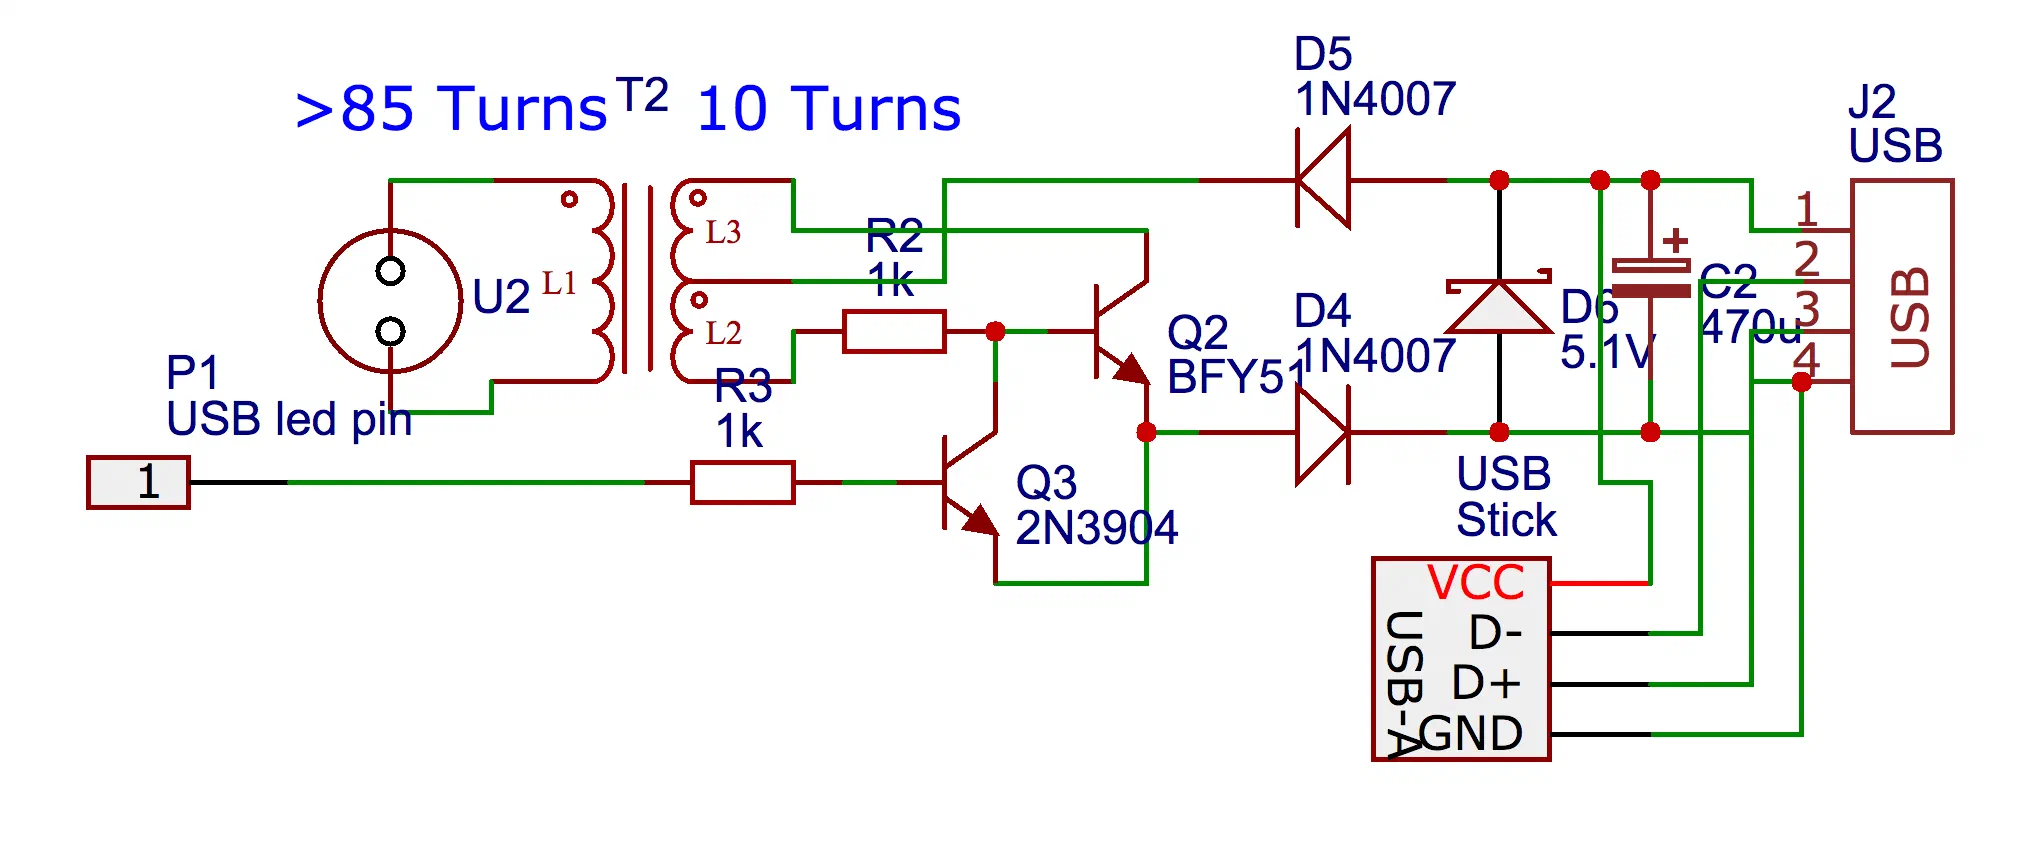
In the schematic you can see that this circuit is basically a joule thief, but with an extra +85 turn winding to drive the neon. The diodes protect against reverse polarity and drop the voltage down to an optimal 3.5 volts. The Zener protects against voltage spikes and the capacitor smoothes out any ripple and provides any extra current(decoupling).
Step 3: Winding the Toroid
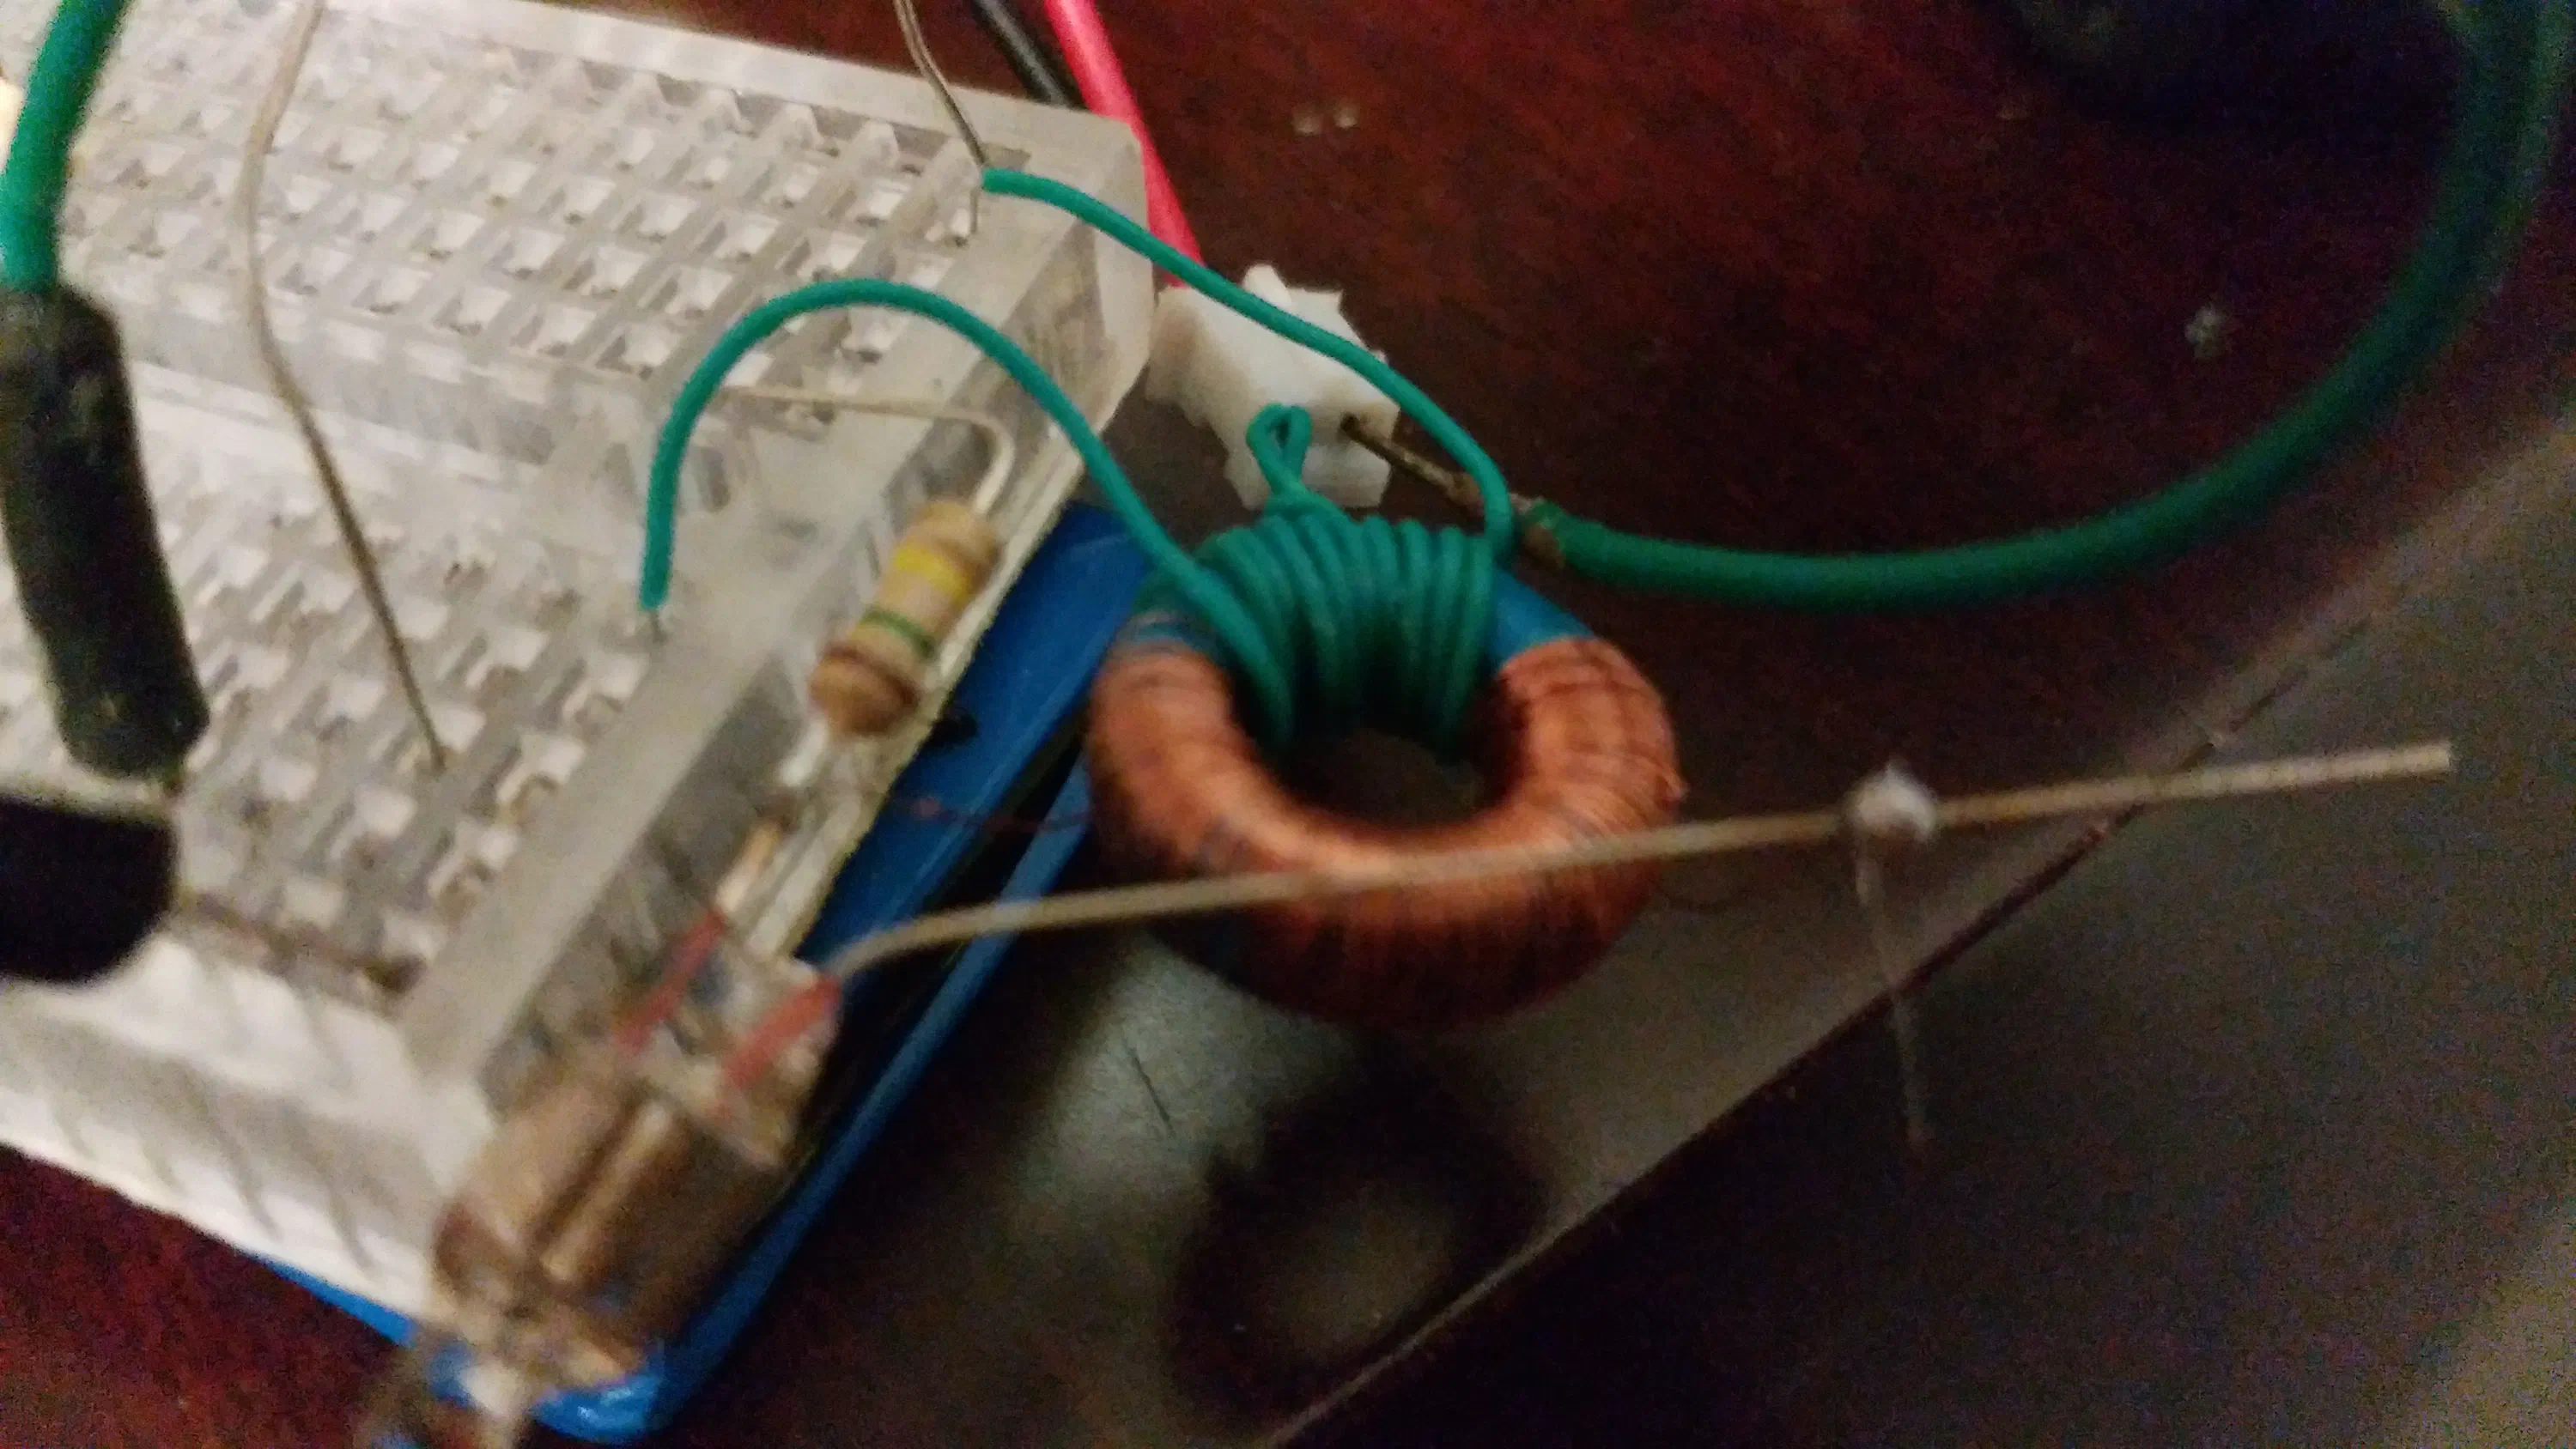
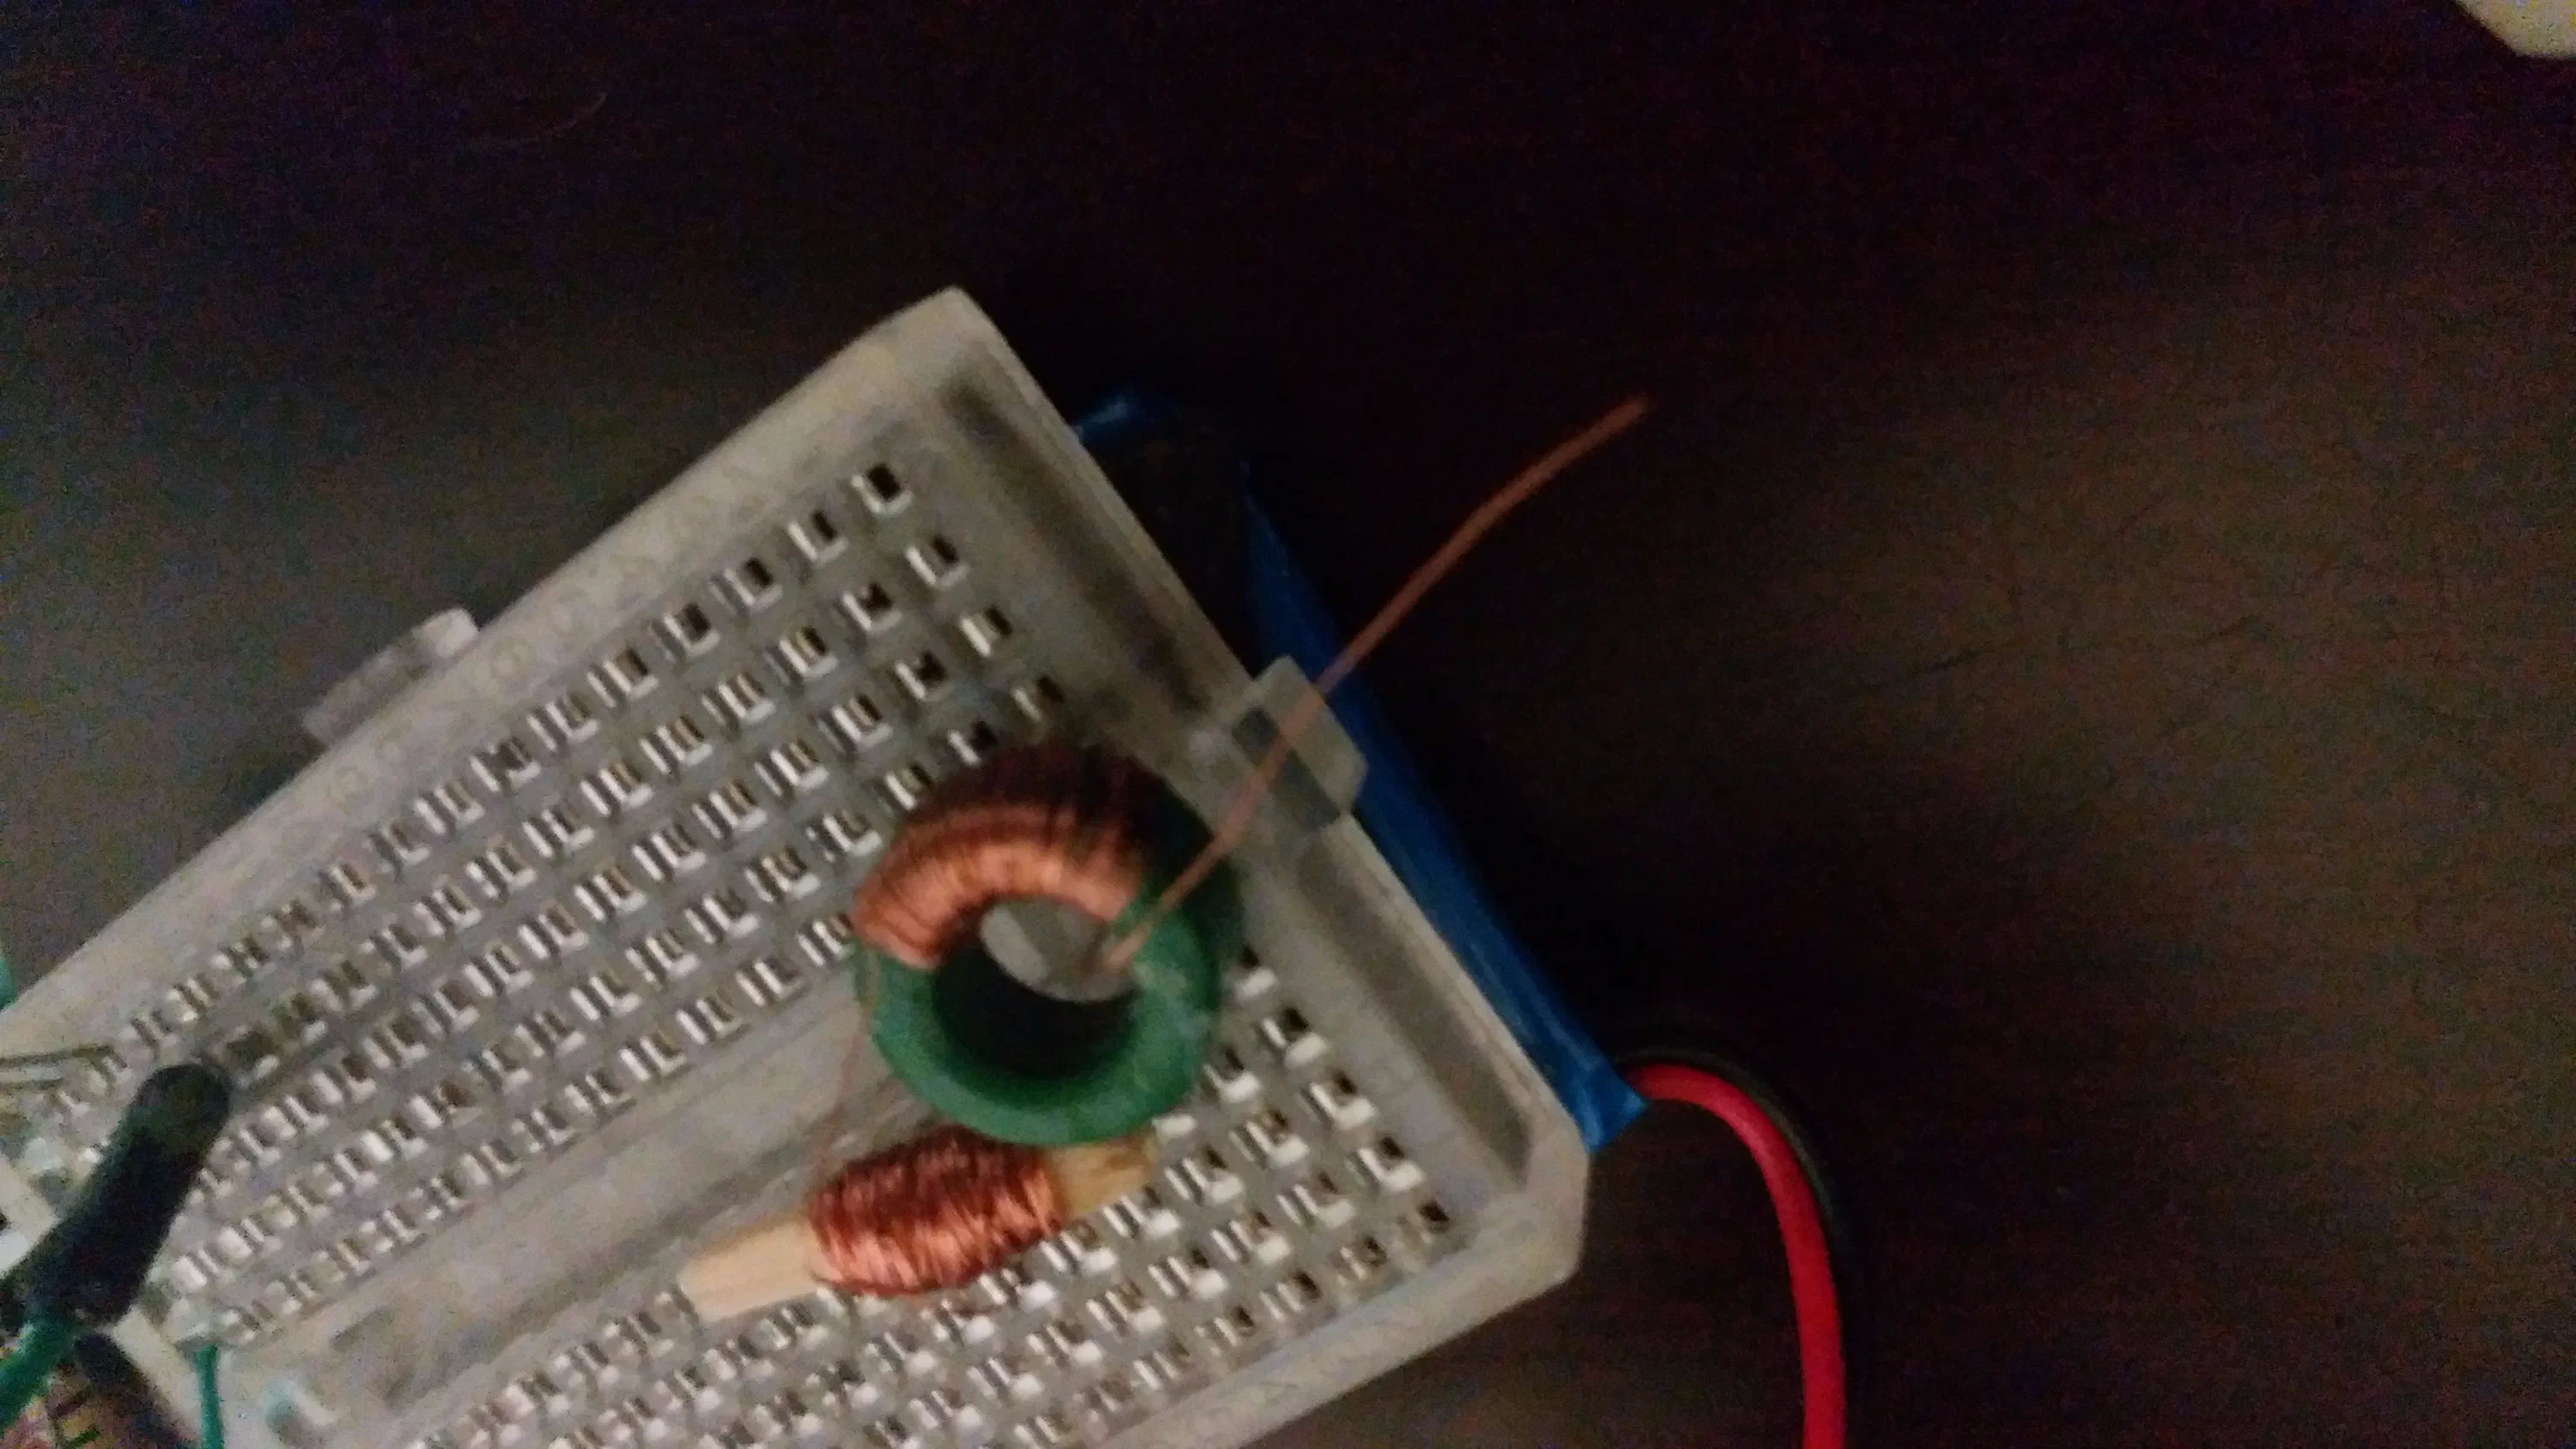
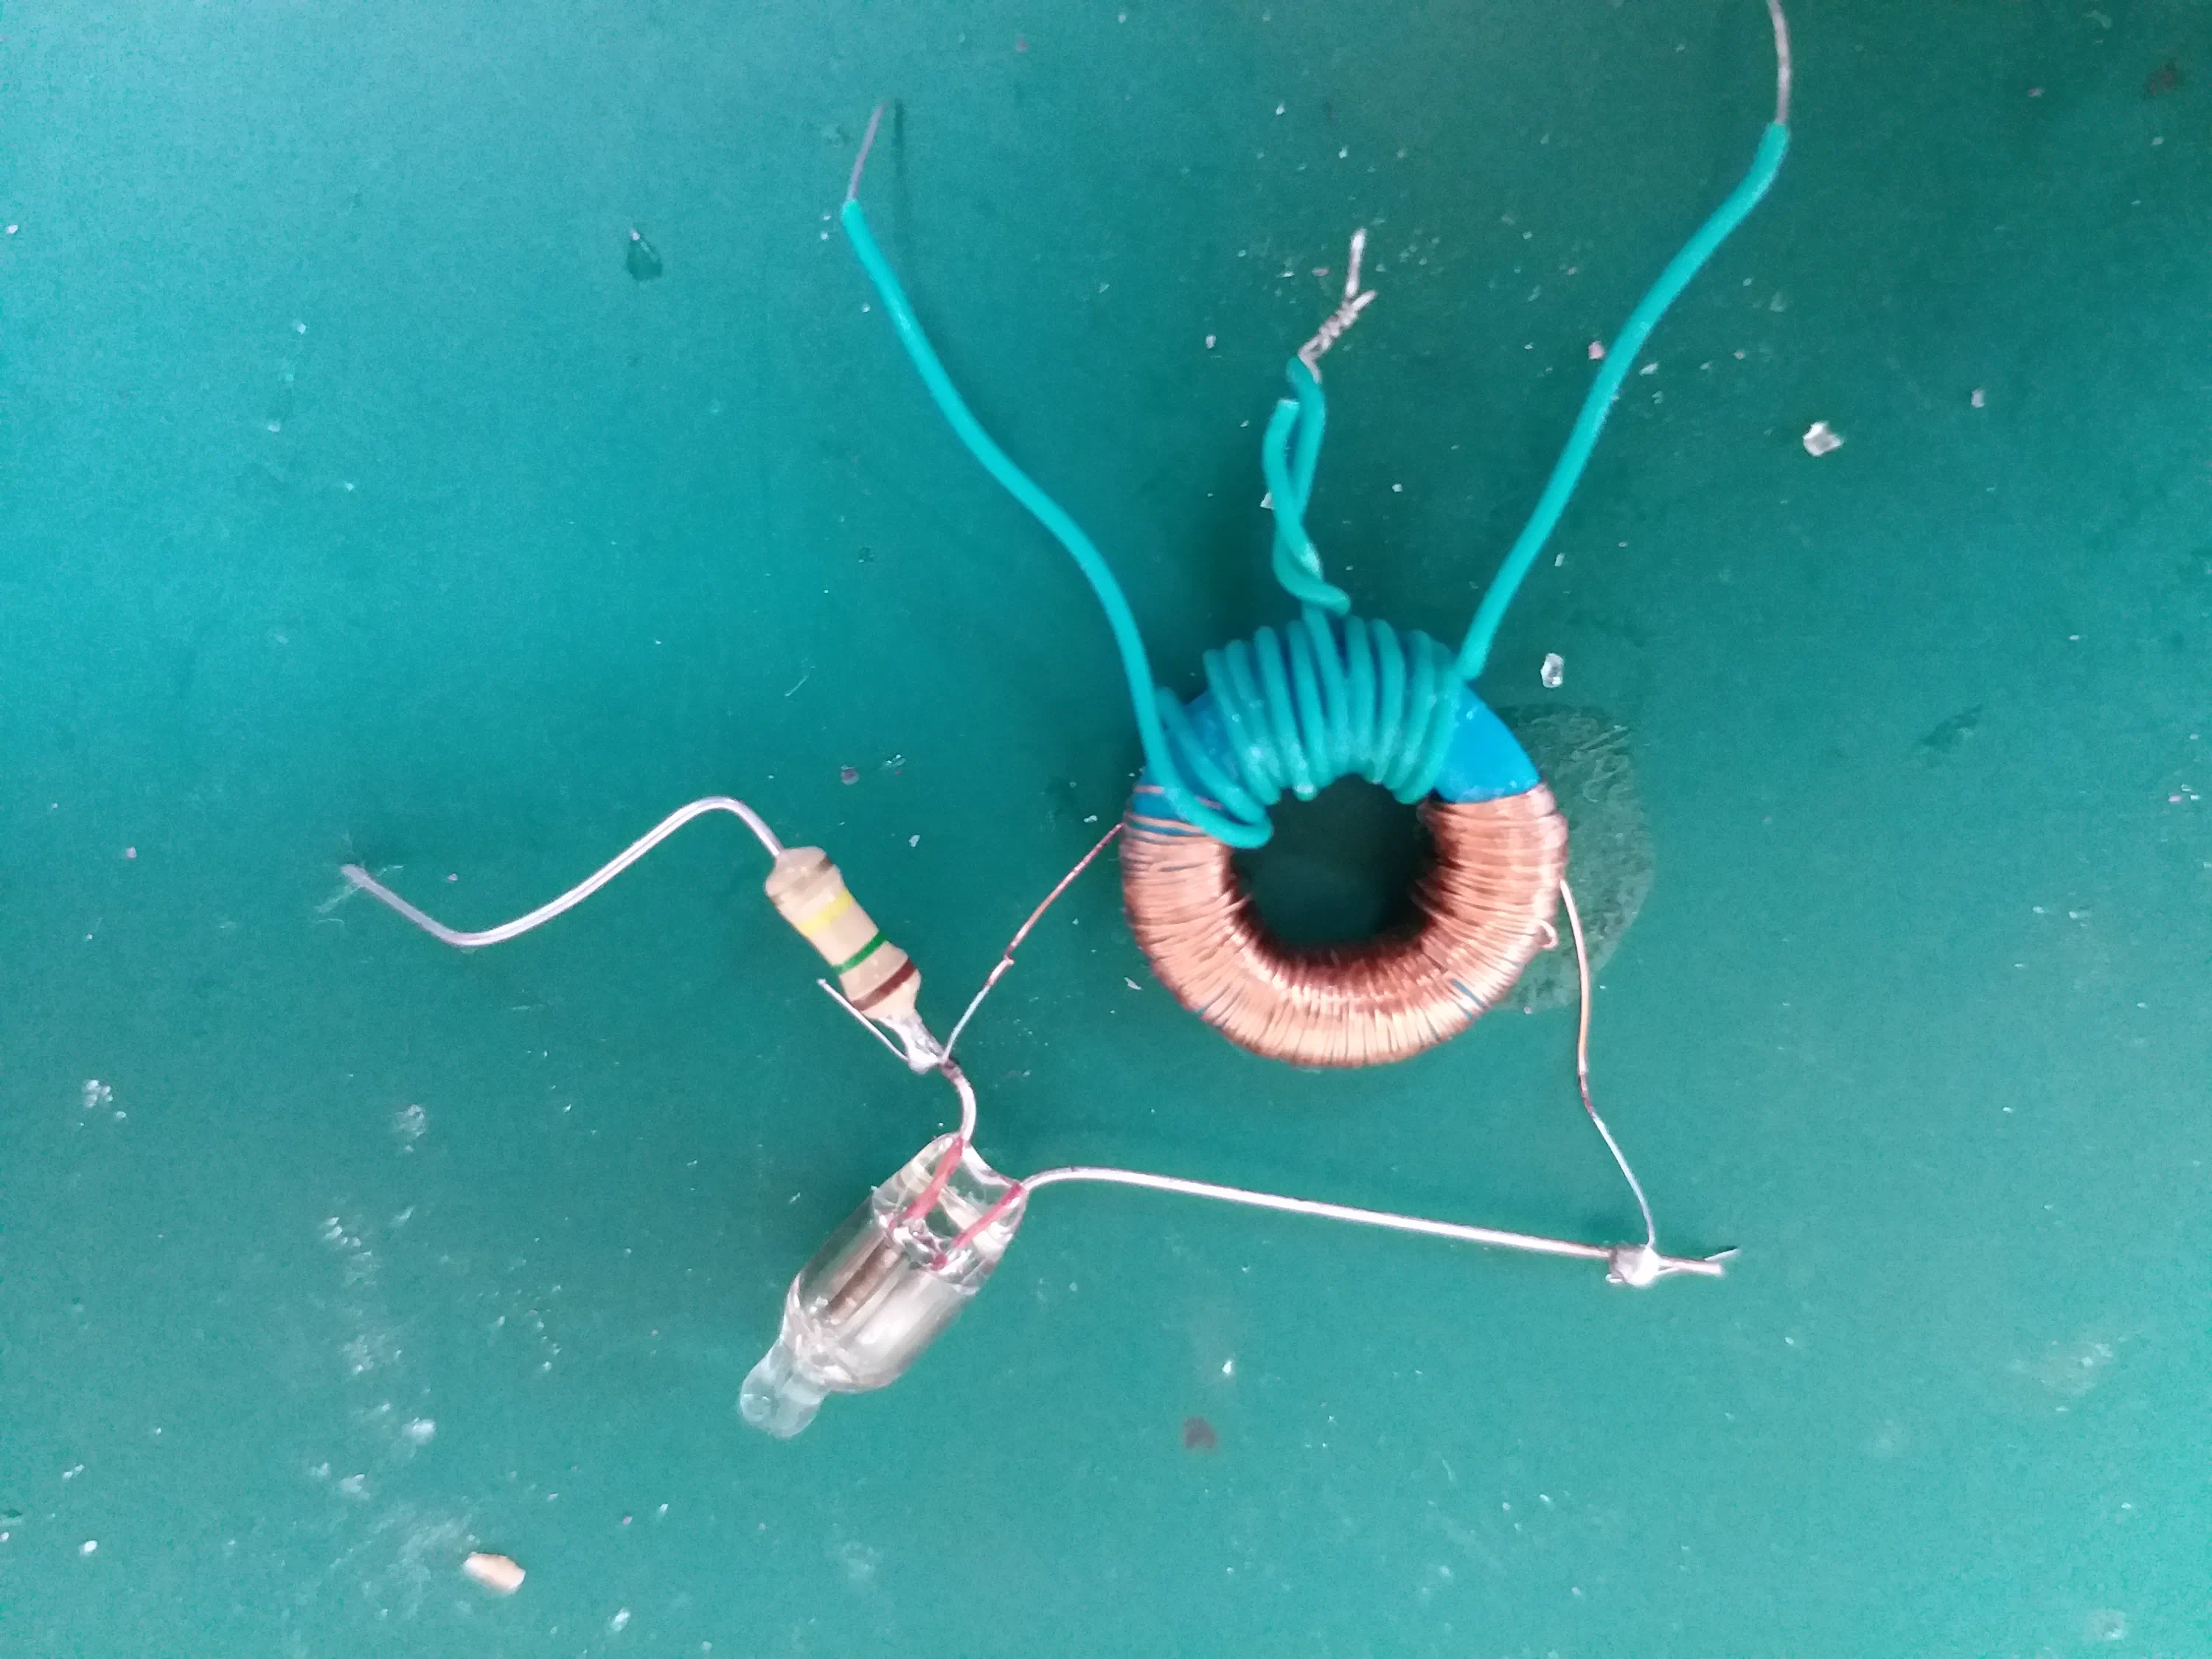
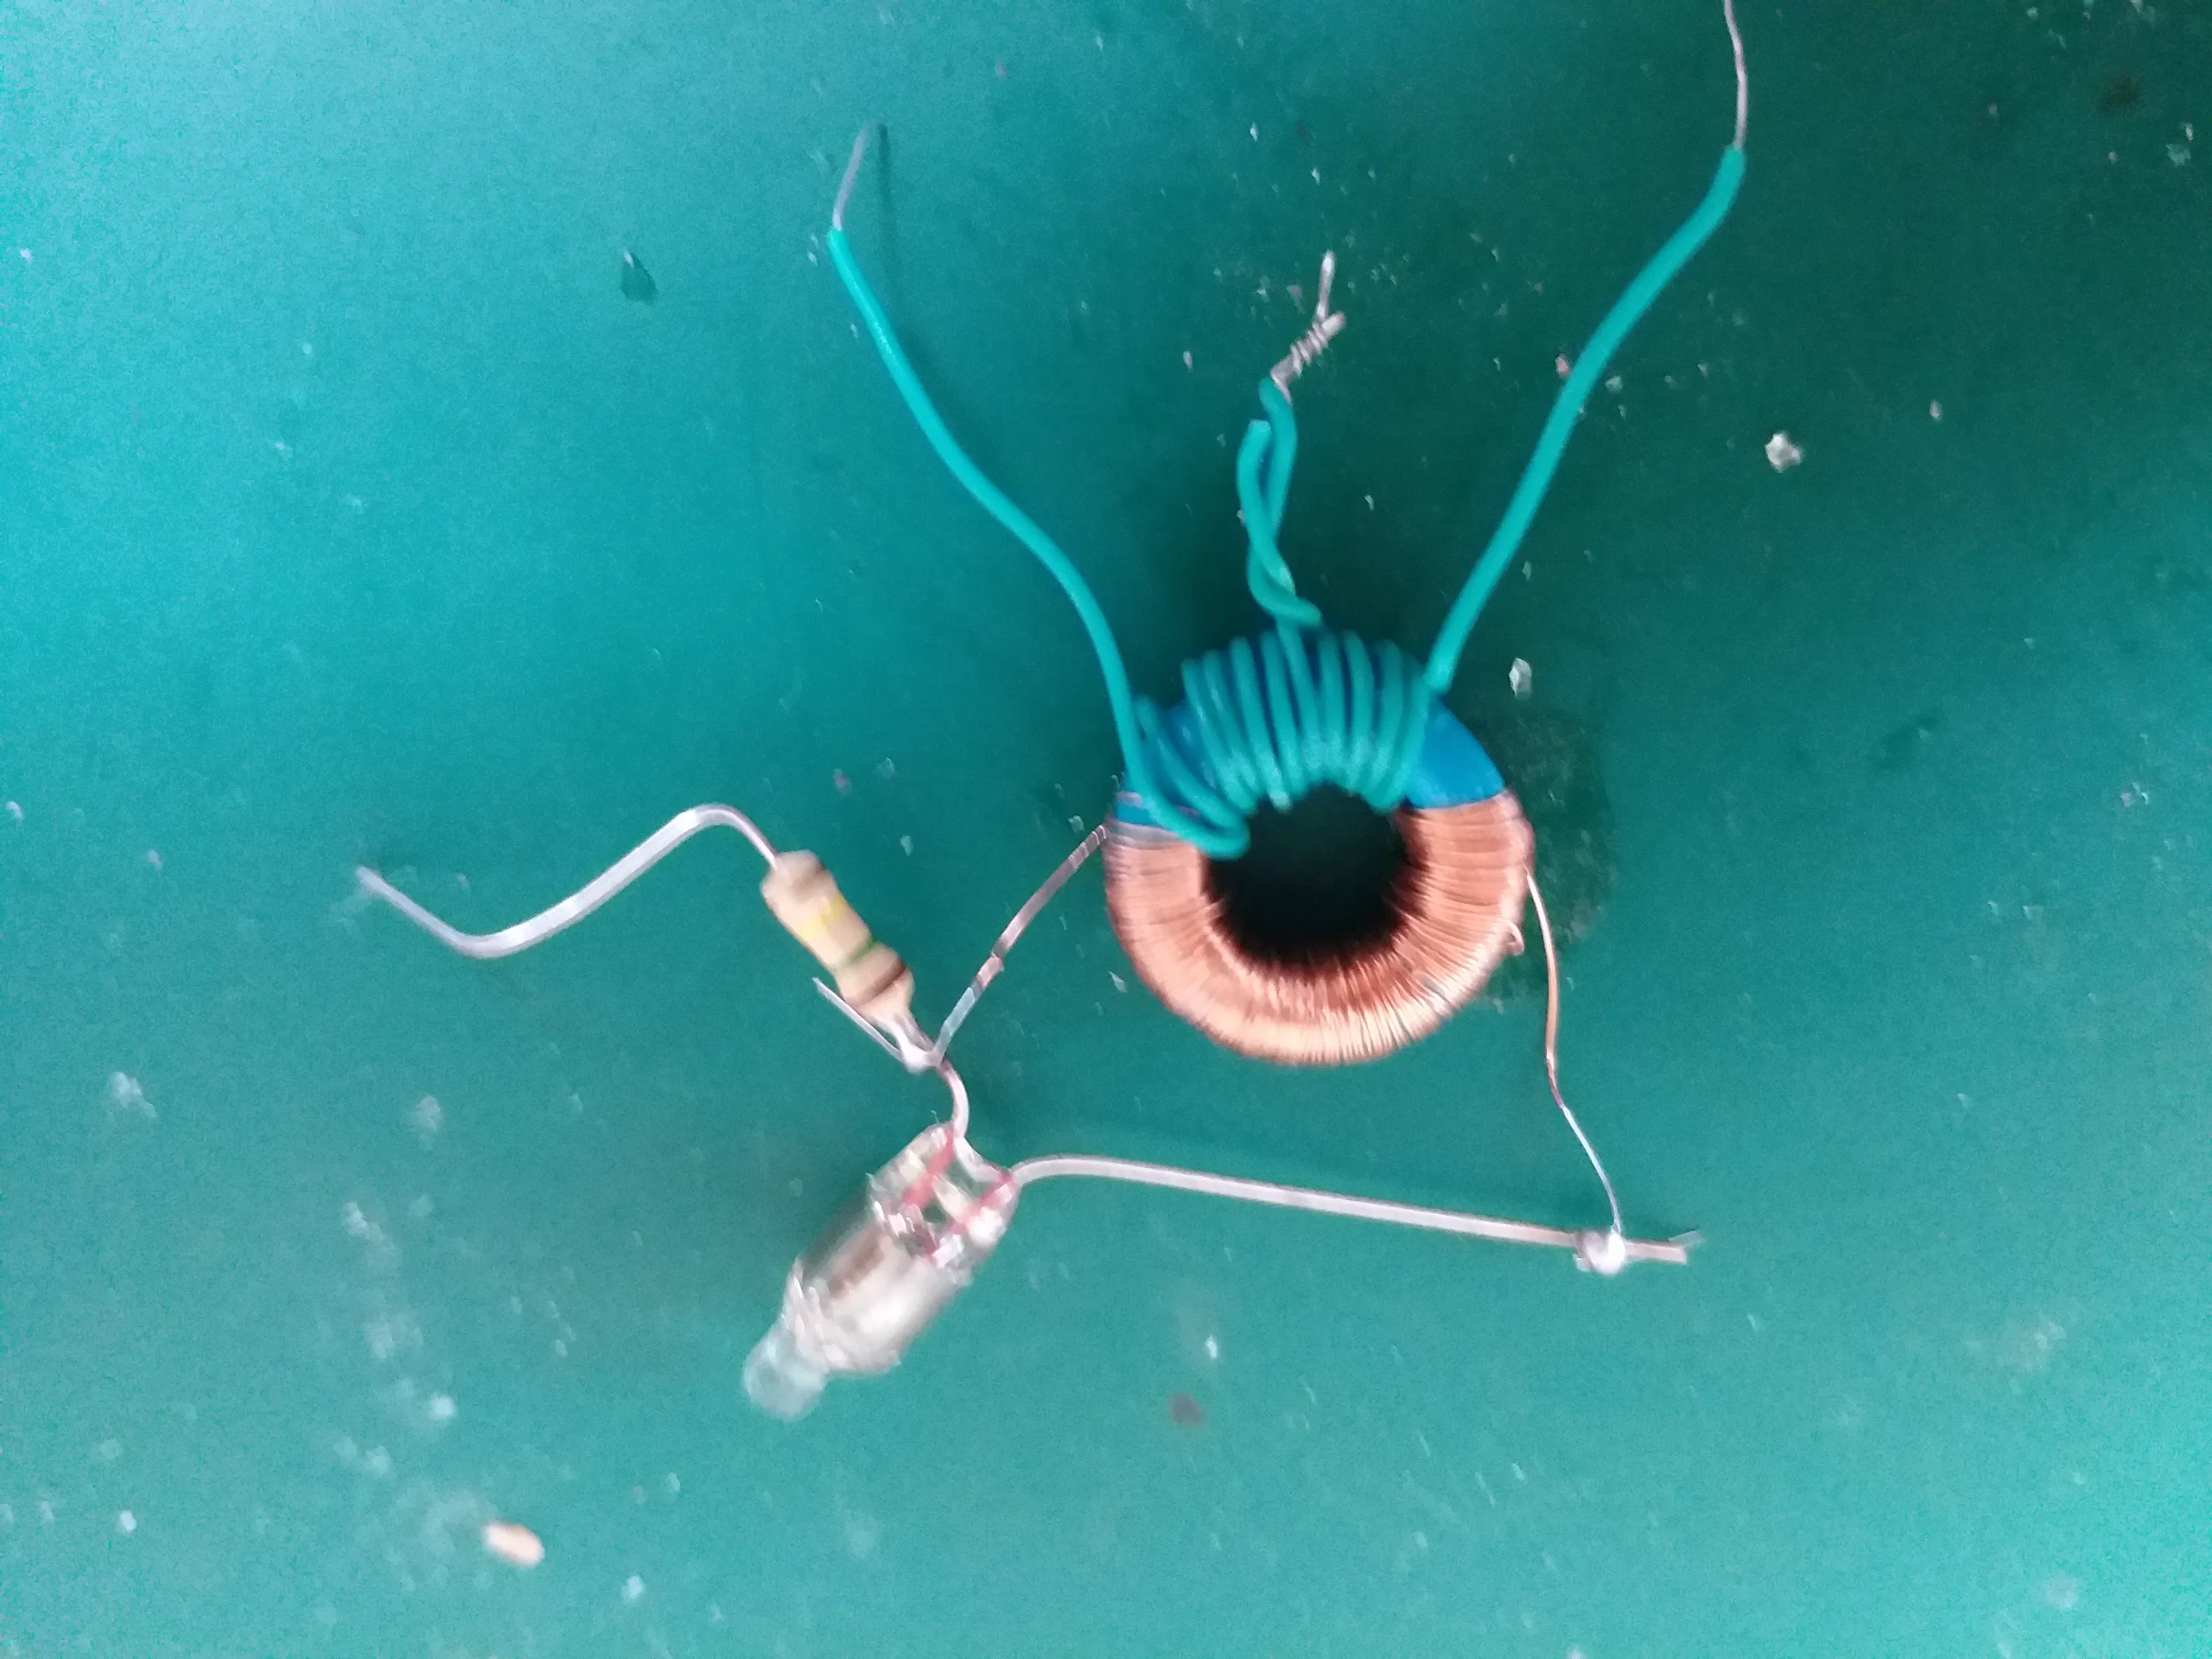
This is the hardest and most tedious part of the project.
You will need to wind 10 turns with a center tap for your primary coil. (easy part)
Then you will need to wind at least 85 turns for your secondary coil.
Tips:
- Every 20 or so windings add a drop of cyanoacrylate to hold things in place.
- Wind all your wire around a tiny bit of match stick, then pass that though the toroid.
- Once you are done, drop some cyanoacrylate over the ends to prevent unraveling.
- Don’t overlap the windings.
If you get frustrated
- Take a break, I would 50 turns and then rested for an hour.
- Try a bigger toroid.
Step 4: Prototyping
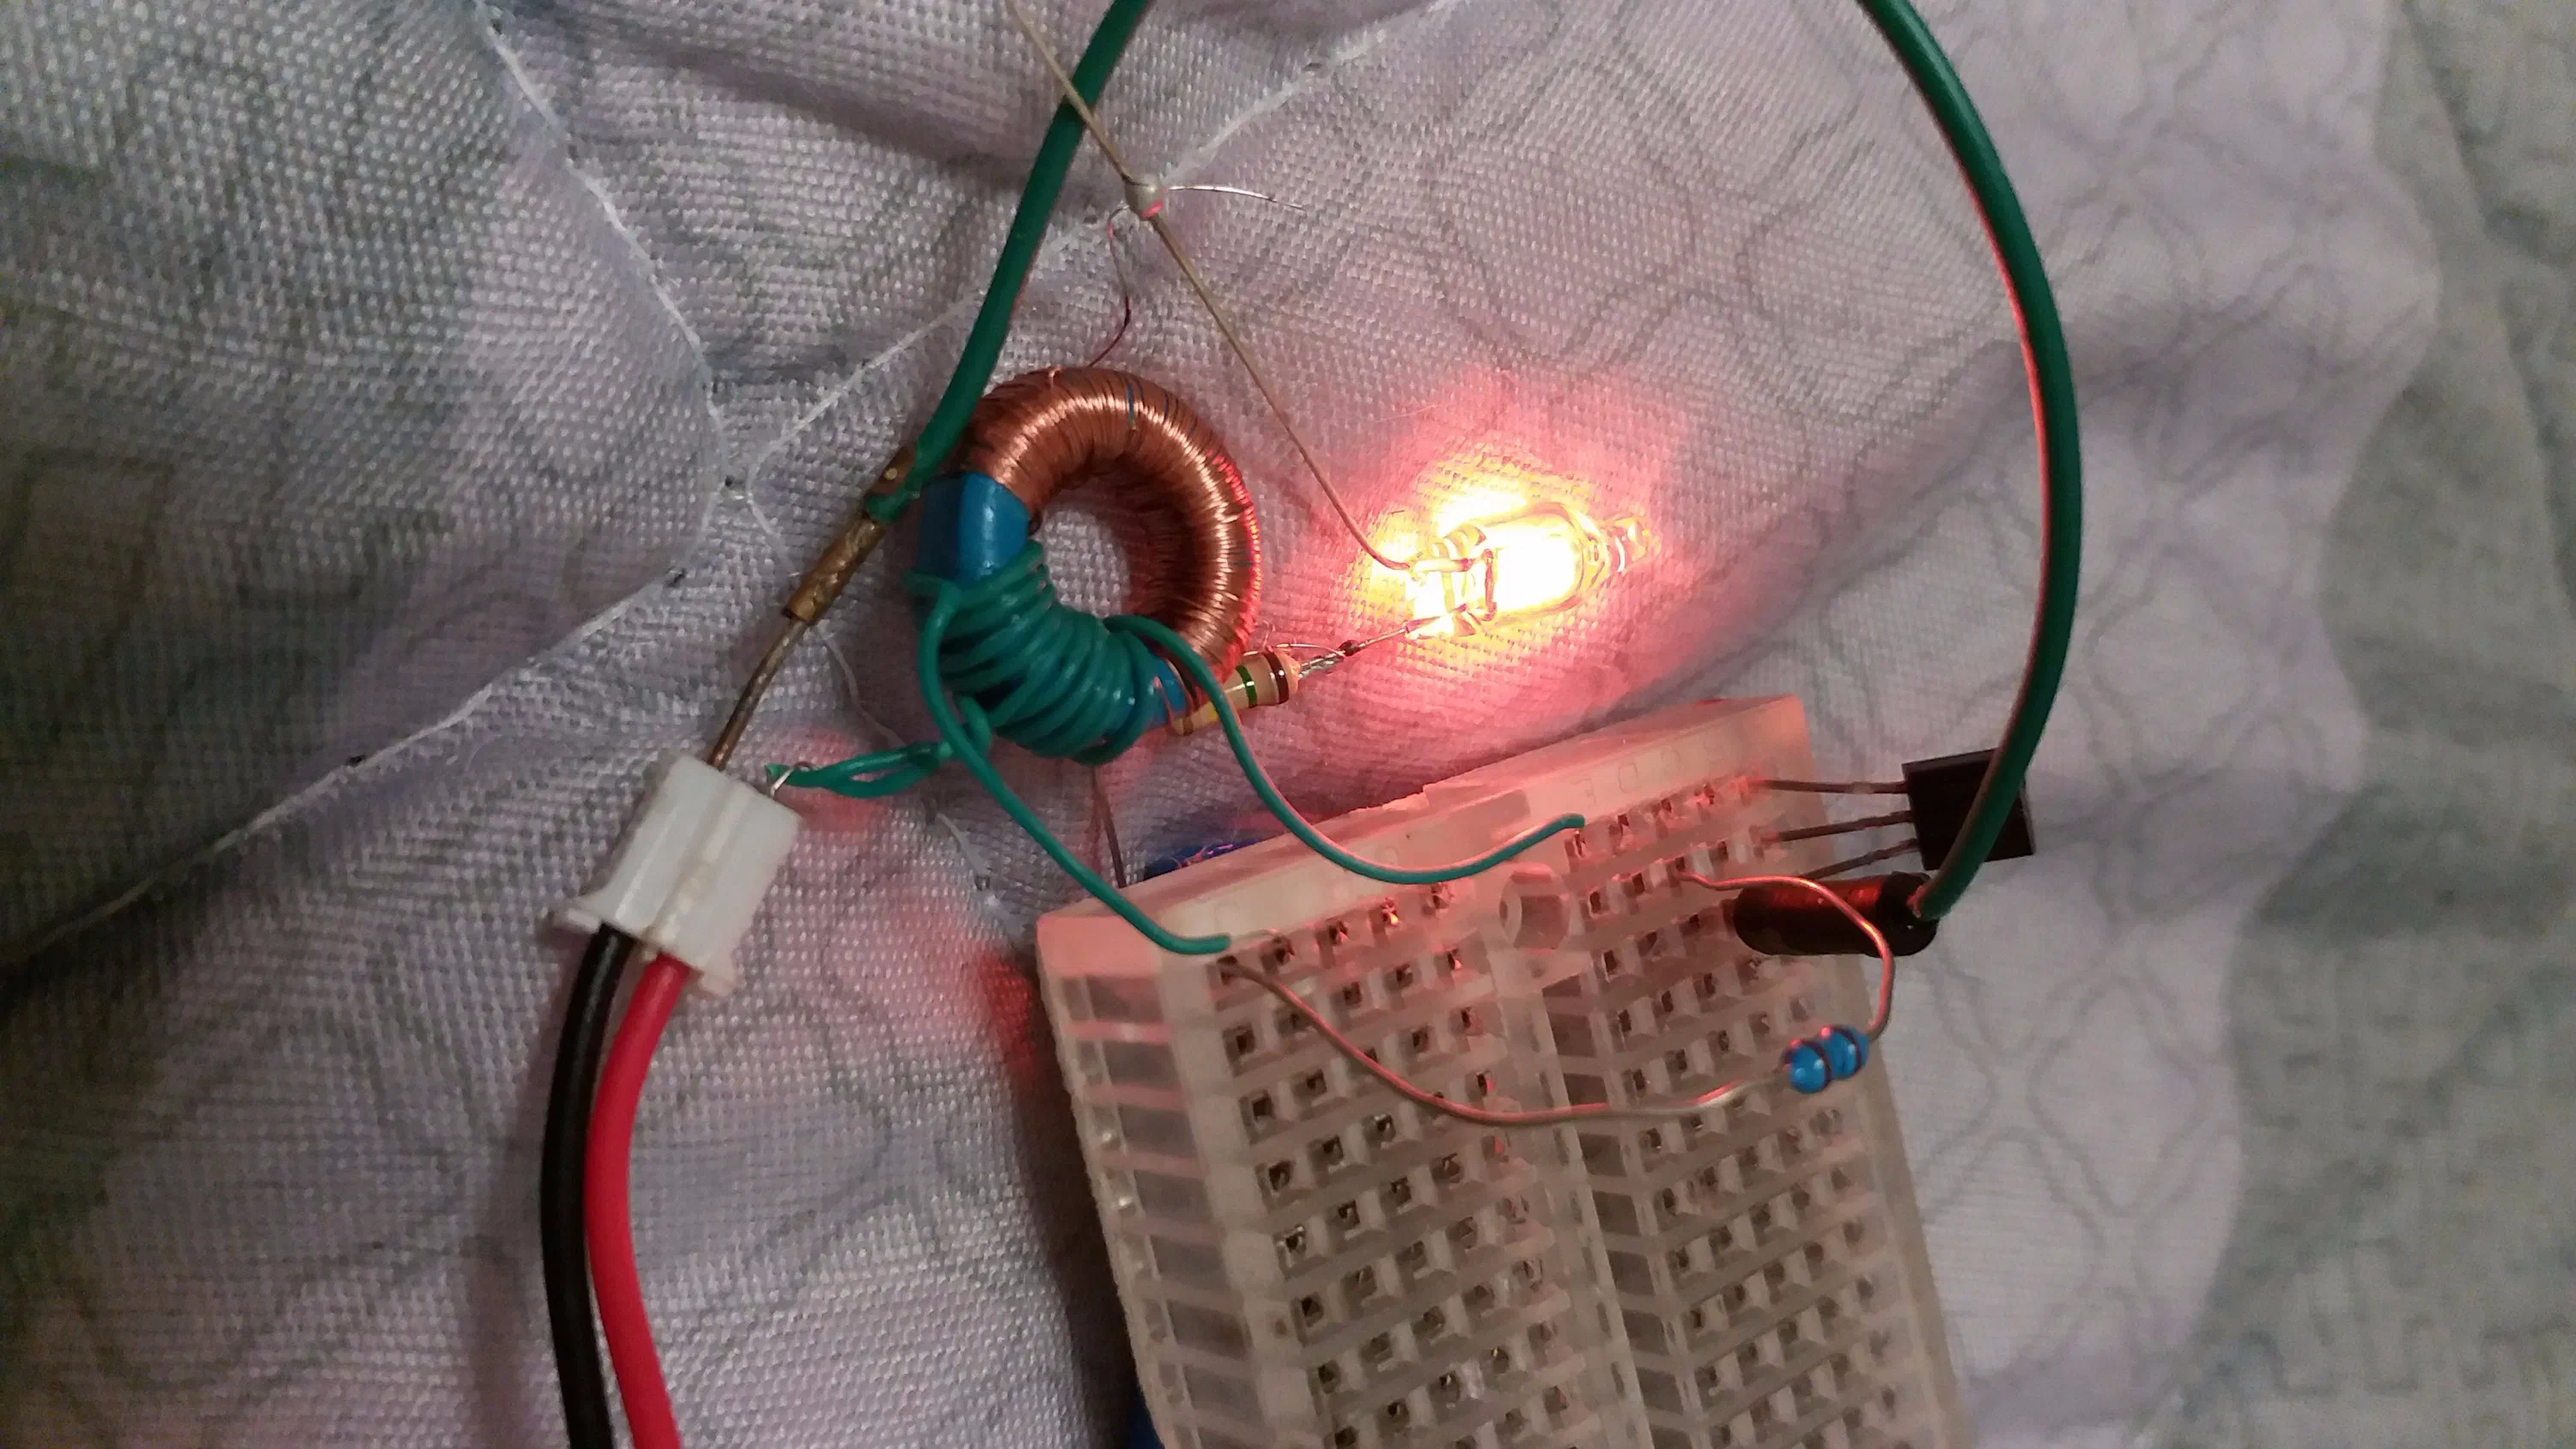
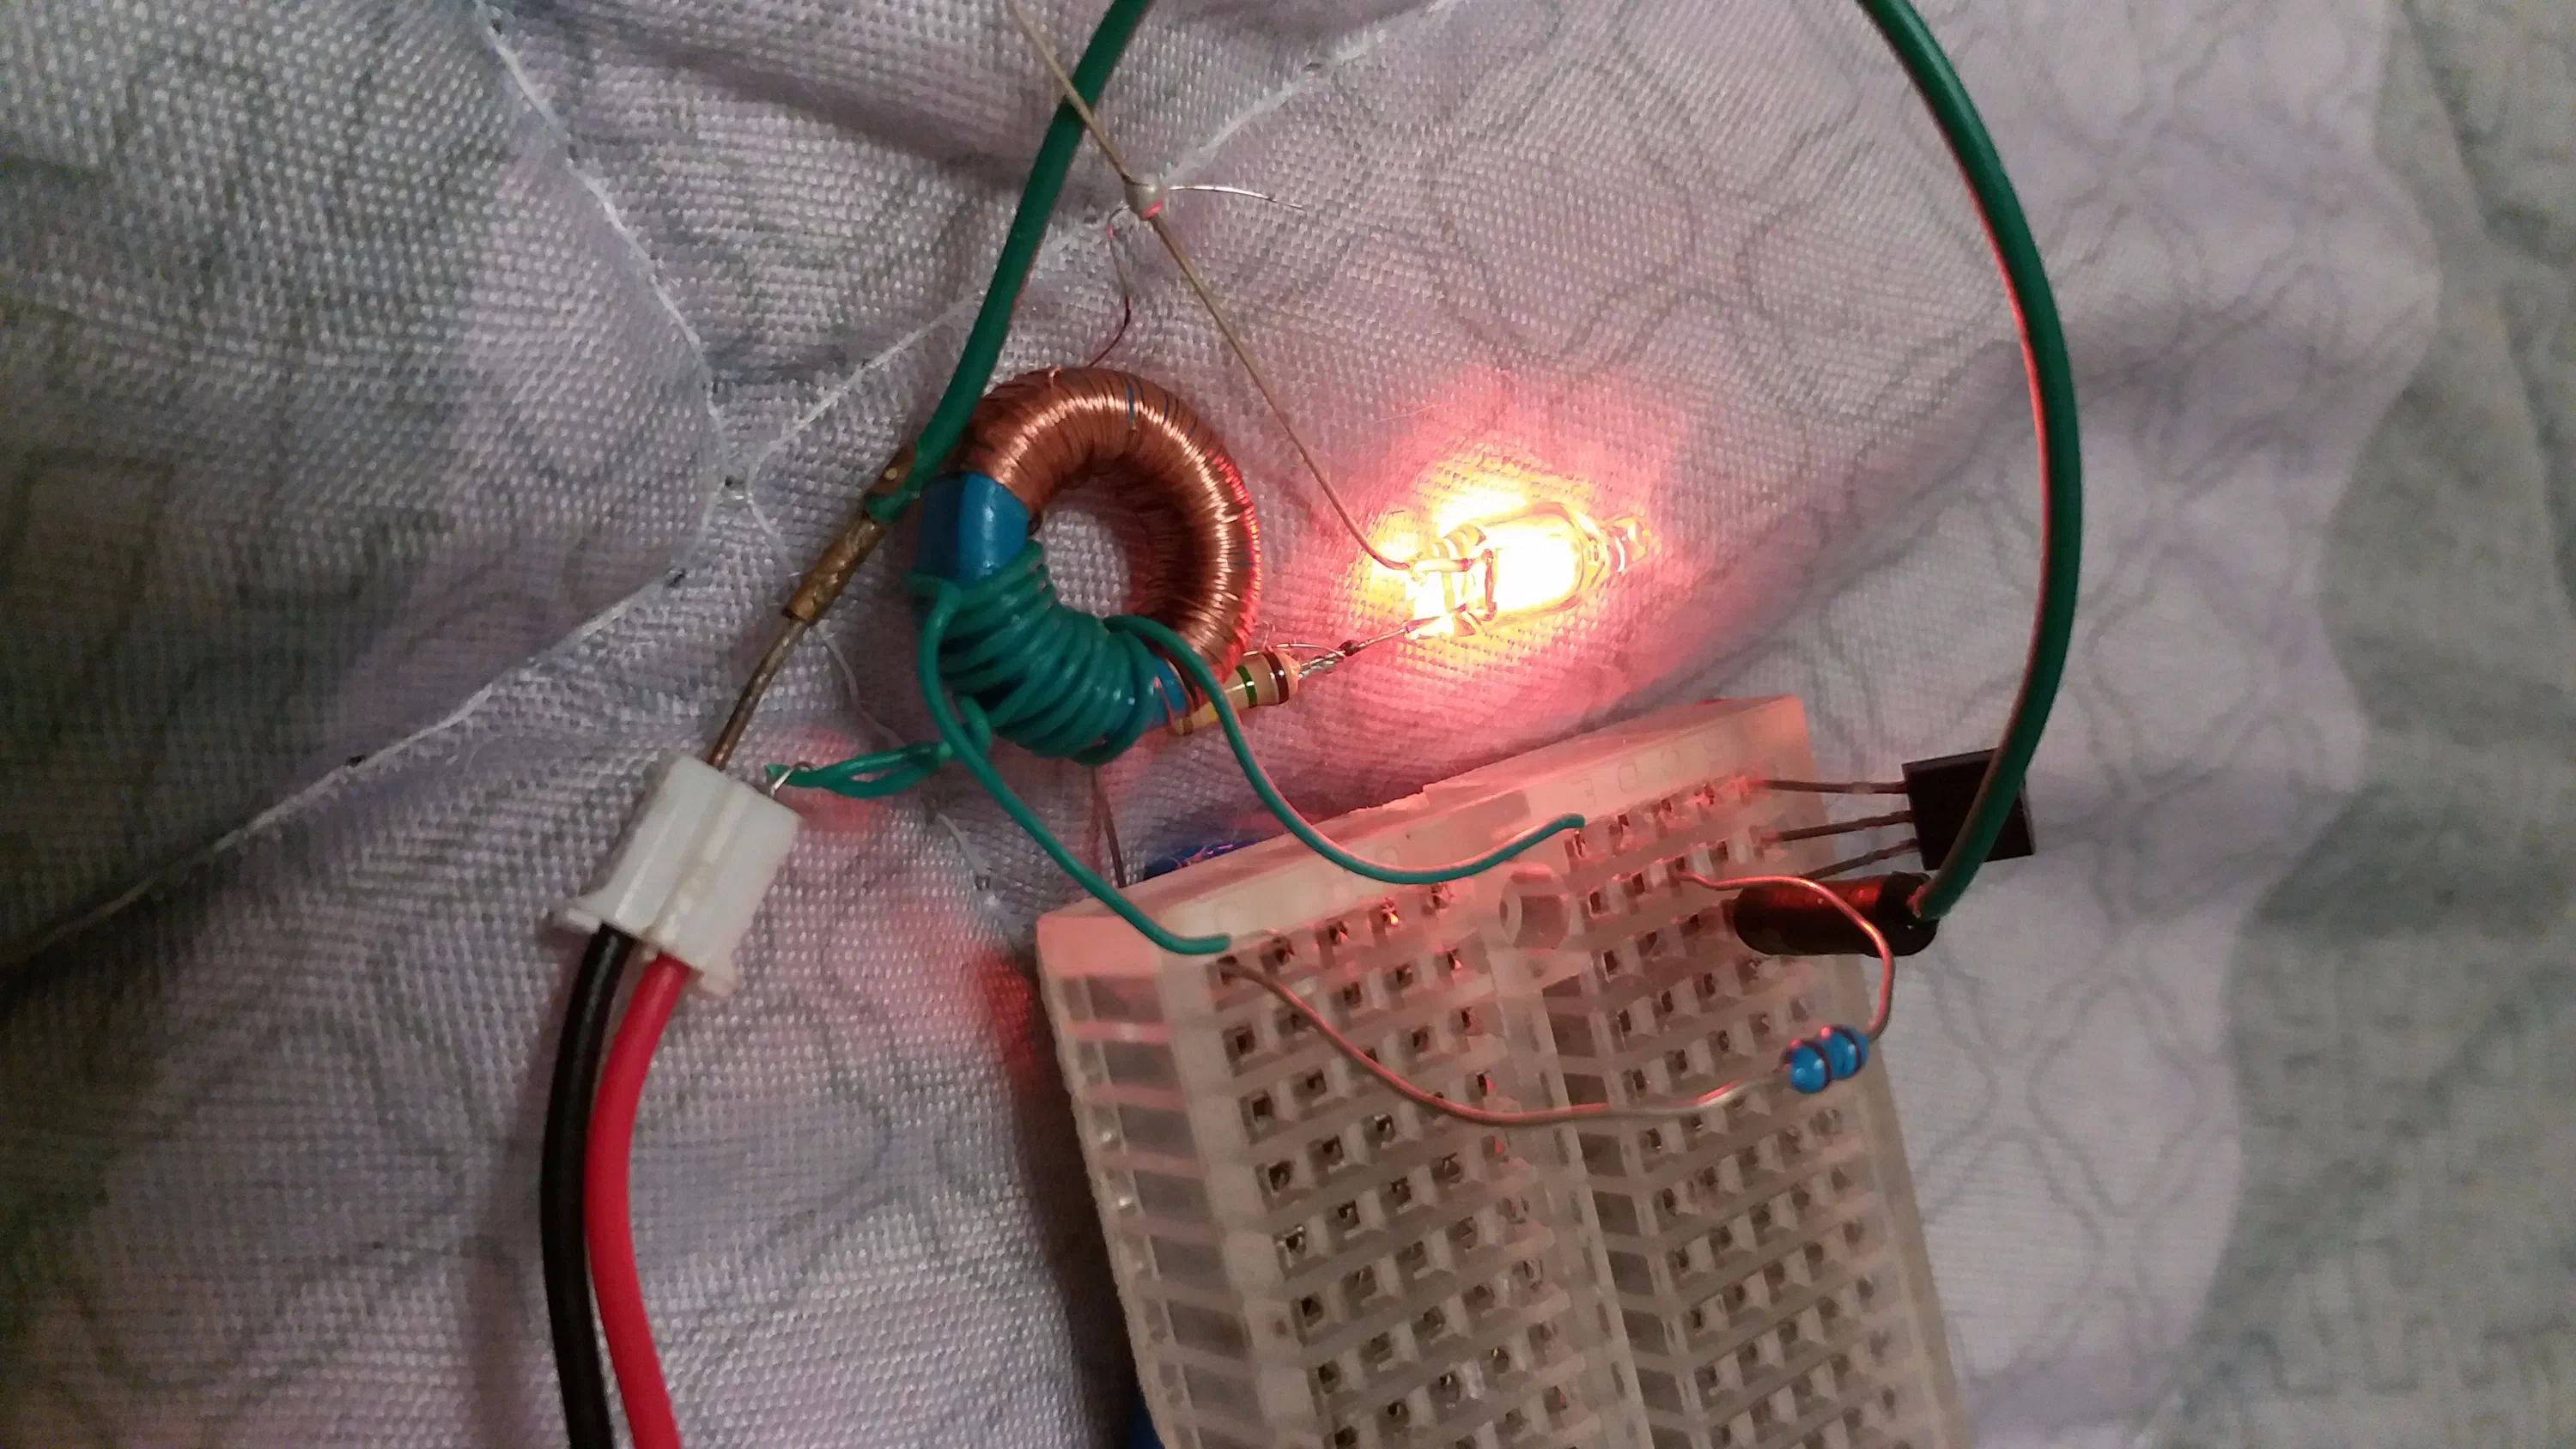
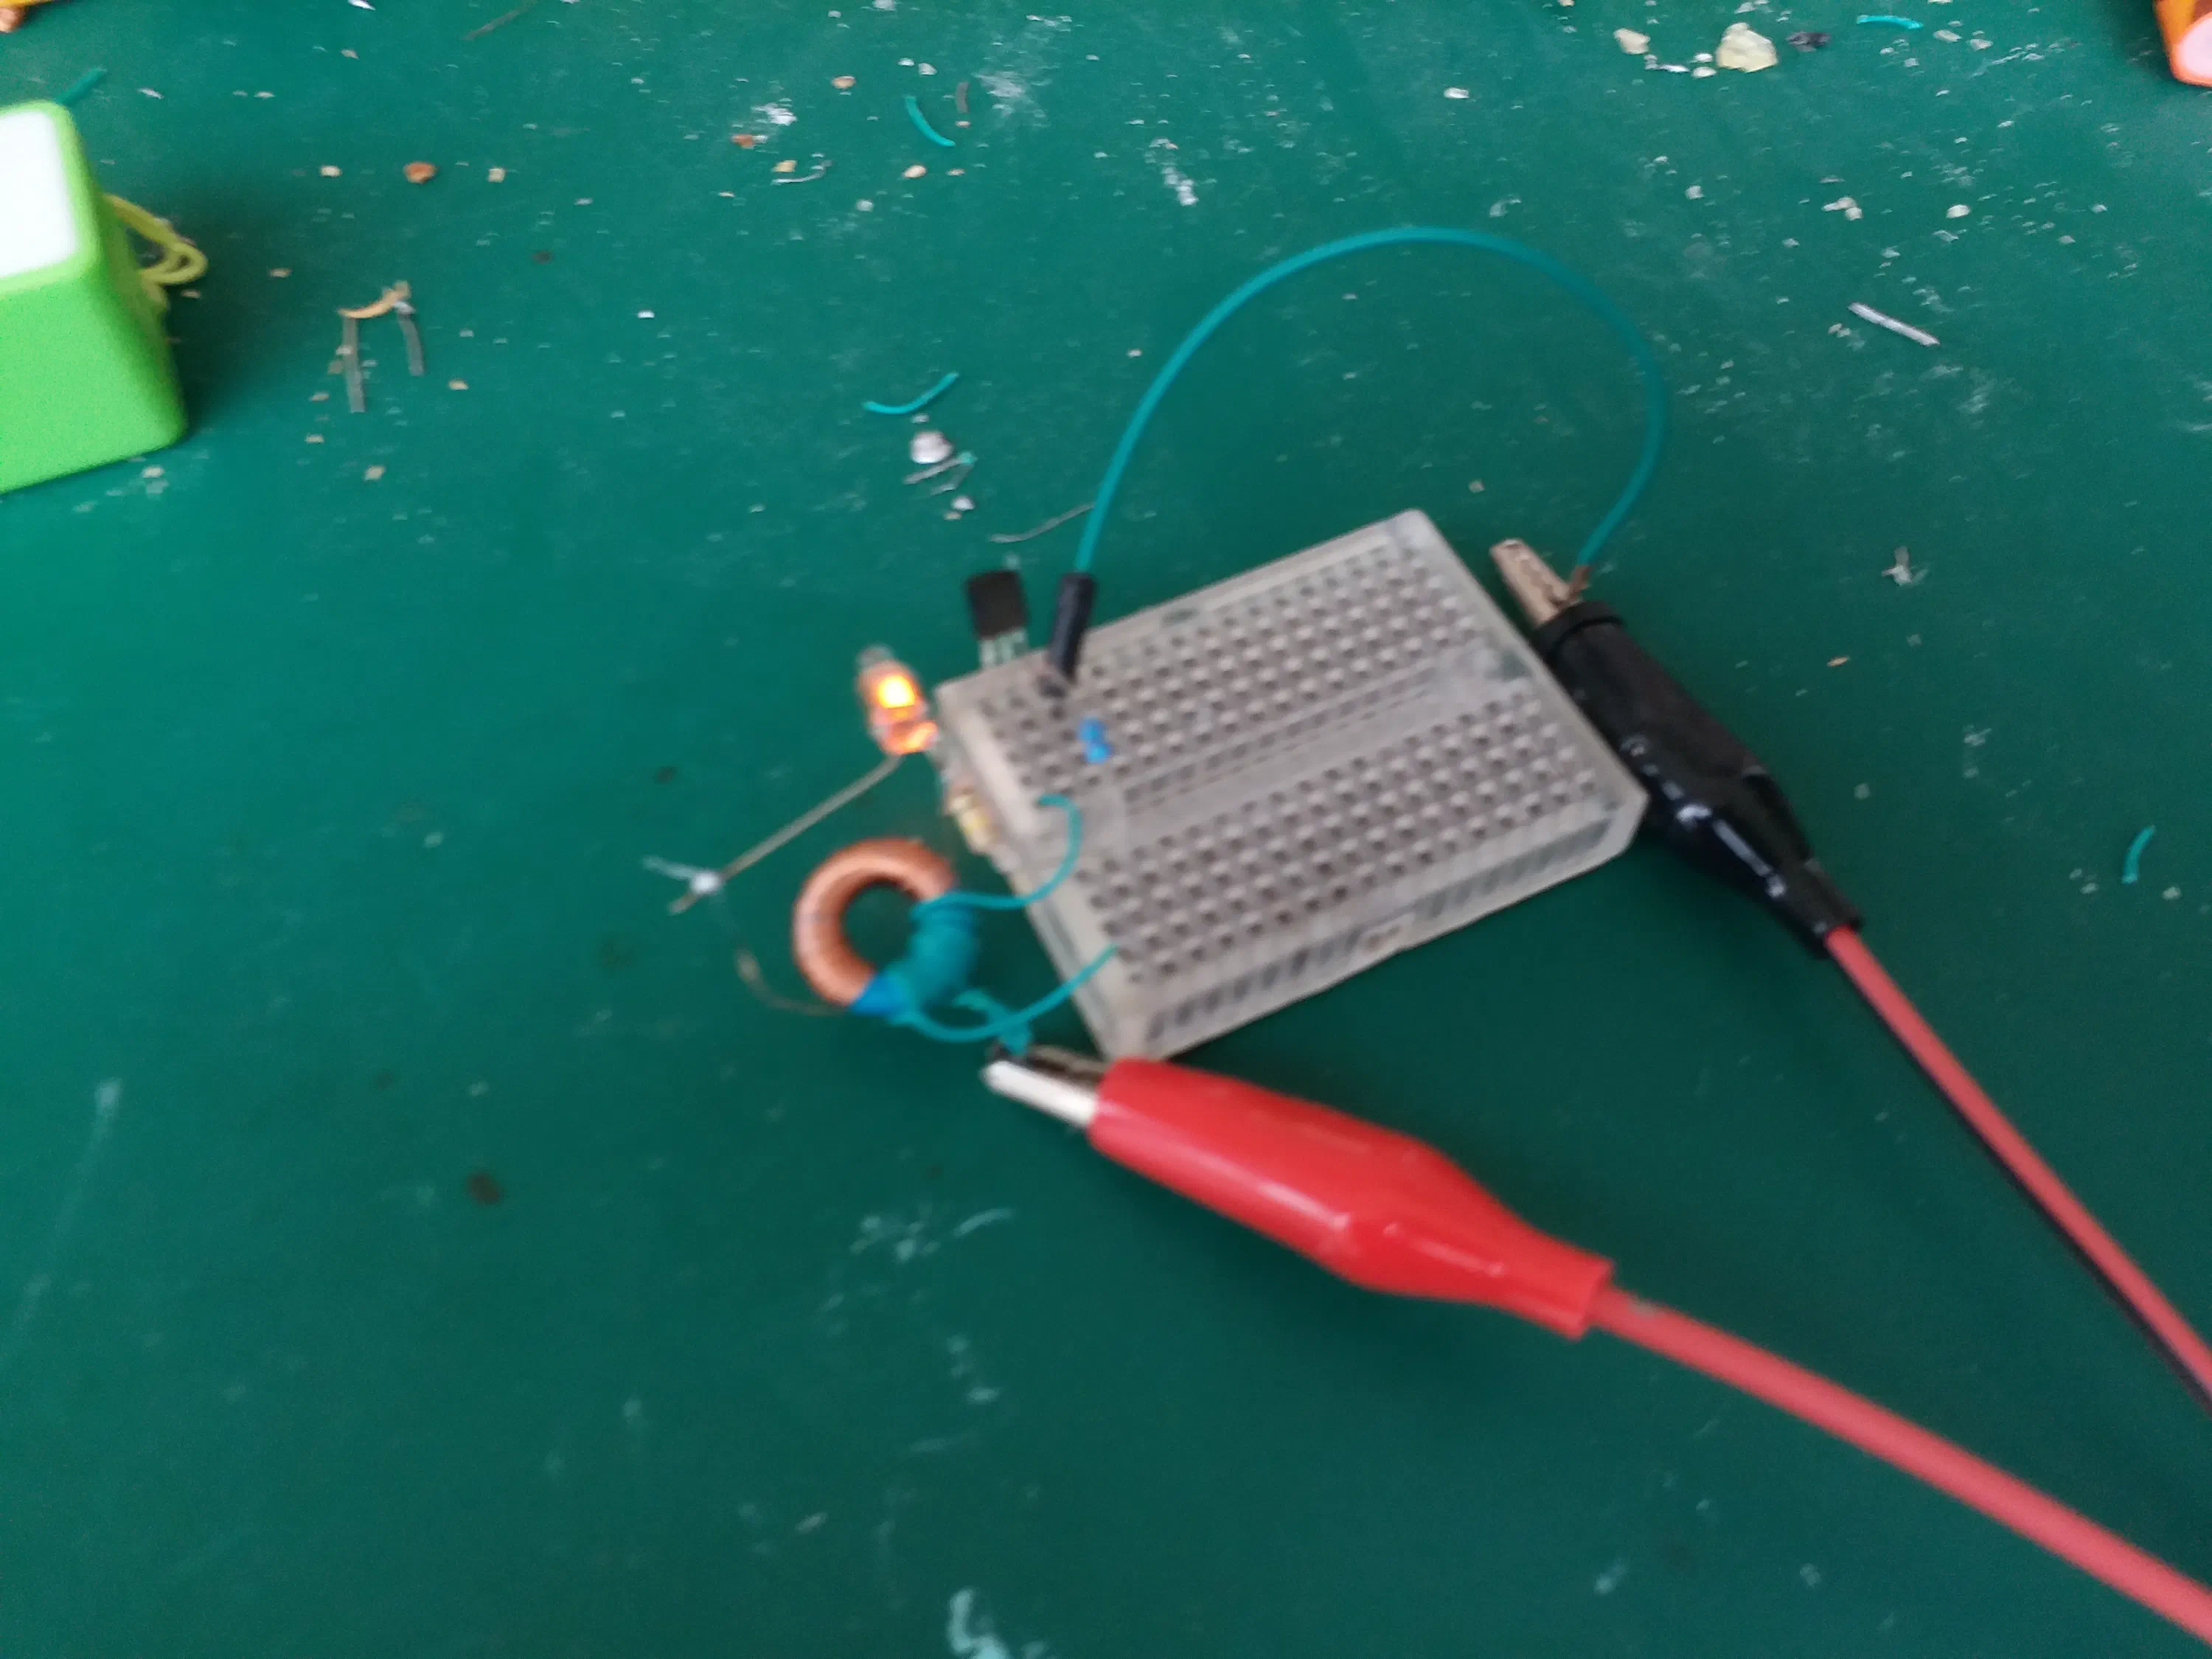
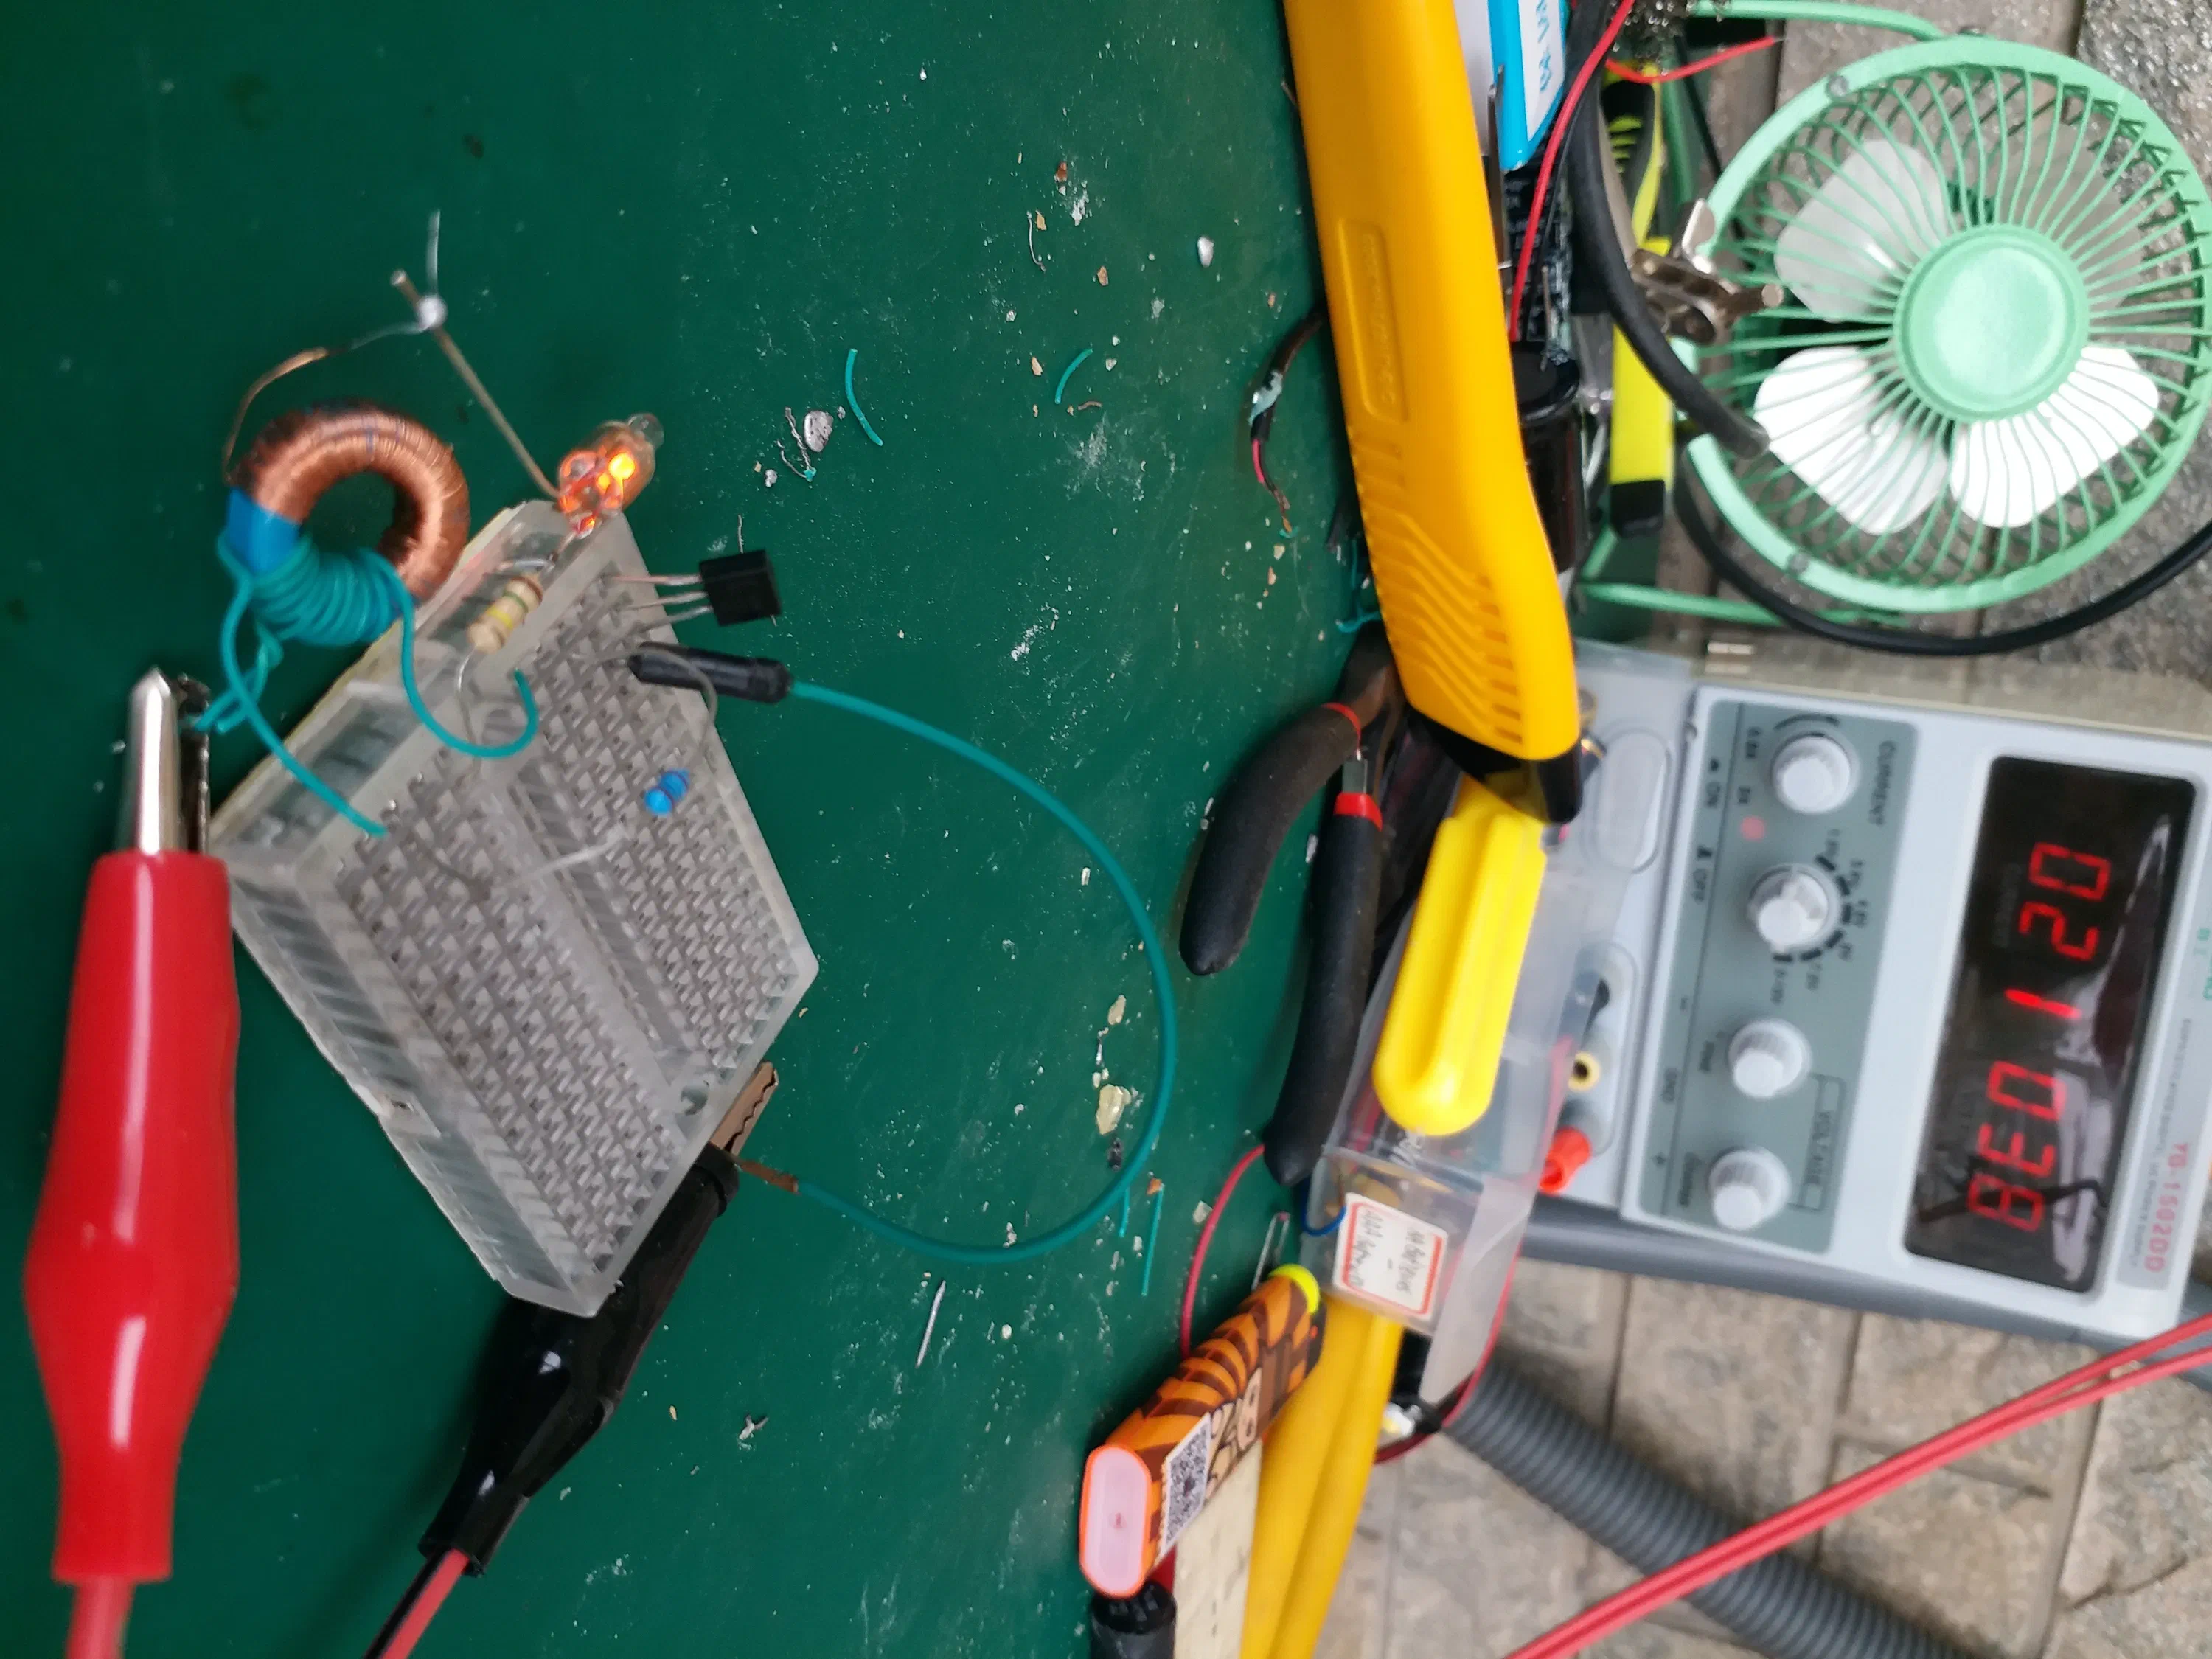
Build the circuit on a breadboard and make sure that it works before making a permanent version. This is where you experiment with different transistors and resistor values. You’ll want to find the transistor that draws the smallest current while still lighting up the neon. Also make sure that it can handle the power, my circuit drew about 100mA at 5V so 0.5W. And the standard TO-92 package plastic transistor got hot enough to burn my finger after a few minutes. I switched to a TO-39 metal can transistor, that only got warm. You might need a heatsink.
If the neon does not light, than try the following things:
- Raise the supply voltage
- Ideally this should work from 3-4 volts, but depending on your windings you might need a higher voltage to get the neon to ‘strike’(negative resistance).
- Lower the supply voltage
- If the supply voltage is too high than the output from the circuit has not enough current to drive the neon.
- Check your connections
- This is where your multimeter comes in handy, check continuity and make sure power goes to where it is supposed to.
- Measure the output voltage
- If it is too low, than you might have to add some more windings to the high voltage side.
- Swap the primary coil connections
- You might have to swap the two connections to the primary coil for it to work. (make sure center tap goes to positive too)
Step 5: Assembly
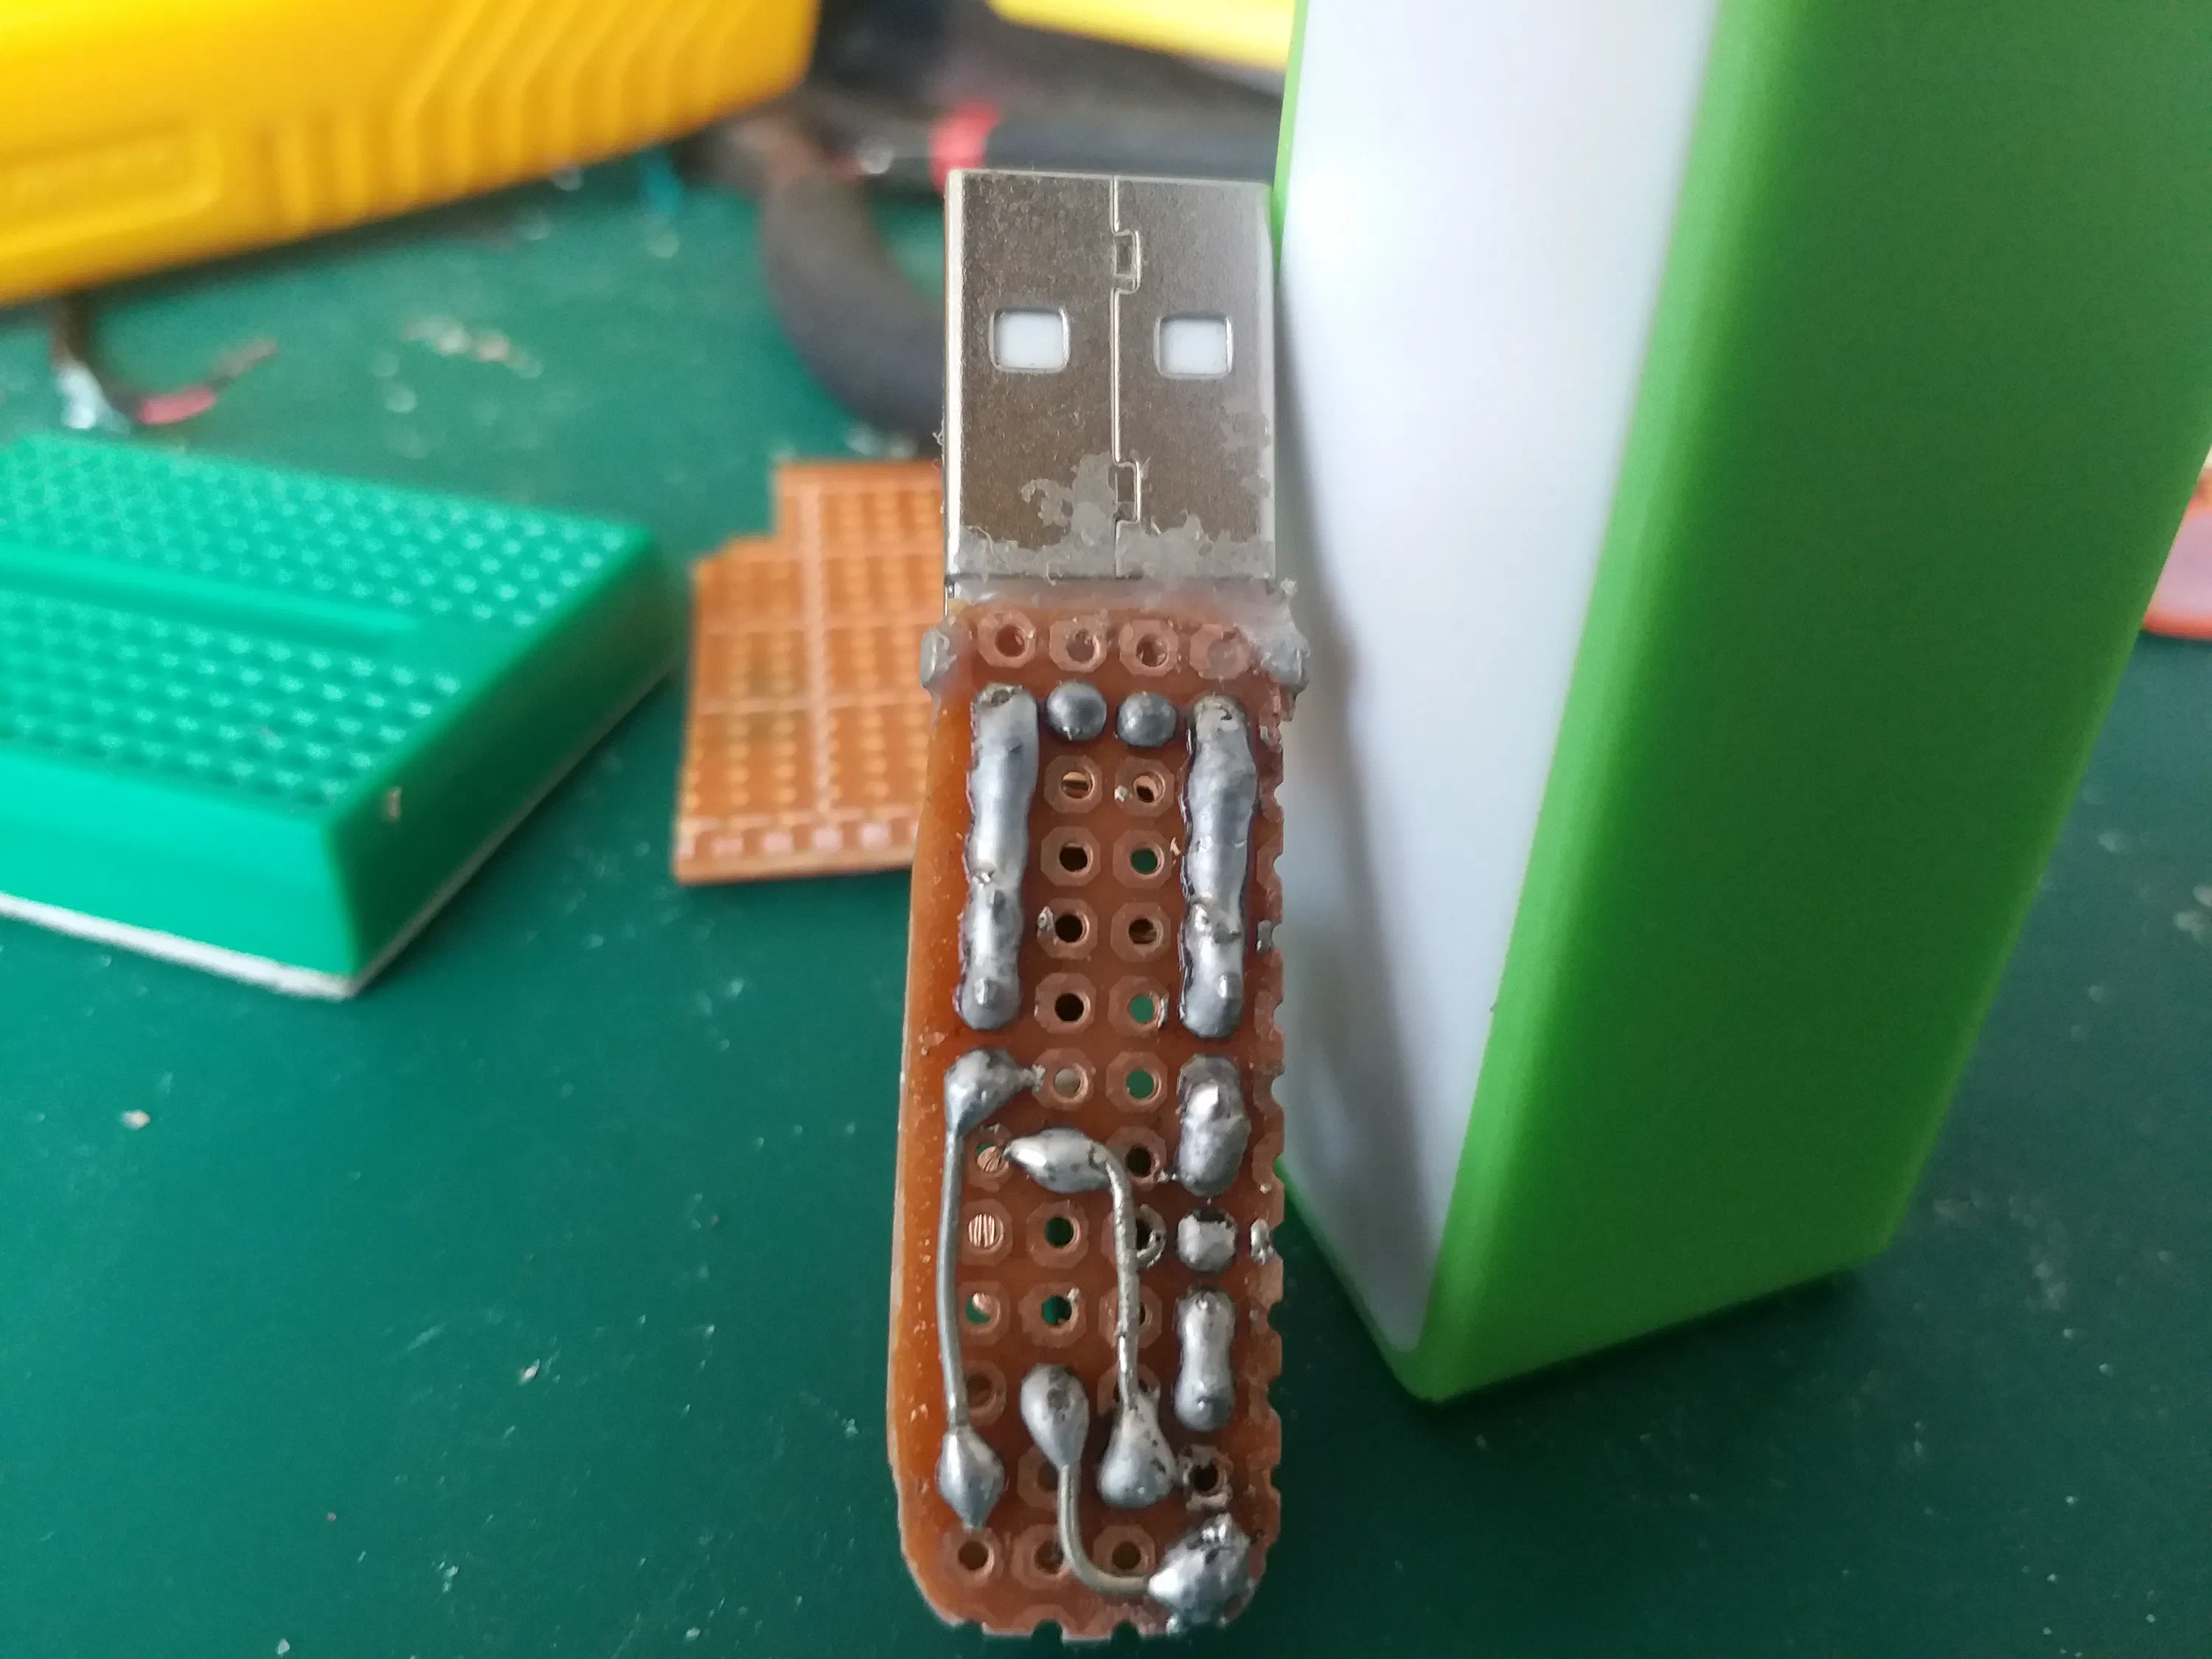
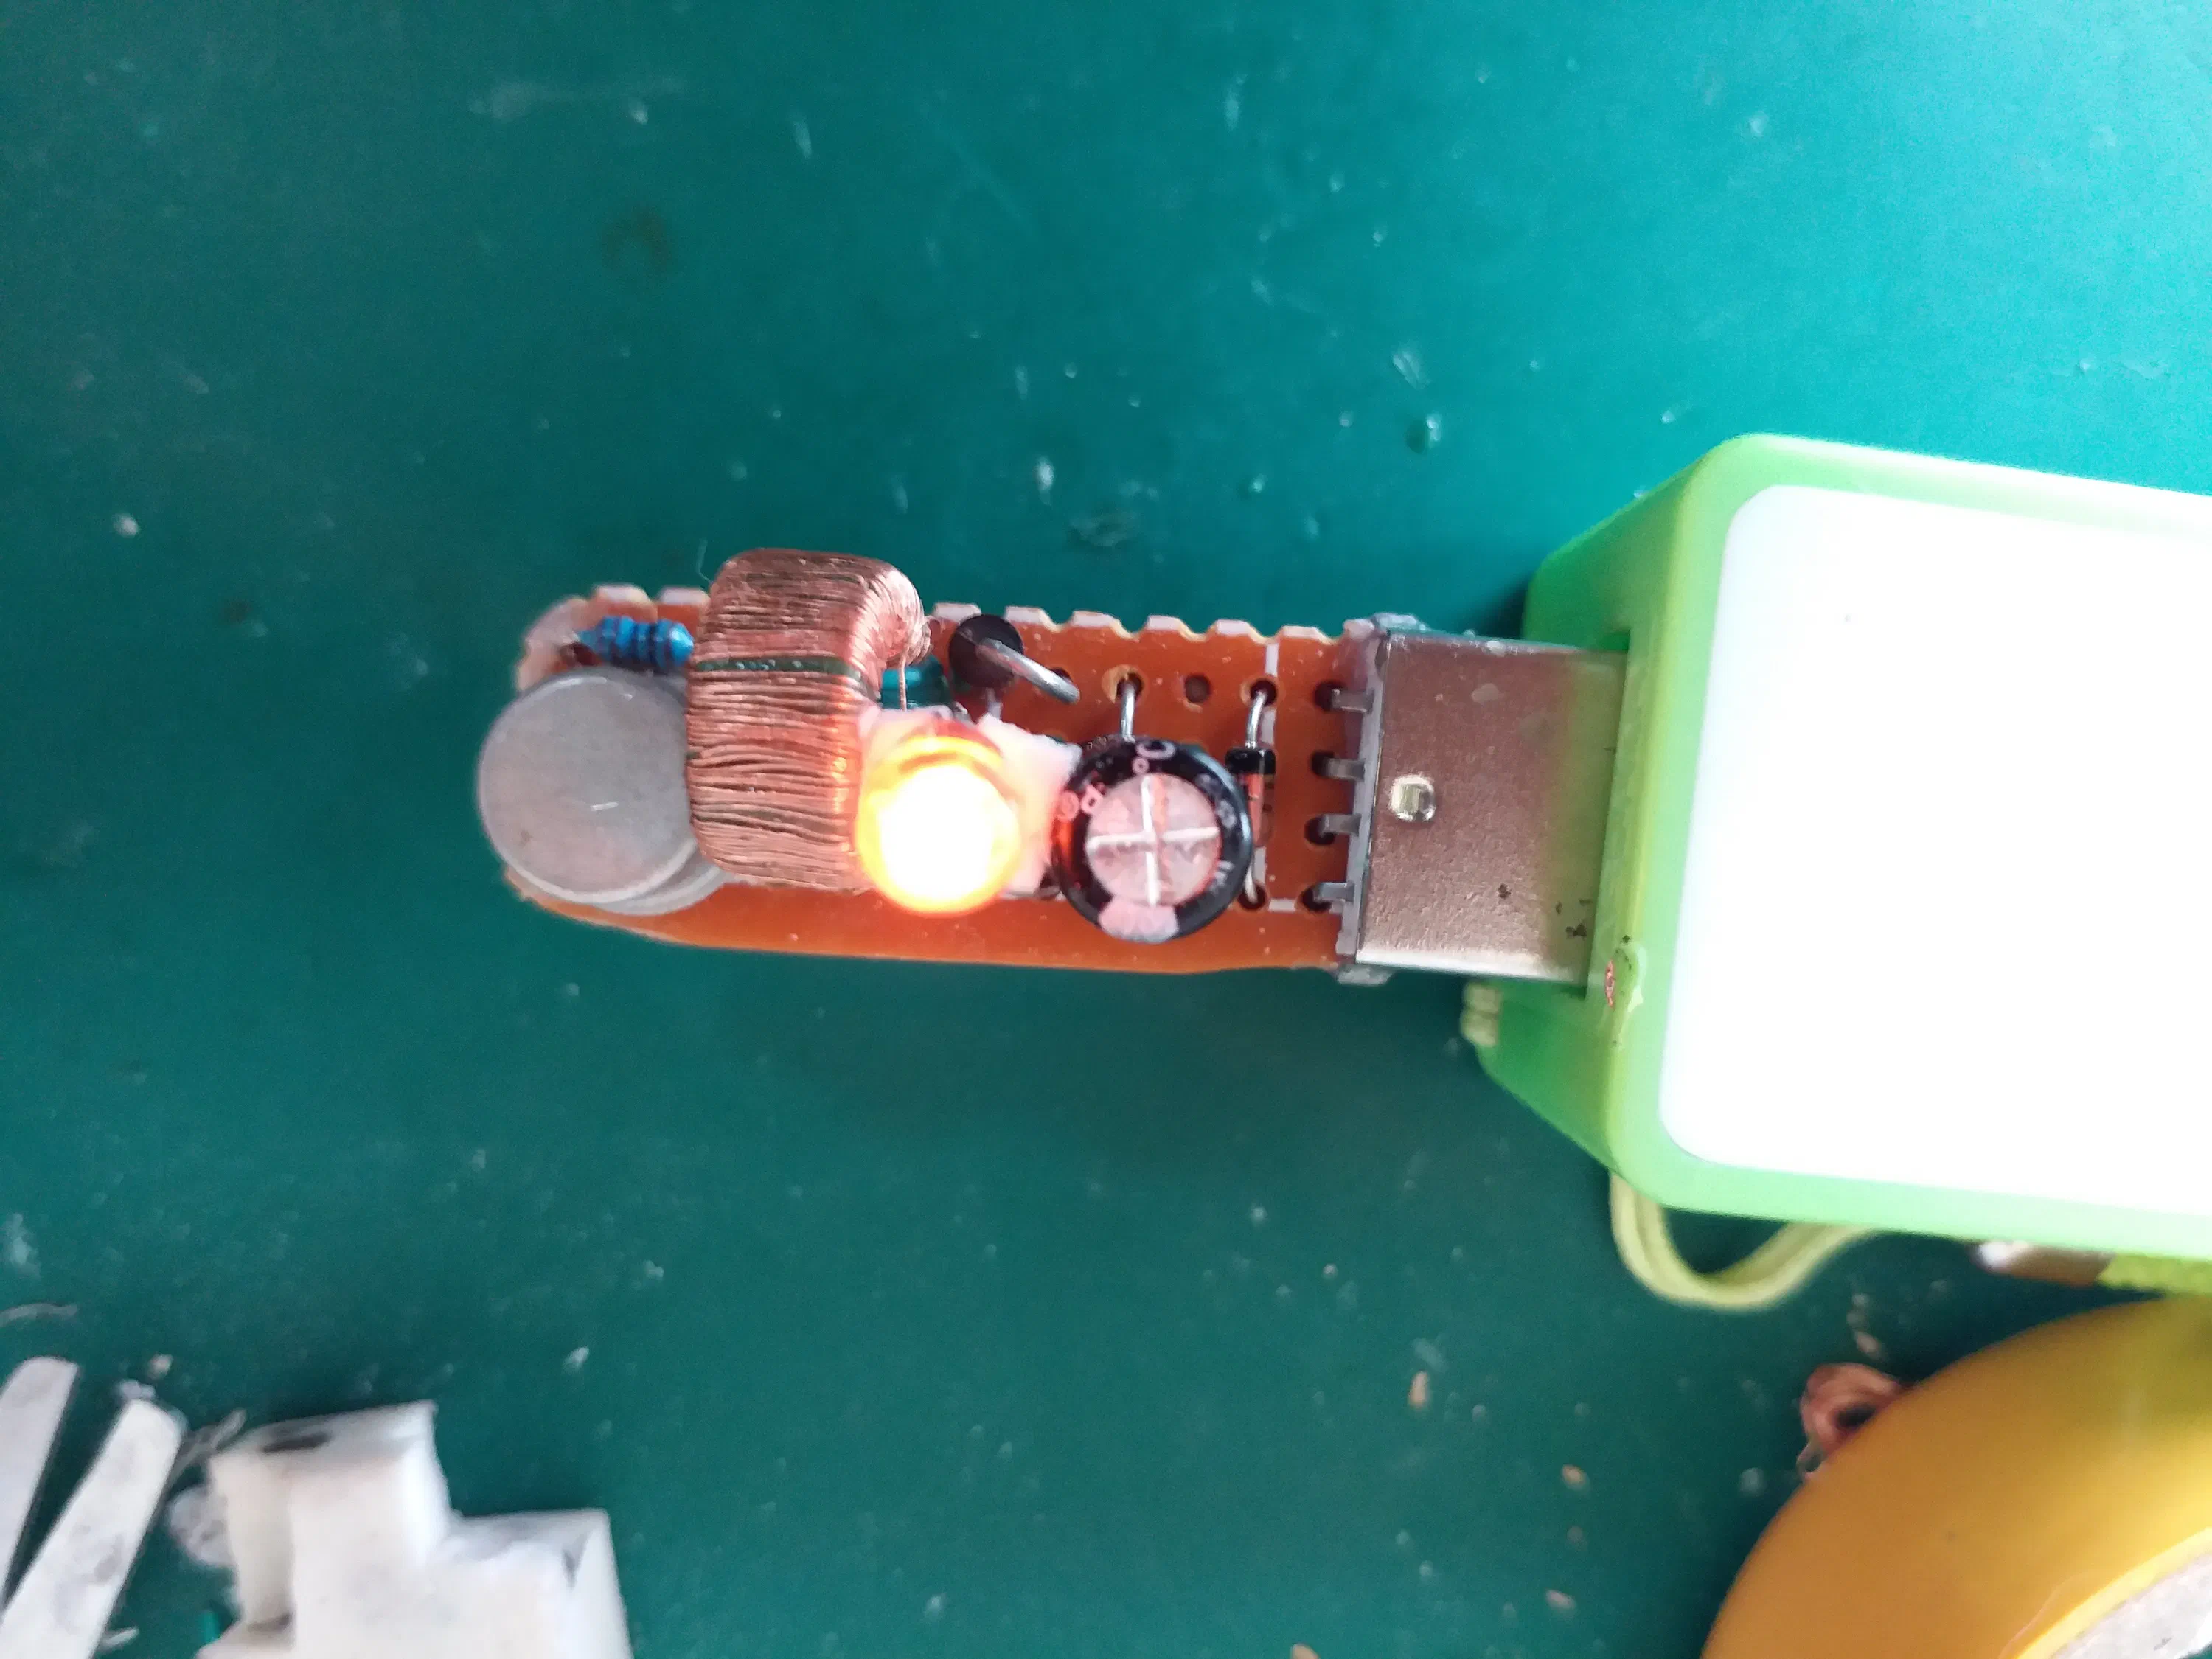
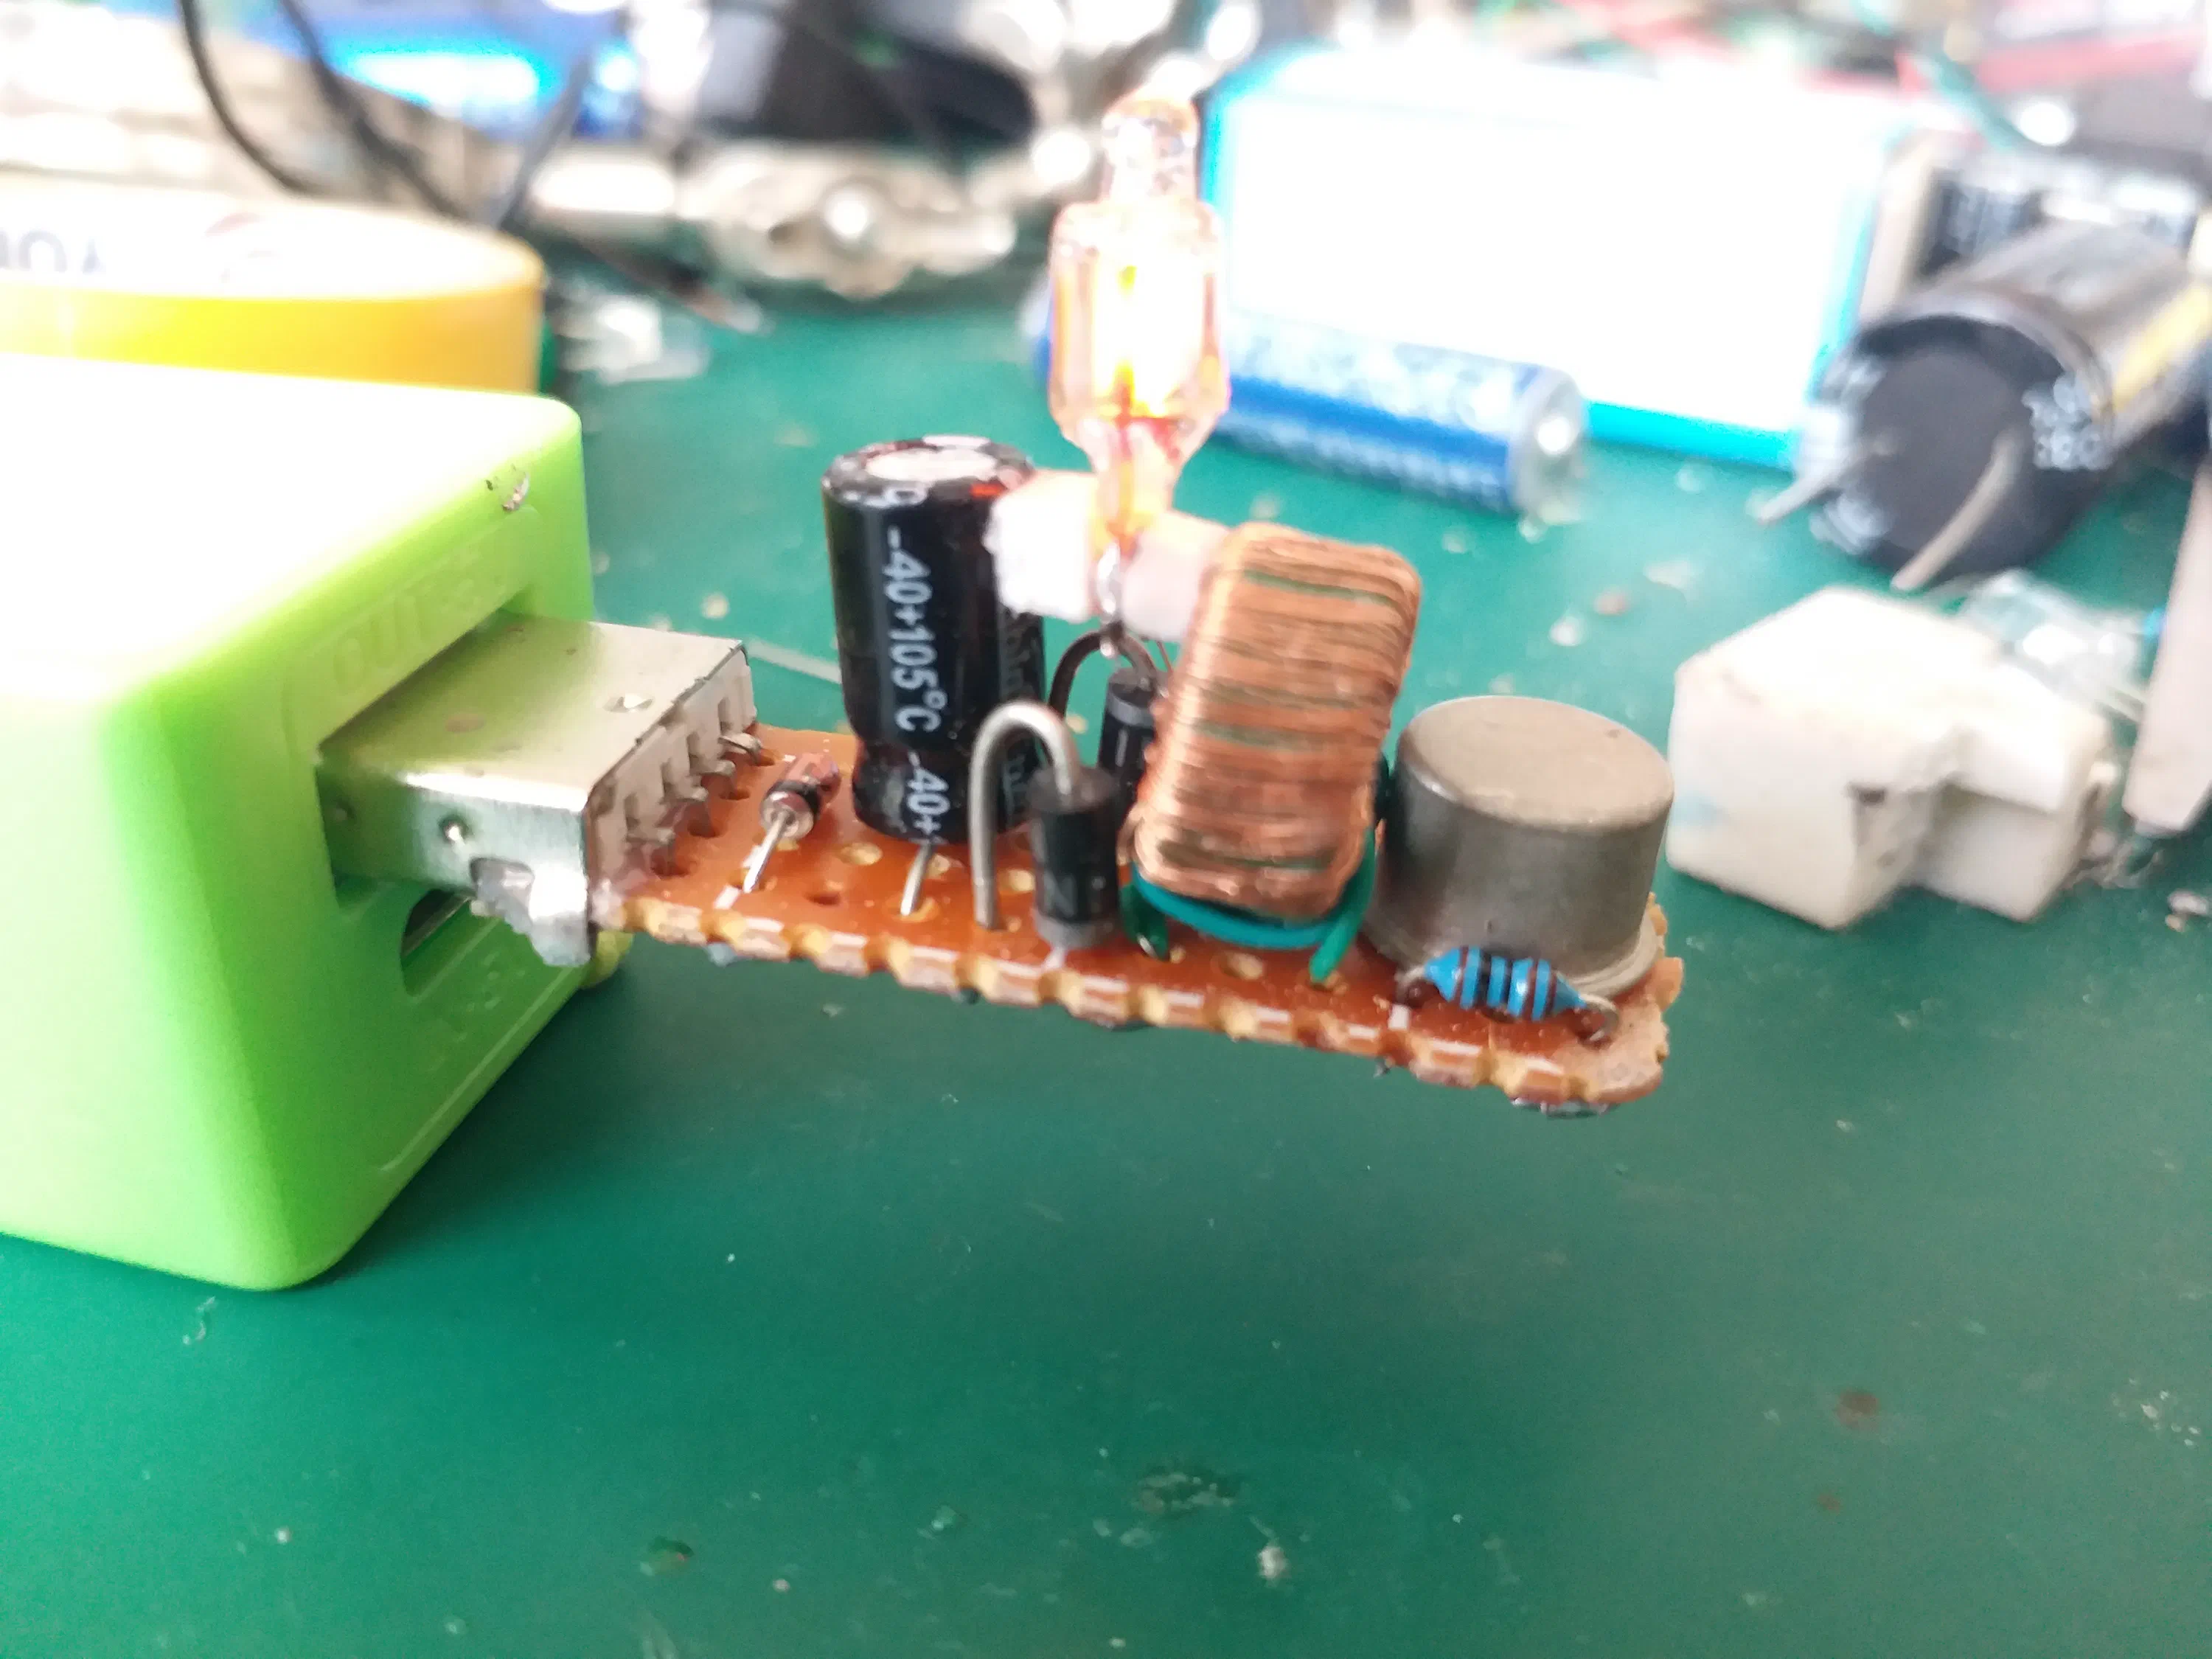
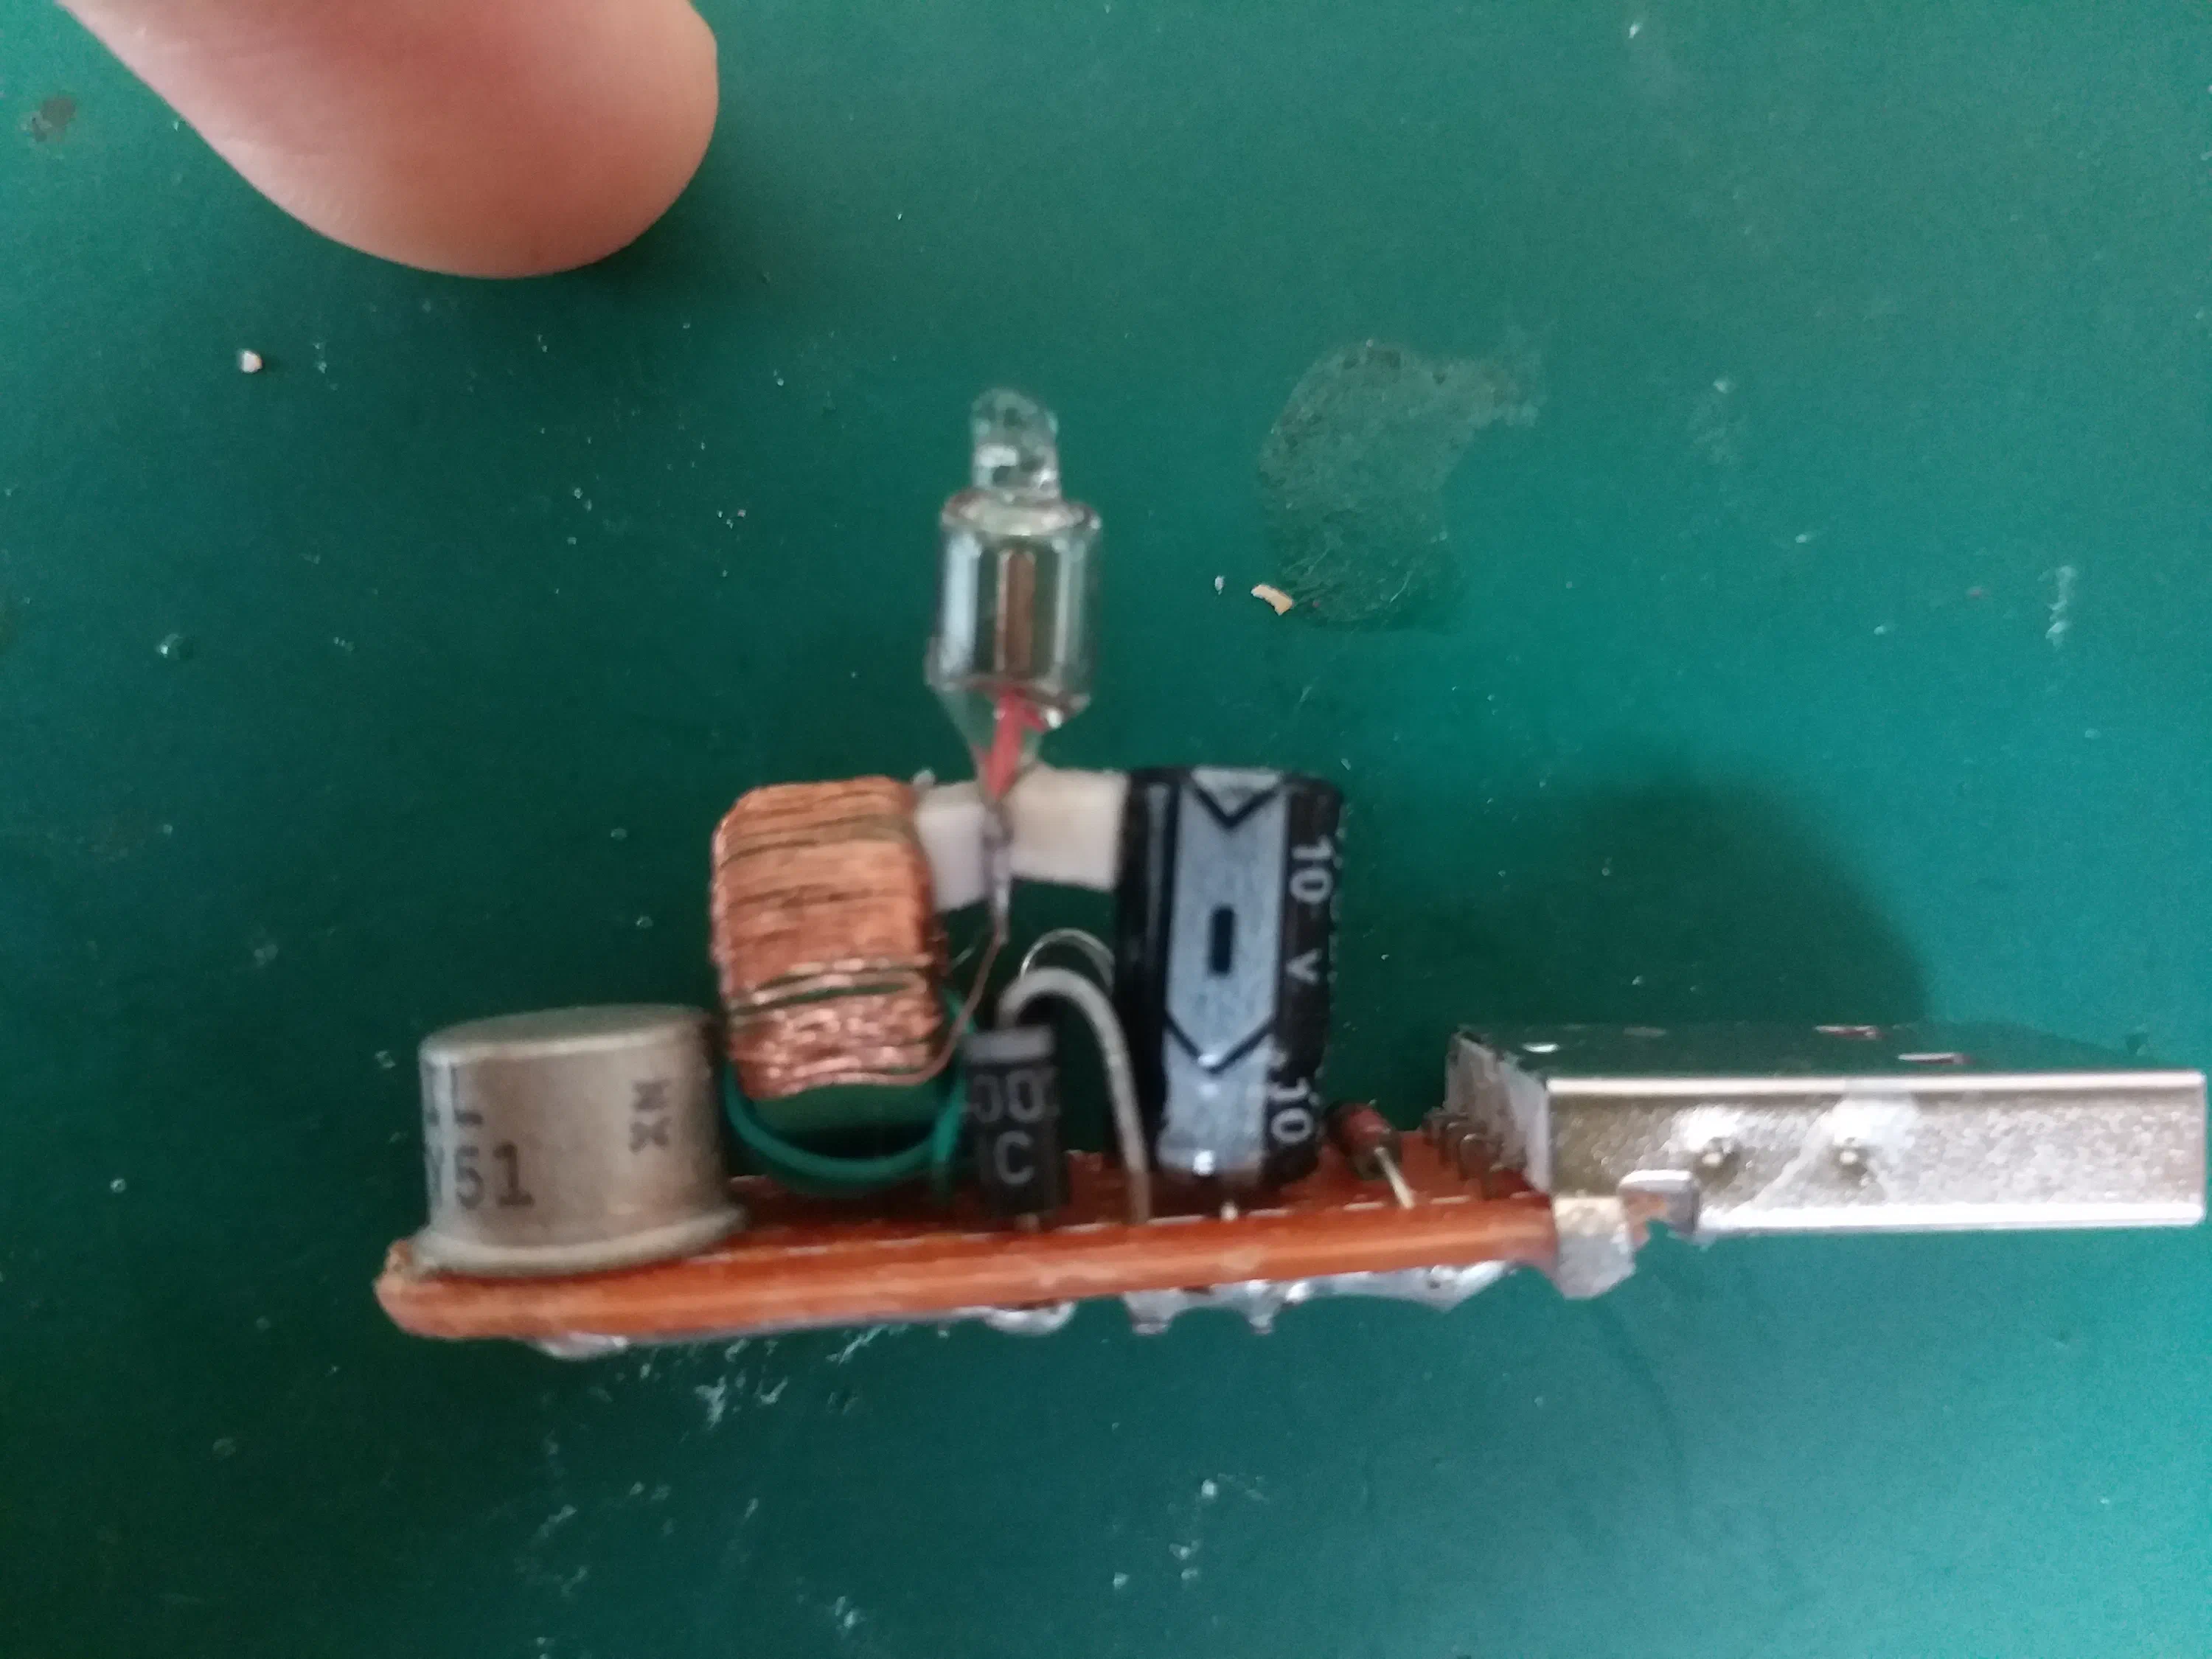
Now that you are happy with your circuit, you can build a more permanent version on a perfboard. I used two part epoxy adhesive to glue the usb socket to the board. To secure the neon lamp I glued two little pieces of rubber to the neon and then the capacitor and the toroid with cyanoacrylate. Be careful not to damage the thin wires coming from the secondary coil.
Step 6: Finished Neon Stick
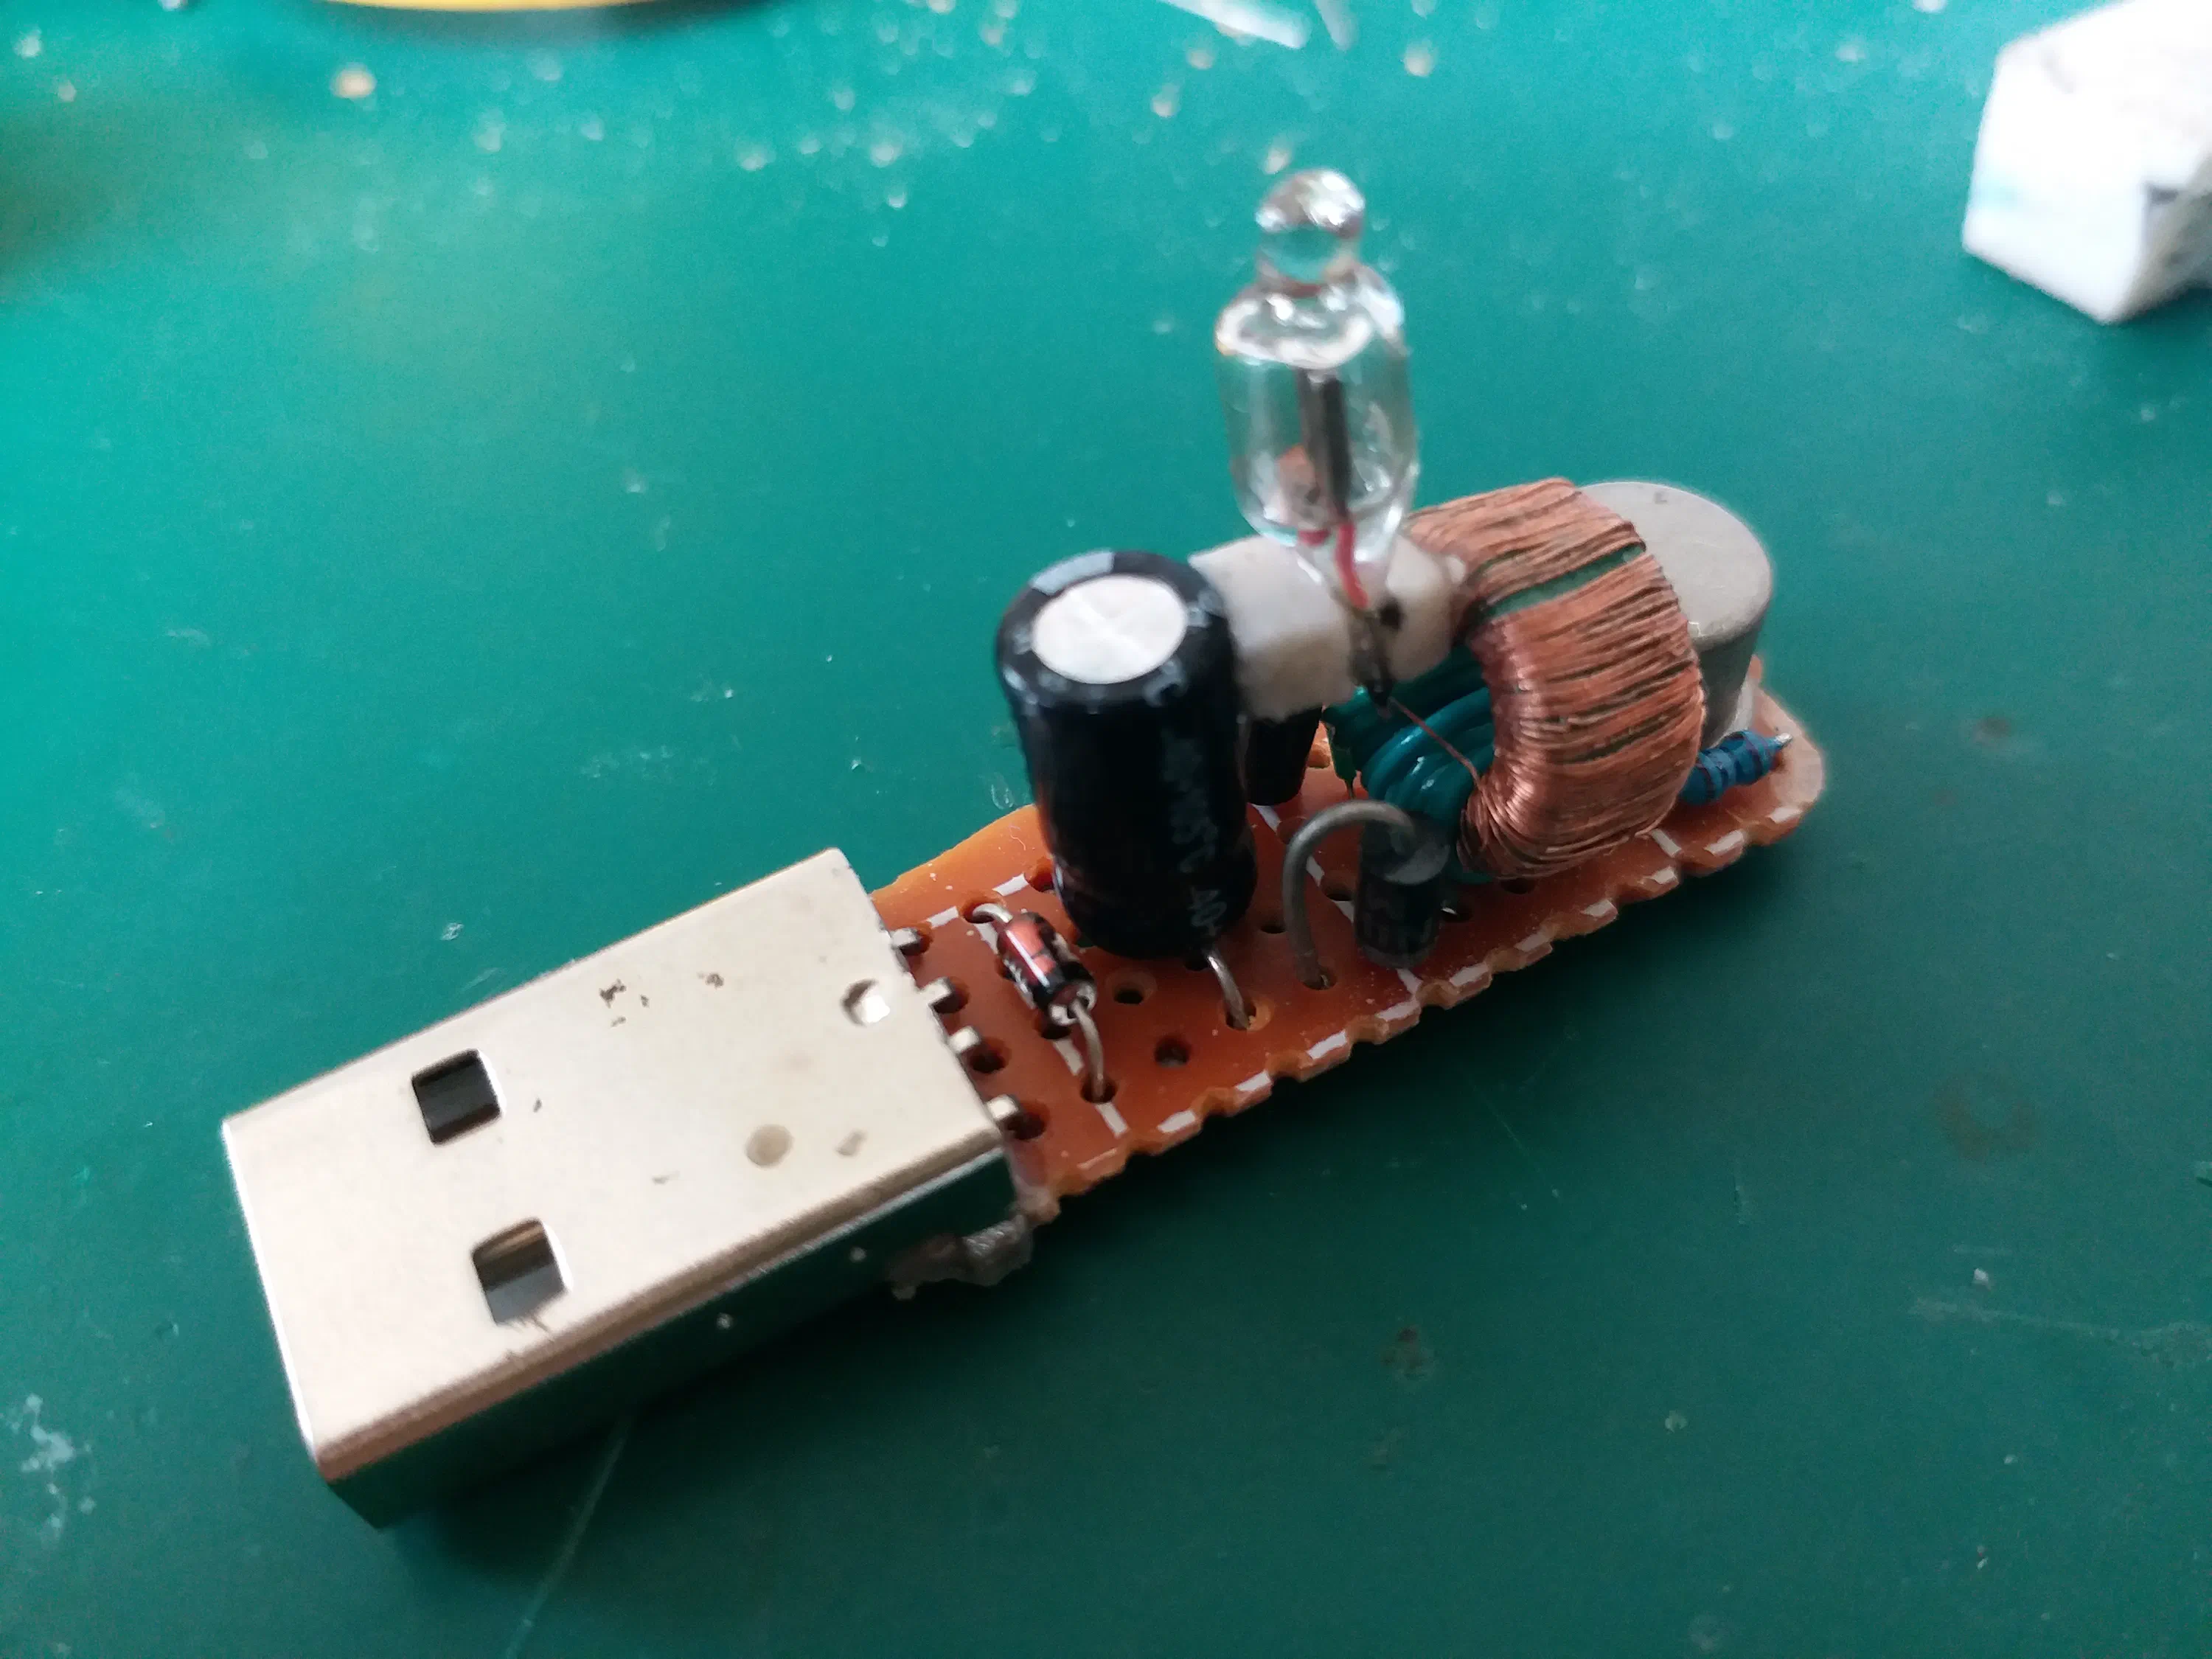
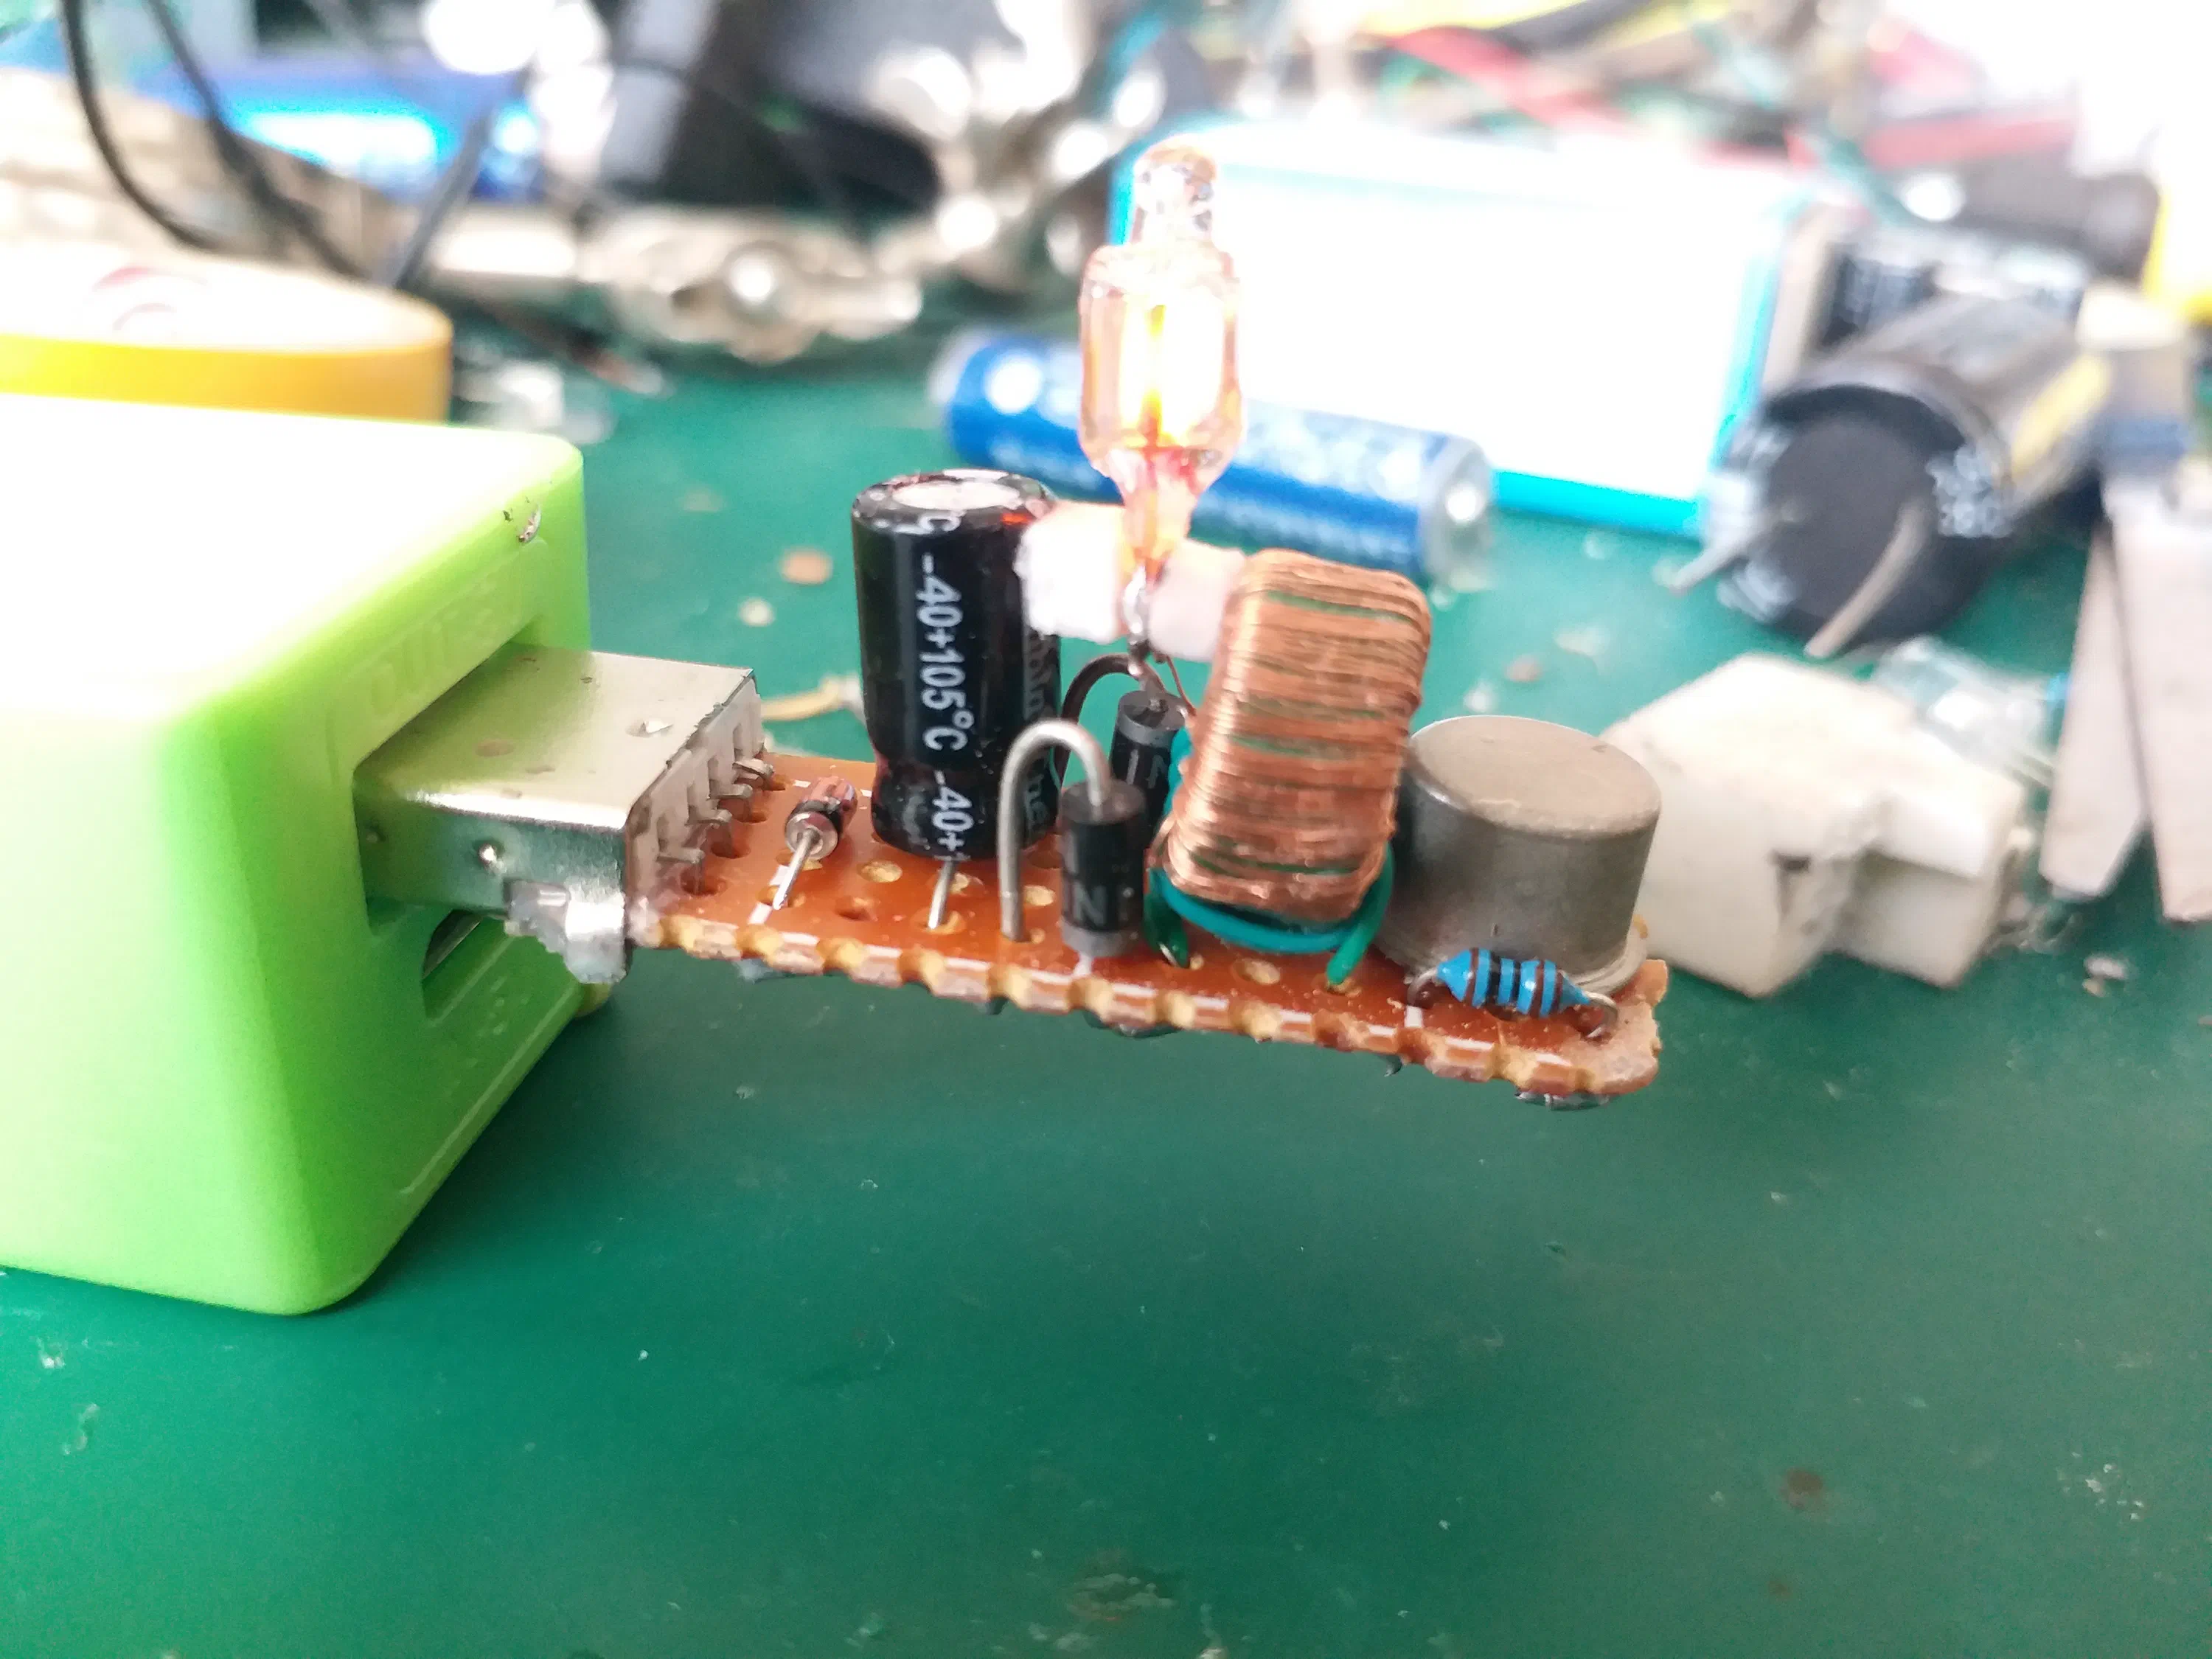
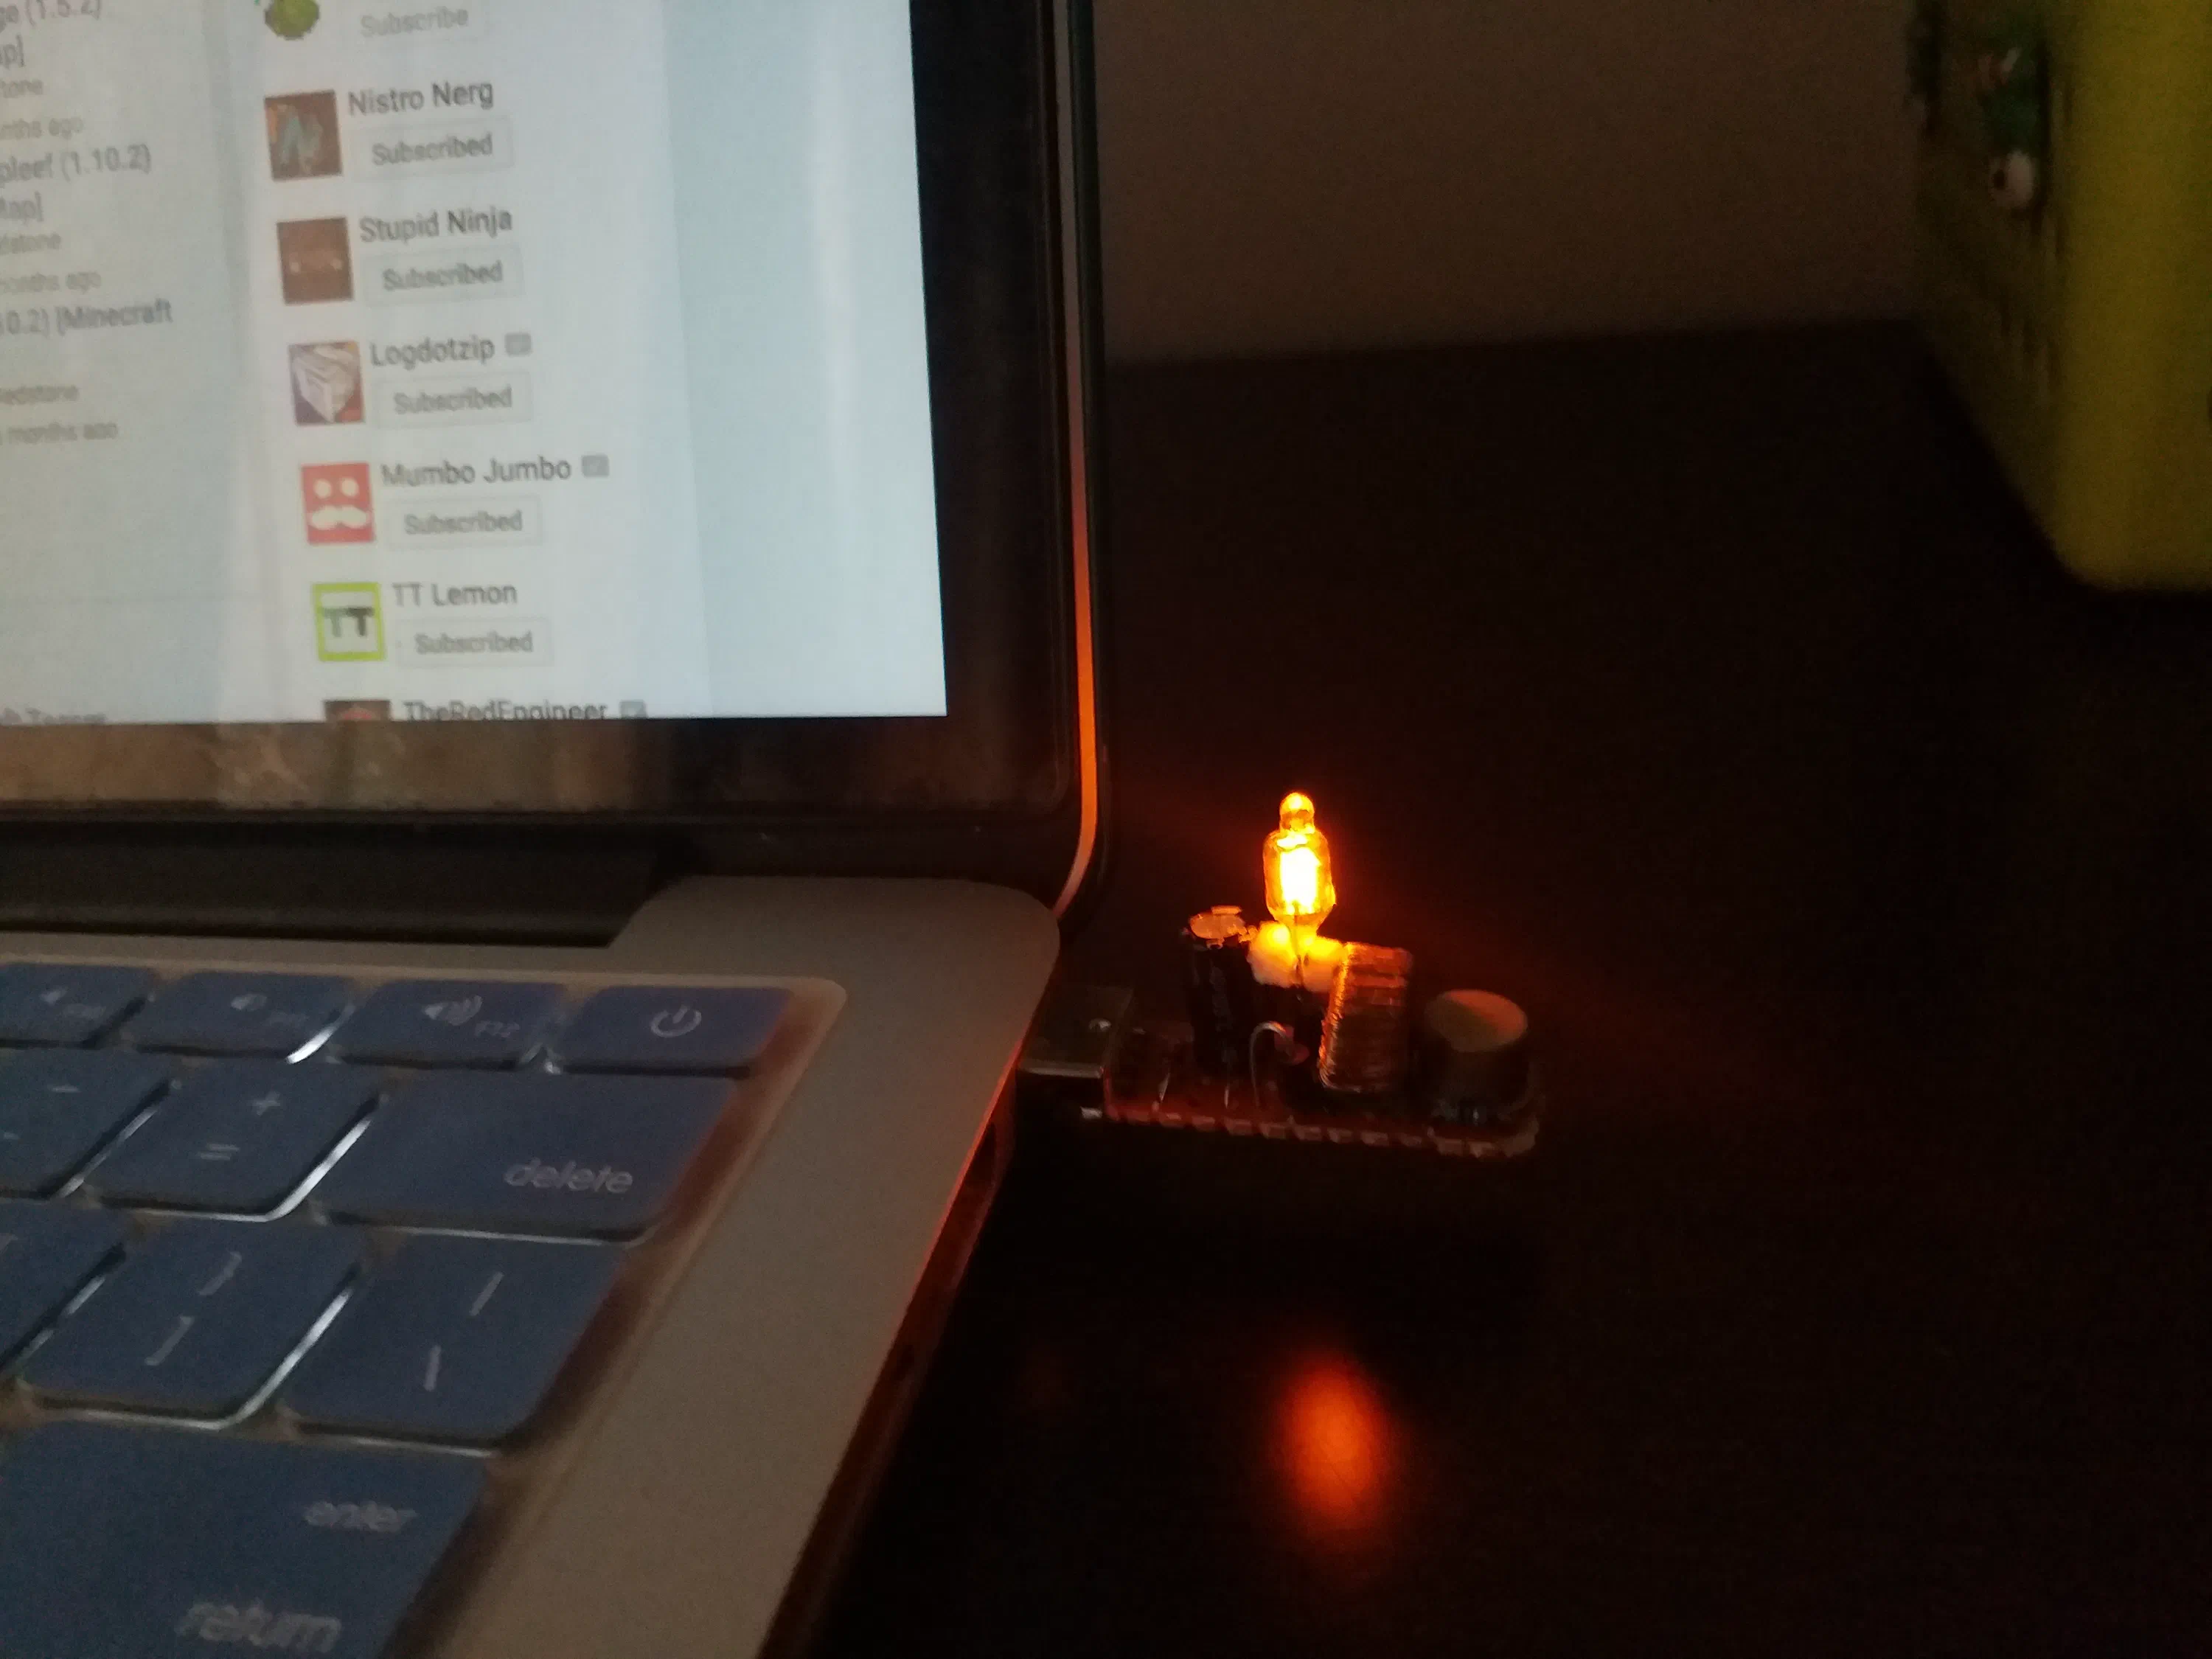
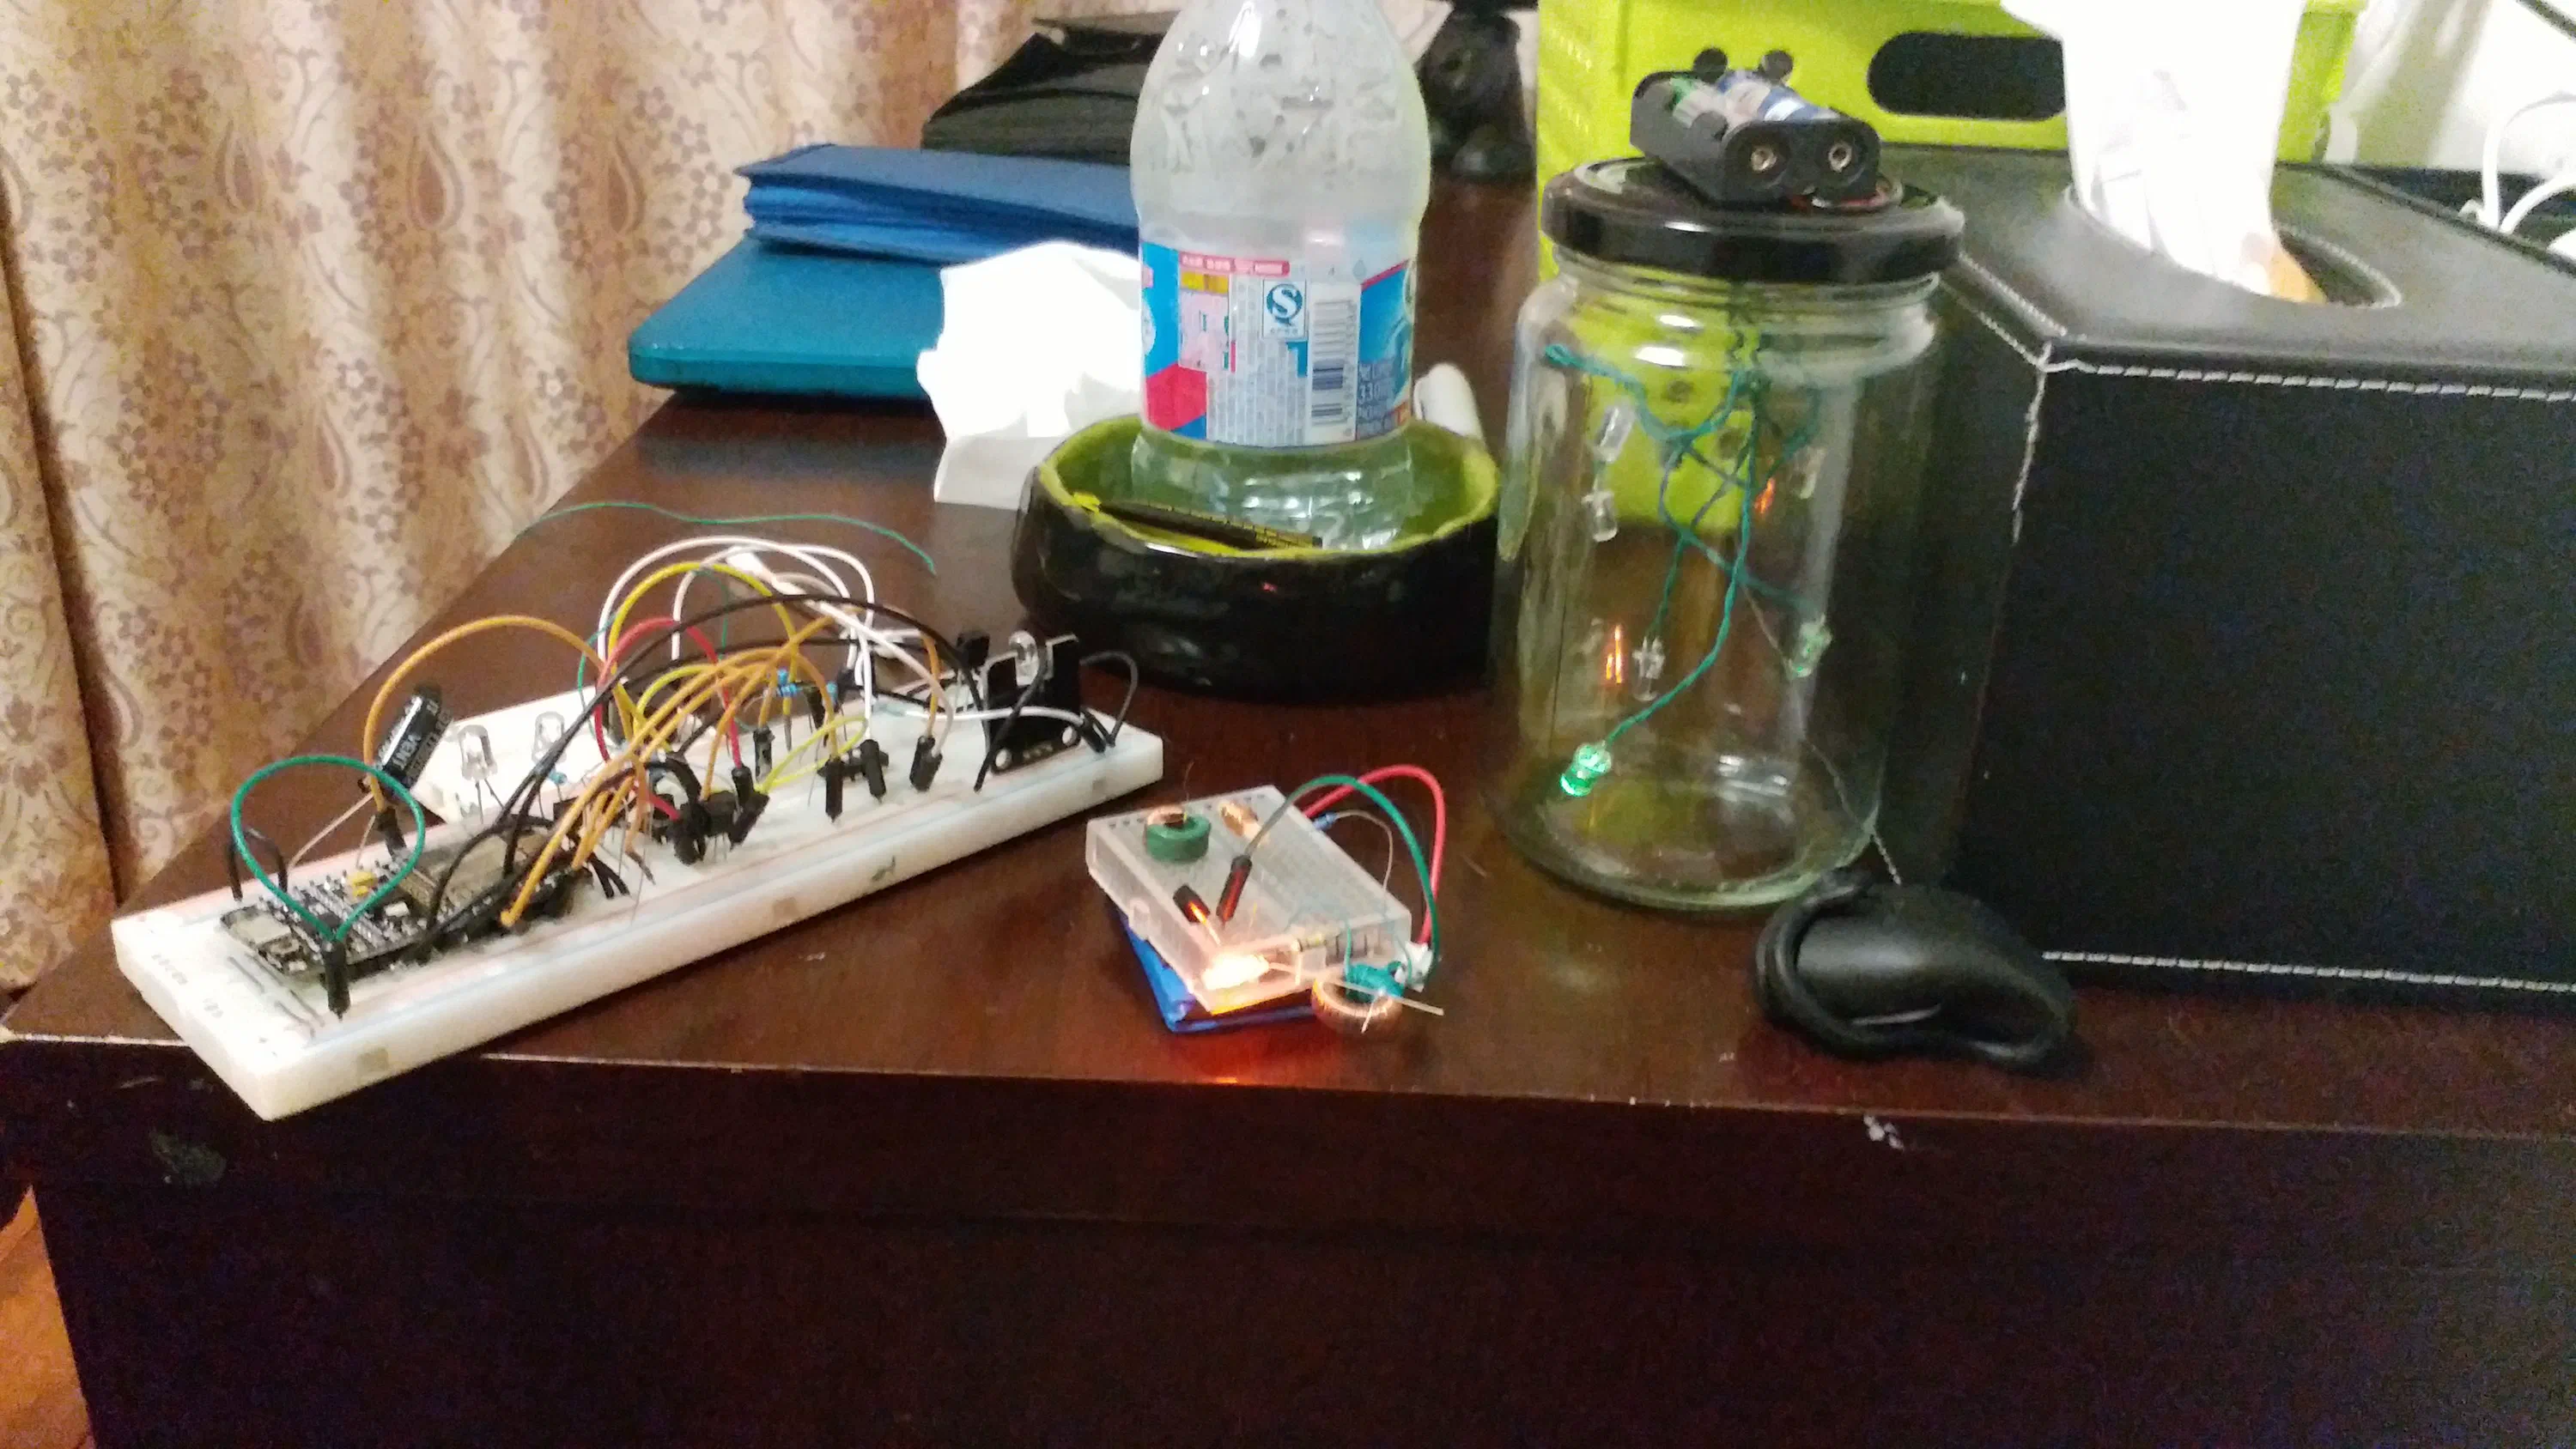
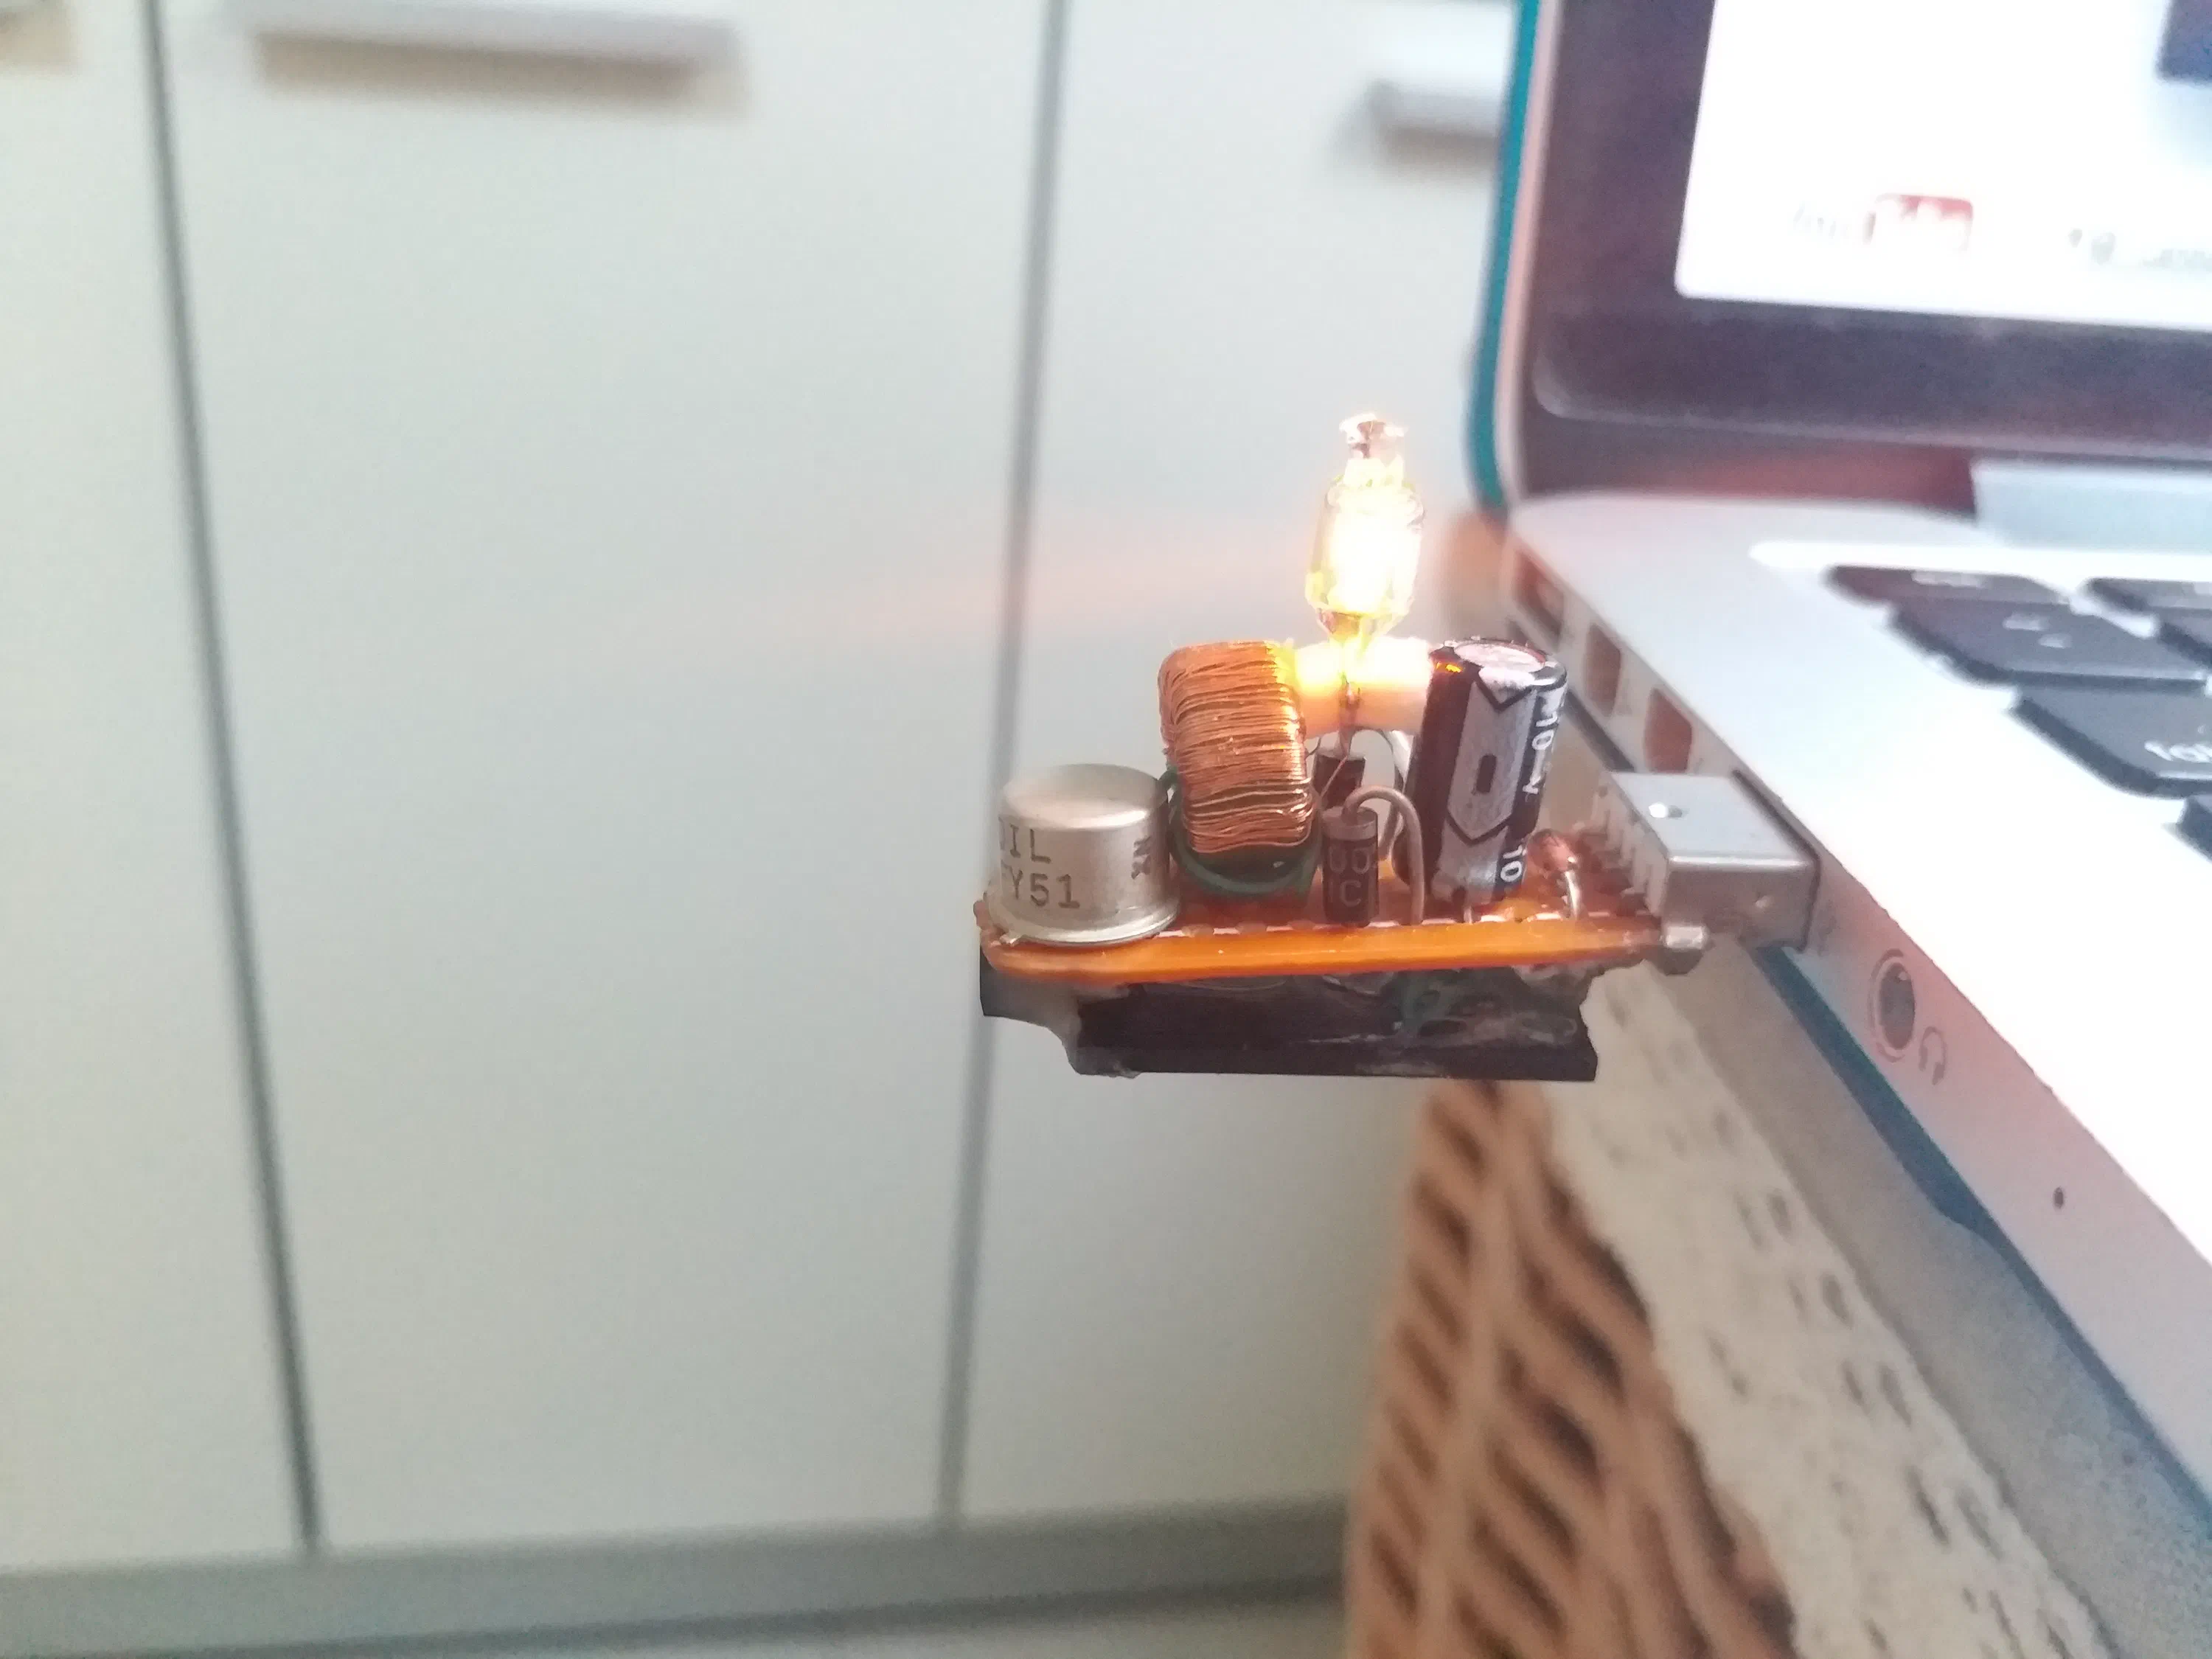
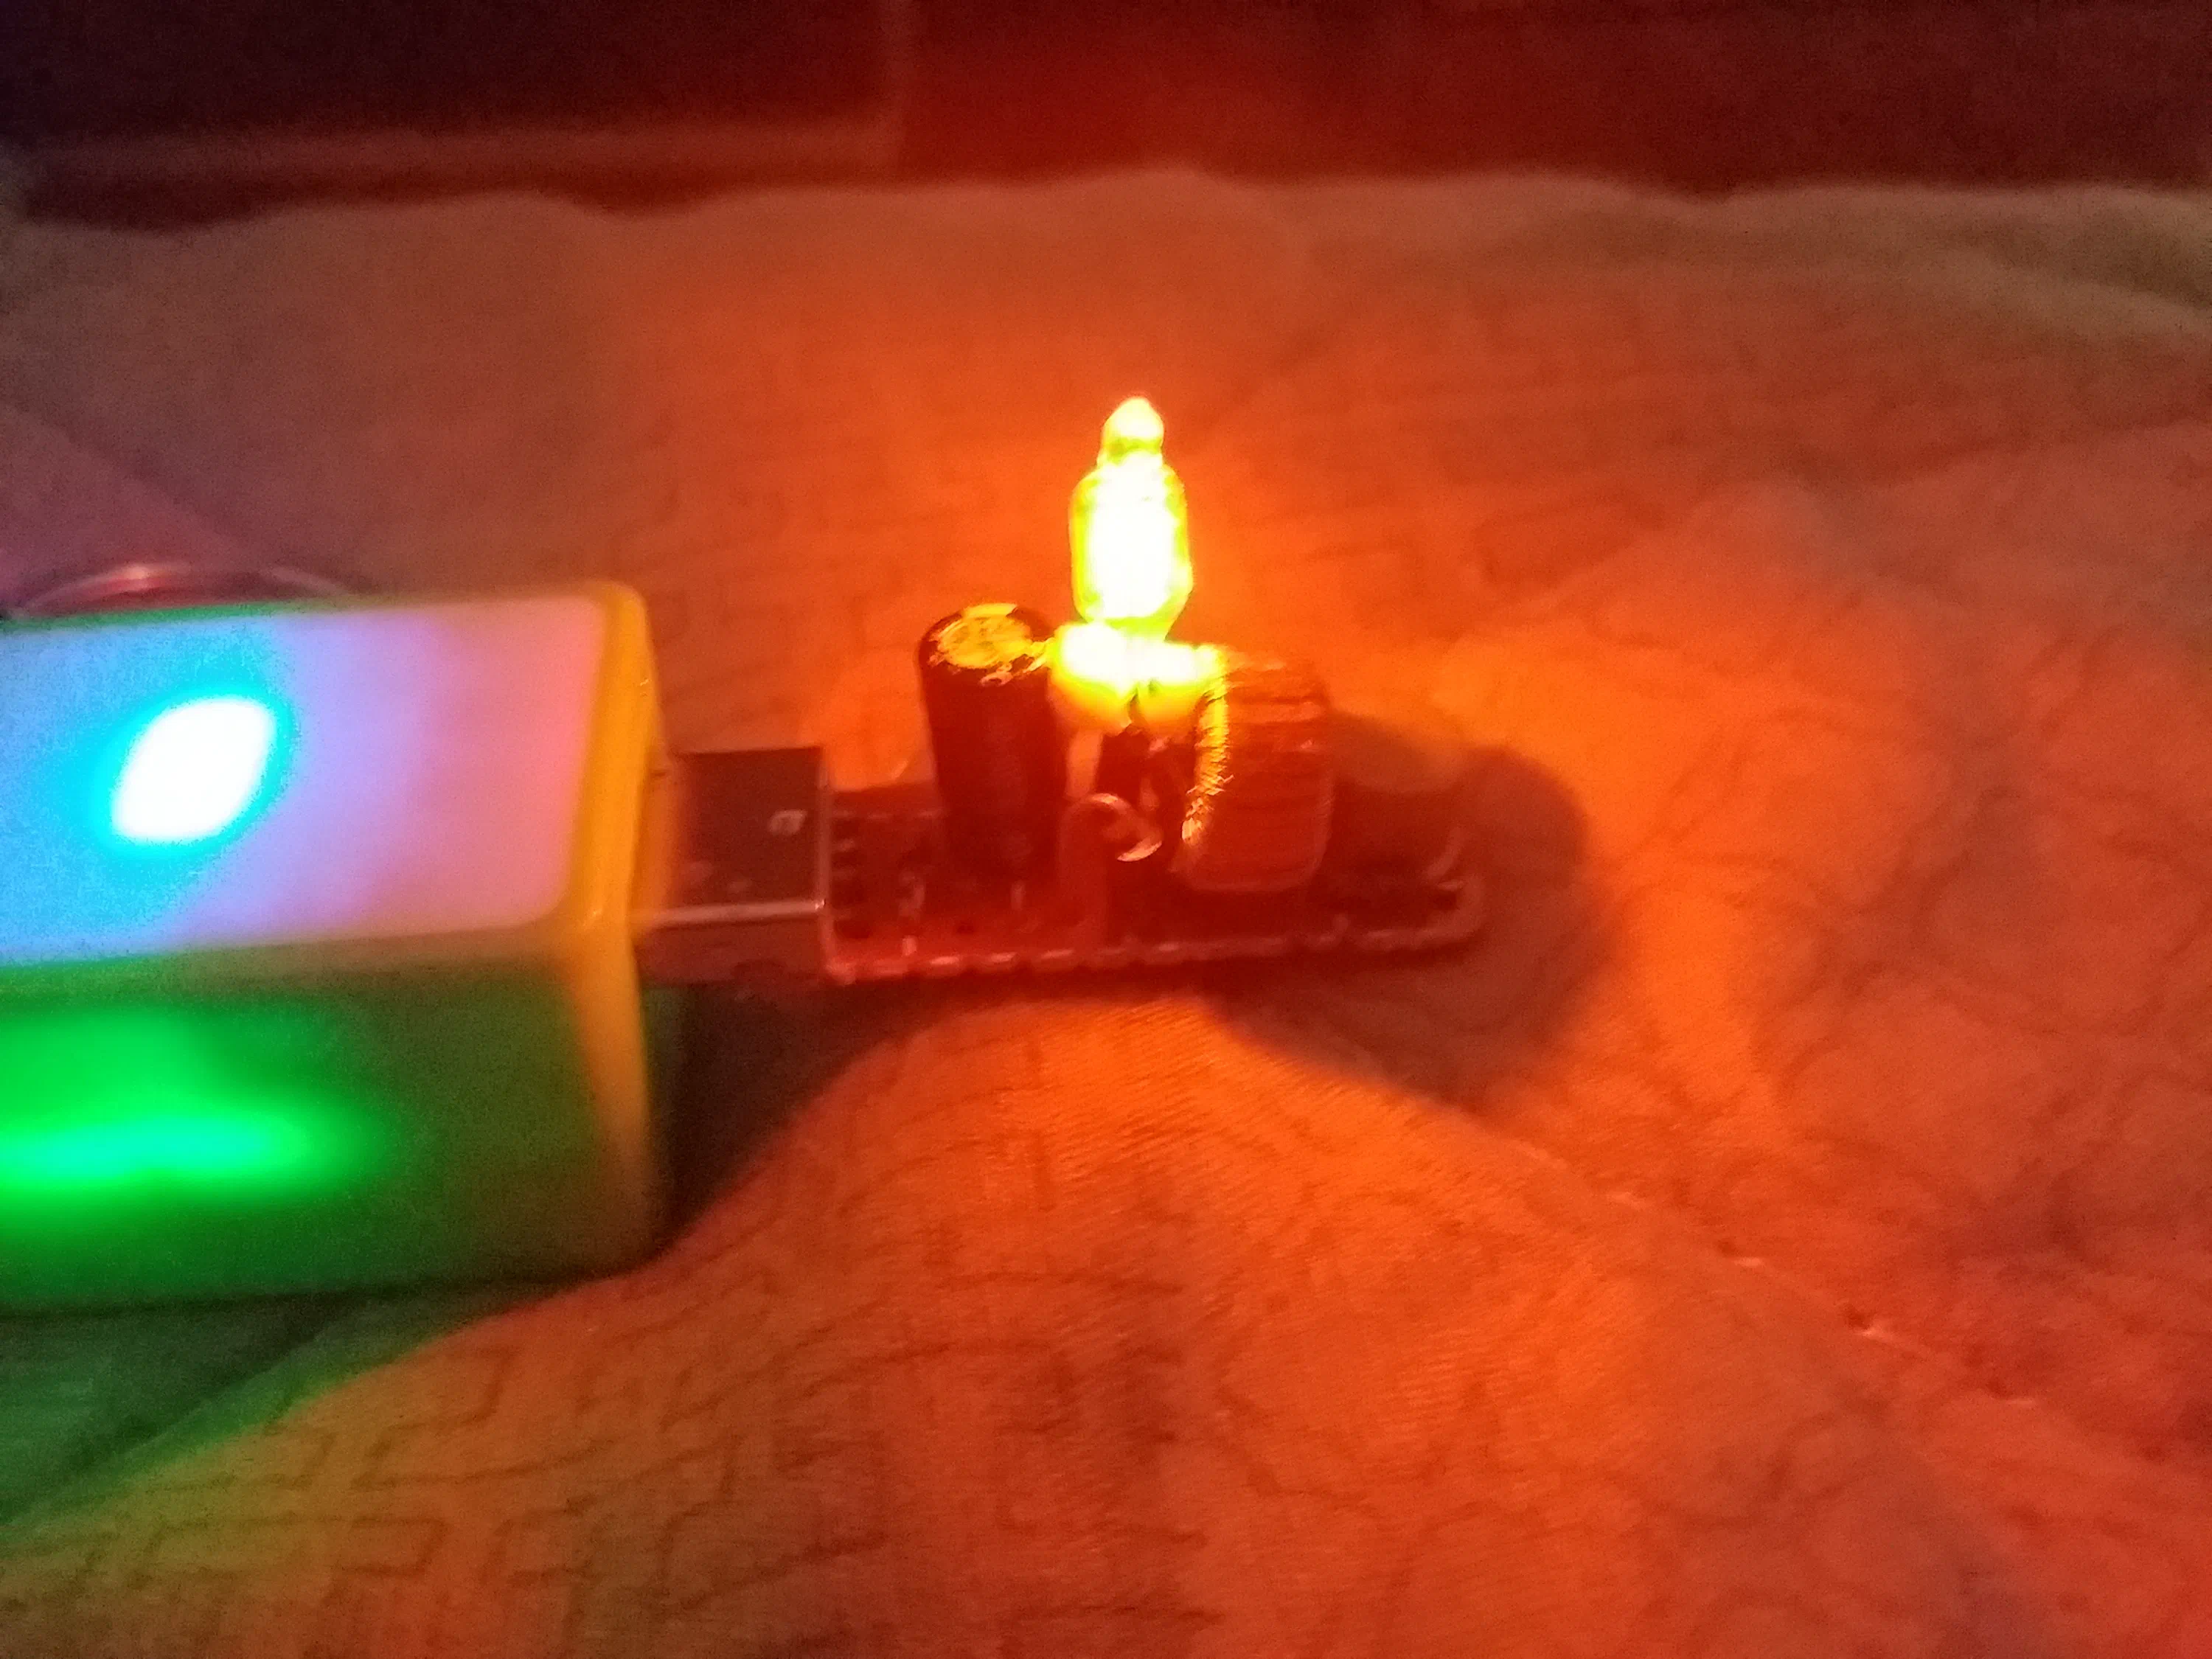
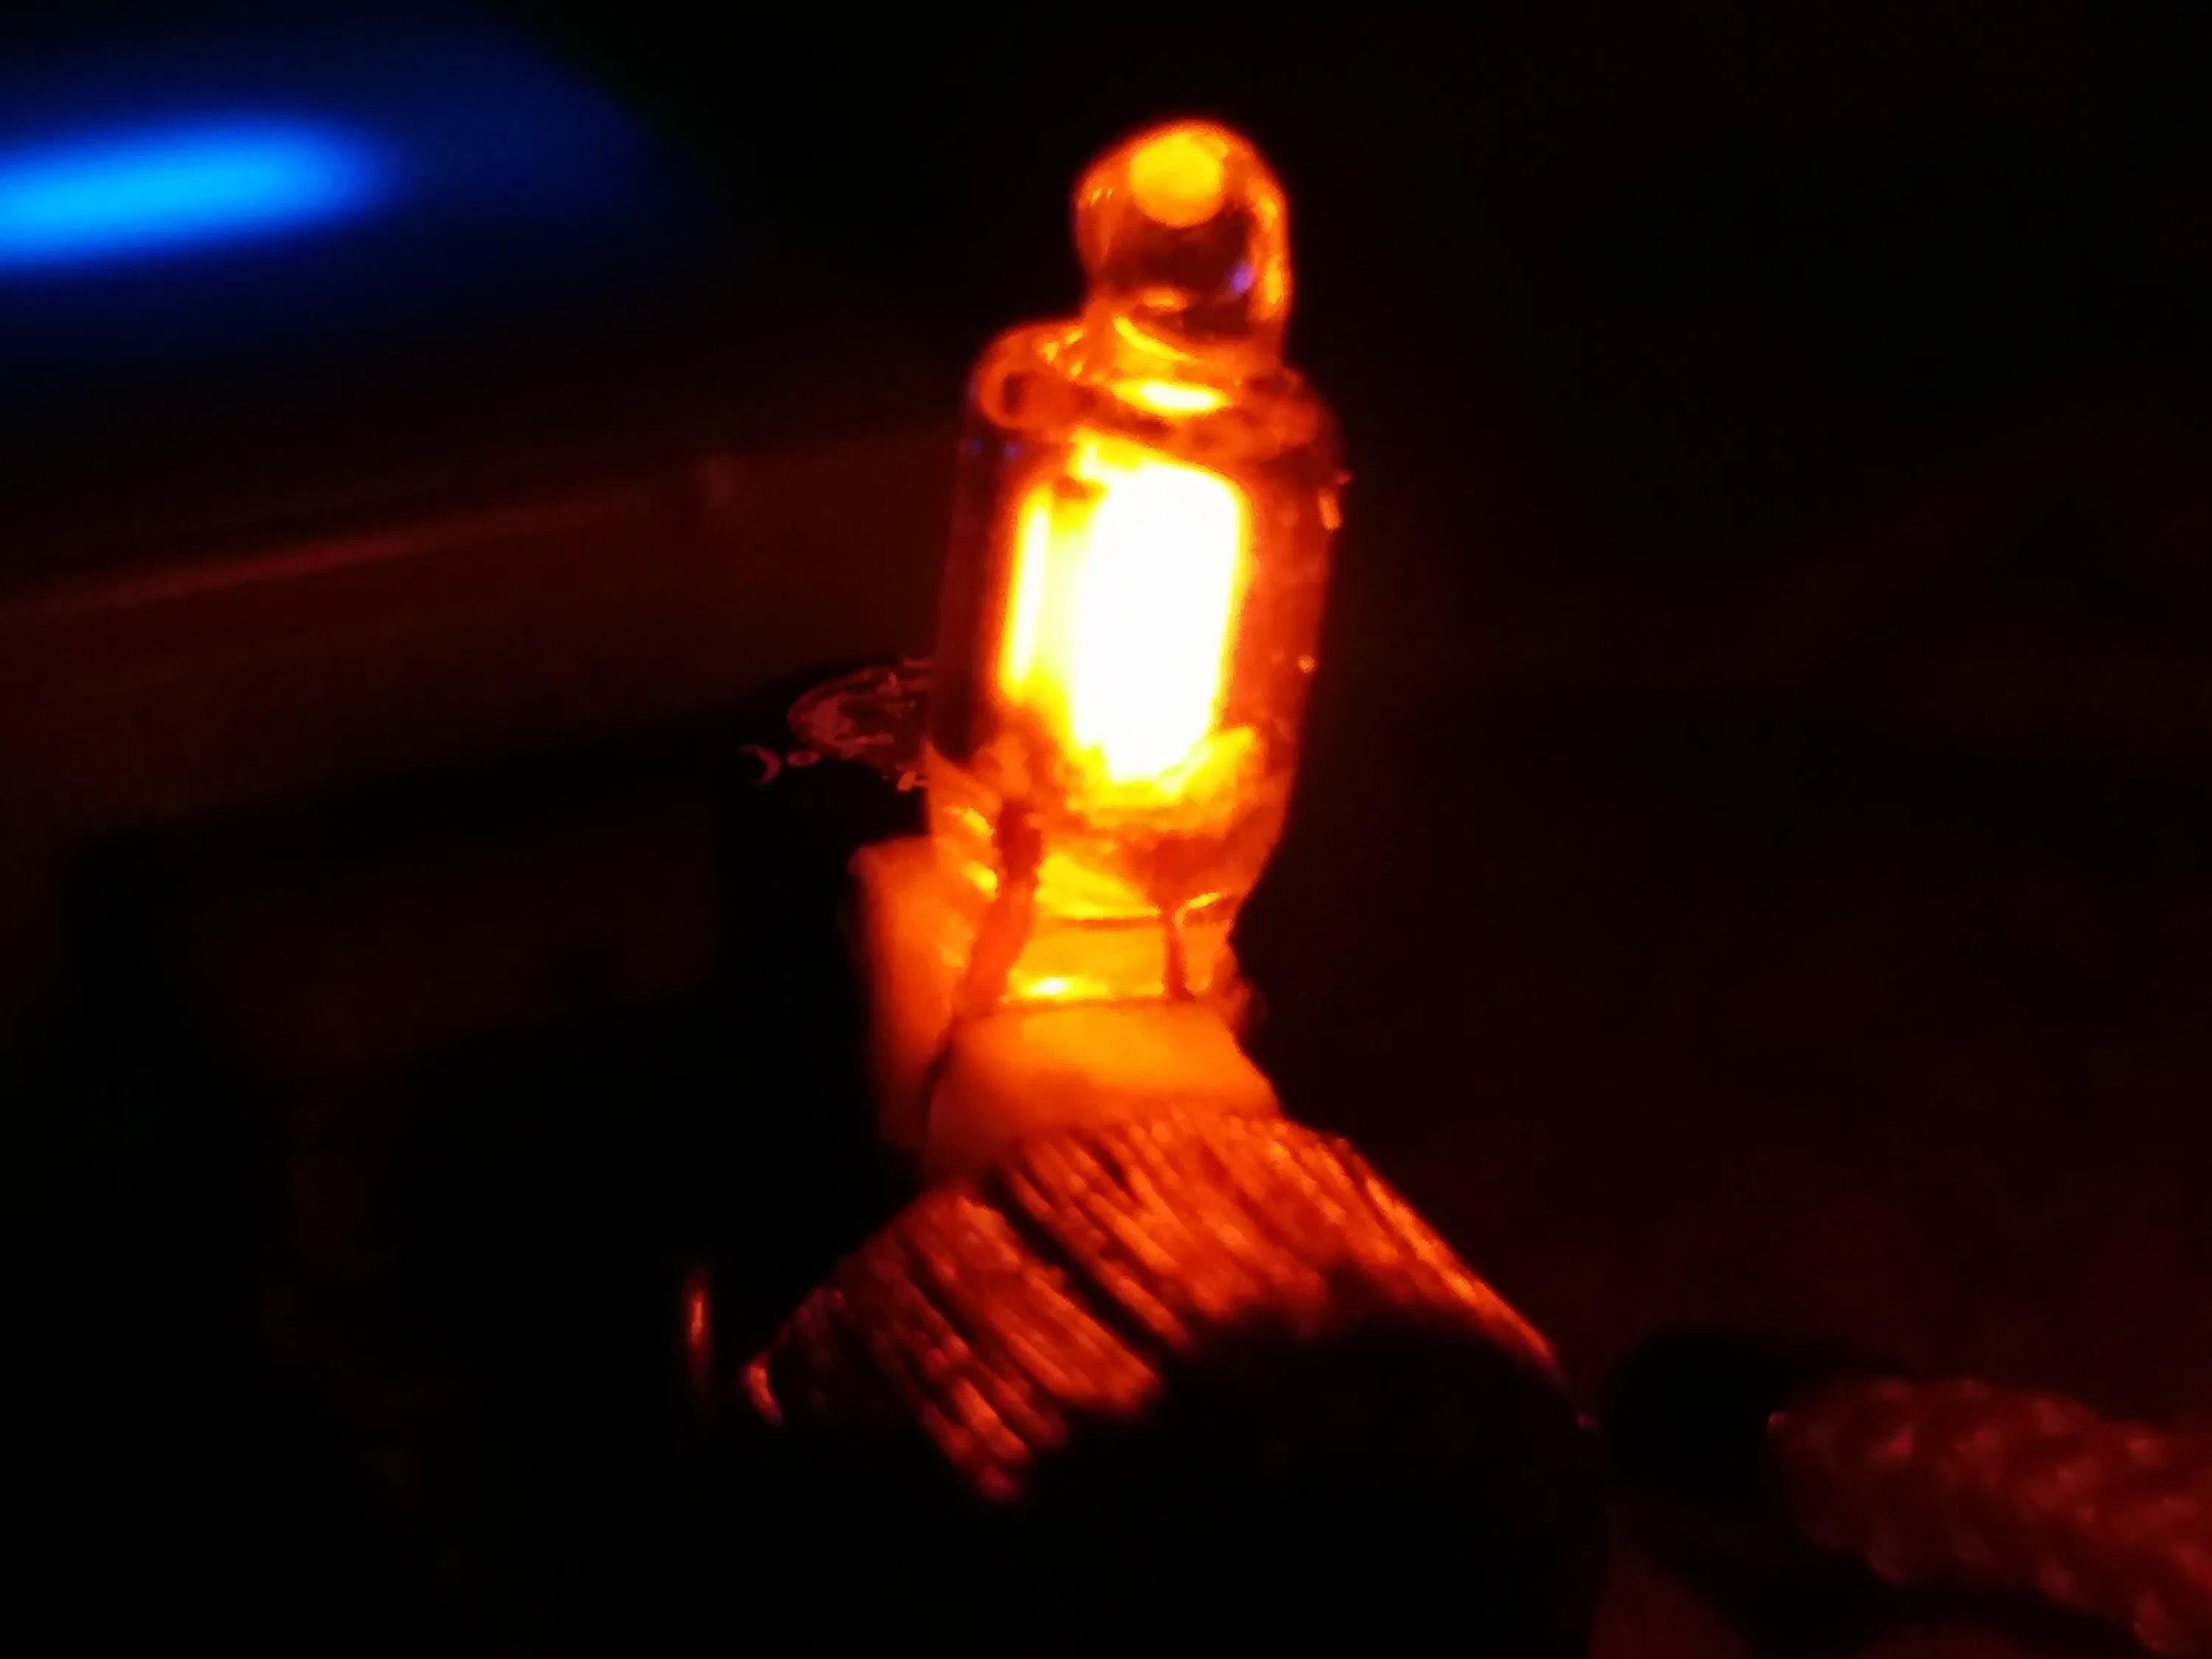
Congratulations, now you have a portable neon stick. Now you can stare at neon light wherever you are.
Step 7: Upgrade: From Neon Stick to Neon Drive
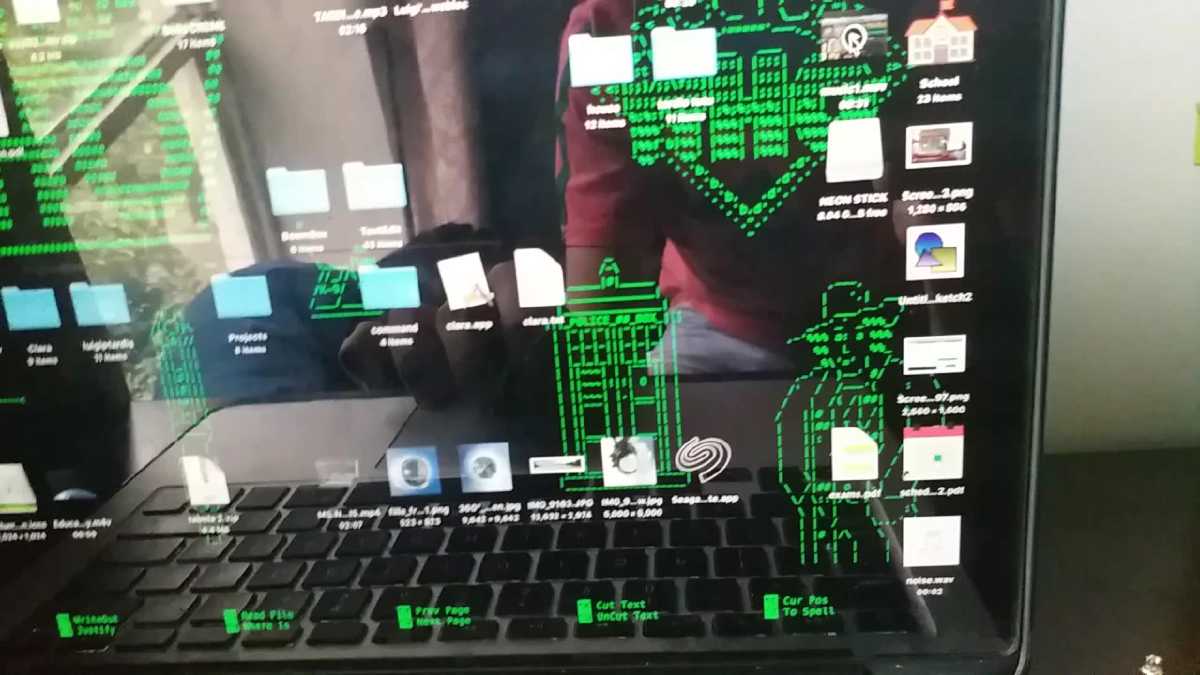
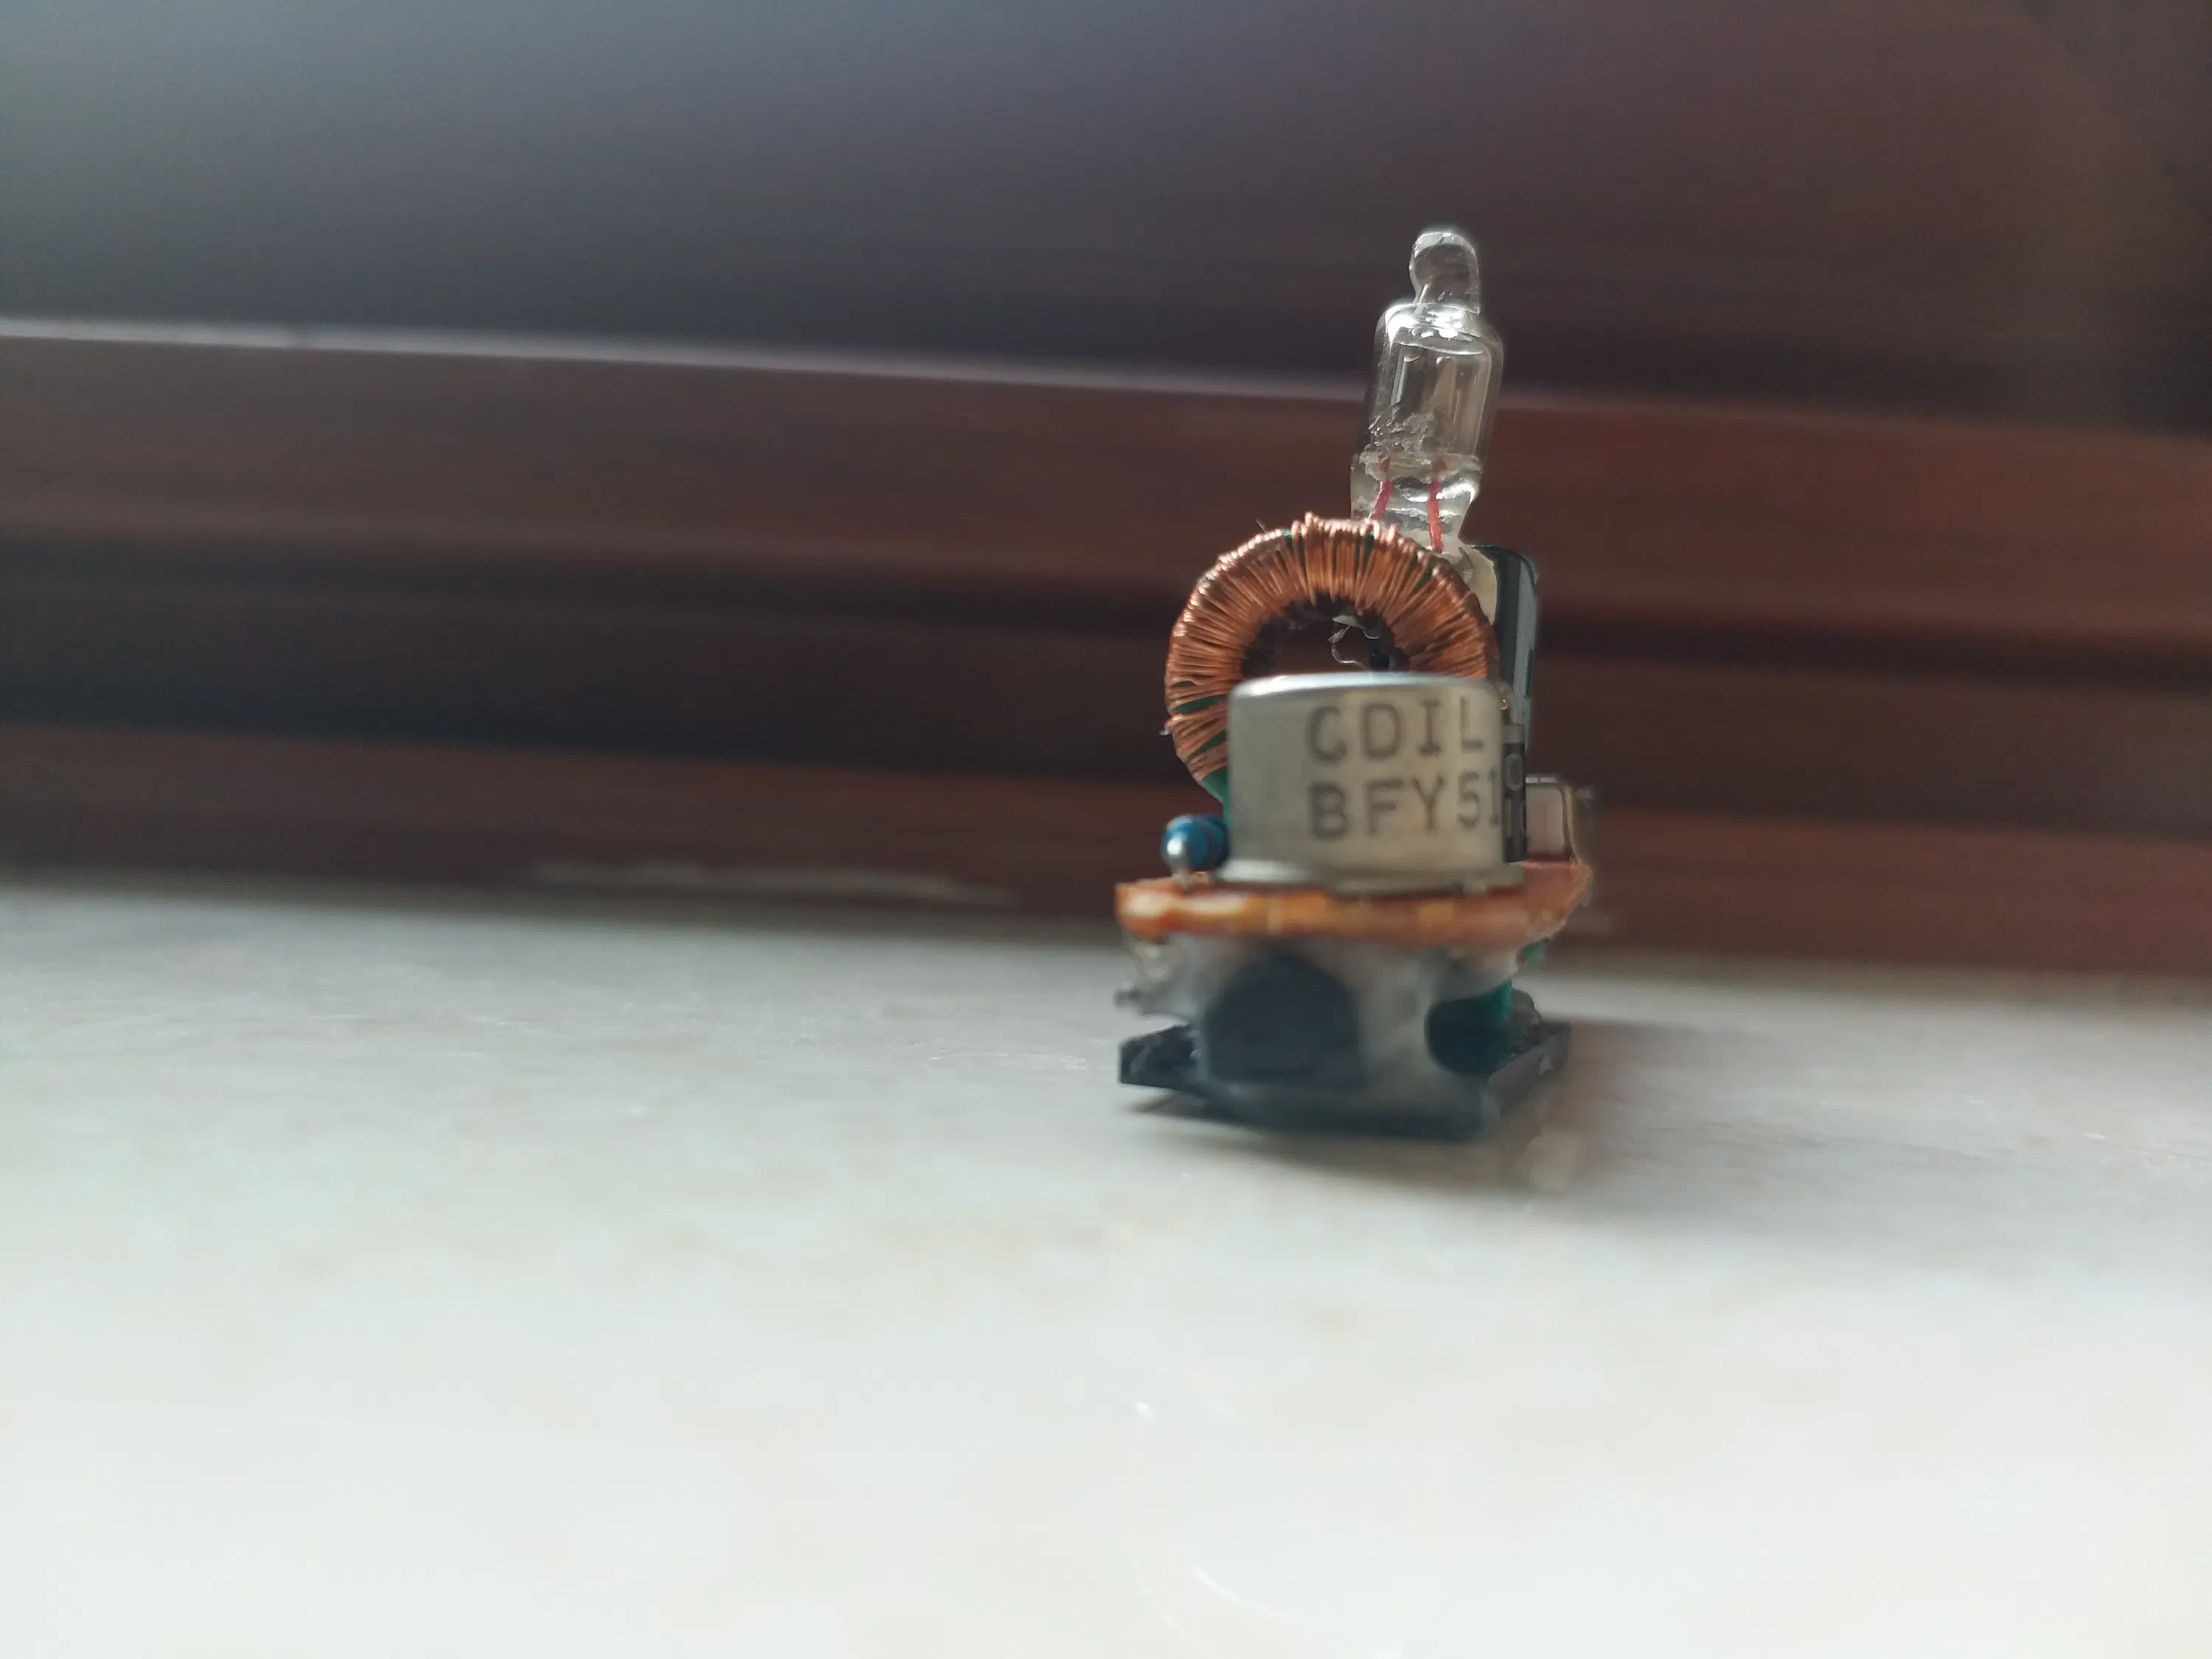
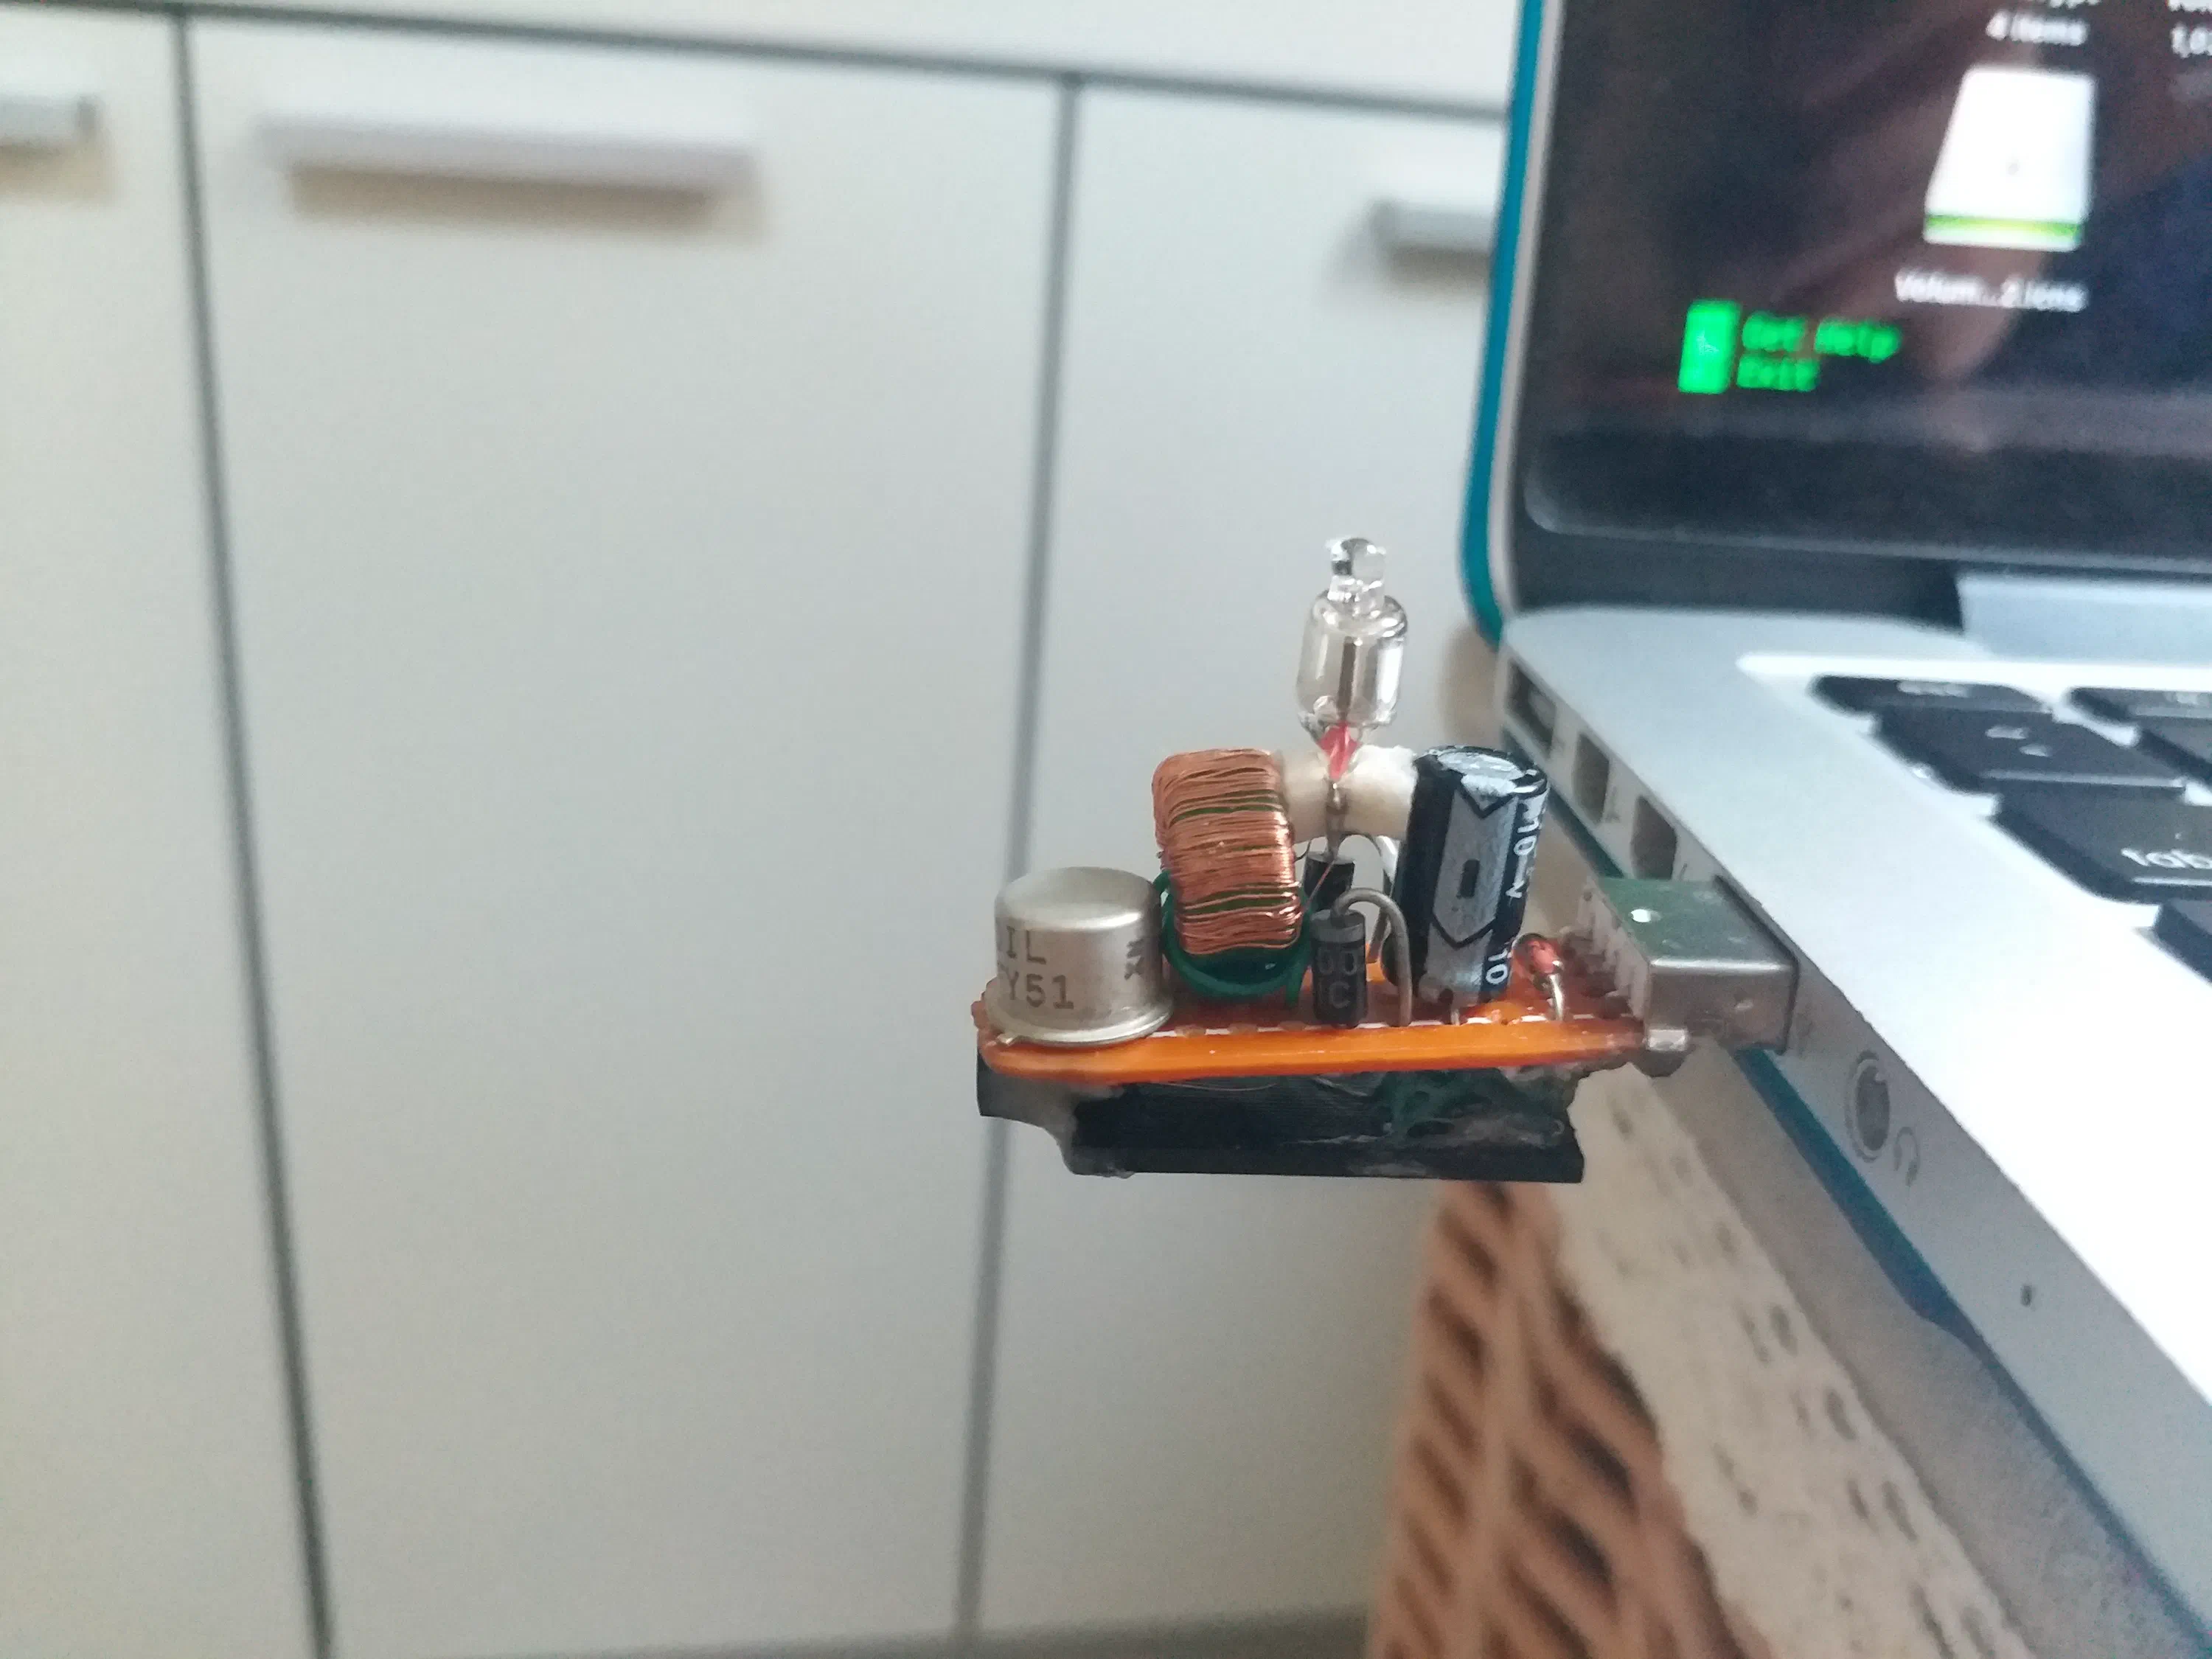
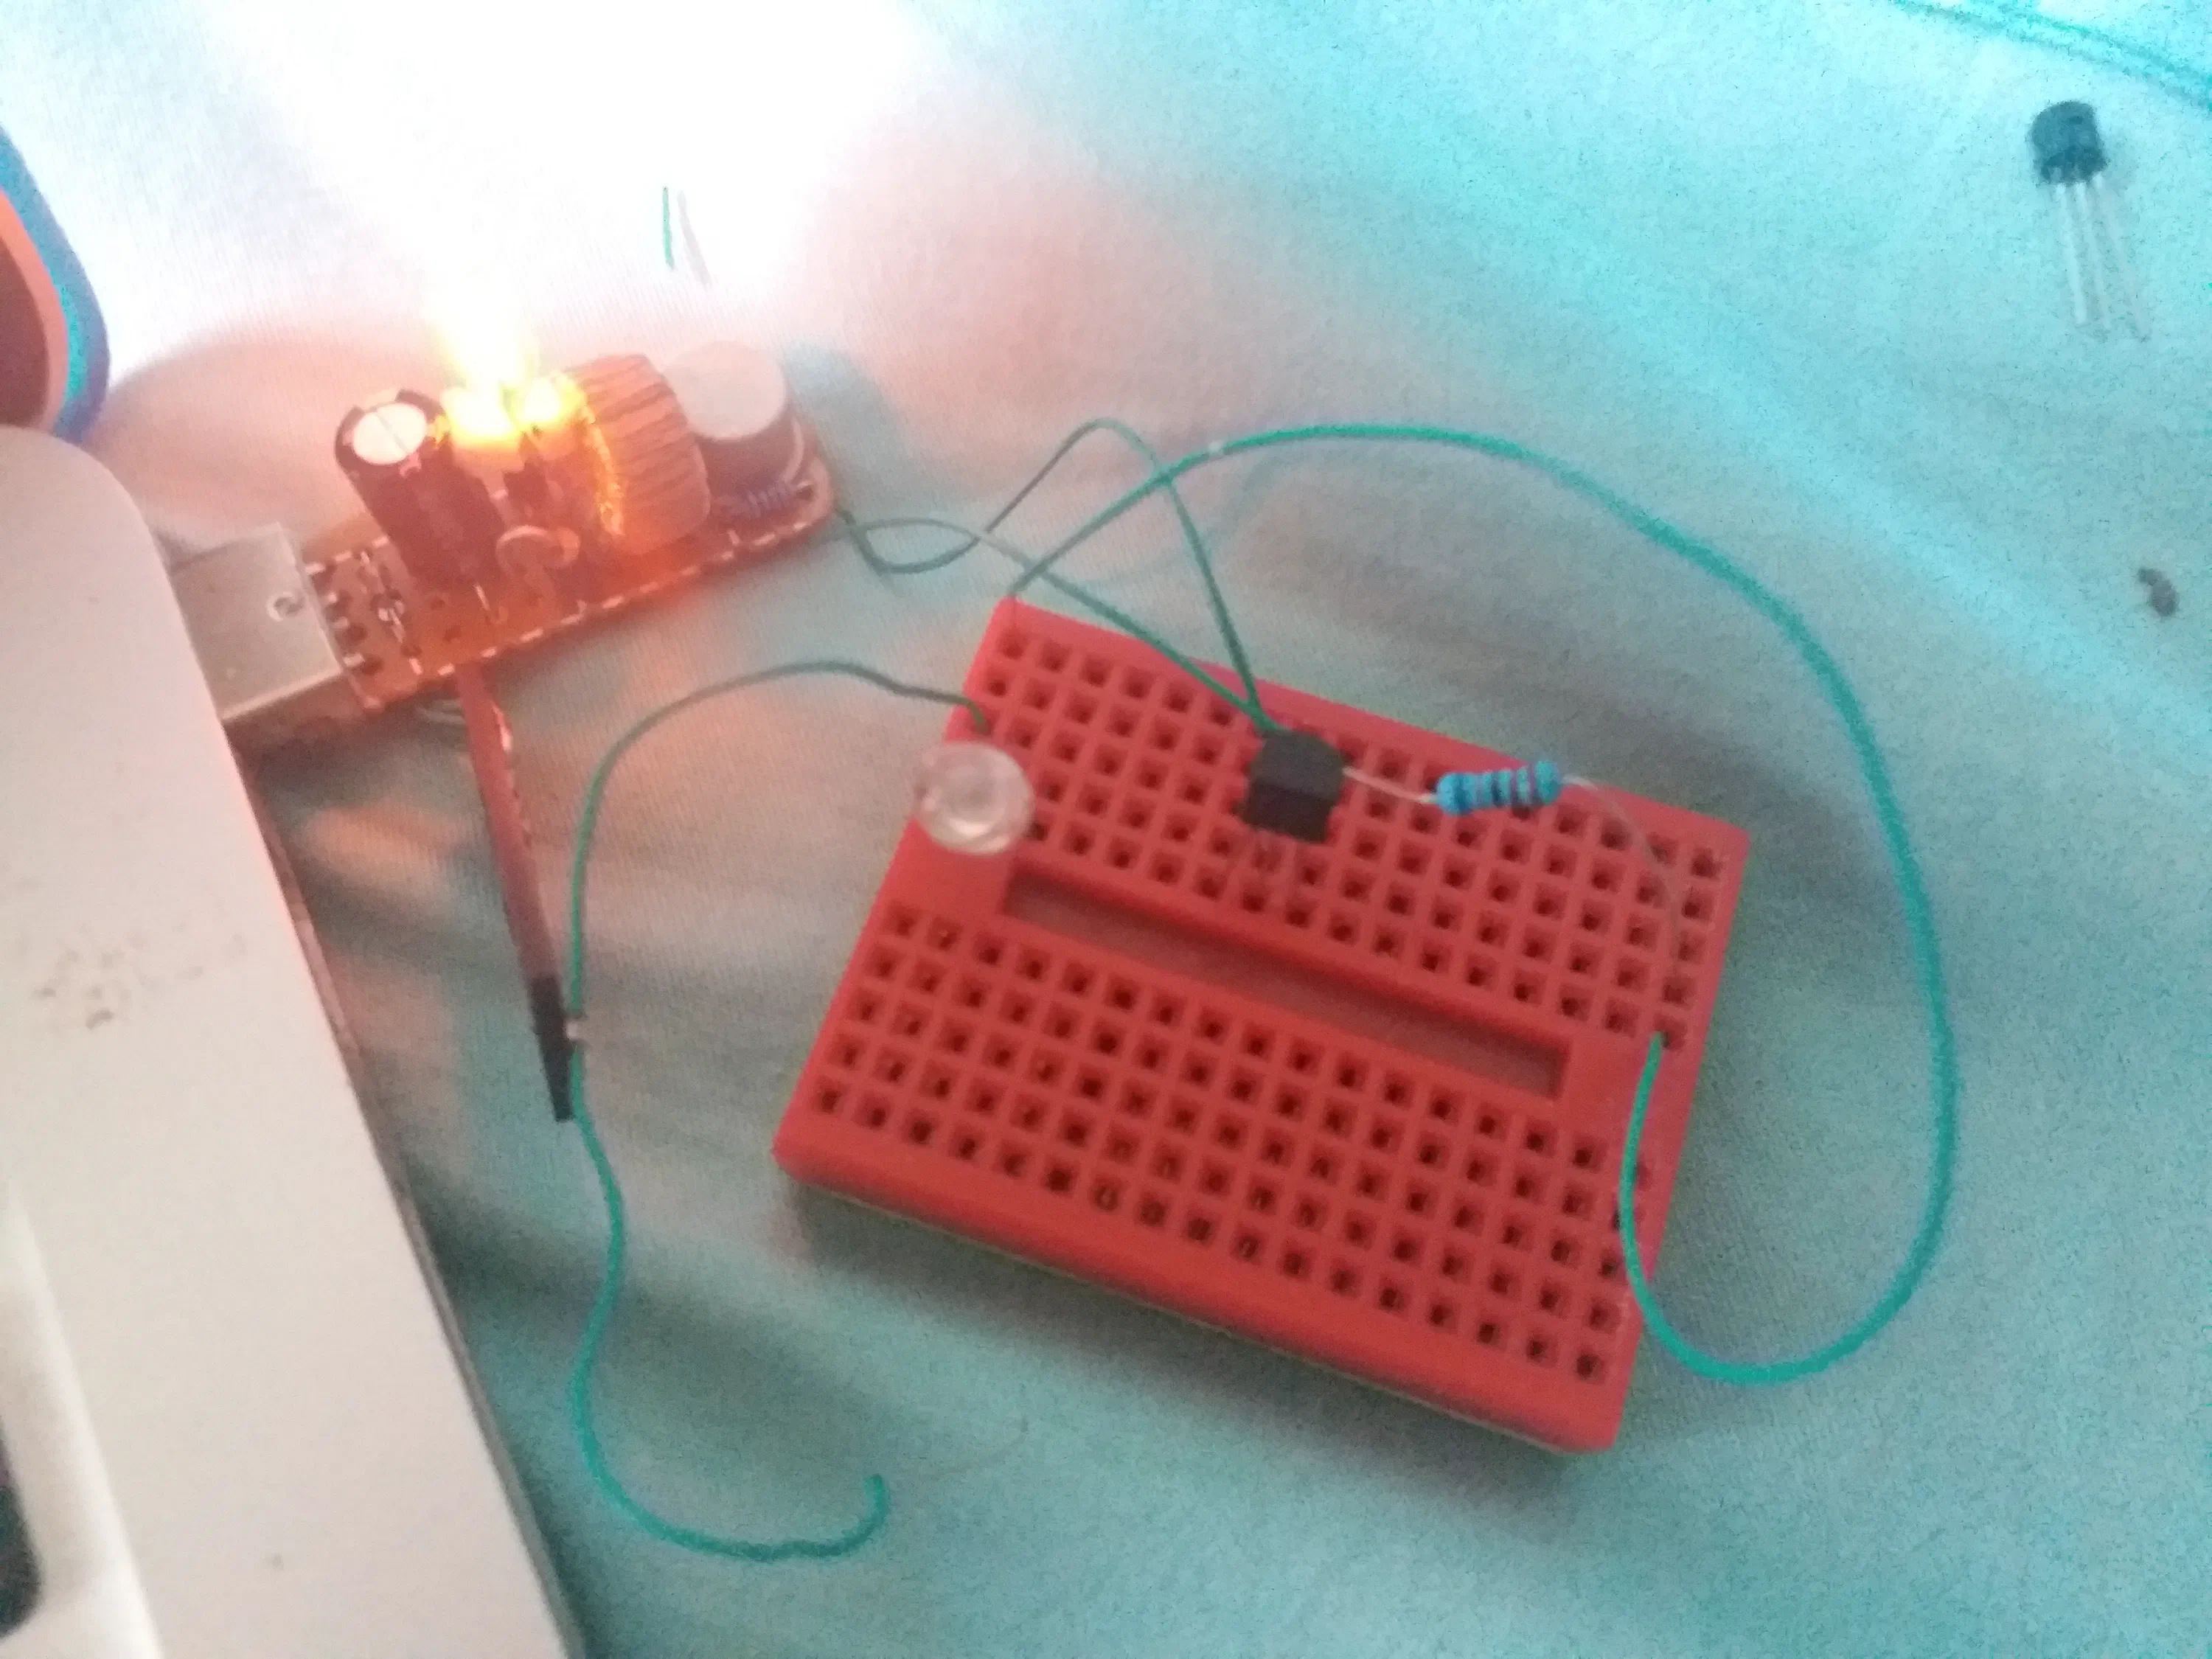
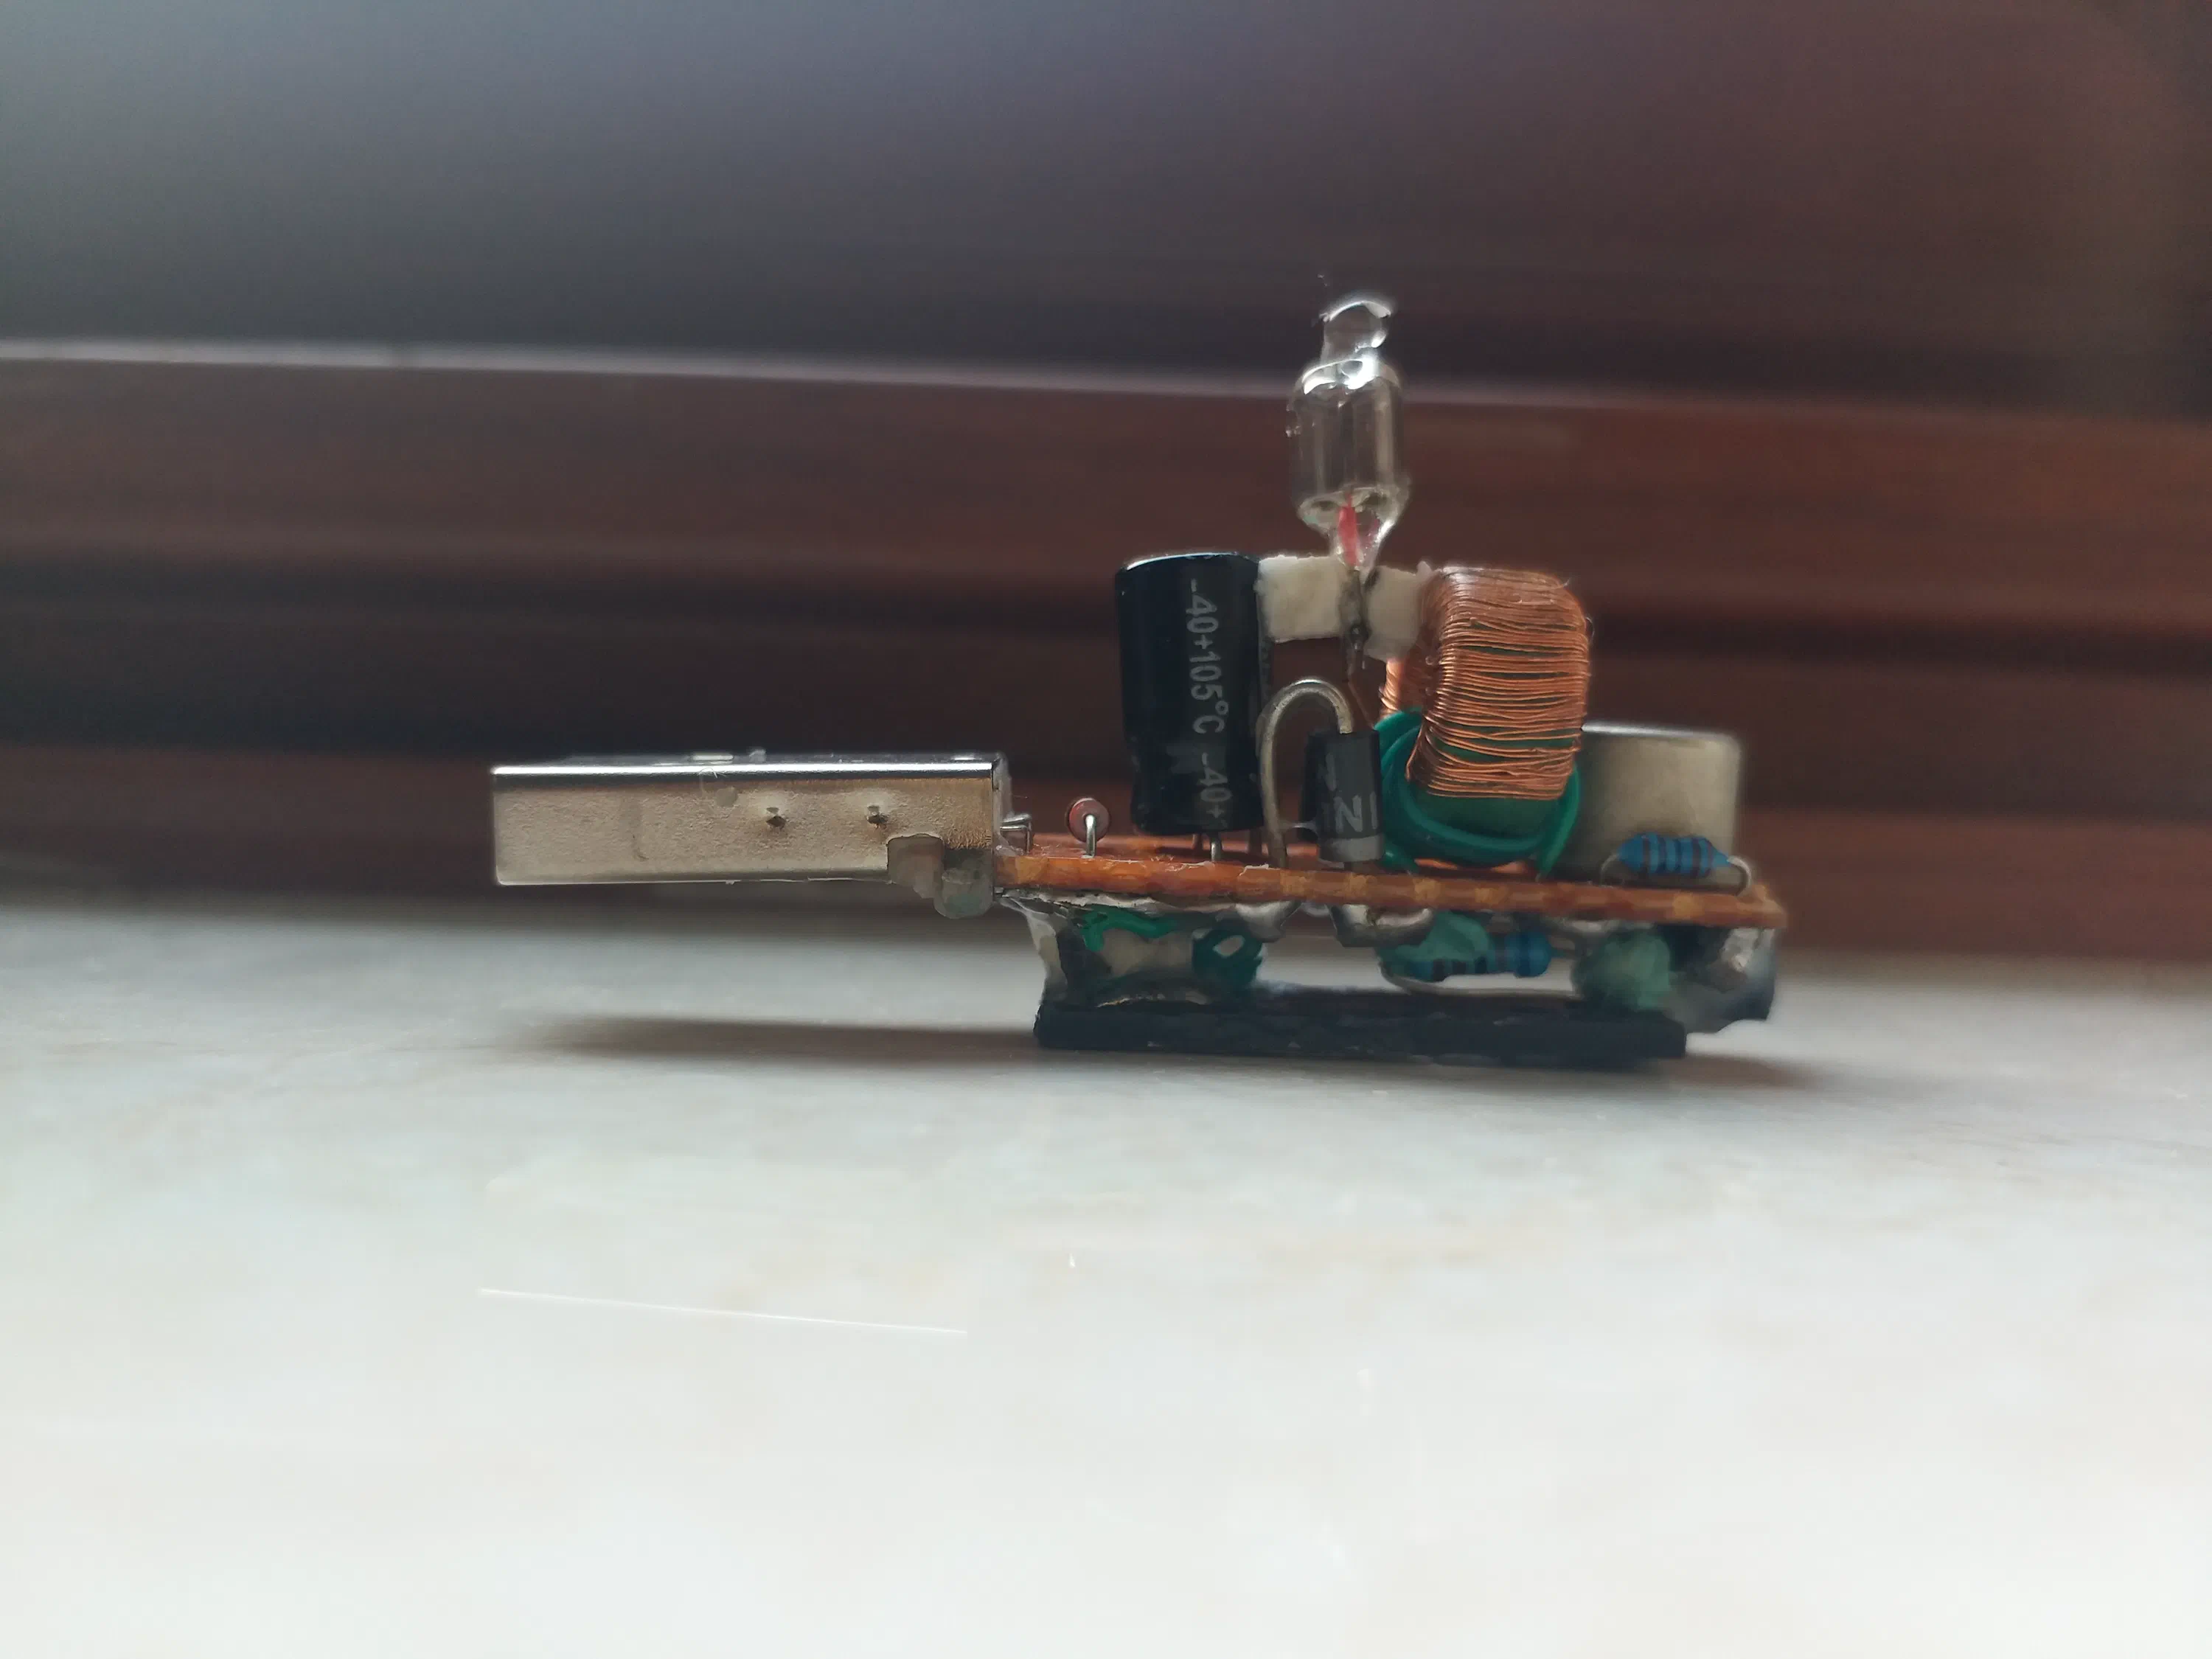
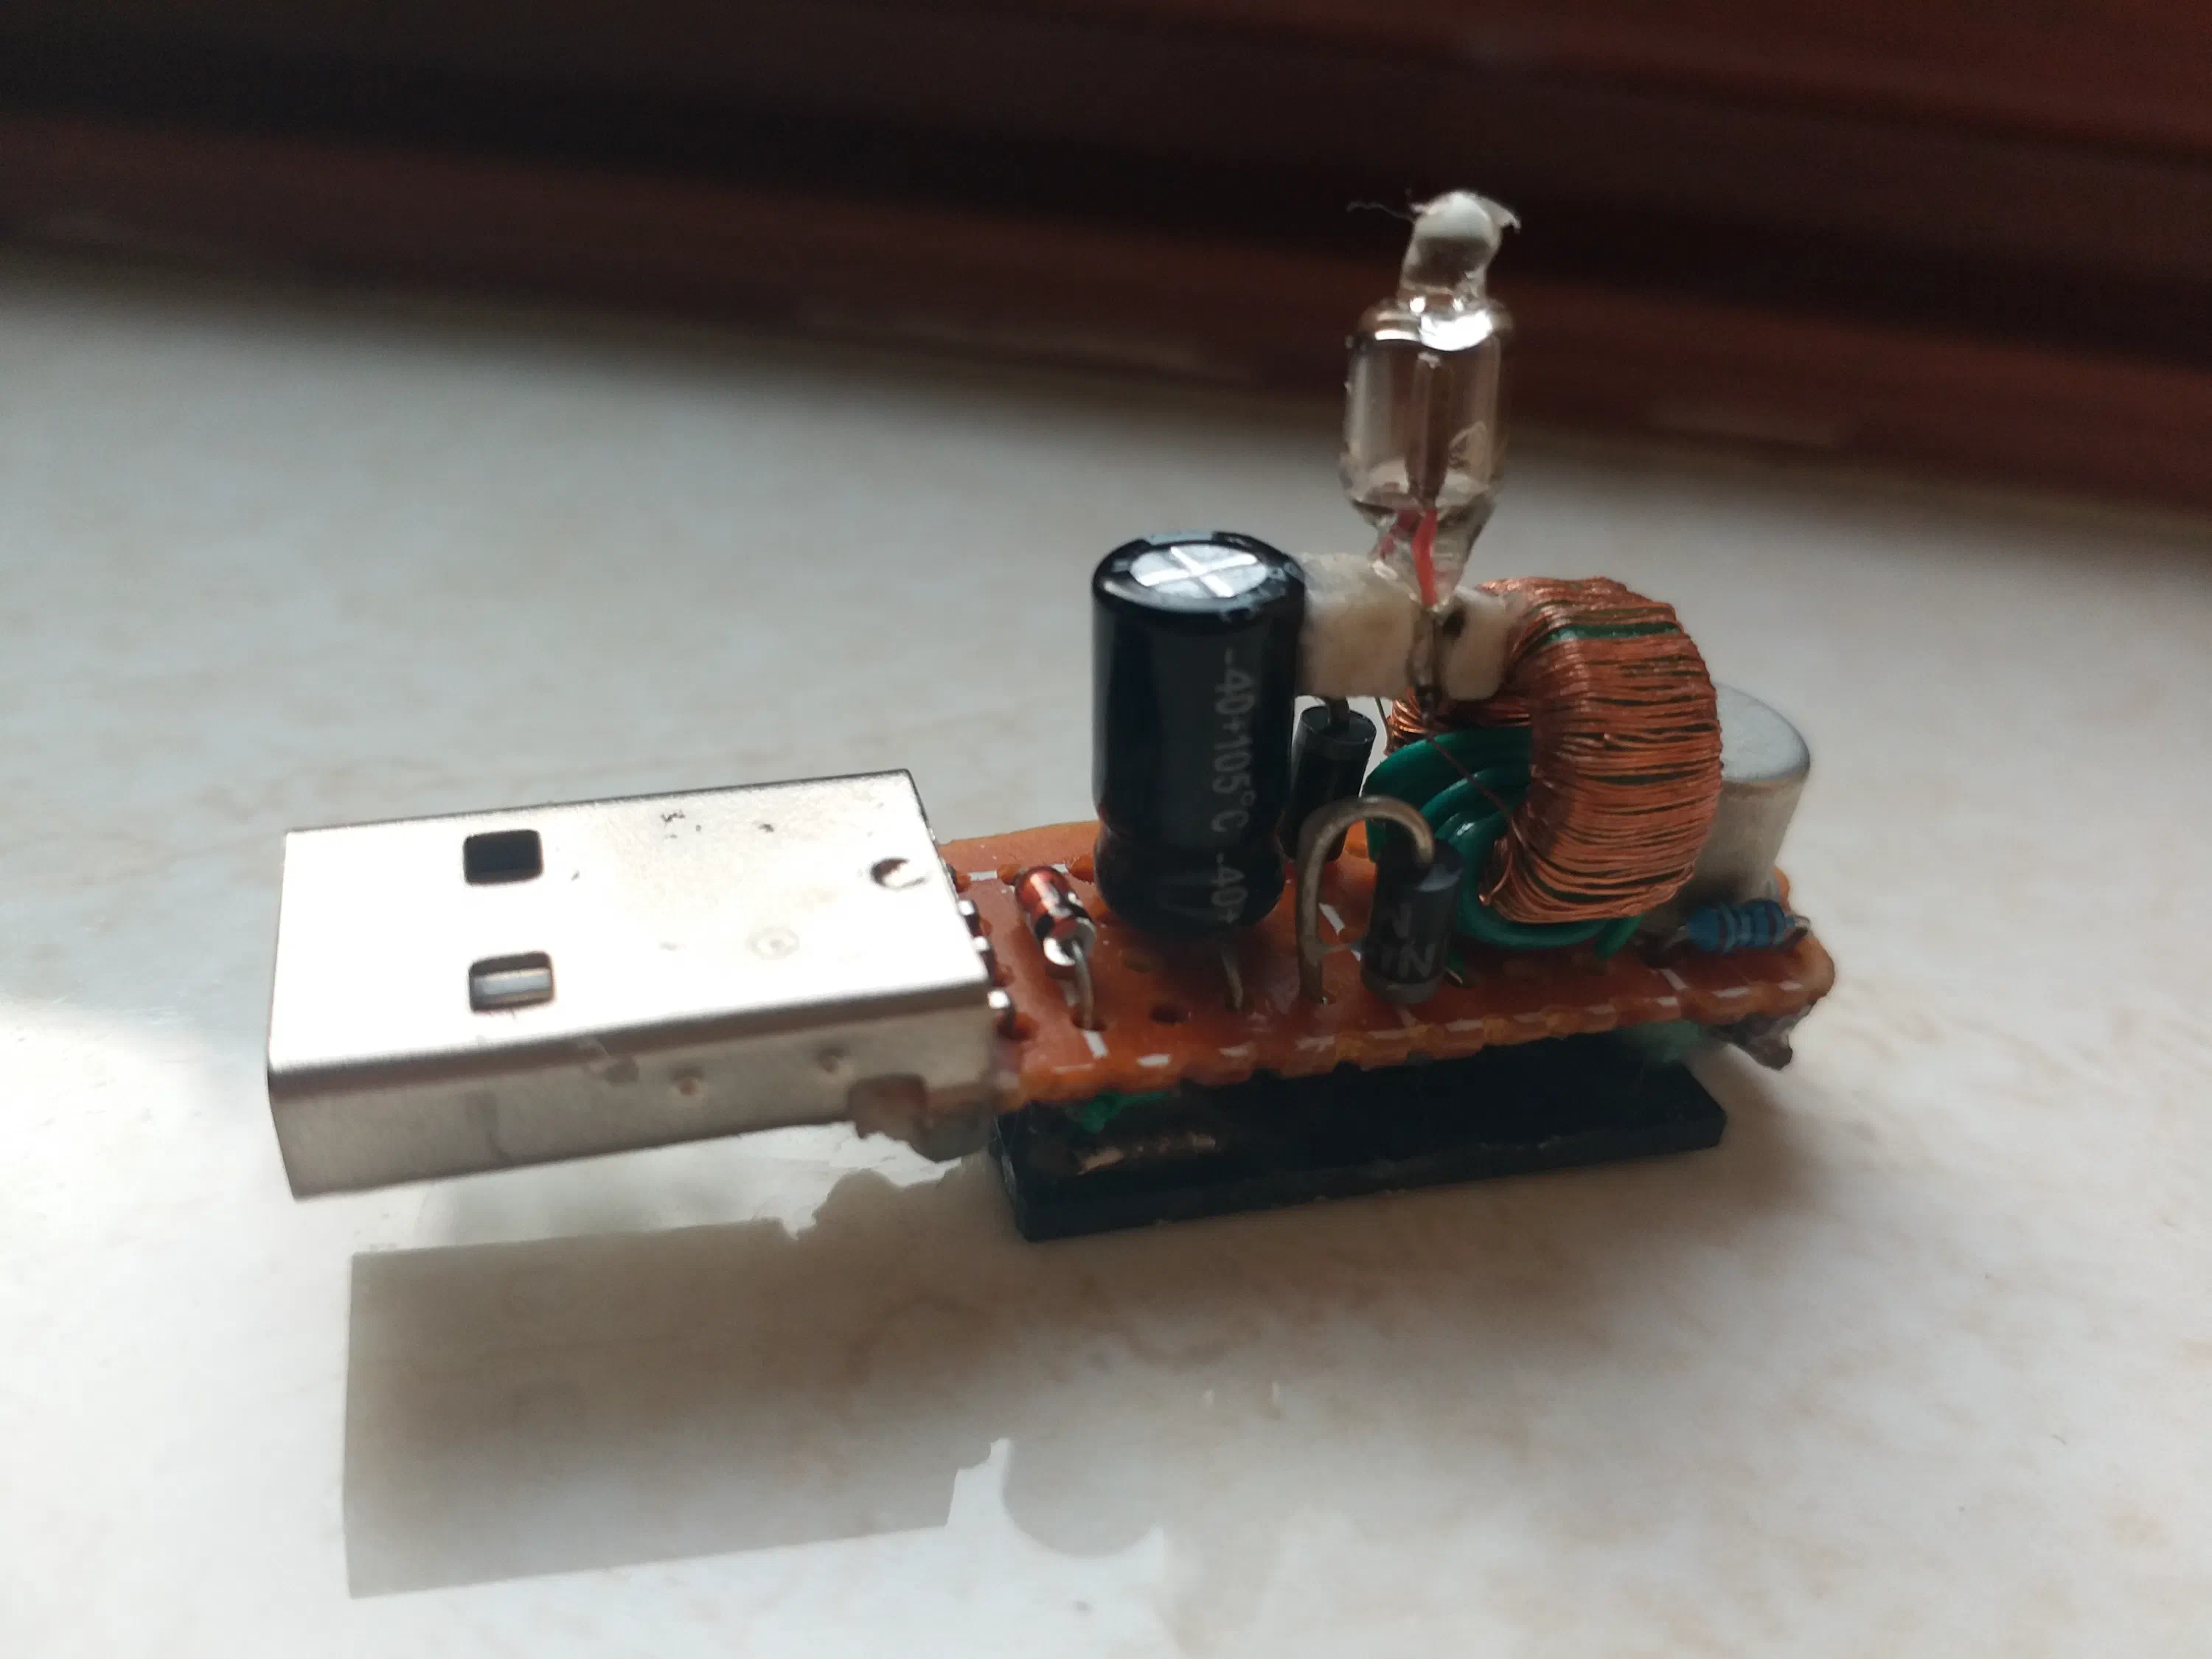
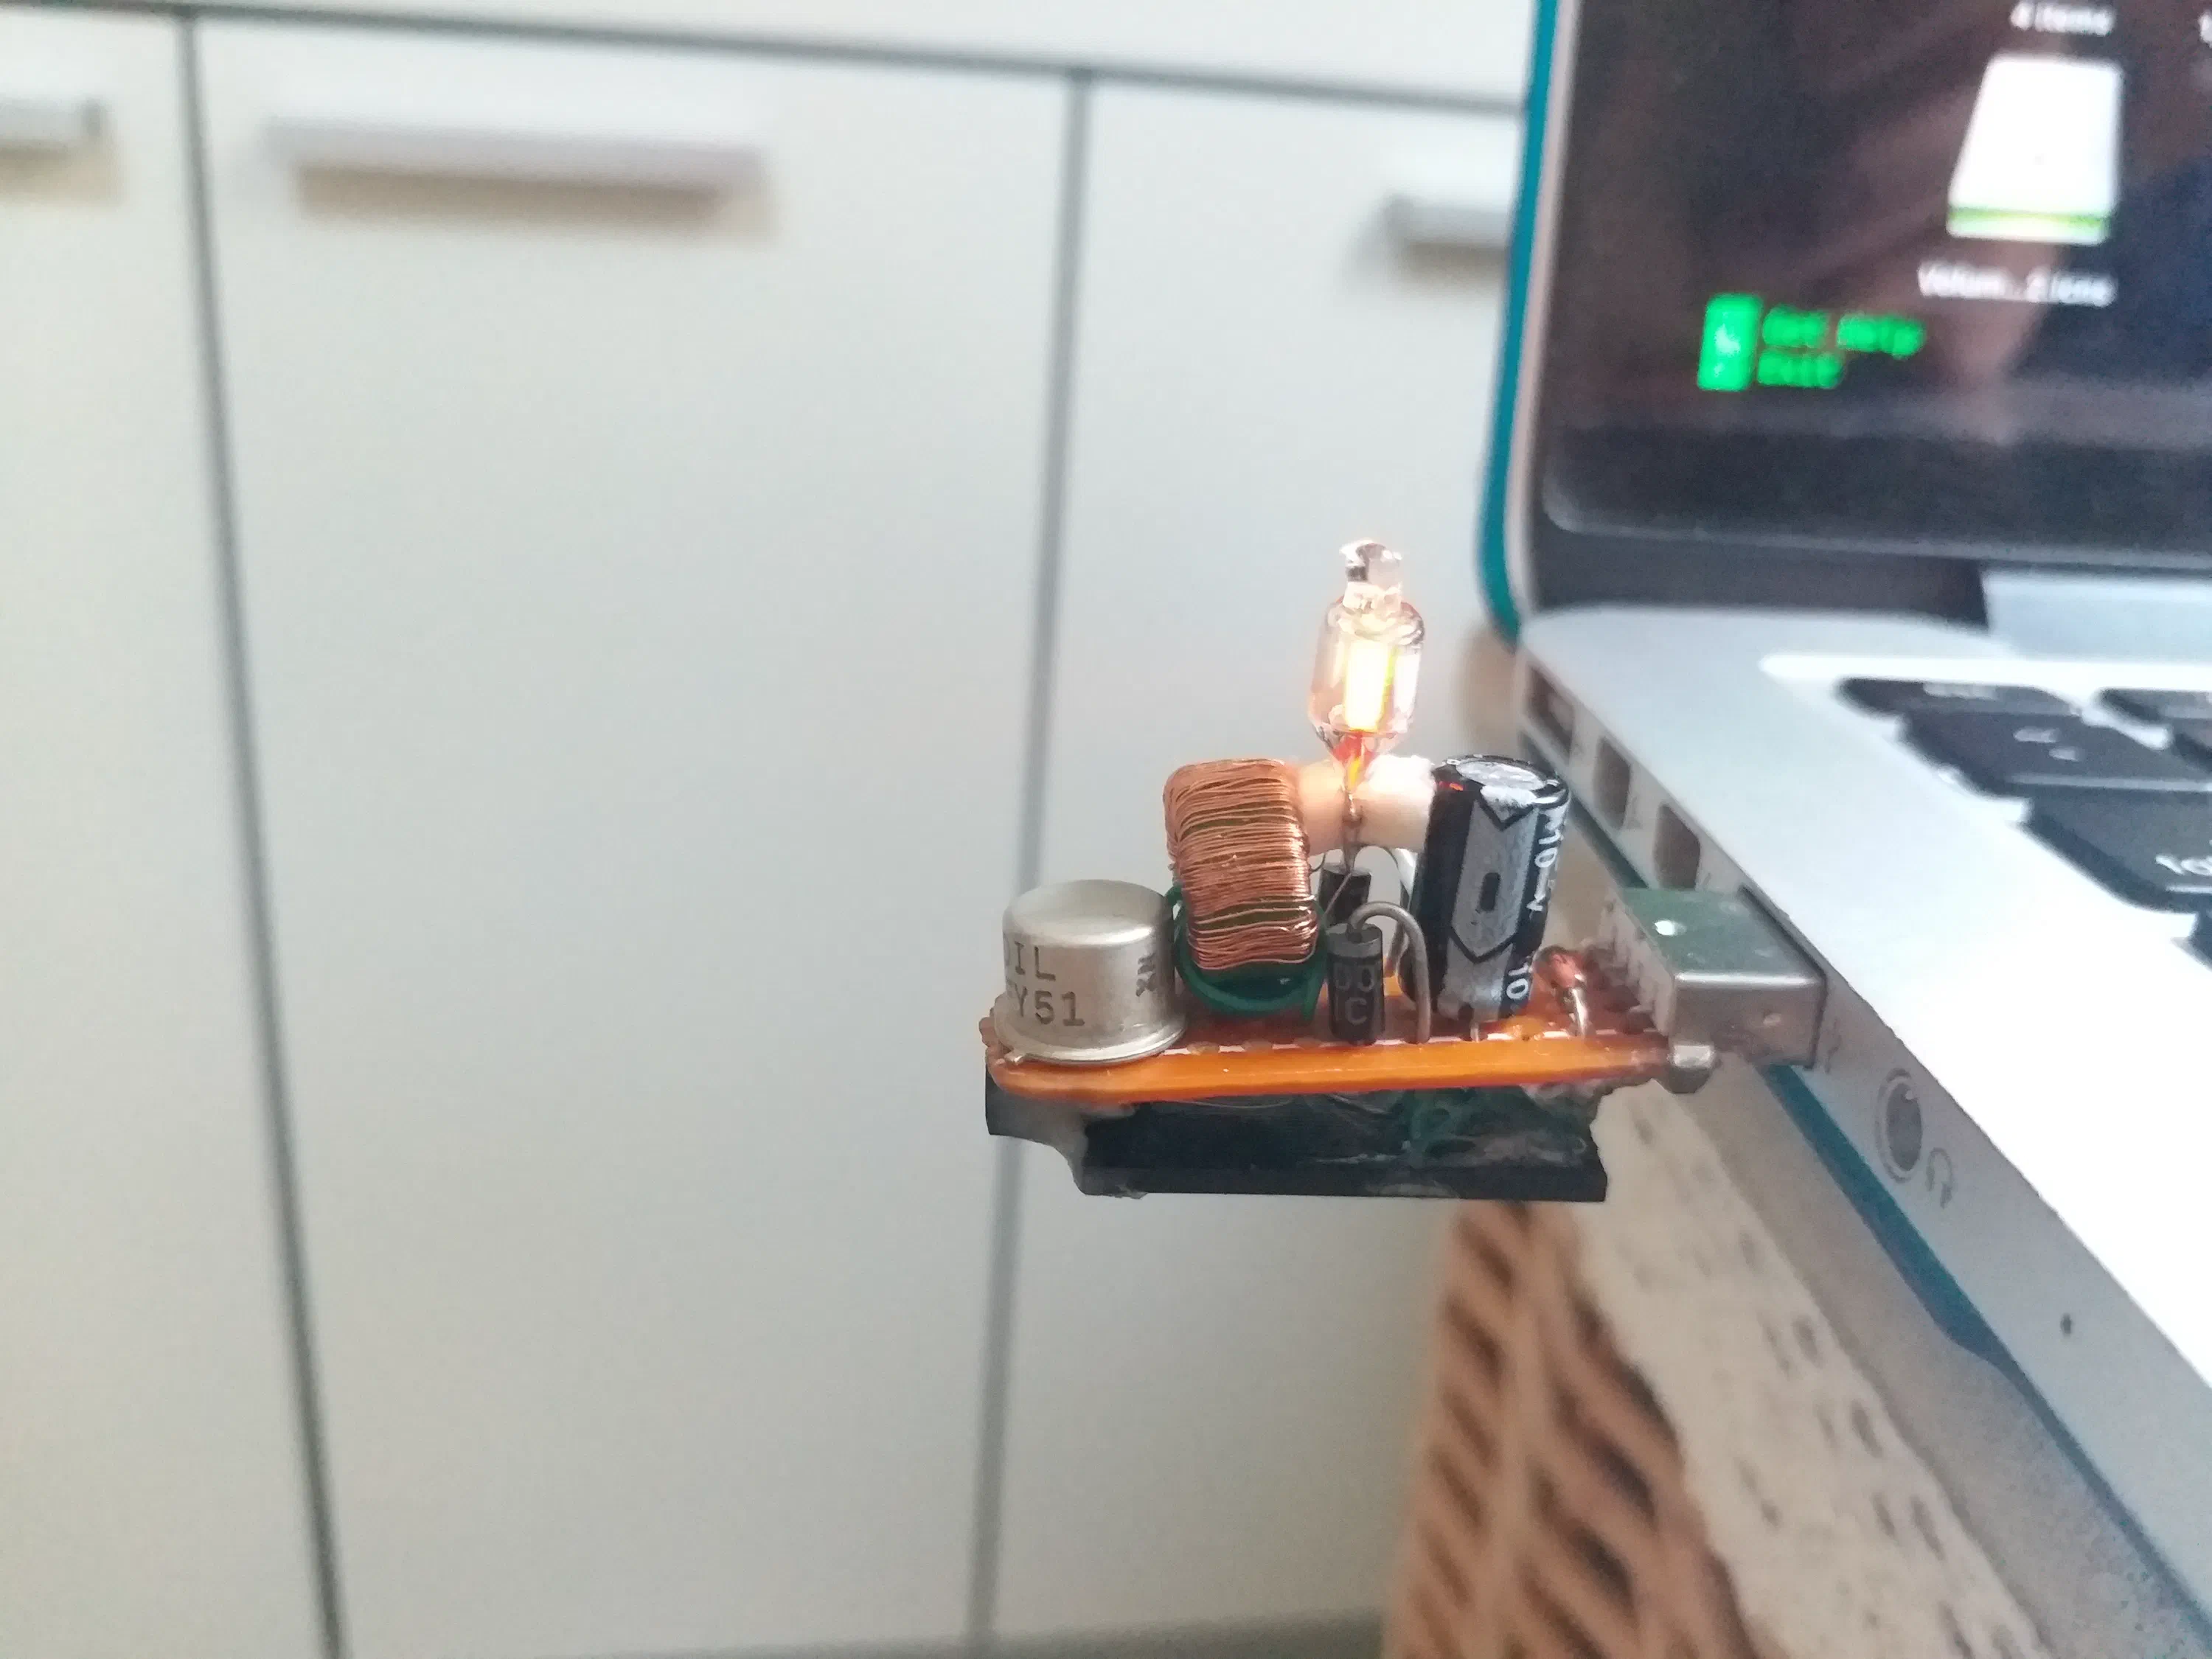
I decided to add some storage.
I took an old 8GB usb drive, took it out of it’s original casing and soldered it to the usb contacts. I managed to get hold of the tiny little pads where the indicator led connections go, and after a little transistor and current limiting resistor, The indicator led is now replaced by the neon light. Now the lamp blinks when you are using the drive, and stops when it is not in use. You should be able to work off the schematic to add this feature.