
TinyMikuClient - HoloCube Part 3
Contents
This is the third part in a three part series on how I built a little HoloCube hologram video player and custom software dedicated to playing back hologram MMD concerts on this device. In this post I will cover the hardware used and the client software on the ESP32S3 which receives, decodes, and display the MikV format video streams we developed in part 2.
Hardware
For the hardware, I am mostly sticking to what was used by Peng ZhiHui’s original HoloCube. However since I am not using a custom PCB, I opted for off the shelf modules. I also added a MAX9835 I2S DAC and speaker amplifier, and a MSM261S4030H0 I2S microphone for future use. The main MCU board is the Seed Xiao ESP32S3.
| Hardware | Connections |
|---|---|
| 1" Beam-Splitter 50/50 Prism | - |
| Xiao ESP32S3 | - |
| 1.3" 240x240px SPI TFT ST7789 Display | BL(D5), MOSI(D10), SCK(D8), DC(D7), RST(D6) |
| MAX9835 I2S DAC & Speaker Amp | WS(D0), SCK(D1), DO(D3) |
| MSM261S4040H0 I2S MEMS Microphone | WS(D0), SCK(D1), DI(D2) |
| 37x18mm PC Speaker | MAX9835 Speaker Out |
The connections are straight forward and listed above. You can also change the pins used from the code; the display pins are setup in main.c and the I2S pins are setup in a separate lib/i2s_settings/i2s_settings.h file.
3D Printed Case
Inspired by the original HoloCube, I also designed in Fusion360 a 3D printed case which holds the screen in place at a nice viewing angle and allows me to mount the 1" beam-splitter prism. The speaker is down-firing and has some grill holes at the bottom of the case, along with some holes to add rubber feet.
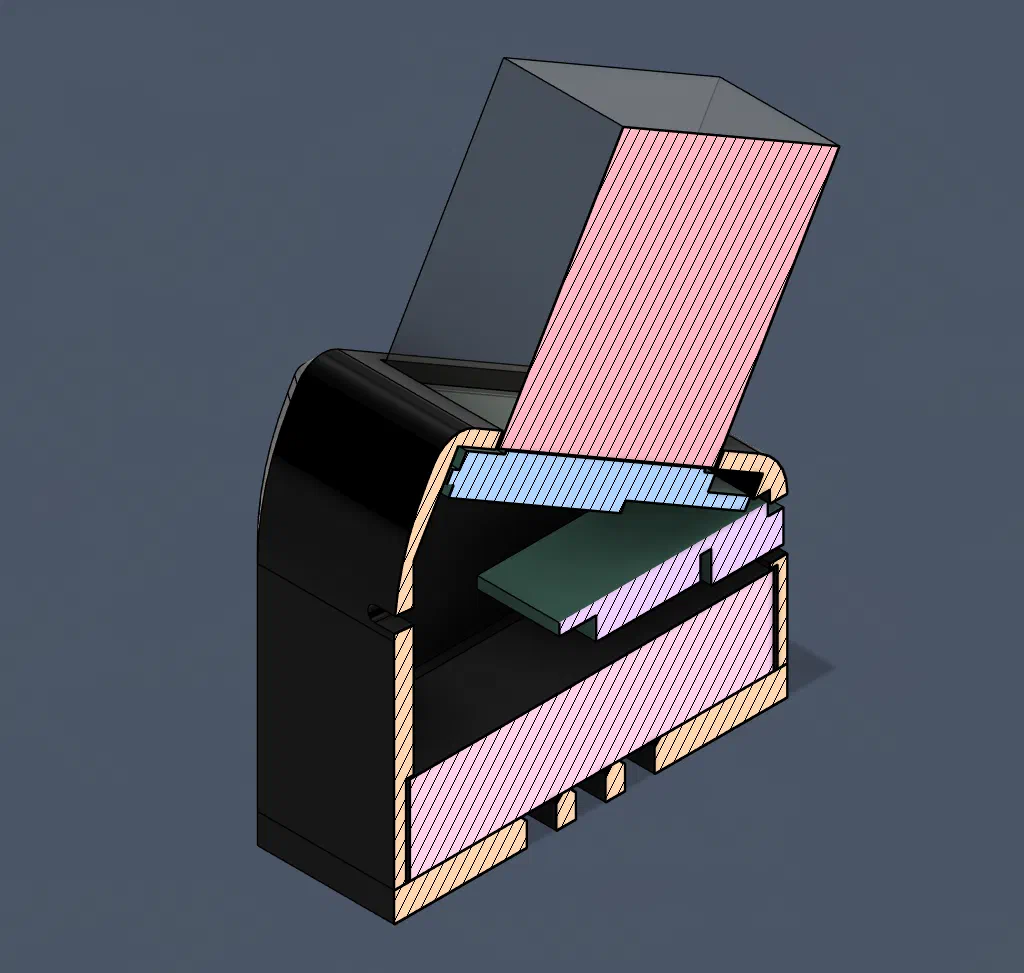
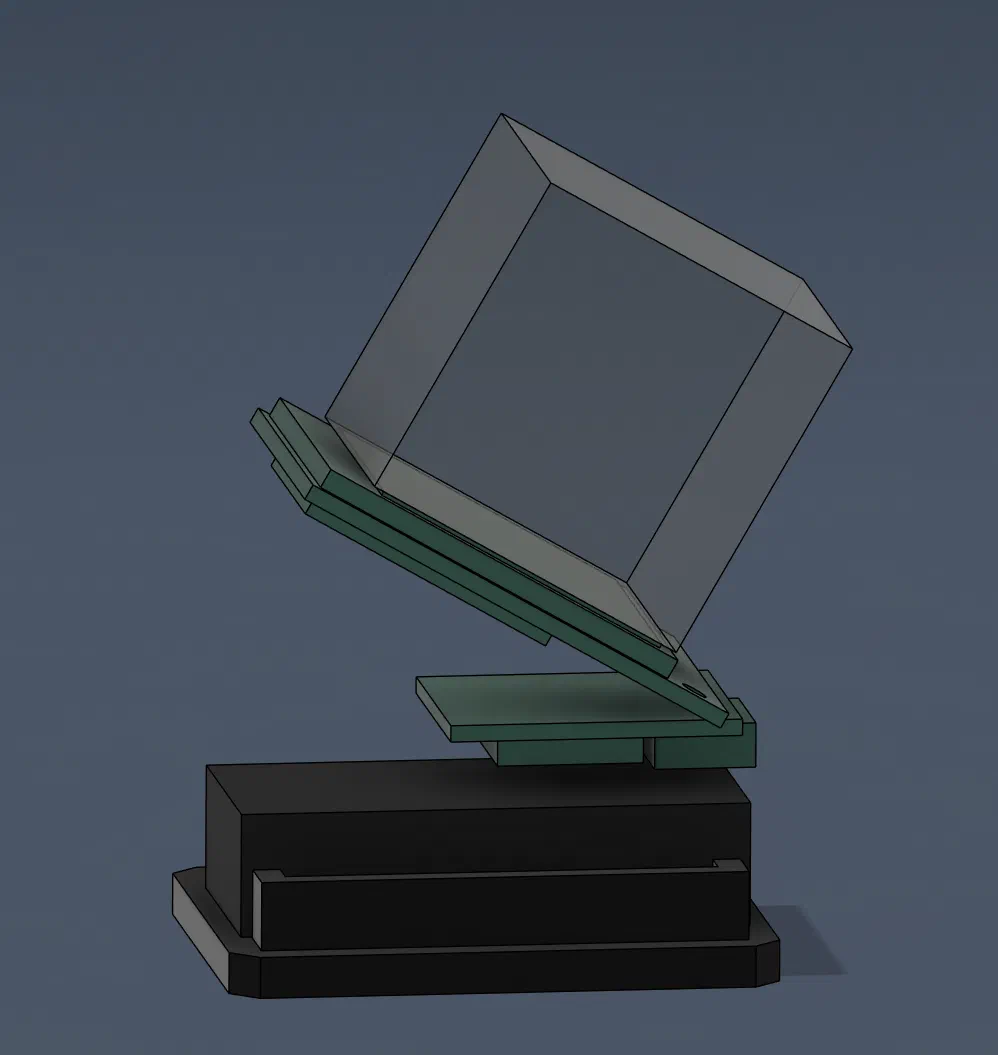
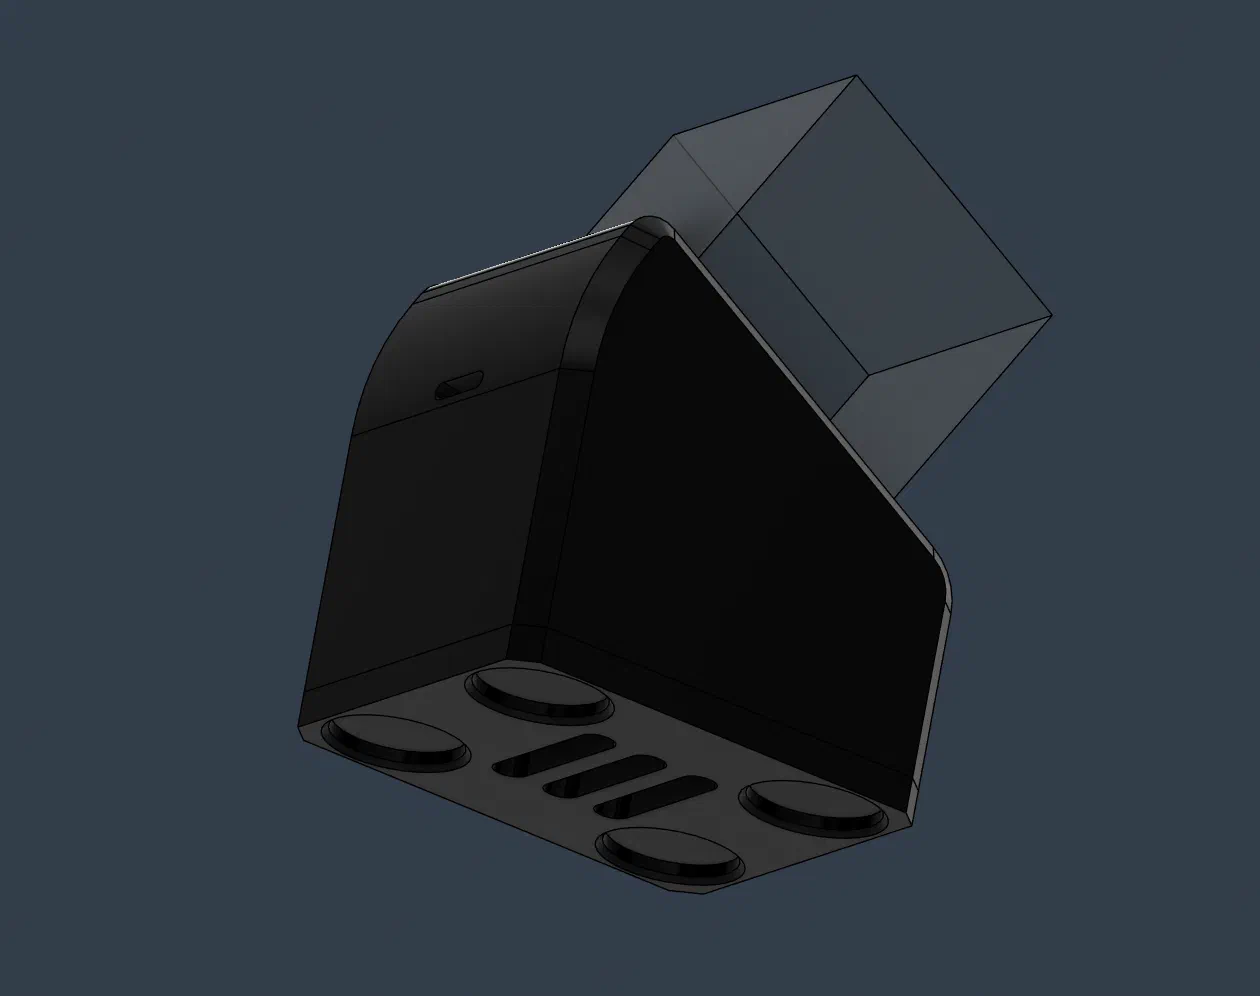
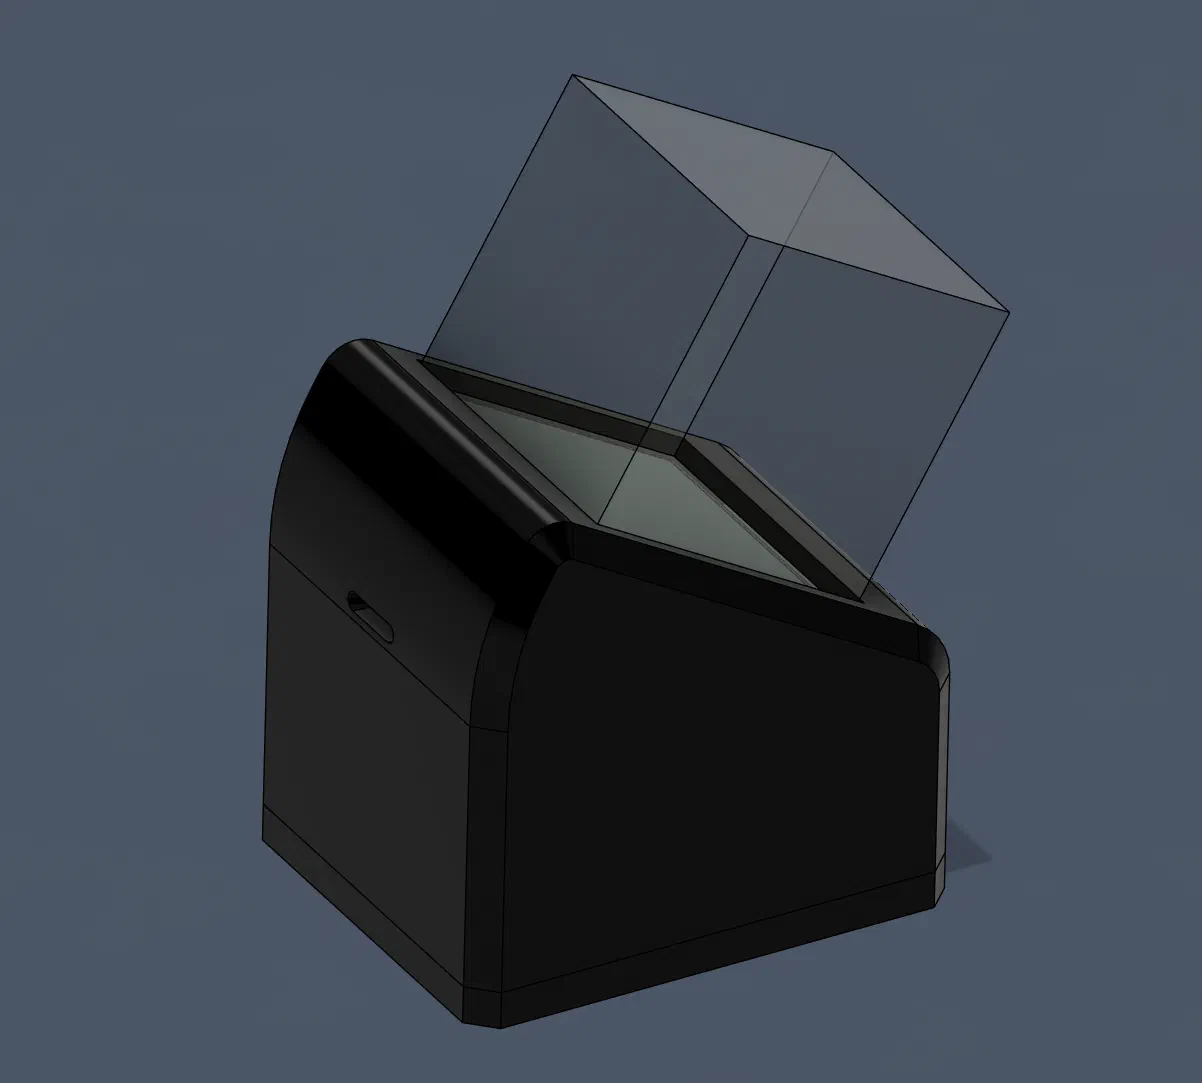
The flex PCB WiFi antenna of the ESP32S3 can be mounted inside the case by adhering to one of the side walls. But I found that it decreases frame-rate performance, as we are already pushing the bandwidth close to it’s maximum. I simply left the antenna outside the case for most of the testing.
A small slot is left at the front of the case under the display, this is for the sound input to the MEMS microphone, as I eventually plan to make this into a full AI assistant kind of device.
An attempt with JPEG
Before coming up with the custom MikV video format of the last post, I started by setting up the display using the TFT_eSPI library and tested displaying images to the screen with PicoJPEG.
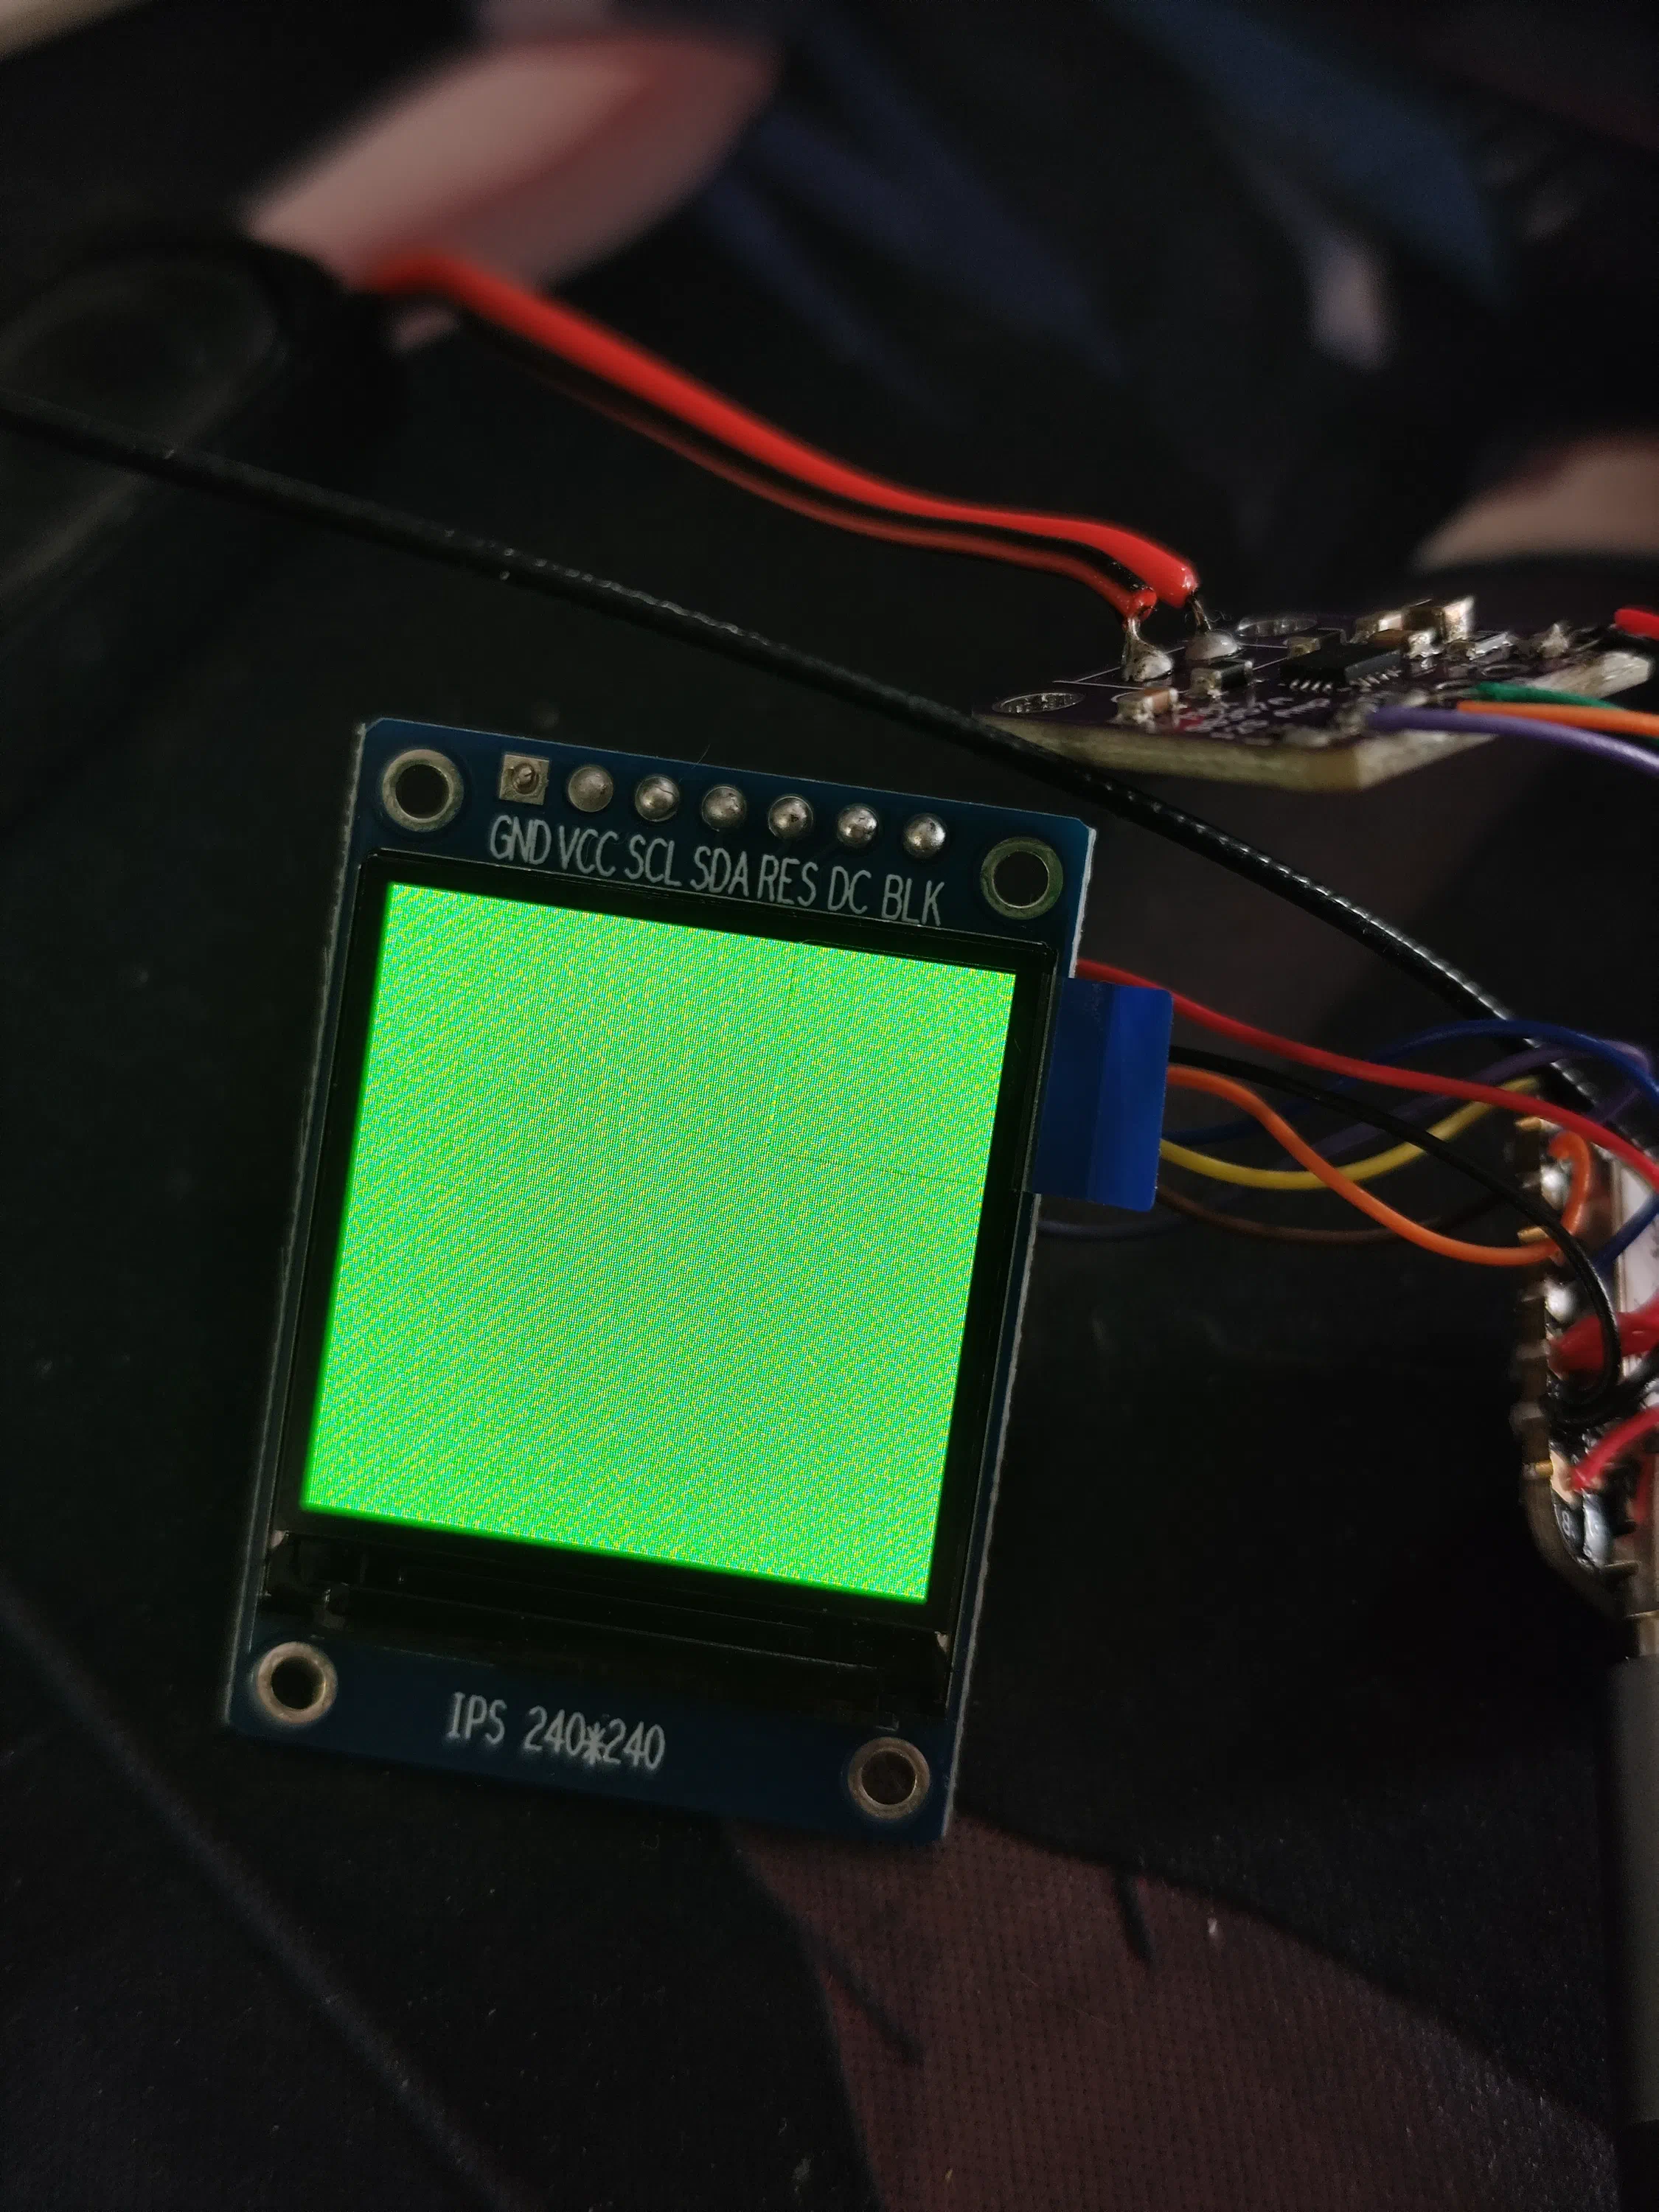
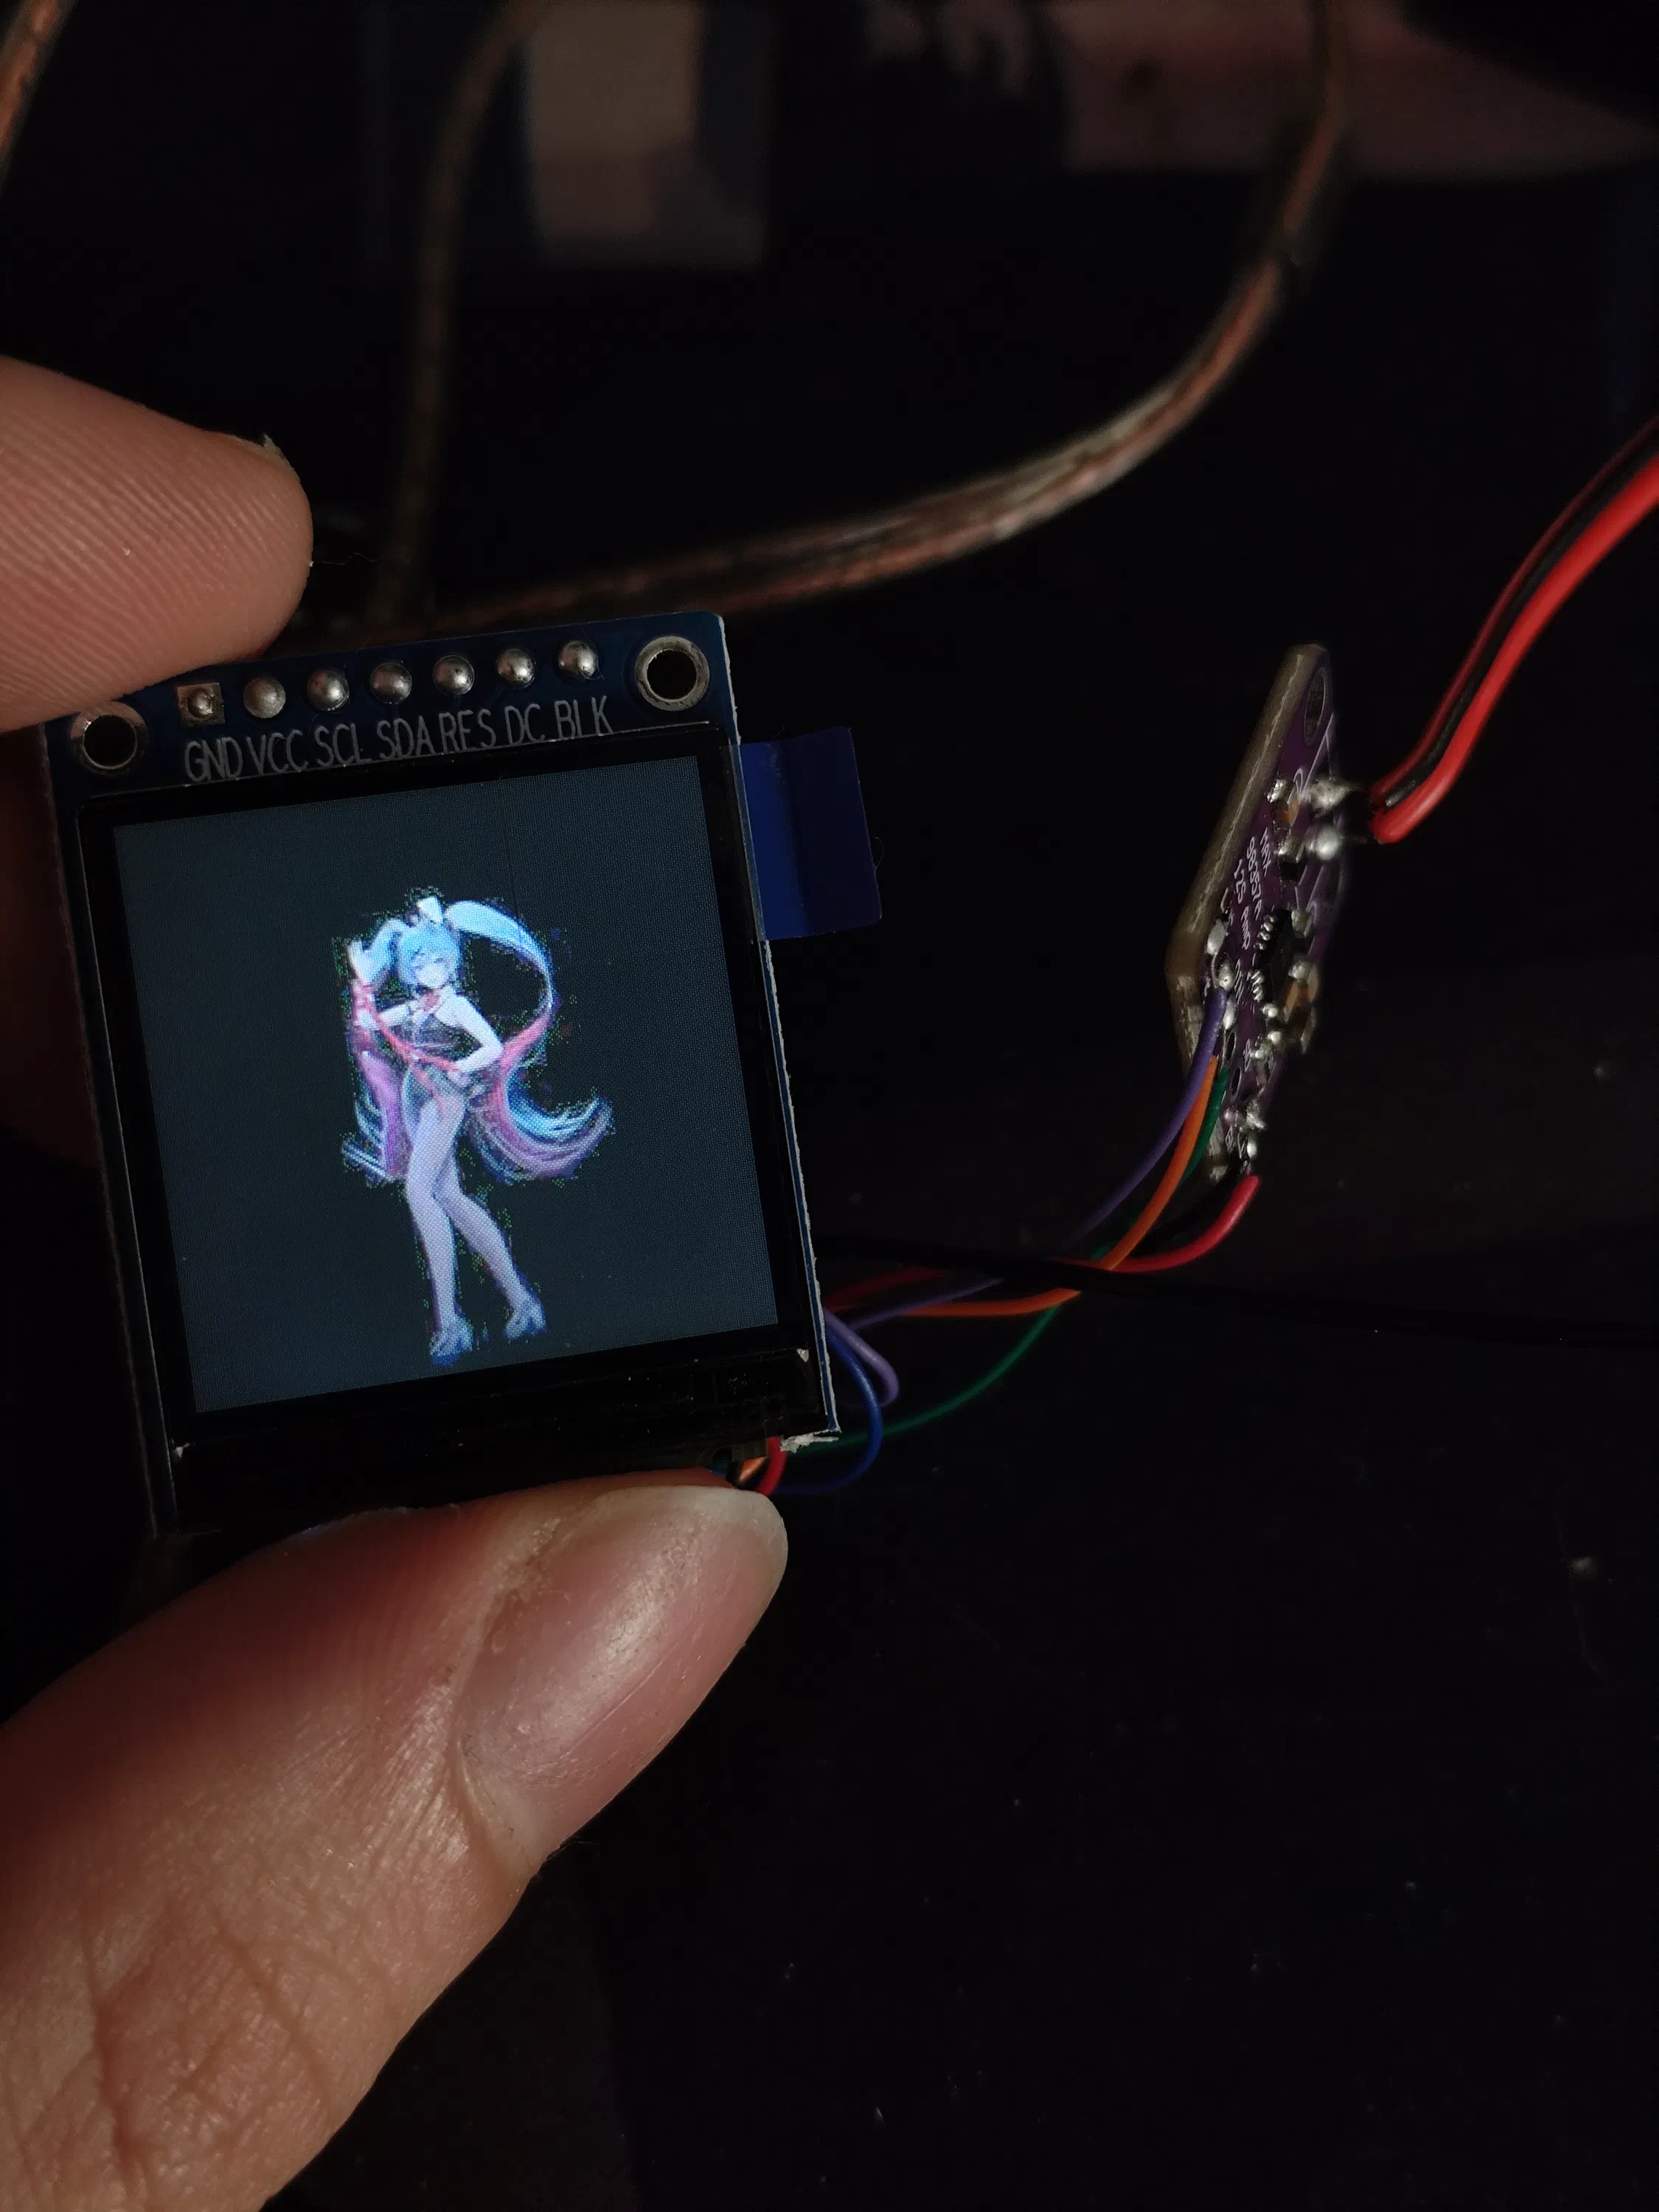
However, this presented two issues; first as you can see in the image above, for some reason JPEG decode at these small image sizes left some artifacts around the edges of the picture where there is a hard transition to the black background, I was never able to figure out why this was and assumed it was something to do with the original video’s MP4 compression and the conversion process from that to JPEG. Second, after testing the performance it became clear that I would not be able to meet the 50ms frame budget for 20 FPS playback doing a full JPEG decode.
Nonetheless, I continued the project using my MikV format.
Streaming & Decoding MikV
The software setup is simple and organises each module of the implementation into a separate library:
TinyMikuHolo
├── lib
│   ├── AudioBuffer
│   │   ├── AudioBuffer.cpp
│   │   └── AudioBuffer.h
│   ├── AudioPlayer
│   │   ├── AudioPlayer.cpp
│   │   └── AudioPlayer.h
│   ├── fps
│   │   └── fps.h
│   ├── i2s_settings
│   │   ├── i2s_settings.cpp
│   │   └── i2s_settings.h
│   ├── video_source
│   │   ├── video_source.cpp
│   │   └── video_source.h
│   └── zlib_turbo
├── src
│   └── main.cpp
└── platformio.ini
i2s_settings is simply an utility to define the pins used and setup I2S audio on the ESP32S3. Then AudioPlayer performs audio playback through the use of the AudioBuffer class which was necessary to ensure the playback didnt stutter. Lastly, video_source performs the decoding of MikV video and pushes the final image to TFT_eSPI which then uses DMA to output to the screen.
All of these routines run concurrently using FreeRTOS tasks, this allows me not only to simply run concurrent functions, but also to pin them to core 0 or core 1 of the ESP32S3. This way it becomes feasible to achieve real-time video and audio playback.
Video Source
video_source performs the bulk of the work of this implementation, its responsible for grabbing the MikV frame from the TinyMikuServer, as well as decoding and screen output. It exposes a simple initialiser which takes the TFT_eSPI instance, the AudioBuffer instance, and a String to the server URL:
Inside the initialiser, we declare pointers to instances of TFT_eSPI, AudioBuffer, zlib_turbo and HTTPClient. As well as pointers for 2 buffers which are allocated at runtime on the ESP32S3’s external PSRAM; one compressed frame buffer uint8_t *pCompressed;, and one uncompressed frame buffer to push directly to the display uint8_t *pUncompressed;.
17class video_source {
18private:
19  zlib_turbo *zt;
20  TFT_eSPI *tft;
21  FPS *fps;
22
23  uint8_t *pDL;
24  size_t pDLSize;
25
26  uint8_t *pUncompressed;
27  size_t pUncompressedSize;
28
29  uint8_t *pCompressed;
30  size_t pCompressedSize;
31
32  AudioBuffer &audioBuffer;
33
34  volatile bool frame_ready = false;
35
36  unsigned long l;
37  unsigned long lt;
38
39  String frame_url;
40  HTTPClient *http;
The class then exposes a single void start_tasks(); function which starts 2 FreeRTOS tasks; grab_frame() which runs on core 0, and decode_and_display() which runs on core 1. This function simply initiates the 2 tasks with the appropriate parameters, the tasks themselves are just simple wrappers around our two functions:
260void video_source::start_tasks() {
261  // Create the grab task
262  // xTaskCreate(grab_task, "GrabTask", 8192, this, 1, NULL);
263  xTaskCreatePinnedToCore(grab_task, "GrabTask", 8192, this, 1, NULL,
264                          GRAB_TASK_CORE);
265
266  // Create the decode and display task
267  // xTaskCreate(decode_task, "DecodeTask", 8192, this, 1, NULL);
268  xTaskCreatePinnedToCore(decode_task, "DecodeTask", 8192, this, 1, NULL,
269                          DECODE_TASK_CORE);
270}
271
272void video_source::grab_task(void *pvParameters) {
273  video_source *vs = static_cast<video_source *>(pvParameters);
274  vs->grab_frame();
275}
276
277void video_source::decode_task(void *pvParameters) {
278  video_source *vs = static_cast<video_source *>(pvParameters);
279  vs->decode_and_display();
280}
Grab Frame
The grab frame task starts by setting up the WiFi connection, and then enters a while(true) loop. Here we wait for the bool frame_ready to be set to false which signals the other decode & display task has already taken in the current frame buffer and we can start fetching the next frame.
If it’s time to fetch a new frame, we follow these steps:
-
Send a GET request to the server and get the size of the payload from HTTP headers:
54 // Step 2: Send GET request 55 56 //? Set Request header 57 // http->addHeader("X-Audio-Frame", String(audioFrame++)); 58 //? Set response headers to parse 59 const char *headerkeys[] = {"X-Video-Length"}; 60 const size_t headerkeyscount = sizeof(headerkeys) / sizeof(headerkeys[0]); 61 http->collectHeaders(headerkeys, headerkeyscount); 62 63 int httpResponseCode = http->GET(); 64 // stepTime = micros() - startTime; 65 // Serial.printf("Step 2 (Send GET request): %lu us\n", stepTime); 66 67 if (httpResponseCode == 200) { 68 // Step 3: Get the size of the payload 69 // startTime = micros(); 70 int contentLength = http->getSize(); 71 if (contentLength <= 0) { 72 Serial.println("Content-Length not found"); 73 continue; 74 } -
Allocate or resize allocation of the memory for the compressed data buffer:
79 // Step 4: Allocate or resize memory for compressed data 80 // startTime = micros(); 81 if (pDL == nullptr) { 82 pDL = (uint8_t *)heap_caps_malloc(contentLength, MALLOC_CAP_INTERNAL); 83 pDLSize = contentLength; 84 } else if (pDLSize < (size_t)contentLength) { 85 uint8_t *newBuffer = (uint8_t *)realloc(pDL, contentLength); 86 if (!newBuffer) { 87 Serial.println("Failed to reallocate memory for DL data"); 88 continue; 89 } 90 pDL = newBuffer; 91 pDLSize = contentLength; 92 } -
Read in the HTTP response payload into our
*pCompressedbuffer:96 // Step 5: Read data from the stream 97 // startTime = micros(); 98 WiFiClient *stream = http->getStreamPtr(); 99 int bytesRead = 0; 100 101 while (http->connected() && (bytesRead < contentLength)) { 102 // Check how many bytes are available in the stream 103 int bytesAvailable = stream->available(); 104 if (bytesAvailable > 0) { 105 // Calculate the number of bytes to read in this iteration 106 int bytesToRead = min(bytesAvailable, contentLength - bytesRead); 107 108 // Read directly into the pDL buffer at the correct offset 109 int bytesReadNow = stream->read(pDL + bytesRead, bytesToRead); 110 111 // Update the total number of bytes read 112 bytesRead += bytesReadNow; 113 } 114 } 115 116 if (bytesRead != contentLength) { 117 Serial.printf("Read %d bytes instead of %d\n", bytesRead, 118 contentLength); 119 Serial.println("Failed to read the entire payload"); 120 continue; 121 } -
Read the special
X-Video-LengthHTTP header to split the payload into our video and audio buffers.*pCompressedis then re-allocated to contain just the video frame data, and the audio frame data is pushed to ouraudioBufferinstance:Notice here that on line 154, when we have pushed the video frame and audio frame buffers, we set123 // Get video and audio part length 124 String pDLVideoSizeStr = http->header("X-Video-Length"); 125 int pDLVideoSize = 0; 126 if (pDLVideoSizeStr == "") { 127 Serial.println("Video size not found"); 128 continue; 129 } else { 130 pDLVideoSize = pDLVideoSizeStr.toInt(); 131 } 132 int pDLAudioSize = contentLength - pDLVideoSize; 133 // Serial.printf("Video size: %d, Audio size: %d\n", pDLVideoSize, 134 // pDLAudioSize); 135 136 // Allocate memory for compressed video data 137 if (pCompressed == nullptr) { 138 // pCompressed = (uint8_t *)heap_caps_aligned_alloc(2, pDLSize, 139 // MALLOC_CAP_INTERNAL); 140 pCompressed = 141 (uint8_t *)heap_caps_malloc(pDLVideoSize, MALLOC_CAP_INTERNAL); 142 pCompressedSize = pDLVideoSize; 143 } else if (pCompressedSize < (size_t)pDLVideoSize) { 144 uint8_t *newBuffer = (uint8_t *)realloc(pCompressed, pDLVideoSize); 145 if (!newBuffer) { 146 Serial.println("Failed to reallocate memory for compressed data"); 147 continue; 148 } 149 pCompressed = newBuffer; 150 pCompressedSize = pDLVideoSize; 151 } 152 // Copy compressed video data to buffer for decompression 153 memcpy(pCompressed, pDL, pDLVideoSize); 154 frame_ready = true; 155 156 startTime = millis() - startTime; 157 // Serial.printf("Frame ready in %lu ms\n", startTime); 158 if (int(startTime) < (1000 / 20)) { 159 vTaskDelay(max((1000 / 20) - int(startTime), 0) / 160 portTICK_PERIOD_MS); 161 } 162 163 // Pass audio data to audio buffer 164 audioBuffer.updateBuffer(pDL + pDLVideoSize, pDLAudioSize);frame_ready = true;. This alerts the other decode & display task that it can start decoding the next frame.
At the end of this loop, we simply have a non-blocking vTaskDelay(1/portTICK_PERIOD_MS); so we give other tasks some time to run. Any errors are also handled in a non-blocking way by inserting a placeholder vTaskDelay of roughly the remaining runtime of the failed step. This way the entire task loop recovers seamlessly if a particular frame fails to be received and parsed.
Decode & Display
The decode & display task follows a similar structure to the grab frame task, however this time we run the main loop only when frame_ready is true rather than false. The steps are as follows:
- Set
frame_ready = falseto indicate to grab frame that it can start fetching the next frame. Then allocate the*pUncompressedraw display frame buffer: - Call
zlib_turbo’sinflatefunction to decompress our DEFLATE encoded RGB565 video frame and output to the buffer we allocated: - Check the return status of the DEFLATE call, and if it succeeded, push the image to the TFT display and draw a frame counter overlay:
210      if (rc == ZT_SUCCESS) {
211
212        // Step 7: Draw the image
213        // startTime = micros();
214        tft->pushImage(0, 0, TFT_WIDTH, TFT_HEIGHT, (uint16_t *)pUncompressed);
215        // stepTime = micros() - startTime;
216        // Serial.printf("Step 7 (Draw image): %lu us\n", stepTime);
217
218        fps->frame();
219        // Serial.printf("FPS: %.2f\n", fps->getFPS());
220        tft->setCursor(0, 0, 4);
221        tft->printf("FPS: %.2f", fps->getFPS());
The end of this loop simply contains 1ms vTaskDelay regardless of success of failure to decode a frame, this is different than grab frame because this task needs to signal when to fetch the next frame; therefore, on a failure, we should signal to fetch the next frame straight away.
Audio Player
The audio player class is very simple, as we are receiving raw 16-bit PCM encoded audio; there is no decode needed and we can push directly to the I2S for the DAC to decode. It follows a similar task structure, with a simple initialiser taking in the audio buffer AudioPlayer(AudioBuffer &audioBuffer); and a single void start_task() public method.
The void start_task() is a simple wrapper which creates a task from the internal void audio_task() function:
10void AudioPlayer::start_task() {
11  // Create the audio playback task on core 1.
12  xTaskCreatePinnedToCore(
13      [](void *param) { ((AudioPlayer *)param)->audioTask(); }, "AudioTask",
14      4096, this, 1, NULL, AUDIO_TASK_CORE);
15}
Then the void audio_task() function itself just has a control loop which waits for incoming data into the audio buffer. If new data came in during the right time frame, we swap the buffers and write the result directly to the I2S bus using DMA; if a timeout occurred (new audio frame didn’t come in), we fill the buffer with silence to avoid audio glitches:
17void AudioPlayer::audioTask() {
18  size_t bytesWritten = 0;
19  while (true) {
20    // Wait up to AUDIO_FRAME_TIME_MS for new audio data.
21    if (!buffer.waitForNewData(AUDIO_FRAME_TIME_MS)) {
22      // If new data isn't available in time, fill the inactive buffer with
23      // silence.
24      buffer.fillInactiveBufferWithSilence();
25    }
26    // Swap the buffers so that the fresh (or silence-filled) data becomes
27    // active.
28    buffer.swapBuffers();
29    // Write the active buffer to I2S (this call blocks until the DMA transfer
30    // completes).
31    esp_err_t result =
32        i2s_write(I2S_NUM, (const char *)buffer.getActiveBuffer(),
33                  STEREO_BUFFER_SIZE, &bytesWritten, portMAX_DELAY);
34    if (result != ESP_OK) {
35      Serial.printf("i2s_write error: %d\n", result);
36    }
37  }
38}
Most of the heavy lifting here is done by the audio buffer itself, here we simply control the DMA sends with the correct timing.
Audio Buffer
The audio buffer class is critical for glitch-free audio playback. It’s a simple ping-ping style double buffer implementation. It contains all of the methods we should expect; such as updateBuffer, waitForNewData, getActiveBuffer and swapBuffers:
 7// ===== AudioBuffer Class =====
 8// This class manages two buffers (double buffering) for stereo audio.
 9// It provides a method to update the inactive buffer with new mono PCM data
10// (converted to stereo) and a semaphore to signal when new data is available.
11class AudioBuffer {
12public:
13  AudioBuffer();
14  // Update the inactive buffer with fresh mono PCM data (in uint8_t form)
15  void updateBuffer(const uint8_t *monoData, size_t byteCount);
16  // Wait for new data (with timeout in milliseconds); returns true if data is
17  // ready.
18  bool waitForNewData(uint32_t timeout_ms);
19  // Returns a pointer to the active (ready to play) buffer.
20  const uint8_t *getActiveBuffer();
21  // Swap the active and inactive buffers.
22  void swapBuffers();
23  // Fill the inactive buffer with silence (all zeros).
24  void fillInactiveBufferWithSilence();
25
26private:
27  uint8_t buffer0[STEREO_BUFFER_SIZE];
28  uint8_t buffer1[STEREO_BUFFER_SIZE];
29  // Pointers to the active (to be played) and inactive (to be updated) buffers.
30  volatile uint8_t *activeBuffer;
31  volatile uint8_t *inactiveBuffer;
32  // Semaphore used to signal that new data is available.
33  SemaphoreHandle_t semaphore;
34};
The only unique features here are the fillInactiveBufferWithSilence() method which is used to silence a buffer when an audio frame fails to be received, and the SemaphoreHandle_t semaphore which is used to indicate that new data is available. This is needed here because we have 2 tasks concurrently accessing this buffer; the grab_frame task which pushes new audio data to the buffer, and the audio_task task which send data from the buffer to I2S.
updateBuffer fills the inactive buffer in after converting the stereo PCM samples into mono, and then signals that new data is ready:
19void AudioBuffer::updateBuffer(const uint8_t *monoData, size_t byteCount) {
20  if (byteCount != BUFFER_SAMPLES * SAMPLE_SIZE) {
21    Serial.println("Warning: Unexpected byte count.");
22  }
23  // Convert each 16-bit mono sample (2 bytes) into stereo (copy the sample to
24  // both channels).
25  for (size_t i = 0; i < BUFFER_SAMPLES; i++) {
26    size_t monoOffset = i * 2;   // Two bytes per mono sample
27    size_t stereoOffset = i * 4; // Four bytes per stereo sample
28    inactiveBuffer[stereoOffset] = monoData[monoOffset];         // Left LSB
29    inactiveBuffer[stereoOffset + 1] = monoData[monoOffset + 1]; // Left MSB
30    inactiveBuffer[stereoOffset + 2] = monoData[monoOffset];     // Right LSB
31    inactiveBuffer[stereoOffset + 3] = monoData[monoOffset + 1]; // Right MSB
32  }
33  // Signal that new data is available.
34  xSemaphoreGive(semaphore);
35}
waitForNewData simply awaits for the semaphore signal with a given timeout in ms:
37bool AudioBuffer::waitForNewData(uint32_t timeout_ms) {
38  return (xSemaphoreTake(semaphore, pdMS_TO_TICKS(timeout_ms)) == pdTRUE);
39}
swapBuffers simple swaps the pointer references of the active and inactive buffers:
45void AudioBuffer::swapBuffers() {
46  volatile uint8_t *temp = activeBuffer;
47  activeBuffer = inactiveBuffer;
48  inactiveBuffer = temp;
49}
And last but not least, the fillInactiveBufferWithSilence takes the last valid audio sample received and fills the inactive buffer with that sample; in order to create silence without any sudden jump to 0 (would result in an audio click):
51void AudioBuffer::fillInactiveBufferWithSilence() {
52  // memset((void *)inactiveBuffer, 0, STEREO_BUFFER_SIZE);
53
54  // Get the last sample (4 bytes) from the active buffer
55  uint8_t lastSample[4];
56  memcpy(lastSample, (const uint8_t *)&activeBuffer[STEREO_BUFFER_SIZE - 4], 4);
57
58  // Fill the inactive buffer with the last sample
59  for (size_t i = 0; i < STEREO_BUFFER_SIZE; i += 4) {
60    memcpy((uint8_t *)&inactiveBuffer[i], lastSample, 4);
61  }
62}
Main Sketch
With all of our functions modularised into libraries and wrapped into ready to go FreeRTOS tasks, the main.cpp sketch becomes very simple. We start by declaring our classes:
16#include "video_source.h"
17video_source *vs;
18
19#include "AudioBuffer.h"
20#include "AudioPlayer.h"
21#include "i2s_settings.h"
22AudioBuffer audioBuffer;
23AudioPlayer *audioPlayer;
Then we initialise them:
57  vs = new video_source(&tft, audioBuffer, "http://192.168.8.114:8000/video");
58
59  setupI2S();
60  audioPlayer = new AudioPlayer(audioBuffer);
And lastly, we start our tasks:
The main loop simply contains a 1000ms vTaskDelay to yield time for the tasks to run.
Showcase
Finally, after uploading the sketch and starting our TinyMikuServer from the previous post, the HoloCube comes to life.
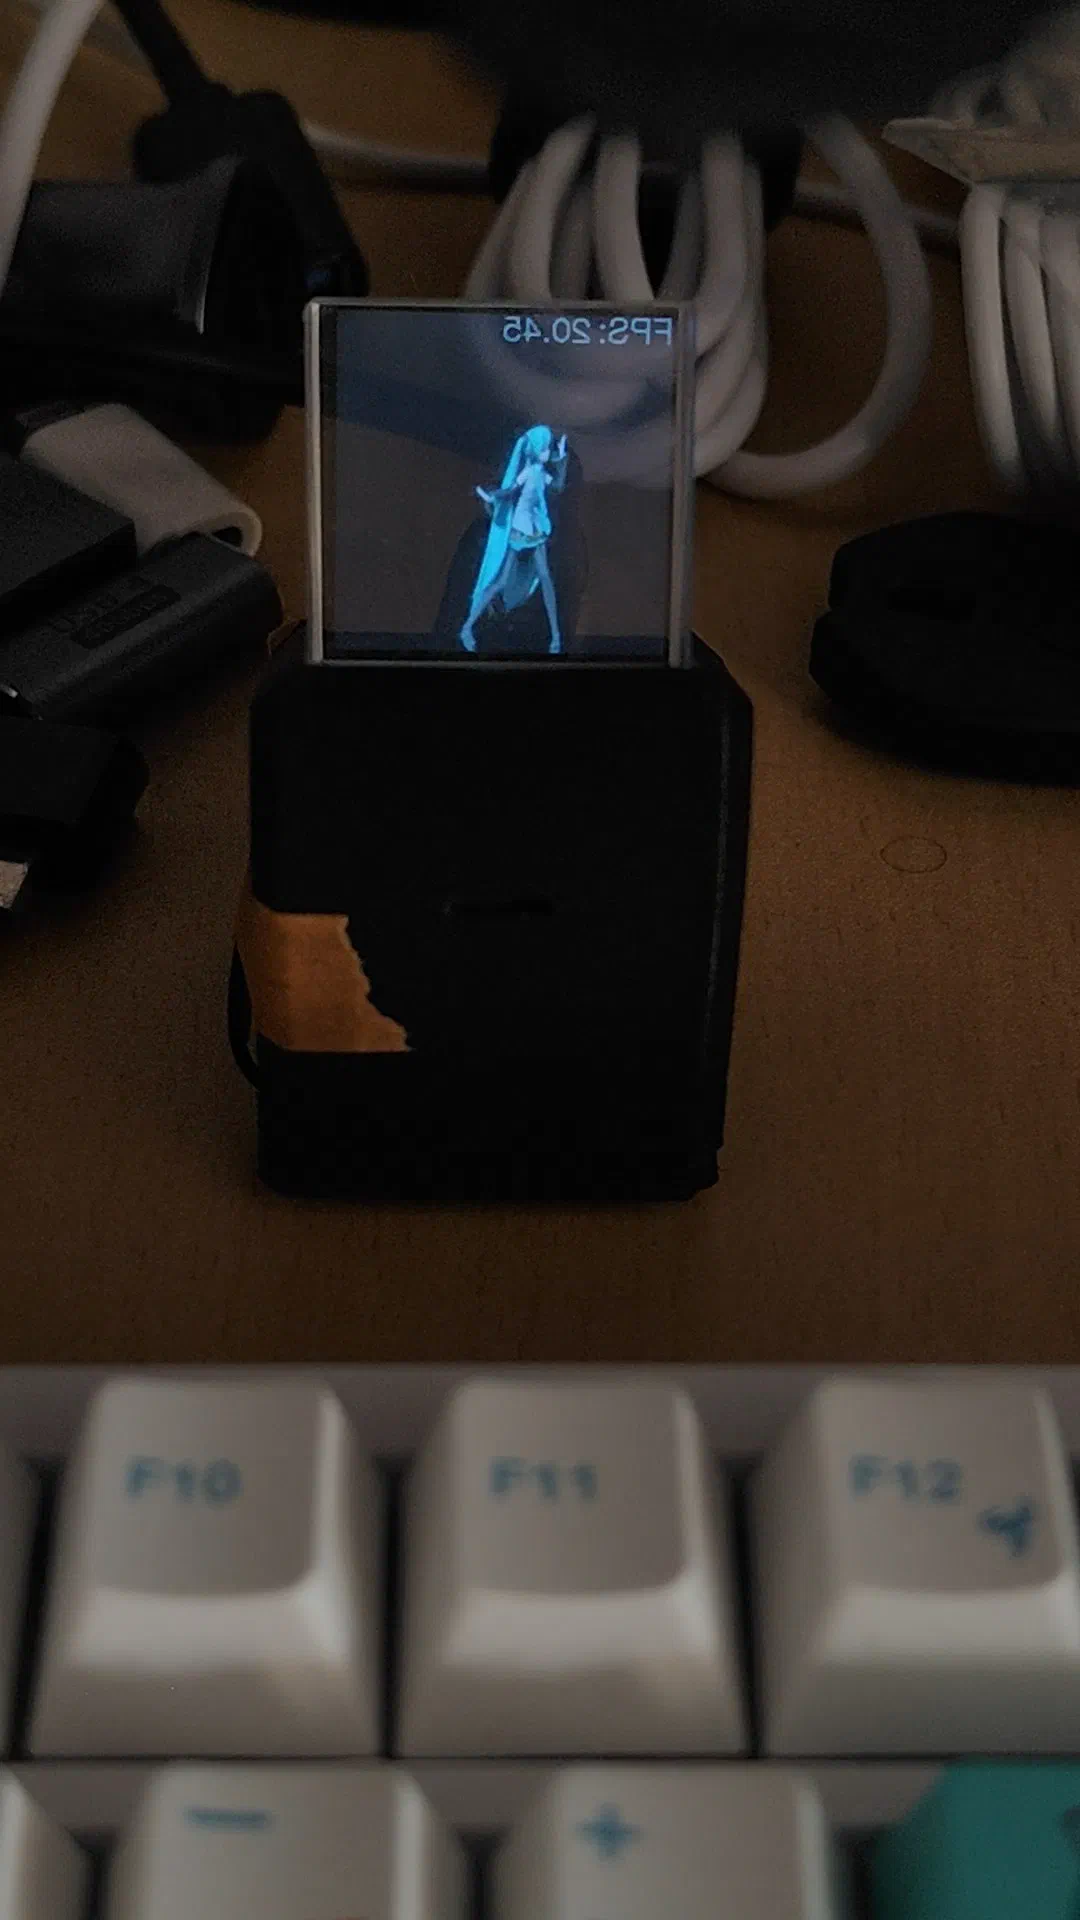
Below are some video demos:
Next Steps
There we have it, full circle from video pre-processing for cropping to a 1:1 aspect ratio, to a custom video encoding format, to playback on the HoloCube.
In the future I wish to extend this project, by using the MEMS microphone I included to stream audio back the the server on a PC, where we can then run an AI agent to give Miku’s hologram some personality and live interaction.